reset Citroen C3 2017 2.G Owner's Manual
[x] Cancel search | Manufacturer: CITROEN, Model Year: 2017, Model line: C3, Model: Citroen C3 2017 2.GPages: 450, PDF Size: 10.11 MB
Page 34 of 450
32
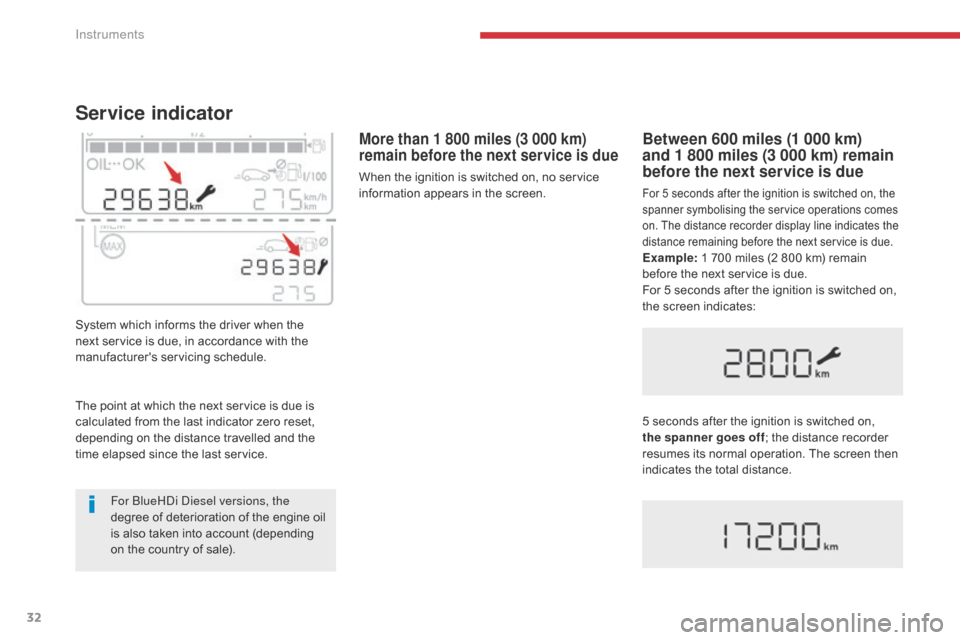
Service indicator
System which informs the driver when the
next service is due, in accordance with the
manufacturer's servicing schedule.
More than 1 800 miles (3 000 km)
remain before the next service is due
When the ignition is switched on, no service
information appears in the screen.
Between 600 miles (1 000 km)
and 1 800 miles (3 000 km) remain
before the next service is due
For 5 seconds after the ignition is switched on, the
spanner symbolising the service operations comes
on. The distance recorder display line indicates the
distance remaining before the next service is due.
Example: 1 700 miles (2 800 km) remain
before the next service is due.
For 5 seconds after the ignition is switched on,
the screen indicates:
5 seconds after the ignition is switched on,
the spanner goes off ; the distance recorder
resumes its normal operation. The screen then
indicates the total distance.
The point at which the next service is due is
calculated from the last indicator zero reset,
depending on the distance travelled and the
time elapsed since the last service.
For BlueHDi Diesel versions, the
degree of deterioration of the engine oil
is also taken into account (depending
on the country of sale).
Instruments
Page 36 of 450
34
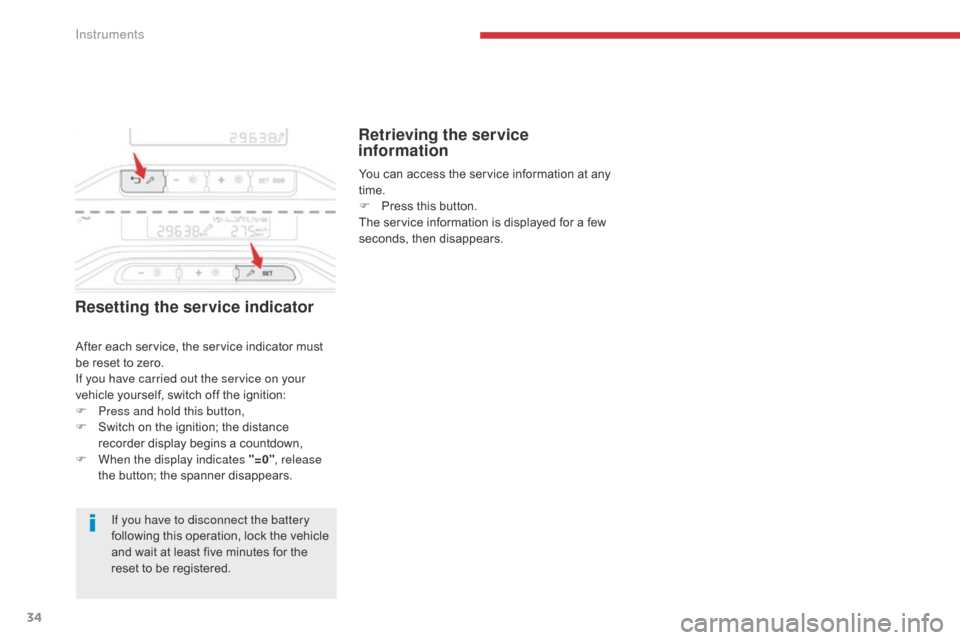
Resetting the service indicator
If you have to disconnect the battery
following this operation, lock the vehicle
and wait at least five minutes for the
reset to be registered.
Retrieving the service
information
After each service, the service indicator must
be reset to zero.
If you have carried out the service on your
vehicle yourself, switch off the ignition:
F
P
ress and hold this button,
F
S
witch on the ignition; the distance
recorder display begins a countdown,
F
W
hen the display indicates "=0" , release
the button; the spanner disappears. You can access the service information at any
time.
F
P
ress this button.
The service information is displayed for a few
seconds, then disappears.
Instruments
Page 41 of 450
39
B618_en_Chap01_Instruments-de-bord_ed01-2016
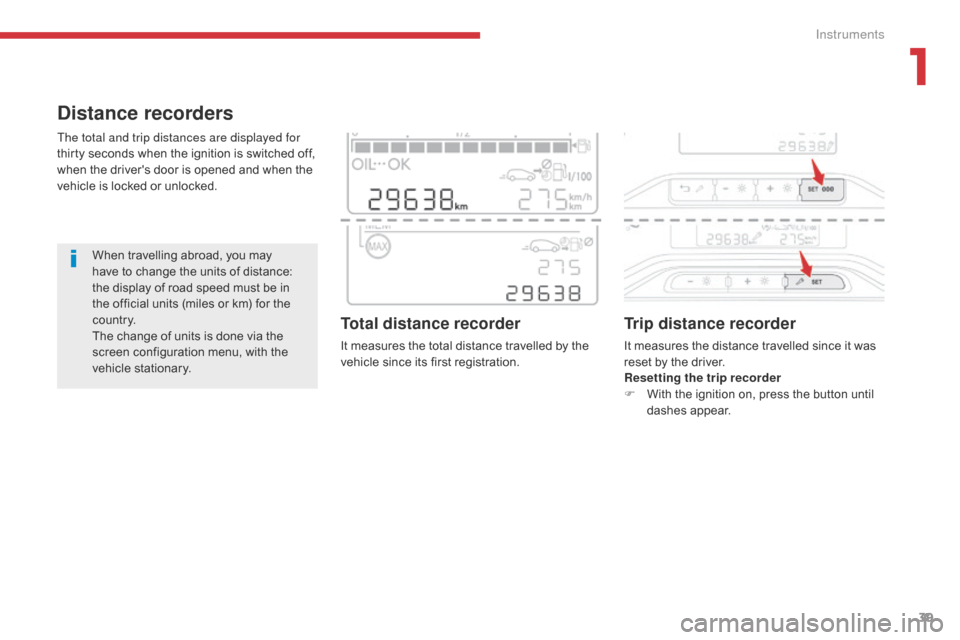
Distance recorders
The total and trip distances are displayed for
thirty seconds when the ignition is switched off,
when the driver's door is opened and when the
vehicle is locked or unlocked.
Total distance recorder
It measures the total distance travelled by the
vehicle since its first registration.
Trip distance recorder
It measures the distance travelled since it was
reset by the driver.
Resetting the trip recorder
F
W
ith the ignition on, press the button until
dashes appear.
When travelling abroad, you may
have to change the units of distance:
the display of road speed must be in
the official units (miles or km) for the
c o unt r y.
The change of units is done via the
screen configuration menu, with the
vehicle stationary.
1
Instruments
Page 53 of 450
51
B618_en_Chap01_Instruments-de-bord_ed01-2016
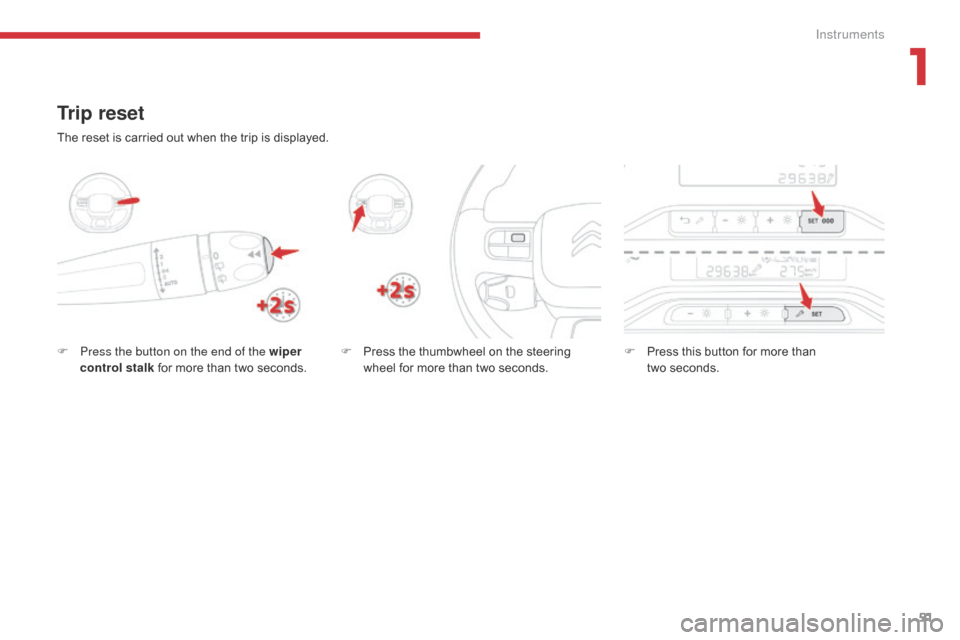
Trip reset
F Press the button on the end of the wiper control stalk for more than two seconds. F
P ress the thumbwheel on the steering
wheel for more than two seconds. F
P ress this button for more than
two seconds.
The reset is carried out when the trip is displayed.
1
Instruments
Page 54 of 450
52
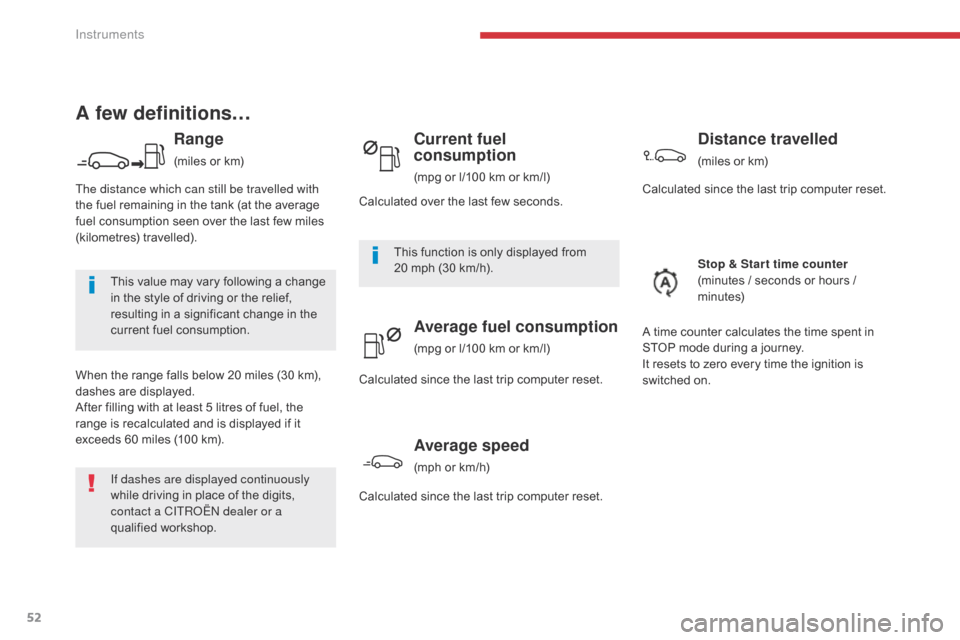
A few definitions…
Range
(miles or km)
This value may vary following a change
in the style of driving or the relief,
resulting in a significant change in the
current fuel consumption.
When the range falls below 20 miles (30 km),
dashes are displayed.
After filling with at least 5 litres of fuel, the
range is recalculated and is displayed if it
exceeds 60 miles (100 km). This function is only displayed from
20
mph (30 km/h).
Current fuel
consumption
(mpg or l/100 km or km/l)
Distance travelled
(miles or km)
Stop & Star t time counter
(minutes / seconds or hours /
minutes)
A time counter calculates the time spent in
STOP mode during a journey.
It resets to zero every time the ignition is
switched on.
Average fuel consumption
(mpg or l/100 km or km/l)
Calculated since the last trip computer reset.
If dashes are displayed continuously
while driving in place of the digits,
contact a CITROËN dealer or a
qualified workshop.
The distance which can still be travelled with
the fuel remaining in the tank (at the average
fuel consumption seen over the last few miles
(kilometres) travelled).
Calculated over the last few seconds.
Average speed
(mph or km/h)
Calculated since the last trip computer reset. Calculated since the last trip computer reset.
Instruments
Page 169 of 450
167
B618_en_Chap06_conduite_ed01-2016
Stop & Start
Going into engine STOP mode
Never refuel with the engine in STOP
mode; you must switch off the ignition. For your comfort, during parking
maoeuvres, STOP mode is not
available for a few seconds after
coming out of reverse gear.
Stop & Start does not affect the
operation of vehicle systems such as
braking, power steering, etc.
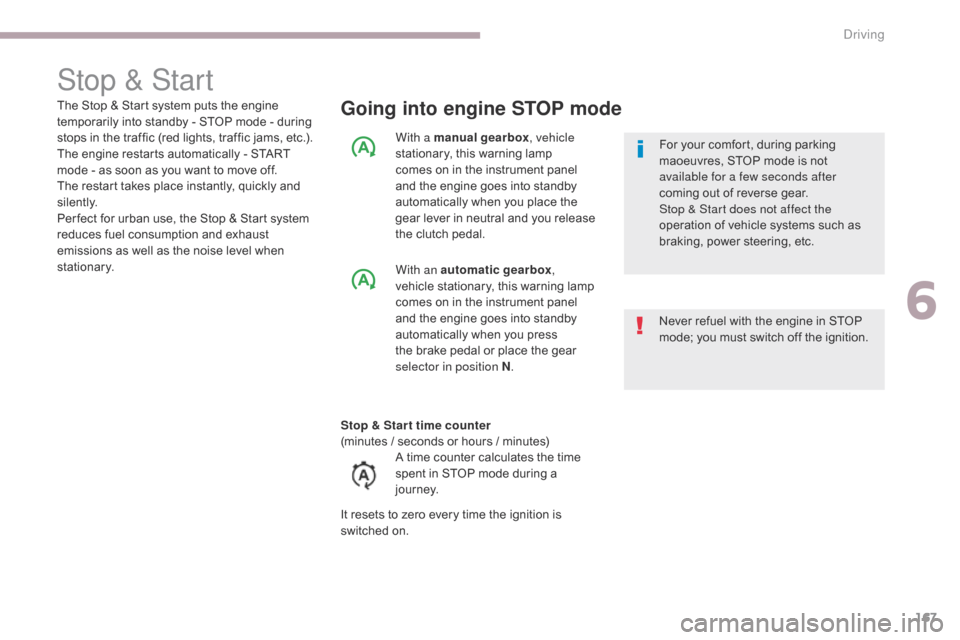
The Stop & Start system puts the engine
temporarily into standby - STOP mode - during
stops in the traffic (red lights, traffic jams, etc.).
The engine restarts automatically - START
mode - as soon as you want to move off.
The restart takes place instantly, quickly and
silently.
Per fect for urban use, the Stop & Start system
reduces fuel consumption and exhaust
emissions as well as the noise level when
stationary.
With a manual gearbox
, vehicle
stationary, this warning lamp
comes on in the instrument panel
and the engine goes into standby
automatically when you place the
gear lever in neutral and you release
the clutch pedal.
With an automatic gearbox ,
vehicle stationary, this warning lamp
comes on in the instrument panel
and the engine goes into standby
automatically when you press
the brake pedal or place the gear
selector in position N .
Stop & Star t time counter
(minutes / seconds or hours / minutes) A time counter calculates the time
spent in STOP mode during a
j o u r n ey.
It resets to zero every time the ignition is
switched on.
6
Driving
Page 173 of 450
171
B618_en_Chap06_conduite_ed01-2016
The units for the speed limits (mph or
km/h) depend on the country you are
driving in.
It should be taken into account so that
you observe the speed limit.
For the system to operate correctly
when you change country, the units for
speed in the instrument panel must be
those for the country you are driving in.The automatic reading of road signs is a
driving assistance system and does not
always display speed limits correctly.
The speed limit signs present on the
road always take priority over the
display by the system.
The system cannot in any
circumstances replace the need for
vigilance on the part of the driver.
The driver must observe the driving
regulations and must adapt the speed
of the vehicle to suit the weather and
traffic.
It is possible for the system to not
display the speed limit if it does not
detect a speed limit sign within a preset
period.
The system is designed to detect signs
that conform to the Vienna Convention
on road signs.
To maintain correct operation of the
system: regularly clean the area in front
of the camera.
Speed limit recognition
This system allows the speed limit detected by
the camera to be displayed in the instrument
panel.
Specific speed limits, such as those for heavy
goods vehicles, are not displayed.
The display of the speed limit in the instrument
panel is updated as you pass a speed limit sign
intended for cars (light vehicles).Principles
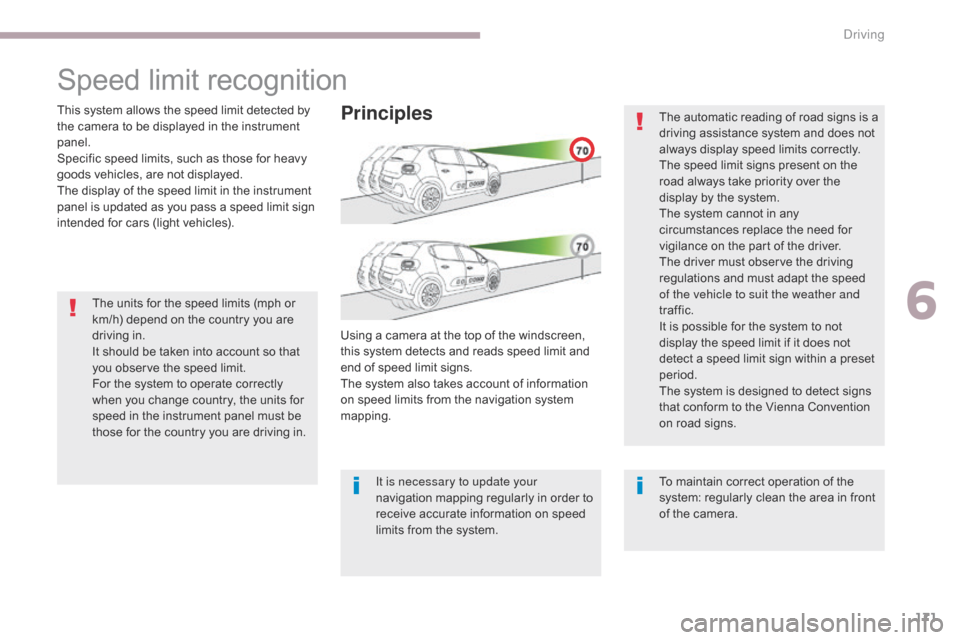
Using a camera at the top of the windscreen,
this system detects and reads speed limit and
end of speed limit signs.
The system also takes account of information
on speed limits from the navigation system
mapping.
It is necessary to update your
navigation mapping regularly in order to
receive accurate information on speed
limits from the system.
6
Driving
Page 184 of 450
182
B618_en_Chap06_conduite_ed01-2016
Fatigue detection system
As soon as the speed of the vehicle
drops below 40 mph (65 km/h), the
system goes into standby.
The driving time is counted again once
the speed is above 40 mph (65 km/h).
It is recommended that you take a break as soon as you feel tired or at least every two hours.
The system cannot in any
circumstances replace the need for
vigilance on the part of the driver.
Do not take the wheel if you are tired.
Driving time warning
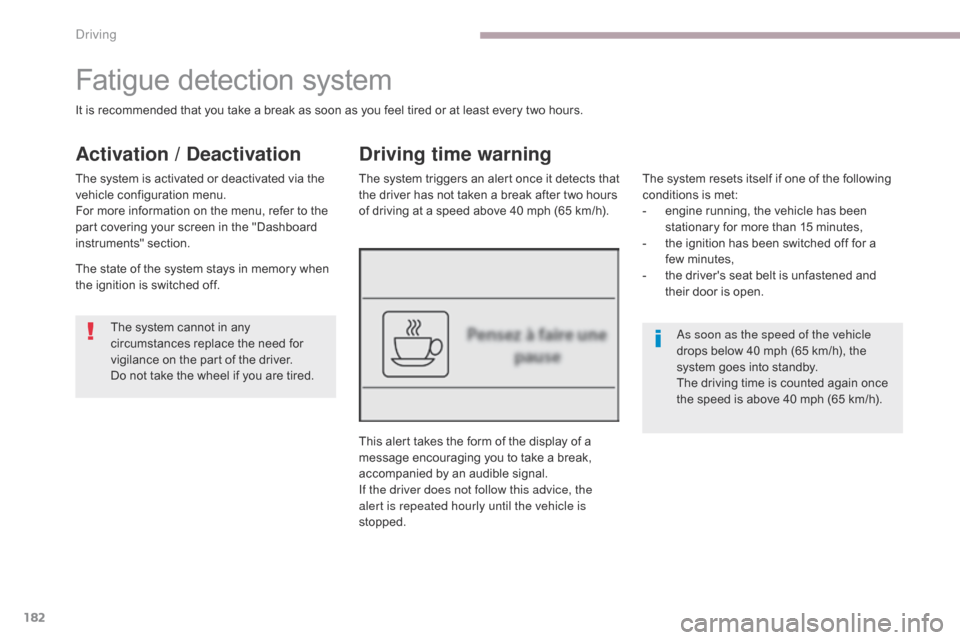
The system triggers an alert once it detects that
the driver has not taken a break after two hours
of driving at a speed above 40 mph (65 km/h).
This alert takes the form of the display of a
message encouraging you to take a break,
accompanied by an audible signal.
If the driver does not follow this advice, the
alert is repeated hourly until the vehicle is
stopped. The system resets itself if one of the following
conditions is met:
-
e
ngine running, the vehicle has been
stationary for more than 15 minutes,
-
t
he ignition has been switched off for a
few
m
inutes,
-
t
he driver's seat belt is unfastened and
their door is open.
Activation / Deactivation
The system is activated or deactivated via the
vehicle configuration menu.
For more information on the menu, refer to the
part covering your screen in the "Dashboard
instruments" section.
The state of the system stays in memory when
the ignition is switched off.
Driving
Page 196 of 450
194
B618_en_Chap06_conduite_ed01-2016
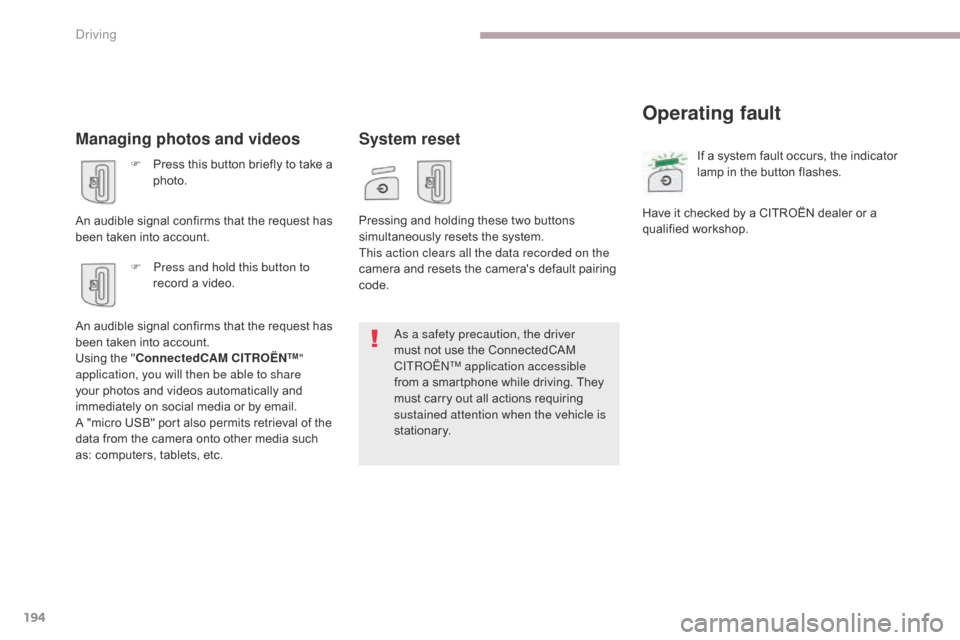
Managing photos and videos
F Press this button briefly to take a photo.
An audible signal confirms that the request has
been taken into account. F
P
ress and hold this button to
record a video.
An audible signal confirms that the request has
been taken into account.
Using the " ConnectedCAM C
I
TROËN
™"
a
pplication, you will then be able to share
your photos and videos automatically and
immediately on social media or by email.
A "micro USB" port also permits retrieval of the
data from the camera onto other media such
as: computers, tablets, etc.
System reset
Operating fault
Pressing and holding these two buttons
simultaneously resets the system.
This action clears all the data recorded on the
camera and resets the camera's default pairing
code. If a system fault occurs, the indicator
lamp in the button flashes.
Have it checked by a CITROËN dealer or a
qualified workshop.
As a safety precaution, the driver
must not use the ConnectedCAM
C
ITROËN
™
application accessible
from a smartphone while driving. They
must carry out all actions requiring
sustained attention when the vehicle is
stationary.
Driving
Page 253 of 450
251
B618_en_Chap08_En-cas-de-panne_ed01-2016
Do not force the lever as locking will
not be possible if the clamp is not
positioned correctly; start the procedure
again.
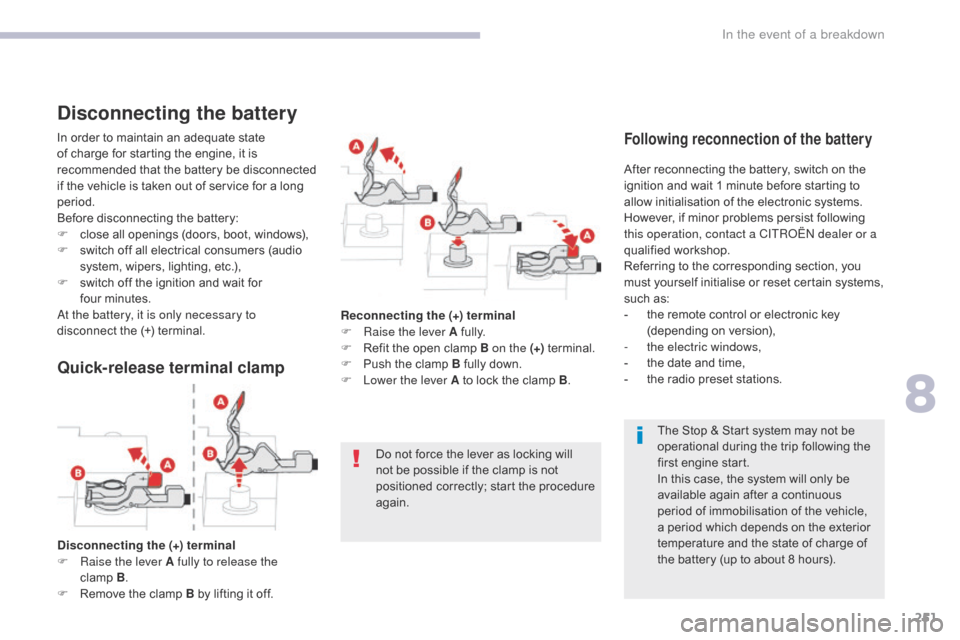
Quick-release terminal clamp
Disconnecting the (+) terminal
F Ra ise the lever A fully to release the
clamp
B .
F
R
emove the clamp B by lifting it off. The Stop & Start system may not be
operational during the trip following the
first engine start.
In this case, the system will only be
available again after a continuous
period of immobilisation of the vehicle,
a period which depends on the exterior
temperature and the state of charge of
the battery (up to about 8 hours).
In order to maintain an adequate state
of charge for starting the engine, it is
recommended that the battery be disconnected
if the vehicle is taken out of service for a long
period.
Before disconnecting the battery:
F
c
lose all openings (doors, boot, windows),
F
s
witch off all electrical consumers (audio
system, wipers, lighting, etc.),
F
s
witch off the ignition and wait for
four
m
inutes.
At the battery, it is only necessary to
disconnect the (+) terminal.
Disconnecting the battery
After reconnecting the battery, switch on the
ignition and wait 1 minute before starting to
allow initialisation of the electronic systems.
However, if minor problems persist following
this operation, contact a CITROËN dealer or a
qualified workshop.
Referring to the corresponding section, you
must yourself initialise or reset certain systems,
such as:
-
t
he remote control or electronic key
(depending on version),
-
t
he electric windows,
-
t
he date and time,
-
t
he radio preset stations.
Following reconnection of the battery
Reconnecting the (+) terminal
F Ra ise the lever A fully.
F
R
efit the open clamp B on the (+) terminal.
F
P
ush the clamp B fully down.
F
L
ower the lever A to lock the clamp B .
8
In the event of a breakdown