Back seat CITROEN C3 2021 Owners Manual
[x] Cancel search | Manufacturer: CITROEN, Model Year: 2021, Model line: C3, Model: CITROEN C3 2021Pages: 450, PDF Size: 10.11 MB
Page 4 of 450
.
.
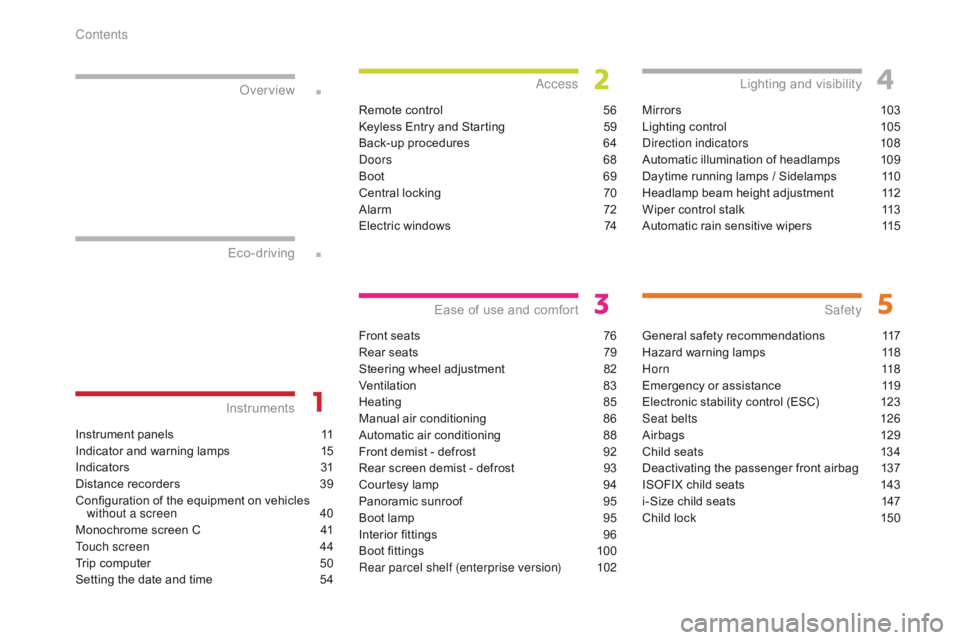
B618_en_Chap00a_sommaire_ed01-2016
Instrument panels 11
Indicator and warning lamps
1
5
Indic ators
31
D
istance recorders
3
9
Configuration of the equipment on vehicles without a screen
4
0
Monochrome screen C
4
1
Touch screen
4
4
Trip computer
5
0
Setting the date and time
5
4
InstrumentsOver view
Remote control 5
6
Keyless Entry and Starting
5
9
Back-up procedures
6
4
Doors
68
Boot
6
9
Central locking
7
0
Alarm
7
2
Electric windows
7
4
Access
Front seats 76
Rear seats
7
9
Steering wheel adjustment
8
2
Ventilation
8
3
Heating
8
5
Manual air conditioning
8
6
Automatic air conditioning
8
8
Front demist - defrost
9
2
Rear screen demist - defrost
9
3
Courtesy lamp
9
4
Panoramic sunroof
9
5
Boot lamp
9
5
Interior fittings
9
6
Boot fittings
1
00
Rear parcel shelf (enterprise version)
1
02
Ease of use and comfort
Mirrors 10 3
Lighting control
1
05
Direction indicators
1
08
Automatic illumination of headlamps
1
09
Daytime running lamps / Sidelamps
1
10
Headlamp beam height adjustment
1
12
Wiper control stalk
1
13
Automatic rain sensitive wipers
1
15
Lighting and visibility
General safety recommendations 1 17
Hazard warning lamps
1
18
H o r n
11
8
Emergency or assistance
1
19
Electronic stability control (ESC)
1
23
Seat belts
1
26
Airbags
1
29
Child seats
1
34
Deactivating the passenger front airbag
1
37
ISOFIX child seats
1
43
i-Size child seats
1
47
Child lock
1
50
Safety
Eco-driving
Contents
Page 11 of 450

9
B618_en_Chap00c_eco-conduite_ed01-2016
Optimise the use of your gearbox
With a manual gearbox, move off gently and change up without waiting.
During acceleration change up early.
If your vehicle has cruise control, make use of the system at speeds
above 25 mph (40 km/h) when the traffic is flowing well.
Control the use of your electrical
equipment
Before moving off, if the passenger compartment is too warm, ventilate it
by opening the windows and air vents before using the air conditioning.
Above 30 mph (50 km/h), close the windows and leave the air vents
open.
Remember to make use of equipment that can help keep the
temperature in the passenger compartment down (sunroof and window
blinds...).
Switch off the air conditioning, unless it has automatic regulation, as
soon as the desired temperature is attained.
Switch off the demisting and defrosting controls, if not automatic.
Switch off the heated seat as soon as possible.
Switch off the headlamps and front foglamps when the ambient light
level does not require their use.
Avoid running the engine before moving off, particularly in winter; your
vehicle will warm up much faster while driving.
Eco-driving
Eco-driving is a range of everyday practices that allow the motorist to optimise their fuel consumption and CO2 emissions.
With an automatic gearbox, give preference to automatic mode and
avoid pressing the accelerator pedal heavily or suddenly.
The gear efficiency indicator invites you to engage the most suitable
gear: as soon as the indication is displayed in the instrument panel,
follow it straight away.
For vehicles fitted with an automatic gearbox, this indicator appears
only in manual mode.
Drive smoothly
Maintain a safe distance between vehicles, use engine braking rather
than the brake pedal, and press the accelerator progressively. These
practices contribute towards a reduction in fuel consumption and
CO
2 emissions and also help reduce the background traffic noise. A s a passenger, if you avoid connecting your multimedia devices
(film, music, video game...), you will contribute towards limiting the
consumption of electrical energy, and so of fuel.
Disconnect your portable devices before leaving the vehicle.
.
Eco-driving
Page 12 of 450

10
B618_en_Chap00c_eco-conduite_ed01-2016
Limit the causes of excess consumption
Spread loads throughout the vehicle; place the heaviest items in the
bottom of the boot, as close as possible to the rear seats.
Limit the loads carried in the vehicle and reduce wind resistance (roof
bars, roof rack, bicycle carrier, trailer...). Use a roof box in preference.
Remove roof bars and roof racks after use.
At the end of winter, remove snow tyres and refit your summer tyres.
Observe the recommendations on
maintenance
Check the tyre pressures regularly, when cold, referring to the label in
the door aperture, driver's side.
Carry out this check in particular:
-
b
efore a long journey,
-
a
t each change of season,
-
a
fter a long period out of use.
Don't forget the spare wheel and the tyres on any trailer or caravan.
Have your vehicle serviced regularly (engine oil, oil filter, air filter,
passenger compartment filter...) and observe the schedule of
operations recommended in the manufacturer's service schedule.
With a BlueHDi Diesel engine, if the SCR system is faulty your vehicle
becomes polluting; go to a CITROËN dealer or a qualified workshop
without delay to have the emissions of nitrogen oxides brought back to
the legal level.
When refuelling, do not continue after the third cut-off of the nozzle to
avoid any over flow.
At the wheel of your new vehicle, it is only after the first 1 800 miles
(3
000 kilometres) that you will see the fuel consumption settle down to
a consistent average.
Eco-driving
Page 71 of 450

69
B618_en_Chap02_ouvertures_ed01-2016
Boot
F With the vehicle unlocked or with the Keyless Entry and Starting electronic key
in the recognition zone, press the tailgate
central control.
F
Ra
ise the tailgate.
Closing
F Lower the tailgate using one of the interior grab handles.
If the tailgate is not closed correctly:
-
w
hen the engine is running ,
this warning lamp comes on,
accompanied by a message for a
few seconds,
Back-up release
To manually unlock the boot in the event of a
battery or central locking failure.
Unlocking
F Fold back the rear seats to gain access to the lock from inside the boot.
F
I
nsert a small screwdriver into hole A of the
lock to unlock the tailgate.
F
M
ove the latch to the left.
Locking after closing
If the fault persists after closing again, the boot
will remain locked.
Opening
- when the vehicle is moving (speed above 6 mph (10 km/h)), this warning lamp comes
on, accompanied by an audible signal and
a message for a few seconds.
2
Access
Page 78 of 450

76
B618_en_Chap03_Ergonomie-et-confort_ed01-2016
Front seats
F Raise the control A and slide the seat for wards or backwards. F
P ull the control C upwards to raise the seat
or push it downwards to lower it, as many
times as required, to obtain the desired
position.
F
T urn the knob B to adjust the backrest.
Forwards-backwards
Height
Seat backrest angle
Adjustments
(driver only)
As a safety measure, adjustments to the driver's seat must only be done when stationary.
Before moving the seat backwards, ensure that there is nothing that might prevent the full travel of the seat.
There is a risk of trapping or pinching passengers if present in the rear seats or jamming the seat if large objects are placed on the floor behind
the seat.
Ease of use and comfort
Page 79 of 450

77
B618_en_Chap03_Ergonomie-et-confort_ed01-2016
Adjusting the height
Upward:
F p ull the head restraint up to the desired
position; the head restraint can be felt to
click into position.
Downward:
F
p
ress the lug A and push the head restraint
down to the desired position.
The adjustment is correct when the
upper edge of the head restraint is level
with the top of your head.
Front head restraints
Never drive with the head restraints
removed; they should be in place and
correctly adjusted for the occupant of
the seat.
Removing a head restraint
F Pull the head restraint up as far as it will go.
F
P
ress the lug A to free the head restraint
and then pull it fully out.
F
S
tow the head restraint securely.
Refitting a head restraint
F Introduce the head restraint rods into the guides in the seat backrest.
F
P
ush the head restraint down as far as it
will go.
F
P
ress the lug A to free the head restraint
and push it down.
F
A
djust the height of the head restraint.
3
Ease of use and comfort
Page 81 of 450

79
B618_en_Chap03_Ergonomie-et-confort_ed01-2016
Rear seats
Bench seat with fixed cushions and split folding backrests (2/3 -1/3) to adapt the boot load space.
They have two positions:
- a high position , for when the seat is in
use:
F
p
ull the head restraint fully up.
-
a low position , for stowing, when the seat
is not in use:
F
p
ress the lug A to release the head
restraint and push it fully down. Never drive with passengers seated at
the rear when the head restraints are
removed; they must be in place and in
the high position.
The head restraint for the centre seat
and those for the outer seats are not
interchangeable.
To remove a head restraint :
F
r
elease the backrest using the control 1,
F
t
ilt the backrest slightly for wards,
F
p
ull the head restraint as far up as it will go,
F
p
ress the lug A to release the head
restraint and remove it completely,
F
s
tow the head restraint.
Rear head restraints
The rear head restraints can be removed.
To refit a head restraint:
F
i
ntroduce the rods of the head restraint into
the guides of the corresponding seat backrest,
F
push the head restraint down as far as it will go,F press the lug A to free the head restraint and push it fully down.
3
Ease of use and comfort
Page 82 of 450

80
B618_en_Chap03_Ergonomie-et-confort_ed01-2016
Folding the backrests
First:
F l ower the head restraints,
F
i
f necessary, move the front seats for ward,
F
c
heck that nothing or no person might
inter fere with the folding of the backrests
(clothing, luggage, etc.),
F
c
heck that the outer seat belts are lying
correctly on the backrests.
When the backrest is released, the red
indicator is visible in the release grip.
F
P
ress the backrest release grip 1 .
F
G
uide the backrest 2 down to the horizontal
position.
Folding or unfolding the seat backrests
must only be done with the vehicle
stationary.
Ease of use and comfort
Page 83 of 450

81
B618_en_Chap03_Ergonomie-et-confort_ed01-2016
Caution, a backrest that has not latched
correctly compromises the safety of
passengers in the event of sudden
braking or an accident.
The contents of the boot may be thrown
for ward - Risk of serious injury!
First check that the outer seat belts are
lying vertically alongside the backrest
latching rings.
Returning the backrests to their original position
F Put the backrest 2 in the upright position
and push on it to latch it home.
F
C
heck that the red indicator is no longer
visible in the release grip 1 .
F
E
nsure that the outer seat belts are not
trapped during the manoeuvre.
3
Ease of use and comfort
Page 101 of 450

99
B618_en_Chap03_Ergonomie-et-confort_ed01-2016
Coat hooks
They are located above each rear door.
Mats
Fitting
When fitting the mat for the first time, on the
driver's side use only the fixings provided.
The other mats are simply placed on the
carpet.
Removal
To remove the mat on the driver's side:
F m ove the seat as far back as possible,
F
u
nclip the fixings,
F
r
emove the mat. To avoid any risk of jamming of the
pedals:
-
o
nly use mats which are suited to
the fixings already present in the
vehicle; these fixings must be used,
-
n
ever fit one mat on top of another.
The use of mats not approved by
CITROËN may inter fere with access to
the pedals and hinder the operation of
the cruise control / speed limiter.
The mats approved by CITROËN have
two fixings located below the seat.
Refitting
To refit the mat on the driver's side:
F p osition the mat correctly,
F
r
efit the fixings by pressing,
F
c
heck that the mat is secured correctly.
3
Ease of use and comfort