bonnet Citroen C4 CACTUS RHD 2014.5 1.G Owner's Manual
[x] Cancel search | Manufacturer: CITROEN, Model Year: 2014.5, Model line: C4 CACTUS RHD, Model: Citroen C4 CACTUS RHD 2014.5 1.GPages: 326, PDF Size: 8.49 MB
Page 5 of 326
.
Direction indicators 124
Hazard warning lamps
1
24
H or n
12
5
Emergency
or assistance call
1
25
Under-inflation
d
etection
1
26
ESC
system
1
29
Seat
belts
1
32
Airbags
1
35
Safety
Child seats 1 41
Deactivating the passenger's front airbag
1
44
ISOFIX
child seats
1
50
i-Size
child seats
1
53
Child
lock
1
55
Child safety
Checks
Fuel tank 156
Misfuel prevention (Diesel)
1
58
Running
out of fuel (Diesel)
1
60
AdBlue
® additive and SCR system
(
BlueHDi Diesel) 1 61
Temporary
puncture repair kit
1
69
Changing
a wheel
1
76
Snow
chains
1
82
Changing
a bulb
1
83
Changing
a fuse
1
91
12
V
battery
1
98
Energy
economy mode
2
02
Changing
a wiper blade
2
03
To w i n g
2
0 4
Towing
a trailer
2
06
Roof
bars
2
08
Very
cold climate screens
2
10
aI
R
b
UM
P
® protectors 2 11
Accessories
2
12
Advice
on
care and maintenance
2
14
Practical information Technical da ta
Emergency or assistance 231
7-inch touch screen tablet
2
33
Audio and telematics
Alphabetical
in
dex
Bonnet 2 16
Petrol engines
2
17
Diesel
engines
2
18
Checking
levels
2
19
Checks
2
23Petrol
engines
2
25
Petrol weights
2
26
Diesel engines
2
27
Diesel weights
2
28
Dimensions
2
29
Identification
ma
rkings
2
30
Contents
Page 8 of 326
6
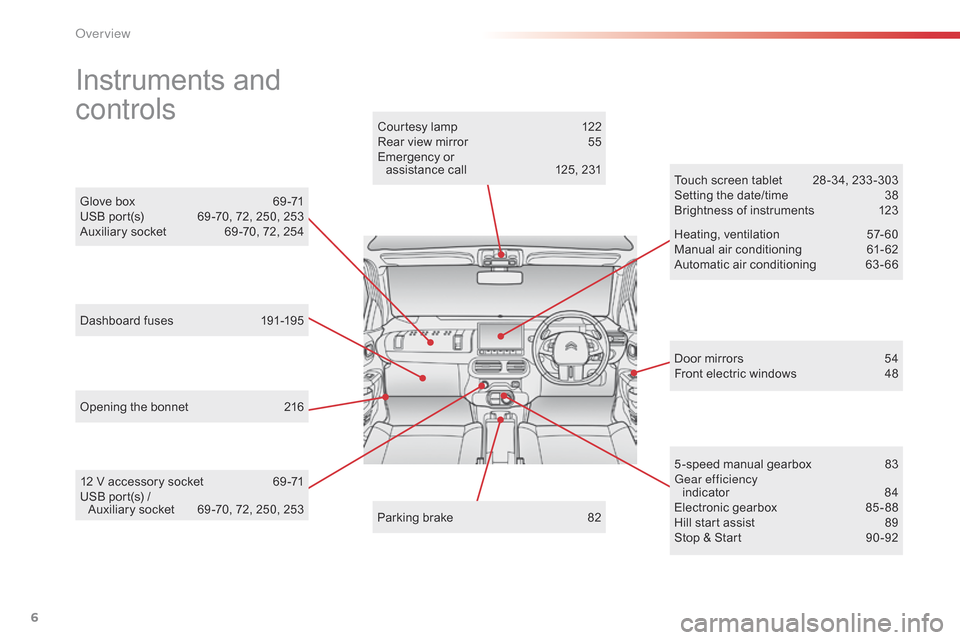
Instruments and
c
ontrols
Door mirrors 5 4
Front electric windows 4 8
Opening
the
bonnet
2
16 Touch
screen tablet
2
8 -34, 233 -303
Setting the date/time
3
8
Brightness of instruments
1
23
Heating,
v
entilation
5
7-60
Manual
a
ir
c
onditioning
6
1-62
Automatic air conditioning
6
3 - 66
5 -speed manual gearbox
8
3
Gear efficiency indicator
8
4
Electronic
gearbox
8
5 - 88
Hill
start assist
8
9
Stop
& Start
9
0 -92
Glove
box
6
9 -71
USB
port(s)
6
9 -70,
72,
250,
253
Auxiliary
socket
6
9 -70,
72,
254
Courtesy
lamp
1
22
Rear
view
mirror
5
5
Emergency
or
assistance
call
1
25,
231
Parking
brake
8
2
12
V
accessory
socket
6
9 -71
USB
port(s)
/
A
uxiliary
socket
6
9 -70,
72,
250,
253
Dashboard
fuses
1
91-195
over view
Page 10 of 326
8
Running out of fuel, Diesel 160
AdBlue® additive and SCR system (
BlueHDi Diesel) 1 61-168
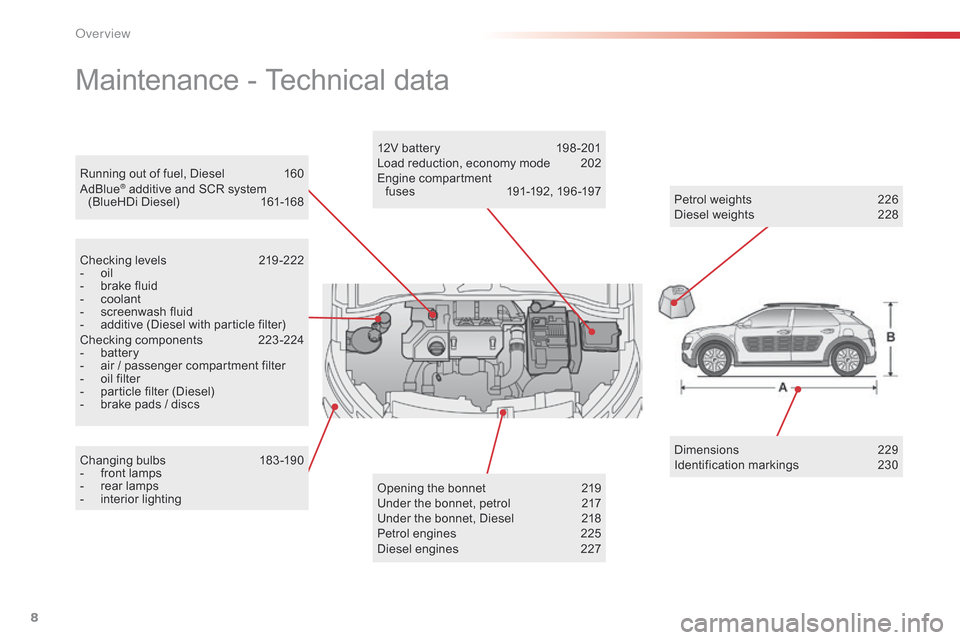
Maintenance - Technical data
Checking levels 2 19 -222
- o il
-
b
rake fluid
-
c
oolant
-
s
creenwash fluid
-
a
dditive (Diesel with particle filter)
Checking
c
omponents
2
23-224
-
b
attery
-
a
ir / passenger compartment filter
-
o
il filter
-
p
article filter (Diesel)
-
b
rake pads / discs
Changing
bu
lbs
1
83-190
-
f
ront lamps
-
r
ear lamps
-
i
nterior
l
ighting Dimensions
2
29
Identification
ma
rkings
2
30
Petrol
weights
2
26
Diesel weights
2
28
Opening the bonnet
2
19
Under
the bonnet, petrol
2
17
Under
the bonnet, Diesel
2
18
Petrol
engines
2
25
Diesel
engines
2
27
12V
battery
1
98 -201
Load reduction, economy mode
2
02
Engine
c
ompartment
f
uses
19
1-192,
19
6 -197
over view
Page 29 of 326
27
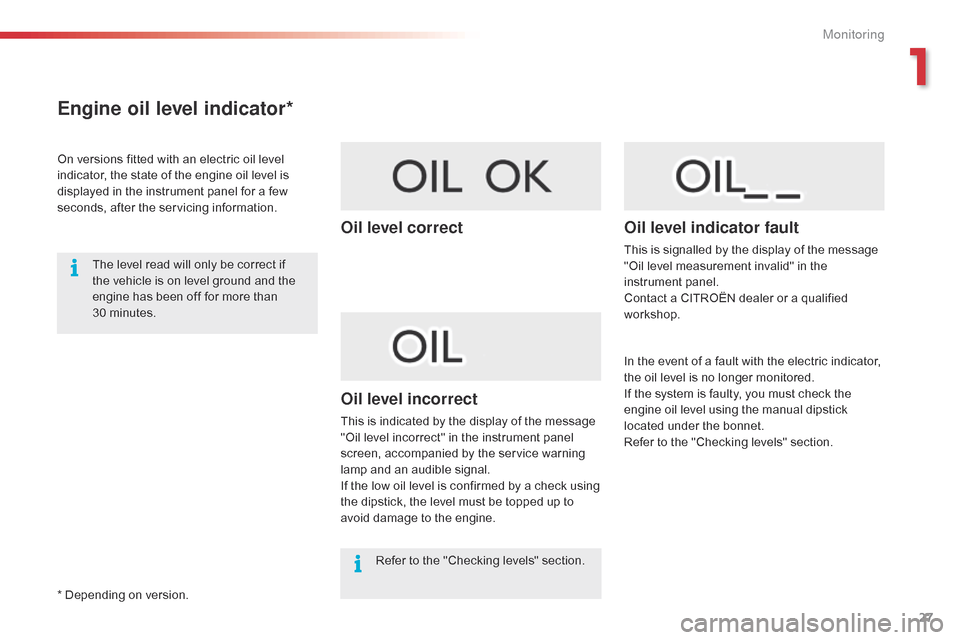
Engine oil level indicator*
On versions fitted with an electric oil level indicator, the state of the engine oil level is
d
isplayed in the instrument panel for a few
s
econds, after the servicing information.
The
level read will only be correct if
t
he vehicle is on level ground and the
e
ngine has been off for more than
3
0 minutes.
Oil level correct
Oil level incorrect
This is indicated by the display of the message "Oil level incorrect" in the instrument panel
s
creen, accompanied by the service warning
l
amp and an audible signal.
If
the low oil level is confirmed by a check using
t
he dipstick, the level must be topped up to
a
void damage to the engine.
Oil level indicator fault
This is signalled by the display of the message "Oil level measurement invalid" in the
in
strument
pan
el.
Contact
a CITROËN dealer or a qualified
w
orkshop.
Refer
to
the
"Checking
levels"
section.
*
Depending
on
version. In
the event of a fault with the electric indicator,
t
he oil level is no longer monitored.
If
the system is faulty, you must check the
e
ngine oil level using the manual dipstick
l
ocated under the bonnet.
Refer
to the "Checking levels" section.
1
Monitoring
Page 162 of 326
160
Running out of fuel (Diesel)
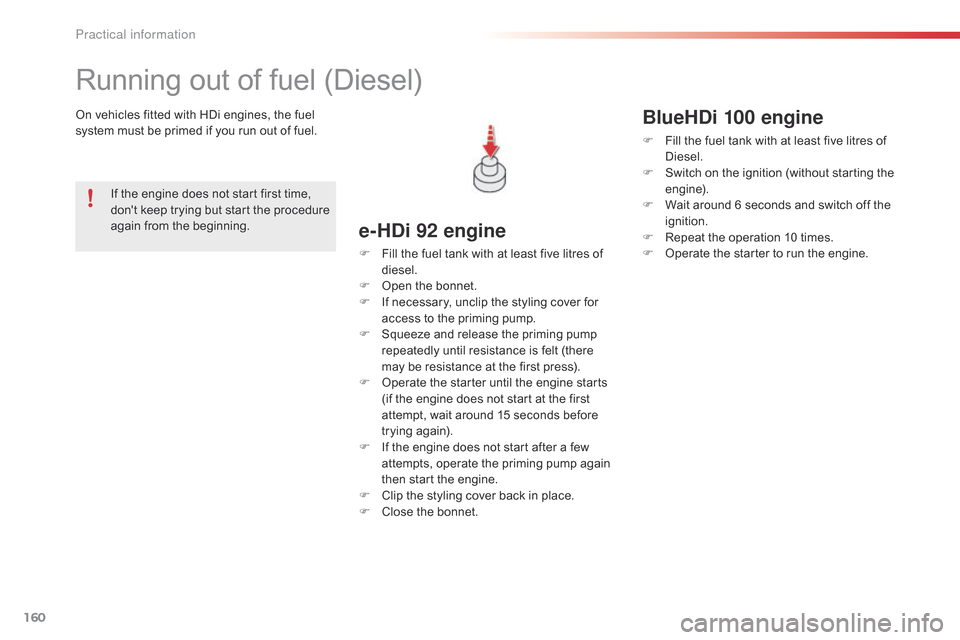
On vehicles fitted with HDi engines, the fuel system must be primed if you run out of fuel.
e-HDi 92 engine
F Fill the fuel tank with at least five litres of d
iesel.
F
O
pen the bonnet.
F
I
f necessary, unclip the styling cover for
a
ccess to the priming pump.
F
S
queeze and release the priming pump
r
epeatedly until resistance is felt (there
m
ay be resistance at the first press).
F
O
perate the starter until the engine starts
(
if the engine does not start at the first
a
ttempt, wait around 15 seconds before
t
rying
ag
ain).
F
I
f the engine does not start after a few
a
ttempts, operate the priming pump again
t
hen start the engine.
F
C
lip the styling cover back in place.
F
C
lose the bonnet.
If
the
engine
does
not
start
first
time,
d
on't
keep
trying
but
start
the
procedure
a
gain
from
the
beginning.
BlueHDi 100 engine
F Fill
the fuel tank with at least five litres of D
iesel.
F
S
witch on the ignition (without starting the
e
ngine).
F
W
ait around 6 seconds and switch off the
ig
nition.
F
R
epeat the operation 10 times.
F
O
perate the starter to run the engine.
Practical information
Page 200 of 326
198
12 V battery
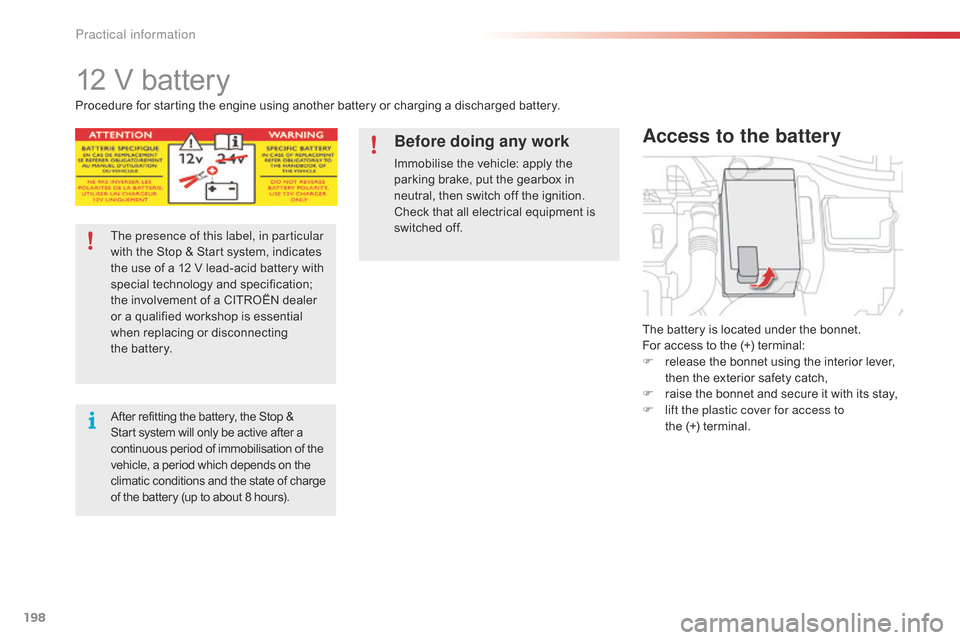
The battery is located under the bonnet.
F or access to the (+) terminal:
F
r
elease the bonnet using the interior lever,
t
hen the exterior safety catch,
F
r
aise the bonnet and secure it with its stay,
F
l
ift the plastic cover for access to
the
(+) terminal.
Access to the battery
Procedure for starting the engine using another battery or charging a discharged battery.
T he presence of this label, in particular
with
the Stop & Start system, indicates
t
he use of a 12 V lead-acid battery with
s
pecial
t
echnology
a
nd
s
pecification;
t
he involvement of a CITROËN dealer
o
r a qualified workshop is essential
w
hen replacing or disconnecting
t
he battery.
After
refitting the battery, the Stop &
S
tart system will only be active after a
c
ontinuous period of immobilisation of the
v
ehicle, a period which depends on the
c
limatic conditions and the state of charge
o
f the battery (up to about 8 hours).
Before doing any work
Immobilise the vehicle: apply the parking brake, put the gearbox in
n
eutral, then switch off the ignition.
Check
that all electrical equipment is
s
witched off.
Practical information
Page 218 of 326
216
bonnet
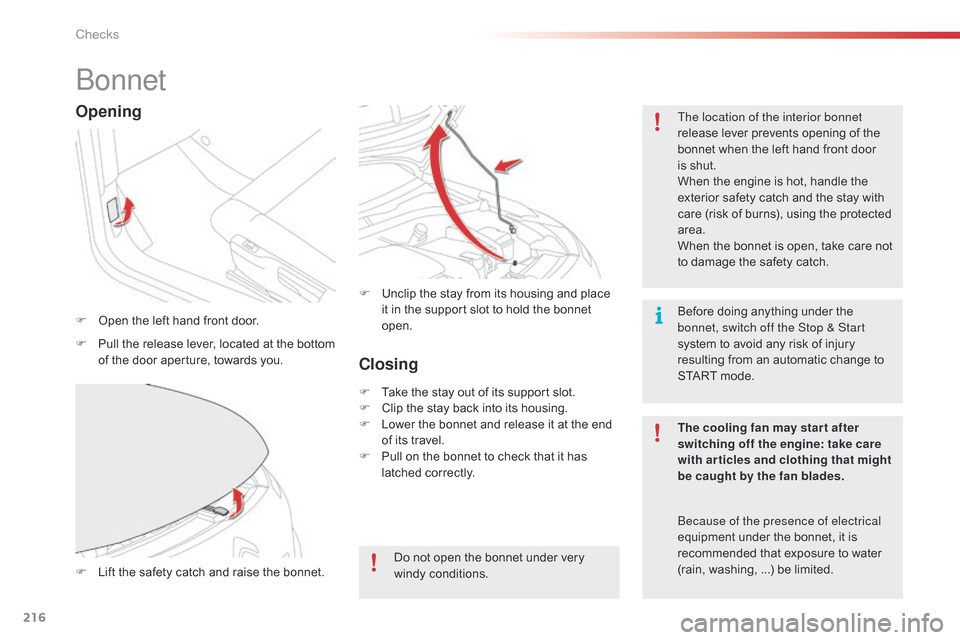
F Open the left hand front door. The location of the interior bonnet
release
lever prevents opening of the
b
onnet when the left hand front door
i
s shut.
When the engine is hot, handle the
e
xterior safety catch and the stay with
c
are (risk of burns), using the protected
a
rea.
When the bonnet is open, take care not
t
o damage the safety catch.
F
L
ift the safety catch and raise the bonnet.F
U
nclip the stay from its housing and place i
t in the support slot to hold the bonnet ope
n.
Opening
F Pull the release lever, located at the bottom o
f the door aperture, towards you.
The cooling fan may star t after
switching off the engine: take care
with articles and clothing that might
be caught by the fan blades.
Do
not open the bonnet under very
wi
ndy
c
onditions.
Closing
F Take the stay out of its support slot.
F C lip the stay back into its housing.
F
L
ower the bonnet and release it at the end
o
f its travel.
F
P
ull on the bonnet to check that it has
l
atched correctly.
be
cause of the presence of electrical
equipment
under the bonnet, it is
r
ecommended that exposure to water
(
rain, washing, ...) be limited.
Before
doing anything under the
b
onnet, switch off the Stop & Start
system to avoid any risk of injury
r
esulting from an automatic change to S
TART mode.
Checks
Page 221 of 326

219
Checking levels
Take care when working under the bonnet, as certain areas of the engine may be extremely hot (risk of burns) and the cooling fan could start at any time (even with the ignition off).
Engine oil level
The check is carried out either when the ignition is switched on using the
o
il level indicator in the instrument
p
anel for vehicles so equipped, or
u
sing the dipstick.Checking using the dipstick
Refer to the "Petrol engine" or "Diesel engine" section for the location of the dipstick in the
e
ngine compartment of your vehicle.
F
T
ake the dipstick by its coloured grip and
r
emove it completely.
F
W
ipe the end of the dipstick using a clean
n
on-fluffy cloth.
F
R
efit the dipstick and push fully down, then
p
ull it out again to make the visual check:
t
he correct level is between the marks A
and
B.
Check
all
of
these
levels
regularly,
in
line
with
the
manufacturer's service schedule. Top them up if necessary, unless other wise indicated.
If
a
level
drops
significantly,
have
the
corresponding system checked by a CITROËN dealer or a qualified workshop.
If you find that the level is above the A mark or
belo
w the B mark, do not star t the engine.
-
I
f the level is above the MAX
mark (risk
o
f damage to the engine), contact a
C
ITROËN dealer or a qualified workshop.
-
I
f the level is below the MIN
mark, you
m
ust top up the engine oil.
A = M
aX
B
= MI
nT
o
ensure
that
the
reading
is
correct,
y
our
vehicle
must
be
parked
on
a
level
s
ur face
with
the
engine
having
been
off
f
or
more
than
30
minutes.
It
is
normal
to
top
up
the
oil
level
between
t
wo
services
(or
oil
changes).
CITROËN
r
ecommends
that
you
check
the
level,
and
top
u
p
if
necessary,
every
3
000
miles
(5
000
kms).
10
Checks
Page 232 of 326

230
Identification markingsVarious visible markings for the identification of your vehicle.
A.
V
ehicle Identification Number (VIN)
under the bonnet.
T
his number is engraved on the chassis
n
ear the right hand front wheel arch. The
tyre pressures must be checked
w
hen the tyres are cold, at least once
a
month.
If the tyre pressures are too low, this
increases
fuel consumption.
C.
M
anufacturer's label.
T
his self-destroying label on the middle
d
oor pillar, right or left hand side, contains
th
e
f
ollowing
i
nformation:
-
t
he manufacturer's name,
-
t
he European whole vehicle type
a
pproval number,
-
t
he vehicle identification number (VIN),
-
t
he maximum authorised weight (gross
ve
hicle
w
eight),
-
t
he maximum authorised weight with
t
railer (gross train weight),
-
t
he maximum front axle weight,
-
t
he maximum rear axle weight.D.
T
yre/paint label.
T
his label on the middle door pillar, driver's
s
ide, contains the following information:
-
t
he tyre inflation pressures, laden and
u
nladen,
-
t
he tyre sizes (including the tyre load
i
ndex and speed rating),
-
t
he inflation pressure for the spare
w
heel,
-
t
he paint colour code.
B.
V
ehicle Identification Number (VIN) on
the windscreen lower cross member.
T
his number is indicated on a self-
adhesive
label which is visible through
t
he windscreen.
Technical data
Page 309 of 326
307
C4-cactus_ gb_Chap13_index-alpha_ed02-2014
M
N
L
Labels, identification .....................................23 0
Lamps, front .......................................... 1 83, 214
Lamps,
re
ar
...............................
............ 188, 214
Lamps,
warning and indicator
..................13
-23
Leather
(
care)
...............................
.................214
LED
daytime running lamps
.... 1
09, 113, 183, 184
Level,
AdBlue
® additive ................................. 16 1
Level,
brake
fluid ........................................... 2
21
Levels
and
checks
..............................
...217-2 24
Light-emitting
diodes - LEDs
................ 1
13, 190
Lighting
bulbs
(replacement)
...................................... 1
8 3 -19 0
Lighting
control stalk
..................... 1
08, 109, 114
Lighting
dimmer
..............................
..............123
Lighting,
guide-me home
.............................. 11
4
Lighting,
i
nterior
............................................ 12
2
Loading
..............................
............................... 9
Load
reduction mode
.................................... 2
02
Locating
your
vehicle
...................................... 40
L
ocking
from
the inside
................................... 44
L
ocking
the
doors
.............................. 4
0, 44, 46
Low fuel level
..............................
............ 21, 156
Main
beam
..............................
......108, 183, 185
Maintenance
(
advice)
........................ 9
, 211, 214
Map
reading
lamps
....................................... 12
2
Markings,
id
entification
................................. 23
0
Mat
.......
............................................... 69, 70, 74
Menus
(audio)
............. 2
38, 240, 242, 256, 258,
260, 276, 288, 290
Menus
(Touch
screen tablet)
........... 2
8, 29, 234
Mirror, rear view
.............................................. 55
M
irrors,
door.................................................... 54Misfuel prevention
...............................
..........
15 8
Mountings for ISOFIX seats
.........................
15
0
O
P
Navigation ...............................
......................255 N
umber plate lamps ...................................... 18
9
Oil
change
...............................
......................219
Oil
consumption
............................................ 2
19
oil
filter
...............
........................................... 223
oi
l level .................................................... 27,
219
Opening
the bonnet
...................................... 2
16
Opening
the boot
..............................
..............47
Opening
the doors
...............................
...........45
Operation
indicator lamps
........................ 1
3, 16
Paint
colour code
.......................................... 23
0
Panoramic
glass sunroof
..............................12
1
Parcel shelf, rear
............................................. 76
P
ark Assist
...............................
.....................103
Parking
brake
..........................................8
2, 224
Parking
lam
ps
............................................... 11
4
Parking
sensors, front
...................................10
1
Parking
sensors, rear.................................... 10 0
Particle filter
......................................... 2
22,
2
23
Passenger
c
ompartment
f
ilter
......................2
23
R
Radio ............................................................. 244
RdS ................ ............................................... 247
Rear
door windows
................................. 4
8, 214
Rear
fo
glamp......................................... 110,
188
Rear
s
creen
(
demisting)
.................................. 68
R
echarging the battery
.................................2
01
Reduction
of electrical load
..........................2
02
Regeneration
of the particle filter
.................2
23
Reinitialising
the remote control
.....................42
R
emote control
.......................................... 3
9-43
Removable
screen
(snow
s
hield)
...............................
................210
Removing
a wheel
..............................
..........178
Removing
the mat
...............................
............74
Repair
kit, puncture
....................................... 16
9
Replacing
bu
lbs
..............................
......18 3 -19 0
Replacing
f
uses
..............................
.......191-197
Replacing
the air filter
...................................2
23
Replacing
the oil filter
...................................2
23
Replacing
t
he
p
assenger
c
ompartment filter
...................................... 2
23
Replacing
wiper blades.........................120, 203
Resetting
the service
indicator
...............................
.........................26
Resetting
the trip recorder
..............................37
R
eversing
c
amera
...............................
..........102
Plip
..............................
.............................. 39 - 44
P
ort, US
b
........................... 6
9, 70, 72, 250, 254
Preheater, d
i
esel
..............................
..............
14
Priming the fuel system
................................
16
0
Protecting children
................. 1
34, 136, 141-155
Protectors
...................................................... 2
11
Puncture
................
........................................
169
.
alphabetical index