stop start Citroen C4 DAG 2014.5 2.G Owner's Guide
[x] Cancel search | Manufacturer: CITROEN, Model Year: 2014.5, Model line: C4 DAG, Model: Citroen C4 DAG 2014.5 2.GPages: 340, PDF Size: 12.89 MB
Page 158 of 340
99
156
C4-2_en_Chap09_conduite_ed01-2014
Maintenance
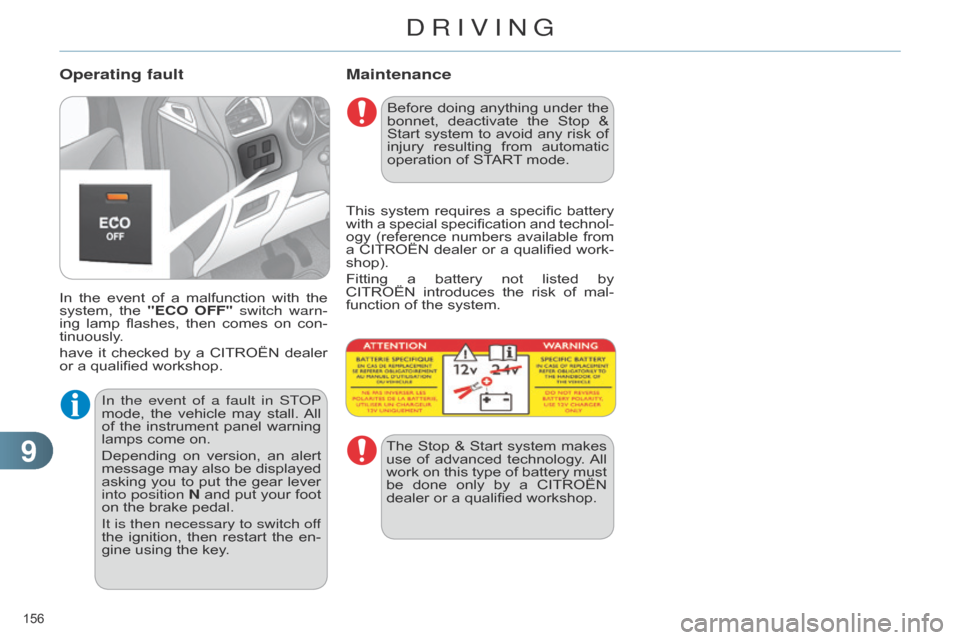
In the event of a malfunction with the system,
the "ECO OFF" switch warn-
ing
lamp
flashes,
then
comes
on
con
-
tinuously.
have
it
checked
by
a
CITROËN
dealer
or
a qualified workshop.
Operating fault
Before doing anything under the bonnet,
deactivate the Stop &
Start
system
to
avoid
any
risk
of
injury
resulting
from
automatic
operation
of START
mode.
This
system
requires
a
specific
battery
with
a
special
specification
and
technol
-
ogy
(reference
numbers
available
from
a
CITROËN
dealer
or
a
qualified
work
-
shop).
Fitting
a
battery
not
listed
by
CITROËN
introduces
the
risk
of
mal
-
function
of the system.
The
Stop
&
Start
system
makes
use
of
advanced
technology
.
All
work
on
this
type
of
battery
must
be
done
only
by
a
CITROËN
dealer
or a qualified workshop.
In the event of a fault in ST
o
P
mode,
the
vehicle
may
stall.
All
of
the
instrument
panel
warning
lamps
come
on.
Depending
on
version,
an
alert
message
may
also
be
displayed
asking
you
to
put
the
gear
lever
into position
N
and
put
your
foot
on
the
brake
pedal.
It is then necessary to switch off
the
ignition,
then
restart
the
en
-
gine
using
the
key.
DRIVING
Page 173 of 340
1010
171
C4-2_en_Chap10_verification_ed01-2014
FUEL TANK
Capacity of the tank: approximately
60 litres.
When the low fuel level in the
tank
is
reached,
this
warning
lamp
comes
on
in
the
instru
-
ment
panel,
accompanied
by
an
audible
warning
and
the
dis
-
play
of
an
alert
message.
When
it
first
comes
on,
around
6 li-
tres
of fuel remain in the tank.
Until
sufficient
fuel
has
been
added,
ev
-
ery
time
the
ignition
is
switched
on,
this
warning
lamp
appears,
accompanied
by
an
audible
signal
and
an
alert
mes
-
sage.
When
driving,
this
audible
signal
and
the
display
of
this
alert
message
are
repeated
with
increasing
frequency
,
as
the level drops towards 0.
You
must
refuel
as
soon
as
possible
to
avoid
running out.
If you run out of fuel (
d iesel), refer also
to
"Checks".
Low fuel level Refuelling
Additions of
fuel must be of at least
5 litres to be registered by the fuel
gauge.
Opening
the
filler
cap
may
result
in
an
inrush
of
air
.
This
vacuum
is
entirely
normal
and
results
from
the
sealing
of
the
fuel system.
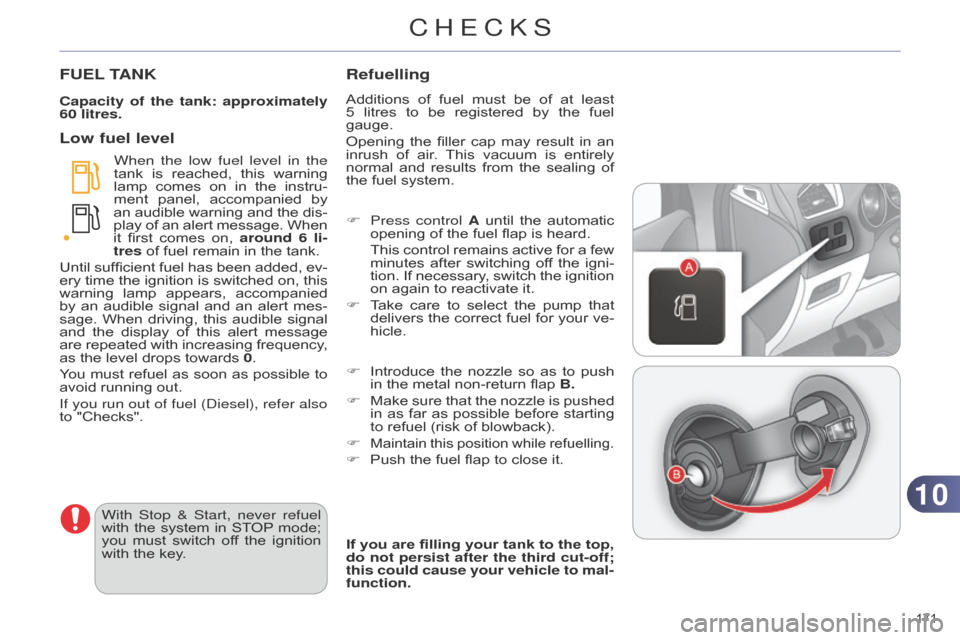
F
Press control
A
until
the
automatic
opening
of the fuel flap is heard.
This
control
remains
active
for
a
few
minutes
after
switching
of
f
the
igni
-
tion.
If
necessary
,
switch
the
ignition
on
again to reactivate it.
F
T
ake
care
to
select
the
pump
that
delivers
the
correct
fuel
for
your
ve
-
hicle.
If you are filling your tank to the top,
do not persist after the third cut-off;
this could cause your vehicle to mal-
function.
With Stop & Start, never refuel
with
the
system
in
ST
OP
mode;
you
must
switch
of
f
the
ignition
with
the
key. F
Introduce
the
nozzle
so
as
to
push
in
the metal non-return flap B.
F
Make
sure
that
the
nozzle
is
pushed
in
as
far
as
possible
before
starting
to
refuel (risk of blowback).
F
Maintain this position while refuelling.
F Push the fuel flap to close it.
CHECKS
Page 177 of 340
1010
175
C4-2_en_Chap10_verification_ed01-2014
BONNET
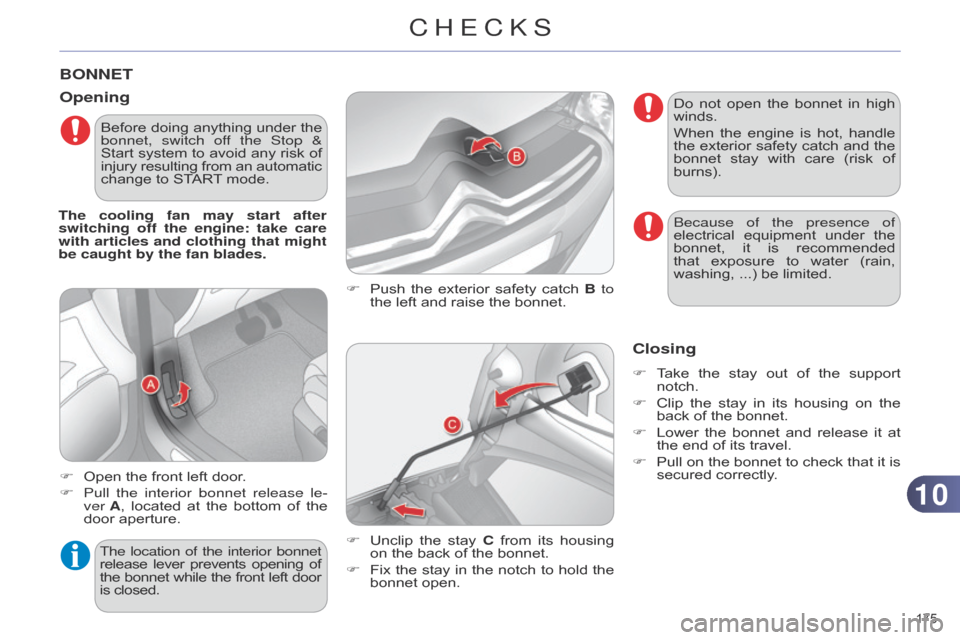
F Push the exterior safety catch B to
the left and raise the bonnet.
Opening
F Open the front left door.
F
Pull
the interior bonnet release le-
ver
A,
located
at
the
bottom
of
the
door
aperture. F
Unclip
the
stay
C
from
its
housing
on
the back of the bonnet.
F
Fix
the
stay
in
the
notch
to
hold
the
bonnet
open.
The location of the interior bonnet
release
lever
prevents
opening
of the
bonnet
while
the
front
left
door is
closed.
Closing
F Take the stay out of the support notch.
F
Clip
the
stay
in
its
housing
on
the
back
of the bonnet.
F
Lower
the
bonnet
and
release
it
at
the
end of its travel.
F
Pull
on
the
bonnet
to
check
that
it
is
secured
correctly.
Do
not
open
the
bonnet
in
high
winds.
When
the
engine
is
hot,
handle
the
exterior
safety
catch
and
the
bonnet
stay
with
care
(risk
of
burns).
Before
doing
anything
under
the
bonnet, switch of
f the Stop &
Start
system
to
avoid
any
risk
of
injury
resulting
from
an
automatic change
to
START
mode.
The cooling fan may start after
switching off the engine: take care
with articles and clothing that might
be caught by the fan blades.
b
ecause of the presence of
electrical
equipment
under
the
bonnet,
it
is
recommended
that
exposure
to
water
(rain,
washing,
...) be limited.
CHECKS
Page 183 of 340
1010
181
C4-2_en_Chap10_verification_ed01-2014
CHECKSParticle emission filter (Diesel)
The start of saturation of the particle
emissions filter is indicated by:
-
fixed
illumination
of
the
par
-
ticle
emissions
filter
warning lamp,
accompanied
by
an audible
signal
and
a
message that
there
is
a
risk
of
blockage of
the particle emissions filter.
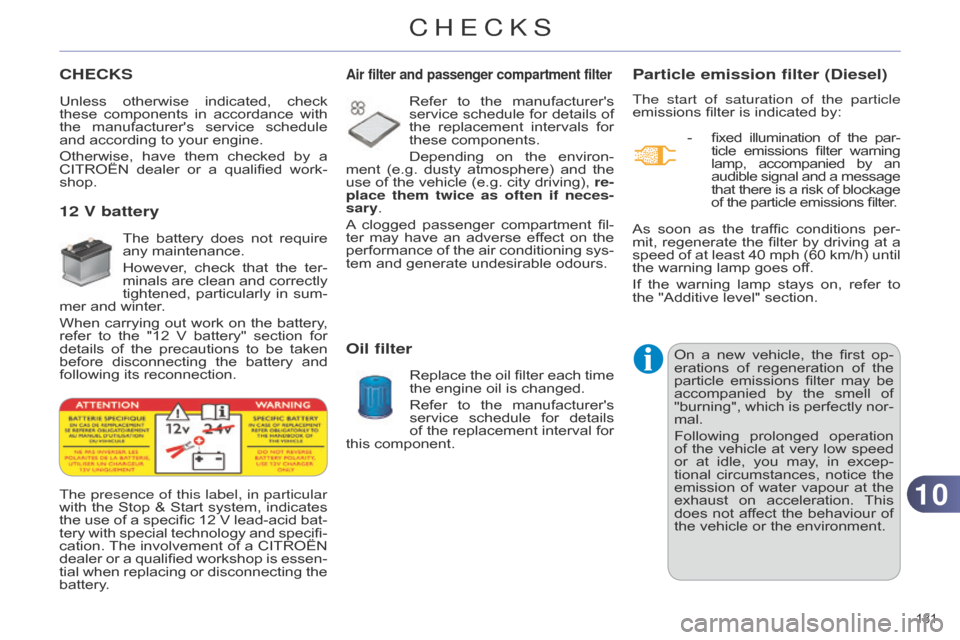
The presence of this label, in particular
with
the
Stop
&
Start
system,
indicates
the
use
of
a
specific
12
V
lead-acid
bat
-
tery
with
special
technology
and
specifi
-
cation.
The
involvement
of
a
CITROËN
dealer
or
a
qualified
workshop
is
essen
-
tial
when
replacing
or
disconnecting
the
battery
. On
a
new
vehicle,
the
first
op
-
erations
of
regeneration
of
the
particle
emissions
filter
may
be
accompanied
by
the
smell
of
"burning",
which
is
perfectly
nor
-
mal.
Following
prolonged
operation
of
the
vehicle
at
very
low
speed
or
at
idle,
you
may
,
in
excep
-
tional
circumstances,
notice
the
emission
of
water
vapour
at
the
exhaust
on
acceleration.
This
does
not
af
fect
the
behaviour
of
the
vehicle or the environment.
As
soon
as
the
traffic
conditions
per
-
mit,
regenerate
the
filter
by
driving
at
a
speed
of
at
least
40
mph
(60
km/h)
until
the
warning lamp goes off.
If
the
warning
lamp
stays
on,
refer
to
the
"Additive level" section.
Unless
otherwise
indicated,
check
these
components
in
accordance
with
the
manufacturer's
service
schedule
and
according
to
your
engine.
Otherwise,
have
them
checked
by
a
CITROËN
dealer
or
a
qualified
work
-
shop.
Air filter and passenger compartment filter
Refer to the manufacturer's service
schedule for details of
the
replacement
intervals
for
these
components.
Depending
on
the
environ
-
ment
(e.g.
dusty
atmosphere)
and
the
use
of
the
vehicle
(e.g.
city
driving),
re
-
place them twice as often if neces-
sary.
A
clogged
passenger
compartment
fil
-
ter
may
have
an
adverse
ef
fect
on
the
performance
of
the
air
conditioning
sys
-
tem
and
generate undesirable odours.
Oil filter
Replace the oil filter each time the
engine oil is changed.
Refer
to
the
manufacturer's
service
schedule
for
details
of
the
replacement
interval
for
this
component.
12 V battery
The battery does not require any
maintenance.
However,
check
that
the
ter
-
minals
are
clean
and
correctly
tightened,
particularly
in
sum
-
mer
and
winter.
When
carrying
out
work
on
the
battery
,
refer
to
the
"12
V
battery"
section
for
details
of
the
precautions
to
be
taken
before
disconnecting
the
battery
and
following
its reconnection.
CHECKS
Page 191 of 340
1010
189
C4-2_en_Chap10_verification_ed01-2014
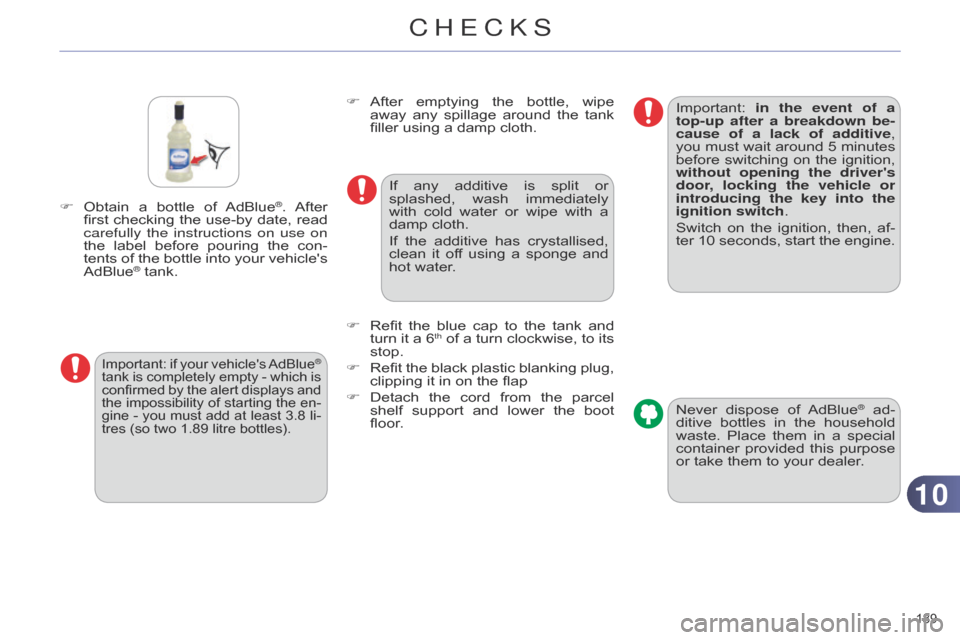
F Obtain a bottle of AdBlue®. After first
checking
the
use-by
date, read
carefully
the instructions on use on
the
label
before
pouring
the
con
-
tents
of
the
bottle
into
your
vehicle's
AdBlue® tank.
Important: if your vehicle's AdBlue®
tank
is
completely
empty
-
which
is
confirmed
by
the
alert
displays
and
the
impossibility
of
starting
the
en
-
gine
-
you
must
add
at
least
3.8
li-
tres
(so
two
1.89
litre
bottles).
F After emptying the bottle, wipe away
any spilla ge around the tank
filler
using a damp cloth.
If
any
additive
is
split
or
splashed,
wash
immediately
with
cold
water
or
wipe
with
a
damp
cloth.
If
the
additive
has
crystallised,
clean
it
of
f
using
a
sponge
and
hot
water.
F
Refit
the
blue
cap
to
the
tank
and
turn
it
a
6th of a turn clockwise, to its stop.
F
Refit
the
black
plastic
blanking
plug,
clipping
it
in on the flap
F
Detach
the
cord
from
the
parcel
shelf
support
and
lower
the
boot
floor
. Never
dispose
of
AdBlue® ad-
ditive
bottles
in
the
household
waste.
Place
them
in
a
special
container
provided
this
purpose
or
take
them
to
your
dealer.
Important:
in the event of a
top-up
after a breakdown be-
cause of a lack of additive,
you
must
wait
around
5
minutes
before
switching
on
the
ignition,
without
opening the driver's
door, locking the vehicle or
introducing the key into the
ignition switch.
Switch
on
the
ignition,
then,
af
-
ter
10
seconds,
start
the
engine.
CHECKS
Page 214 of 340
1111
212
C4-2_en_Chap11_info-pratique_ed01-2014
When your vehicle's battery is dis -
charged, the engine can be started
using
a
slave
battery
(external
or
on
another
vehicle) and jump lead cables.
Starting using another battery
12 V
BATTERY
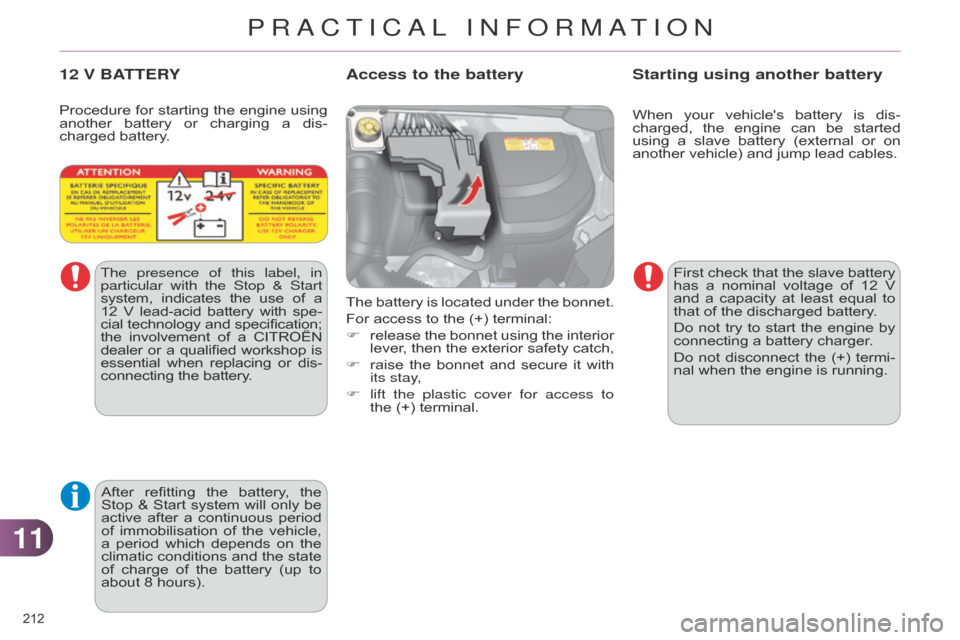
The battery is located under the bonnet.
For access to the (+) terminal:
F
release
the
bonnet
using
the
interior
lever
,
then
the
exterior
safety
catch,
F
raise
the
bonnet
and
secure
it
with
its stay
,
F
lift the plastic cover for access to
the (+)
terminal.
Access to the battery
The presence of this label, in
particular with the Stop & Start
system,
indicates
the
use
of
a 12
V
lead-acid
battery
with
spe
-
cial
technology
and
specification; the
involvement
of
a
CITROËN dealer
or
a
qualified
workshop
is essential
when
replacing
or
dis
-
connecting
the battery.
Procedure
for
starting
the
engine
using
another
battery
or
charging
a
dis
-
charged battery.
After
refitting
the
battery
,
the
Stop
&
Start
system
will
only
be
active
after
a
continuous
period
of
immobilisation
of
the
vehicle,
a
period
which
depends
on
the
climatic
conditions
and
the
state
of
charge
of
the
battery
(up
to
about
8 hours). First
check that the slave battery has
a nominal voltage of 12 V
and
a
capacity
at
least
equal
to
that
of the discharged battery.
Do
not
try
to
start
the
engine
by
connecting
a battery charger.
Do
not
disconnect
the
(+)
termi
-
nal
when the engine is running.
PRACTICAL INFORMATION
Page 216 of 340
1111
214
C4-2_en_Chap11_info-pratique_ed01-2014
Charging the battery using
a battery chargerIt is advisable to disconnect the battery if the vehicle is to be left
unused
for more than one month.
The
batteries
contain
harmful
substances
such as sulphuric
acid
and
lead.
They
must
be
disposed
of
in
accordance
with
regulations
and
must
not,
in
any
circumstances,
be
discarded
with
household
waste.
Take
used
remote
control
bat
-
teries
and
vehicle
batteries
to
a
special
collection
point.
F
Disconnect the battery from the vehicle.
F Follow the instructions for use pro -
vided by the manufacturer of the
charger
.
F
Connect
the
battery
starting
with
the
negative
terminal (-).
F
Check
that
the
terminals
and
con
-
nectors
are
clean.
If
they
are
covered with
sulphate
(whitish
or
greenish
deposit),
remove
them
and
clean
them. Protect
your
eyes
and
face
be
-
fore handling the battery.
a
ll operations on the battery
must be carried out in a well ventilated
area and away from naked
flames and sources of
sparks,
so
as
to
avoid
the
risk
of
explosion
or fire.
Do
not
try
to
charge
a
frozen
battery;
the
battery
must
first
be
thawed
out
to
avoid
the
risk
of
explosion.
If
the
battery
has
been
frozen,
before
charging
have
it
checked
by
a
CITROËN
dealer
or
a
qualified
workshop
who
will
check
that
the
inter
-
nal
components
have
not
been
damaged
and
the
casing
is
not
cracked,
which
could
cause
a
leak
of toxic and corrosive acid.
Do
not
reverse
the
polarity
and
use
only a 12 V charger.
Do
not
disconnect
the
terminals
while
the engine is running.
Do
not
charge
the
batteries
with
-
out
disconnecting
the
terminals
first.
W
ash your hands afterwards.
Reinitialisation after
reconnection
after any reconnection of the battery,
switch on the ignition and wait at least
one
minute
before
starting,
to
allow
time
for
the initialisation of the
electronic
systems.
By
referring
to
the
corresponding
sec
-
tions,
you
should
set
or
initialise
the
fol
-
lowing
systems yourself:
-
one-touch
electric windows,
-
time
and date,
-
audio
and
navigation
system
set
-
tings.
Check
that
no
alert
message
or
warning
lamp
comes
on
after
switching
on
the
ignition.
However
,
if
minor
problems
persist
after
carrying
out
these
operations,
contact
a
CITROËN
dealer
or
a
quali
-
fied
workshop. Some
functions
are
not
available
if
the
battery
is
not
sufficiently
charged.
d
o not push the vehicle to start
the
engine
if
you
have
an
elec
-
tronic
or automatic gearbox.
With Stop & Start, the battery
does
not
have
to
be
disconnect
-
ed
for charging.
PRACTICAL INFORMATION
Page 217 of 340
1111
215
C4-2_en_Chap11_info-pratique_ed01-2014
LOAD REDUCTION MODE
System which manages the use of cer -
tain functions according to the level of
charge
remaining in the battery.
When the vehicle is being driven, the load
reduction function temporarily de -
activates certain functions, such as the
air
conditioning,
the
heated
rear
screen...
The deactivated functions are reactivat -
ed automatically as soon as conditions
permit.
ENERGY ECONOMY MODE
System which manages the period of use of certain functions to conserve a
sufficient
level of charge in the battery.
After
the
engine
has
stopped,
you
can
still
use
functions
such
as
the
audio
equipment,
windscreen
wipers,
dipped
beam
headlamps,
courtesy
lamps,
etc.
for
a
maximum
combined
period
of
thirty minutes.
Switching to economy mode
Once this period has elapsed, a message appears
in the screen indicating that the vehicle
has
switched
to
economy
mode and
the
active
functions
are
put
on
standby
.
If the telephone is being used at the
same time on the navigation
system,
it
will
be
interrupted
after 10
minutes.
A
flat
battery
prevents
the
en
-
gine
from
starting
(refer
to
the
corresponding
paragraph).
Exiting economy mode
These functions are reactivated auto -
matically the next time the vehicle is
driven.
F
In
order
to
resume
the
use
of
these functions
immediately
,
start
the
engine and
let it run for a few minutes.
The
time
available
to
you
will
then
be double
the
period
for
which
the
engine is left running. However , this period will
always be between five and thirty minutes.
This period may be greatly re -
duced if the battery is not fully
charged.
CHANGING A WIPER BLADE
Before removing a front wiper
blade
F Within one minute after switching of
f the ignition, operate the wiper
stalk
to
position
the
wiper
blades
vertically
on the windscreen.
Removing
F Raise the corresponding wiper arm.
F
Unclip
the wiper blade and remove it.
Fitting
F Put the corresponding new wiper blade
in place and clip it.
F
Fold
down the wiper arm carefully.
After fitting a front wiper blade
F Switch on the ignition.
F
Operate
the
wiper
stalk
again
to
park
the wiper blades.
PRACTICAL INFORMATION
Page 226 of 340

224
C4-2_en_Chap12_caracteristique_ed01-2014
* The maximum power corresponds to the value type-approved on a test bed, under conditions defined in European legisla -
tion (Directive 1999/99/EC).
.../S:
model fitted with Stop & Start.
.../1: model
fitted with low rolling resistance tyres.
Petrol engine
e-THP 130THP 155
Gearbox Manual
(6-speed) Electronic
(6-speed)
Model code:
NC... HNYM/S
HNYM/1S 5FV8/P
Cubic capacity (cc) 1 199
1 598
Bore x stroke (mm)
70 x 90.5
77 x 85.8
Max power*: EU standard (kW)
96 11 5
Max power engine speed (rpm)
5 500
6 000
Max torque: EU standard (Nm)
230 240
Max torque engine speed (rpm)
1 750
1 400
Fuel UnleadedUnleaded
Catalytic converter Ye sYe s
Engine oil capacity (in litres) -4,25
12
TECHNICAL DATA
Page 229 of 340

227
C4-2_en_Chap12_caracteristique_ed01-2014
* The maximum power corresponds to the value type-approved on a test bed, under conditions defined in European legisla -
tion (Directive 1999/99/EC).
DIESEL ENGINES AND GEARBOXES
.../S: model fitted with Stop & Start.
.../1: model fitted with low rolling resistance tyres (for example: MICHELIN Energy Saver).
.../2:
model fitted with very low rolling resistance tyres.
Diesel engine
HDi 90 HDi 90 FAP BlueHDi 100 e-HDi 115
Gearbox Manual
(5-speed) Manual
(5-speed) Manual
(5-speed) Manual
(6-speed) Electronic
(6-speed)
Model code:
NC... 9H j C
9H j C/1
9HP0 BHY6
BHY6/1
BHY6/2S 9HD8/S
9HD8/1S
9HD8/2S 9HD8/1PS
9HD8/2PS
Cubic capacity (cc) 1 560 1 560 1 560
1 560
Bore x stroke (mm)
75 x 88.3 75 x 88.3 75 x 88.3
75 x 88.3
Max power*: EU standard (kW)
686873 84
Max power engine speed (rpm)
4 000 4 000 3 750
3 600
Max torque: EU standard (Nm)
230230254 270
Max torque engine speed (rpm)
1 750 1 750 1 750
1 750
Fuel
d
iesel
d
iesel
d
iesel
d
iesel
Catalytic converter Ye sYe sYe s Ye s
Particle filter (FAP)
n
o
Ye s Ye s Ye s
Engine oil capacity (in litres) 3.753.75 - 3.75
12
TECHNICAL DATA