check engine Citroen C4 PICASSO RHD 2015 1.G User Guide
[x] Cancel search | Manufacturer: CITROEN, Model Year: 2015, Model line: C4 PICASSO RHD, Model: Citroen C4 PICASSO RHD 2015 1.GPages: 428, PDF Size: 10.09 MB
Page 136 of 428
134
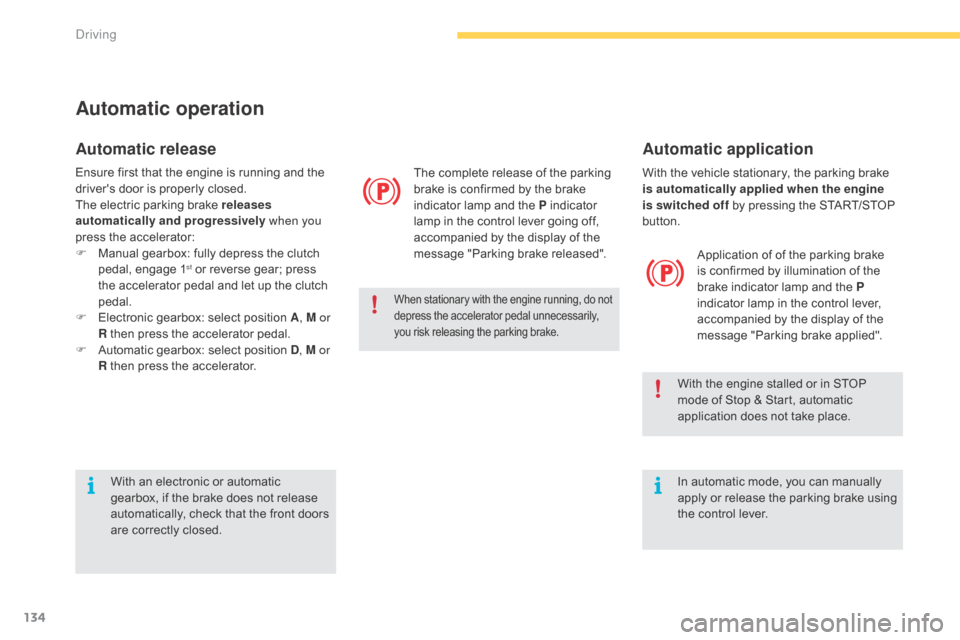
With the vehicle stationary, the parking brake is automatically applied when the engine
is switched off
by pressing the START/STOP
b
utton. Application
of of the parking brake
i
s confirmed by illumination of the
b
rake indicator lamp and the P
indicator
lamp in the control lever,
a
ccompanied by the display of the
m
essage "Parking brake applied".
With
the engine stalled or in STOP
m
ode of Stop & Start, automatic
a
pplication does not take place.
In
automatic mode, you can manually
a
pply
o
r
r
elease
t
he
p
arking
b
rake
u
sing
t
he control lever.
Automatic operation
Automatic release
The complete release of the parking brake is confirmed by the brake
i
ndicator lamp and the P indicator
l
amp in the control lever going off,
a
ccompanied by the display of the
m
essage "Parking brake released".
When stationary with the engine running, do not depress the accelerator pedal unnecessarily, y
ou risk releasing the parking brake.
Ensure first that the engine is running and the driver's door is properly closed.
The
electric parking brake releases
automatically and progressively when you
press
the accelerator:
F
M
anual gearbox: fully depress the clutch
p
edal, engage 1
st or reverse gear; press t
he
accelerator
pedal and let up the clutch
ped
al.
F
E
lectronic
gearbox: select position A, M or
R
then
press
the
accelerator pedal.
F
A
utomatic
gearbox: select position D, M or
R
then
press
the
accelerator.
Automatic application
With an electronic or automatic g earbox, if the brake does not release
a
utomatically, check that the front doors
a
re correctly closed.
Driving
Page 144 of 428
142
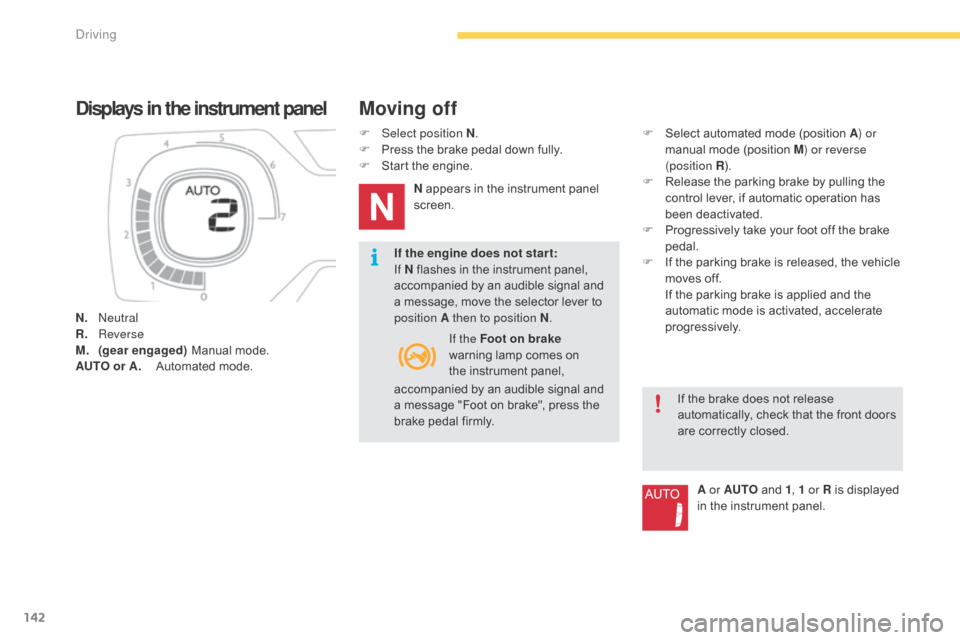
Displays in the instrument panel
N. neutral
R. R everse
M.
(
gear engaged)
Manual mode.
AUTO or A.
A
utomated mode. If the engine does not star t:
If N
flashes in the instrument panel,
a
ccompanied by an audible signal and
a
message, move the selector lever to
p
osition A then to position N
.
Moving off
F Select position N.
F P ress the brake pedal down fully.
F
S
tart the engine.
N
appears in the instrument panel
sc
reen. F
S elect automated mode (position A
) or
manual mode (position M) or reverse
(position R ).
F
R
elease the parking brake by pulling the
c
ontrol lever, if automatic operation has
b
een
d
eactivated.
F
P
rogressively take your foot off the brake
ped
al.
F
I
f the parking brake is released, the vehicle
m
oves off.
I
f the parking brake is applied and the
a
utomatic mode is activated, accelerate
p
rogressively.A or AUTO
and 1, 1 or R
is displayed
i
n the instrument panel.
If the Foot on brake
warning
lamp comes on
t
he instrument panel,
a
ccompanied by an audible signal and
a
message "Foot on brake", press the
b
rake pedal firmly. If
the brake does not release
a
utomatically, check that the front doors
a
re correctly closed.
Driving
Page 146 of 428
144
To engage reverse gear R, the vehicle must be i
mmobilised with your foot on the brake pedal.
F
Sel
ect position R .
Reverse
Engagement of reverse gear is accompanied b
y an audible signal.
At
low speed, if reverse gear is requested,
t
he N indicator flashes and the gearbox goes
i
nto neutral automatically. To engage reverse,
p
ut the selector lever in position N , then
position R . Before
switching off the engine, you can:
-
m
ove to position N to engage neutral,
or
-
l
eave the gear engaged; in this case, it will
n
ot be possible to move the vehicle.
Stopping the vehicle
In both cases, if automatic operation of the e
lectric parking brake has been deactivated,
y
ou must apply the parking brake
by pulling
t
he control lever.
When
immobilising the vehicle, with
t
he engine running, you must place the
s
elector lever in neutral N .
Before
carrying out any work in the
e
ngine compartment, ensure that the
s
elector lever is in neutral N and that
t
he parking brake is applied.
Whatever
the circumstances, you must
m
anually apply the parking brake when
p
arking, if automatic operation has
b
een
d
eactivated. With
the ignition on, the flashing of A or
AUTO , accompanied by an audible signal and
a
message, indicates a malfunction of the
g
earbox.
Operating fault
Have it checked by a CITROËN dealer or a q
ualified w orkshop.
In the event of a battery failure, use the
chock
to
immobilise
the
vehicle.
Driving
Page 149 of 428
147
F Check that the symbol displayed in the i
nstrument panel agrees with the position
enga
ged.
F
P
rogressively release the brake pedal.
F
I
f the parking brake is release, the vehicle
m
oves off.
I
f the parking brake is applied and
a
utomatic
ope
ration
i
s
a
ctivated,
a
ccelerate
a
way.
Never
press the accelerator and brake
p
edals at the same time. Braking and
a
cceleration should be done only with
t
he right foot. Pressing both pedals
t
ogether risks damaging the gearbox.
If
the brake does not release
a
utomatically, check that the front doors
a
re correctly closed. Never
leave children unsupervised in
t
he vehicle when the engine is running.
When
carrying out a maintenance
o
peration with the engine running,
a
pply
t
he parking brake and select position P.
ne
ver select position P or R unless the
vehicle
is a a complete stop with the
br
ake
a
pplied.
When
you want to engage reverse,
t
o avoid jolts, do not accelerate
i
mmediately after engaging R.
Changing
in
to
p
osition
R
is
accompanied
by an audible signal.never select position N when driving.
I
f position N is engaged in error when
m
oving, allow the engine to idle, then
e
ngage position D to accelerate.
When
the engine is running at idle,
b
rakes releases, if position R, D or M is
selected,
the vehicle will move even if
t
he accelerator is not pressed.
4
Driving
Page 151 of 428
149
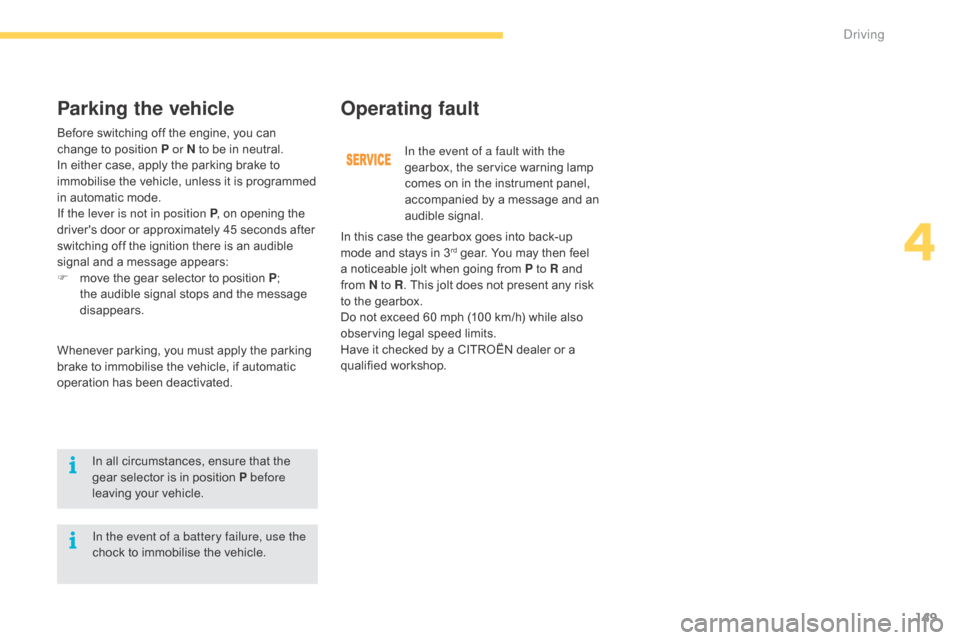
Before switching off the engine, you can change to position P or N to be in neutral.
I
n either case, apply the parking brake to
i
mmobilise the vehicle, unless it is programmed
i
n automatic mode.
If the lever is not in position P ,
on opening the
d
river's door or approximately 45 seconds after
s
witching off the ignition there is an audible
s
ignal and a message appears:
F
m
ove the gear selector to position P;
t
he audible signal stops and the message
d
isappears.
Operating fault
Whenever parking, you must apply the parking brake to immobilise the vehicle, if automatic
o
peration has been deactivated.
Parking the vehicle
In all circumstances, ensure that the gear selector is in position P before
leaving
your vehicle. In the event of a fault with the
gearbox,
the service warning lamp
c
omes on in the instrument panel,
a
ccompanied by a message and an
a
udible
s
ignal.
In this case the gearbox goes into back-up
m
ode and stays in 3
rd gear. You may then feel a
noticeable
jolt
when going from P to R and
f
rom N to R .
This
jolt
does not present any risk
t
o
the
gearbox.
Do
not
exceed
60
mph (100 km/h) while also
o
bserving
legal
speed limits.
Have
it
checked
by
a
CITROËN dealer or a
q
ualified
w
orkshop.
In the event of a battery failure, use the
chock
to
immobilise
the
vehicle.
4
Driving
Page 155 of 428
153
The system is reactivated automatically every time the engine is started by
t
he driver.
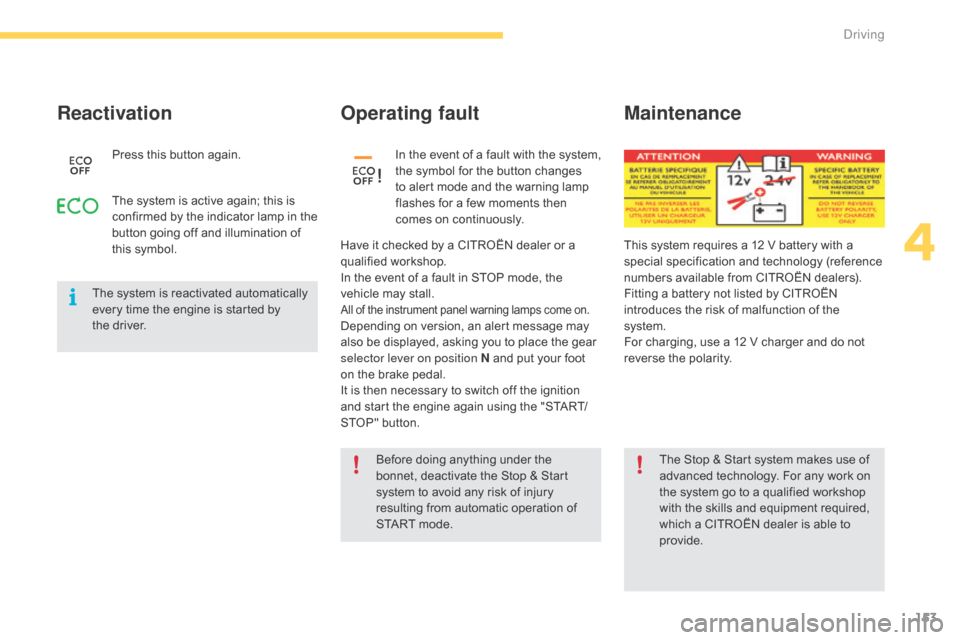
Reactivation
Press this button again.
Operating fault
Have it checked by a CITROËN dealer or a q ualified w orkshop.
In
the event of a fault in STOP mode, the
v
ehicle may stall.
All of the instrument panel warning lamps come on.Depending on version, an alert message may also be displayed, asking you to place the gear
s
elector lever on position N and put your foot
o
n the brake pedal.
It
is then necessary to switch off the ignition
a
nd start the engine again using the "START/
STOP"
button.In
t
he
e
vent
o
f
a
f
ault
w
ith
t
he
s
ystem,
t
he symbol for the button changes
t
o alert mode and the warning lamp
f
lashes for a few moments then
c
omes on continuously.
The
system
is
active
again;
this
is
c
onfirmed
by
the
indicator
lamp
in
the
b
utton
going
off
and
illumination
of
t
his
symbol.
The Stop & Start system makes use of
a
dvanced technology. For any work on
t
he system go to a qualified workshop
w
ith the skills and equipment required,
w
hich a CITROËN dealer is able to
pro
vide.
Before
doing anything under the
b
onnet, deactivate the Stop & Start
s
ystem to avoid any risk of injury
r
esulting from automatic operation of
S
TART mode.
Maintenance
This system requires a 12 V battery with a special specification and technology (reference
n
umbers available from CITROËN dealers).
Fitting
a battery not listed by CITROËN
i
ntroduces the risk of malfunction of the
s
ystem.
For
charging, use a 12 V charger and do not
r
everse the polarity.
4
Driving
Page 186 of 428
184
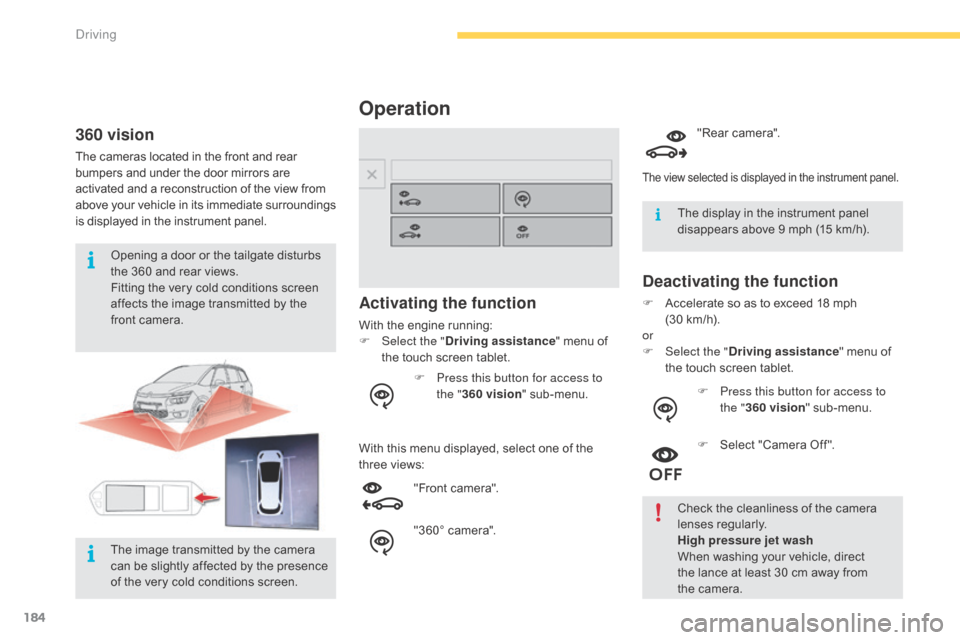
Operation
Activating the function
With the engine running:
F Sel ect the " Driving assistance "
menu of
t
he touch screen tablet.
With
this menu displayed, select one of the
t
hree views:
Deactivating the function
F Accelerate so as to exceed 18 mph (
30 km/h).
or
F
Sel
ect the " Driving assistance "
menu of
t
he touch screen tablet.
Check
the cleanliness of the camera
l
enses
r
egularly.
High pressure jet wash
When
washing your vehicle, direct
t
he lance at least 30 cm away from
t
he camera.
F
P
ress this button for access to
the " 360 vision "
sub
-menu. F
P
ress this button for access to
the " 360 vision "
sub
-menu.
F
Sel
ect
"
Camera
O
ff".
"Front
camera".
"360°
camera". "Rear
camera".
The view selected is displayed in the instrument panel.
360 vision
The cameras located in the front and rear b
umpers and under the door mirrors are a
ctivated and a reconstruction of the view from
a
bove
y
our
v
ehicle
i
n
i
ts
i
mmediate
s
urroundings
i
s displayed in the instrument panel.
Opening
a door or the tailgate disturbs
t
he 360 and rear views.
Fitting
the very cold conditions screen
a
ffects the image transmitted by the
f
ront camera. The
display in the instrument panel
d
isappears above 9 mph (15 km/h).
The
image transmitted by the camera
c
an be slightly affected by the presence
o
f the very cold conditions screen.
Driving
Page 262 of 428

260
Checking tyre pressures /
inflating accessories
You can also use the compressor, without injecting any product, to:
-
c
heck or adjust the pressure of your tyres,
-
i
nflate other accessories (balls,
b
icycle tyres...).
F
T
urn the selector A to the "
ai
r"
position.
F
U
ncoil the black pipe H
f
ully.
F
C
onnect the black pipe to the
v
alve of the wheel or accessory.
I
f necessary, fit one of the adaptors
s
upplied with the kit first. F
C onnect the compressor's electrical
c
onnector to the vehicle's 12 V socket.
F
S
tart the vehicle and let the engine run.
F
A
djust the pressure using the compressor
(
to inflate: switch B in position "I";
t
o deflate: switch B in position "O"
and
p
ress button C),
according to the vehicle's
t
yre pressure label or the accessory's
p
ressure label.
F
R
emove the kit then stow it.Should
the pressure of one or more
t
yres be adjusted, it is necessary to
r
einitialise the under-inflation detection
s
ystem.
Refer
to the "Under-inflation detection"
s
ection.
Practical information
Page 290 of 428
288
12 V battery
The battery is located under the bonnet.
F or access to the (+) terminal:
F
r
elease the bonnet using the interior lever,
t
hen the exterior safety catch,
F
r
aise the bonnet and secure it with its stay,
F
l
ift the plastic cover for access to
the
(+) terminal.
Access to the battery
Procedure for starting the engine using another battery or charging a discharged battery.
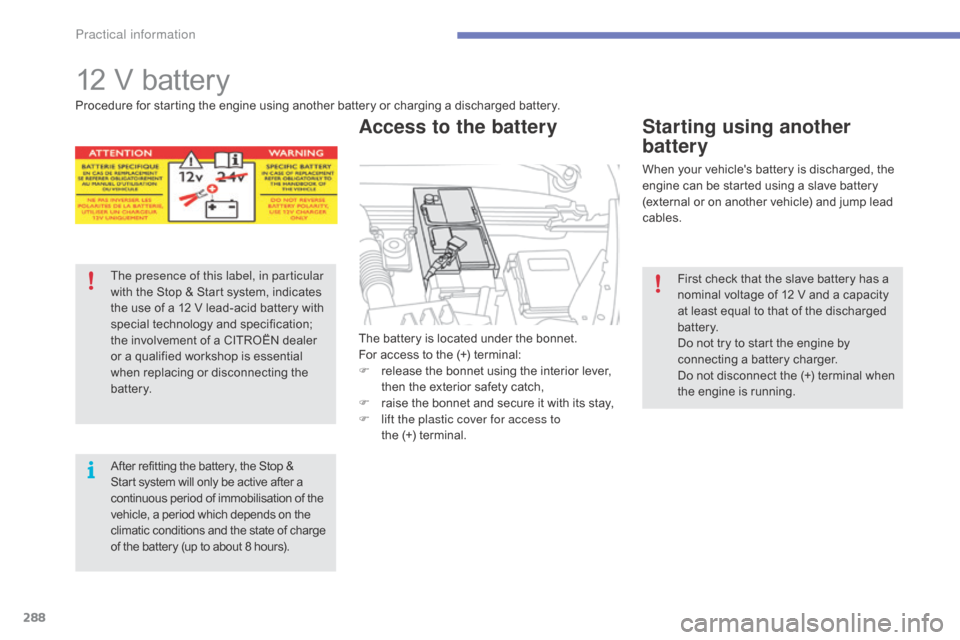
T he presence of this label, in particular
with
the Stop & Start system, indicates
t
he use of a 12 V lead-acid battery with
s
pecial
t
echnology
a
nd
s
pecification;
t
he involvement of a CITROËN dealer
o
r a qualified workshop is essential
w
hen replacing or disconnecting the
b
attery.
After
refitting the battery, the Stop &
S
tart system will only be active after a
c
ontinuous period of immobilisation of the
v
ehicle, a period which depends on the
c
limatic conditions and the state of charge
o
f the battery (up to about 8 hours). When
your vehicle's battery is discharged, the
e
ngine can be started using a slave battery
(
external or on another vehicle) and jump lead
c
ables.
Starting using another
battery
First check that the slave battery has a nominal voltage of 12 V and a capacity
a
t least equal to that of the discharged
b
attery.
Do
not try to start the engine by
c
onnecting a battery charger.
Do
not disconnect the (+) terminal when
t
he engine is running.
Practical information
Page 292 of 428
290
The batteries contain harmful substances such as sulphuric acid and lead. They m
ust be disposed of in accordance
w
ith regulations and must not, in any
c
ircumstances, be discarded with household
w
aste.
Take
used remote control batteries and
v
ehicle batteries to a special collection point.
Protect your eyes and face before handling the battery.
All
operations on the battery must be
c
arried out in a well ventilated area and
a
way from naked flames and sources
o
f sparks, so as to avoid the risk of
e
xplosion or fire.
Do
not try to charge a frozen battery;
t
he battery must first be thawed out to
a
void the risk of explosion. If the battery
h
as been frozen, before charging have
i
t checked by a CITROËN dealer or a
q
ualified workshop who will check that
t
he internal components have not been
d
amaged and the casing is not cracked,
w
hich could cause a leak of toxic and
c
orrosive acid.
Do
not reverse the polarity and use only
a
12 V charger.
Do
not disconnect the terminals while
t
he engine is running.
Do
not charge the batteries without
d
isconnecting the terminals first.
Wash
your hands after wards.
It
is
advisable
to
disconnect
the
battery
i
f
the
vehicle
is
to
be
left
unused
for
m
ore
than
one
month.
do n
ot push the vehicle to start the
engine
if you have an electronic or
a
utomatic gearbox.Charging the battery using
a battery charger
F Disconnect the battery from the vehicle.
F F ollow the instructions for use provided by
t
he manufacturer of the charger.
F
C
onnect the battery starting with the
n
egative terminal (-).
F
C
heck that the terminals and connectors
a
re clean. If they are covered with sulphate
(
whitish or greenish deposit), remove them
a
nd clean them.
With
Stop & Start, the battery does not
h
ave to be disconnected for charging.
Do
not
apply
excessive
force
on
the
t
ab
as
locking
will
not
be
possible
if
the
c
lamp
is
not
positioned
correctly;
start
t
he
procedure
again.
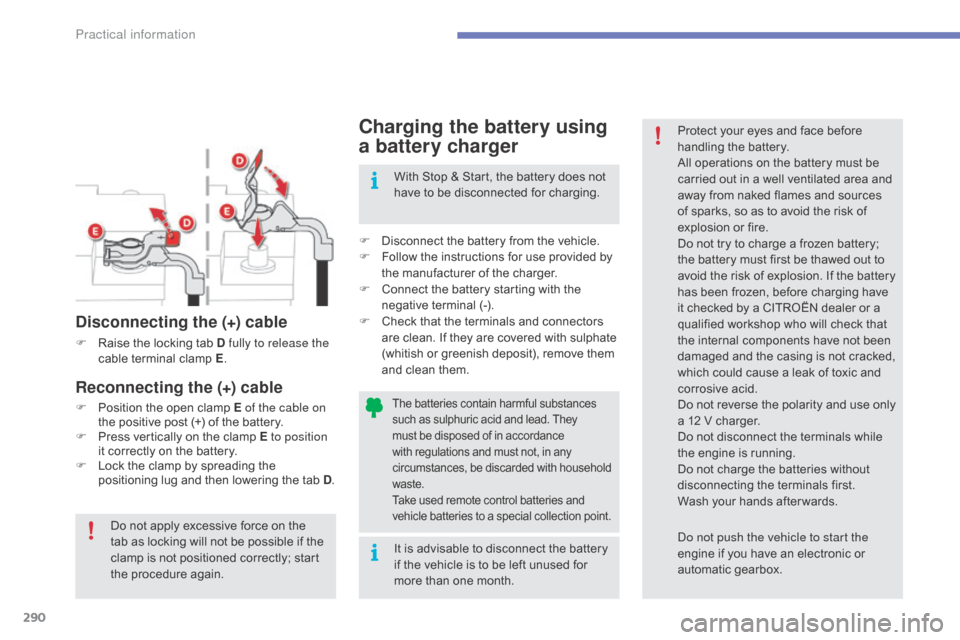
Disconnecting the (+) cable
F Raise the locking tab D fully to release the
cable t erminal c lamp E.
Reconnecting the (+) cable
F Position the open clamp E of the cable on
the positive post (+) of the battery.
F
P
ress vertically on the clamp E to position
it
correctly on the battery.
F
L
ock the clamp by spreading the
p
ositioning lug and then lowering the tab D.
Practical information