run flat Citroen C4 PICASSO RHD 2015 1.G Owner's Manual
[x] Cancel search | Manufacturer: CITROEN, Model Year: 2015, Model line: C4 PICASSO RHD, Model: Citroen C4 PICASSO RHD 2015 1.GPages: 428, PDF Size: 10.09 MB
Page 5 of 428
Direction indicators 213
Hazard warning lamps
2
13
H or n
2
13
Emergency
or assistance call
2
14
Warning
triangle
2
14
Under-inflation
d
etection
2
15
ESC
system
2
18
Seat
belts
2
22
Airbags
2
27
Child
seats
2
33
Deactivating
the passenger's front airbag
2
35
ISOFIX
mountings
2
44
Child
lock
2
52
Safety
Temporary puncture repair kit 253
Changing a wheel
2
61
Snow
chains
2
71
Changing
a bulb
2
72
Changing
a fuse
2
81
12
V battery
2
88
Energy
economy mode
2
91
Changing
a wiper blade
2
92
Towing
the vehicle
2
93
Towbar
with quickly detachable towball
2
95
Towing
a trailer
2
97
Roof
bars
2
99
Very
cold climate screen
3
01
Accessories
3
02
Practical information
Bonnet 305
Petrol engines
3
06
Diesel
engines
3
07
Fuel
3
08
Misfuel
prevention (Diesel)
3
10
Running
out of fuel (Diesel)
3
12
Checking
levels
3
13
C h e c ks
3
17
AdBlue
® additive and SCR system
(
BlueHDi Diesel) 3 19
Checks
Petrol engines 3 28
Petrol weights
3
30
Diesel
engines
3
32
Diesel
weights
3
35
Dimensions
3
38
Identification
ma
rkings
3
40
Technical data
Emergency or assistance 3 41
7-inch touch screen tablet
3
43
Audio and telematics
Lighting controls 1 93
Automatic illumination of headlamps
1
98
Automatic
headlamp dipping
1
99
Daytime
running lamps
2
01
Headlamp
adj
ustment
2
02
Directional
l
ighting
2
04
Wiper
controls
2
05
Screenwash
2
07
Automatic
rain sensitive wipers
2
08
Courtesy
lamps
2
10
Panoramic
sunroof
2
11
Interior
mood lighting
2
12
Visibility
Alphabetical
in
dex
Contents
Page 262 of 428

260
Checking tyre pressures /
inflating accessories
You can also use the compressor, without injecting any product, to:
-
c
heck or adjust the pressure of your tyres,
-
i
nflate other accessories (balls,
b
icycle tyres...).
F
T
urn the selector A to the "
ai
r"
position.
F
U
ncoil the black pipe H
f
ully.
F
C
onnect the black pipe to the
v
alve of the wheel or accessory.
I
f necessary, fit one of the adaptors
s
upplied with the kit first. F
C onnect the compressor's electrical
c
onnector to the vehicle's 12 V socket.
F
S
tart the vehicle and let the engine run.
F
A
djust the pressure using the compressor
(
to inflate: switch B in position "I";
t
o deflate: switch B in position "O"
and
p
ress button C),
according to the vehicle's
t
yre pressure label or the accessory's
p
ressure label.
F
R
emove the kit then stow it.Should
the pressure of one or more
t
yres be adjusted, it is necessary to
r
einitialise the under-inflation detection
s
ystem.
Refer
to the "Under-inflation detection"
s
ection.
Practical information
Page 273 of 428
271
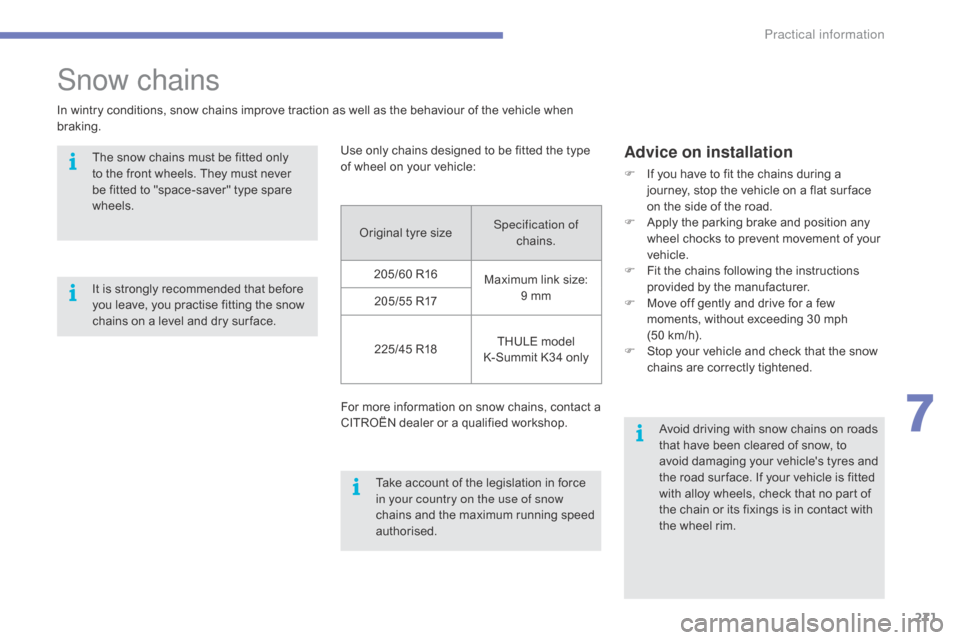
Original tyre sizeSpec ification of
chains.
205/60
R16 Maximum
link size:
9
mm
205/55
R17
225/45
R18 THULE
model
K-Summit
K34 only
For
more information on snow chains, contact a
C
ITROËN dealer or a qualified workshop.
Use
only chains designed to be fitted the type
o
f
wheel on your vehicle:
Snow chains
In wintry conditions, snow chains improve traction as well as the behaviour of the vehicle when b
raking.
The
snow chains must be fitted only
t
o the front wheels. They must never
b
e fitted to "space-saver" type spare
w
heels.
Advice on installation
F If you have to fit the chains during a j
ourney, stop the vehicle on a flat sur face
o
n the side of the road.
F
A
pply the parking brake and position any
w
heel chocks to prevent movement of your
v
ehicle.
F
F
it the chains following the instructions
p
rovided by the manufacturer.
F
M
ove off gently and drive for a few
m
oments, without exceeding 30 mph
(
50 km/h).
F
S
top your vehicle and check that the snow
c
hains are correctly tightened.
Take
account
of
the
legislation
in
force
i
n your country on the use of snow
chains
and
the
maximum
running
speed
a
uthorised. Avoid
driving with snow chains on roads
t
hat have been cleared of snow, to
a
void damaging your vehicle's tyres and
t
he road sur face. If your vehicle is fitted
w
ith alloy wheels, check that no part of
t
he chain or its fixings is in contact with
t
he wheel rim.
It
is
strongly
recommended
that
before
y
ou
leave,
you
practise
fitting
the
snow
c
hains
on
a
level
and
dry
sur face.
7
Practical information
Page 291 of 428
289
Before disconnecting the battery
Wait 2 minutes after switching off the ignition before disconnecting the battery.
Close
the windows and the doors before
d
isconnecting the battery.
Following reconnection
of the battery
Following reconnection of the battery, switch on t
he ignition and wait 1 minute before starting to
p
ermit initialisation of the electronic systems.
H
owever, if problems remain following this
o
peration, contact a CITROËN dealer or a
q
ualified
w
orkshop.
Referring
to the corresponding section, you
m
ust
y
ourself
r
einitialise
(
depending
o
n
ve
rsion):
-
t
he remote control key,
-
t
he electric blind(s),
-
...
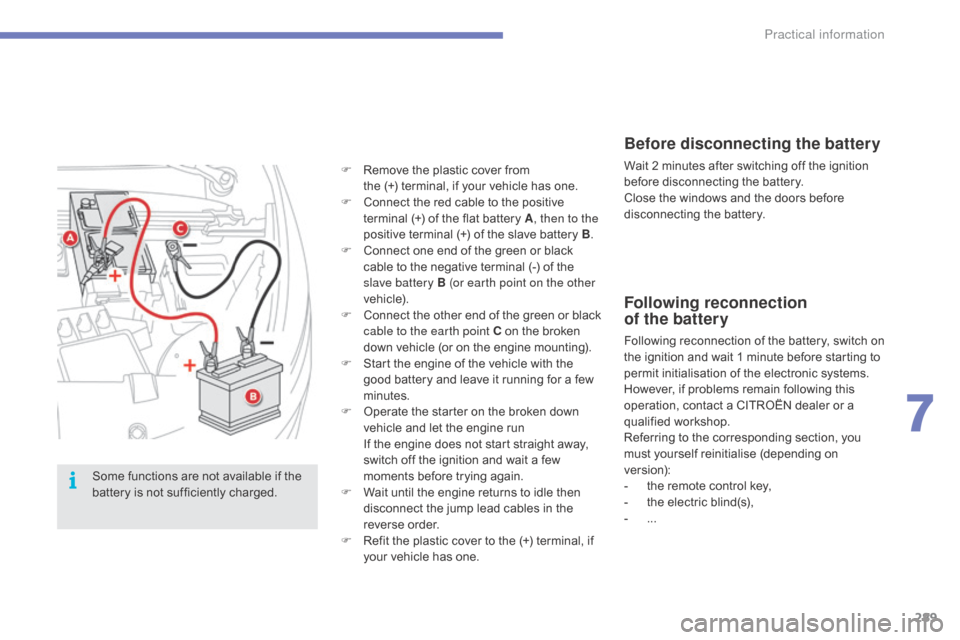
F
R
emove
the
plastic
cover
from
the
(+)
terminal,
if
your
vehicle
has
one.
F
C
onnect
the
red
cable
to
the
positive
t
erminal
(+)
of
the
flat
battery
A
, then to the
positive
terminal
(+)
of
the
slave
battery
B.
F
C
onnect
one
end
of
the
green
or
black
c
able
to
the
negative
terminal
(-)
of
the
s
lave battery B (or earth point on the other
vehicle).
F
C
onnect
t
he
o
ther
e
nd
o
f
t
he
g
reen
o
r
b
lack
c
able to the earth point C
on
the
broken
d
own
vehicle
(or
on
the
engine
mounting).
F
S
tart
the
engine
of
the
vehicle
with
the
g
ood
battery
and
leave
it
running
for
a
few
m
inutes.
F
O
perate
the
starter
on
the
broken
down
v
ehicle
and
let
the
engine
run
I
f
the
engine
does
not
start
straight
away,
s
witch
off
the
ignition
and
wait
a
few
m
oments
before
trying
again.
F
W
ait
until
the
engine
returns
to
idle
then
d
isconnect
the
jump
lead
cables
in
the
r
everse
o
rder.
F
R
efit
the
plastic
cover
to
the
(+)
terminal,
if
y
our
vehicle
has
one.
Some
functions
are
not
available
if
the
b
attery
is
not
sufficiently
charged.
7
Practical information
Page 293 of 428
291
Exiting economy mode
These functions are reactivated automatically next time the vehicle is driven.
F
I
n order to restore the use of these
f
unctions immediately, start the engine and
l
et it run:
-
f
or less than ten minutes, to use
t
he equipment for approximately
f
ive minutes,
-
f
or more than ten minutes, to use the
e
quipment for up to approximately
t
hirty
m
inutes.
Let
the engine run for the duration specified to
e
nsure that the battery charge is sufficient.
Do
not repeatedly and continuously restart the
e
ngine in order to charge the battery.
A
flat battery prevents the engine from starting
(
refer to the "Battery" section).
Load reduction mode
System which manages the use of certain functions according to the level of charge
r
emaining in the battery.
When
the vehicle is being driven, the load
r
eduction function temporarily deactivates
c
ertain functions, such as the air conditioning,
t
he heated rear screen...
The
deactivated functions are reactivated
a
utomatically as soon as conditions permit.
Energy economy mode
Switching to economy mode
A message then appears in the instrument p
anel screen indicating that the vehicle has
s
witched to economy mode and the active
f
unctions are put on standby.
If
a telephone call is being made at this time,
i
t will be maintained for around 10 minutes
w
ith the Bluetooth hands-free system of your
a
udio system.
System
which manages the duration of use of
c
ertain functions to conserve a sufficient level
of charge in the battery.
After the engine has stopped, you can
s
till use functions such as the audio and
t
elematics system, windscreen wipers, dipped
b
eam headlamps, courtesy lamps, etc. for
a
maximum combined duration of about
f
orty
m
inutes.
7
Practical information
Page 419 of 428
417
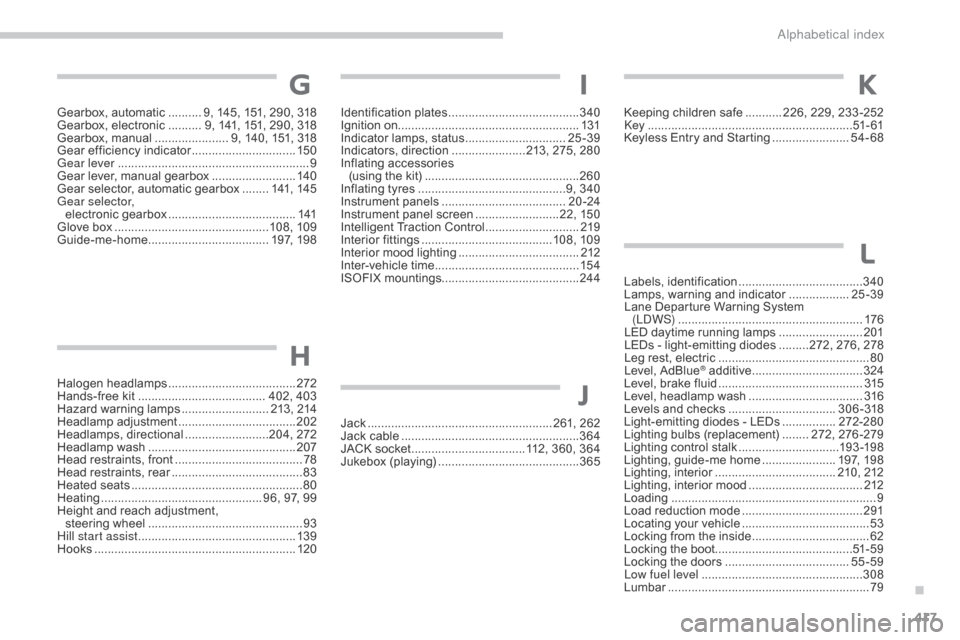
Identification plates ....................................... 3 40
Ignition on...................................................... 131
Indicator
lamps, status
..............................25
-39
Indicators,
d
irection
......................2
13, 275, 280
Inflating
a
ccessories
(
using the kit)
..............................
................260
Inflating
tyres
..............................
..............9, 340
Instrument
p
anels
...............................
......20 -24
Instrument
panel screen
.........................2
2, 150
Intelligent
T
raction
C
ontrol
............................2
19
Interior
f
ittings
....................................... 10
8,
10
9
Interior
m
ood
l
ighting
.................................... 2
12
Inter-vehicle
t
ime
........................................... 15
4
ISOFIX
m
ountings......................................... 244Keeping
children safe ........... 2 26, 229, 233 -252key .......
......................................................51- 61
Keyless
Entry and Starting
.......................5
4-68
Labels,
i
dentification
.....................................3
40
Lamps,
warning and indicator
..................25
-39
Lane
Departure Warning System
(L
dW
S)
.......................................................17
6
LED
daytime running lamps
.........................2
01
LEDs
- light-emitting diodes
.........2
72, 276, 278
Leg
rest, electric
..............................
...............80
Level,
AdBlue
® additive .................................3 24
Level,
brake
fluid ........................................... 3
15
Level,
headlamp wash
.................................. 3
16
Levels
and
checks
..............................
..3 0 6 - 318
Light-emitting
diodes - LEDs
................2
72-280
Lighting
bulbs
(replacement)
........2
72,
2
76-279
Lighting
control stalk
.............................. 19
3 -198
Lighting,
guide-me home
...................... 19
7,
19
8
Lighting,
i
nterior
.................................... 21
0,
21
2
Lighting,
i
nterior
m
ood
.................................. 2
12
Loading
..............................
............................... 9
Load
reduction mode
.................................... 2
91
Locating
your
vehicle
...................................... 53
L
ocking
from
the inside
................................... 62
L
ocking
the
boot......................................... 51- 5 9
Locking
the
doors
..............................
.......55-59
Low fuel level
..............................
..................308
Lumbar
...............................
............................. 79
IK
L
Jack ....................................................... 261, 262
Jack cable ..................................................... 36
4
JACK
socket
...............................
...112, 360, 364
Jukebox
(playing)
.......................................... 3
65
J
Gearbox, automatic .......... 9, 145, 151, 290, 318
Gearbox, e lectronic .......... 9 , 141, 151, 290, 318
Gearbox,
m
anual
...................... 9
, 140, 151, 318
Gear
efficiency indicator
...............................15
0
Gear lever
..............................
........................... 9
Gear
lever, manual gearbox
.........................14
0
Gear
selector, automatic gearbox
........14
1,
14
5
Gear selector, electronic
ge
arbox
...................................... 1
41
Glove
box
.............................................. 10
8,
10
9
Guide-me-home
...............................
.....197,
19
8
Halogen
h
eadlamps
...................................... 2
72
Hands-free
kit
..............................
........ 402, 403
Hazard
w
arning
lam
ps
..........................21
3,
21
4
Headlamp
adj
ustment
................................... 2
02
Headlamps,
d
irectional
.........................2
04, 272
Headlamp
w
ash
............................................ 2
07
Head
restraints, front
...................................... 78
H
ead restraints, rear
....................................... 83
H
eated
s
eats
...............................
....................80
Heating
................
................................ 96, 97, 99
Height
and reach adjustment,
steering
w
heel
..............................
................93
Hill start assist
............................................... 13
9
Hooks
...............................
.............................120
G
H
.
alphabetical index