sensor CITROEN DS4 2018 Owners Manual
[x] Cancel search | Manufacturer: CITROEN, Model Year: 2018, Model line: DS4, Model: CITROEN DS4 2018Pages: 296, PDF Size: 9.91 MB
Page 5 of 296
3
07
08
0609
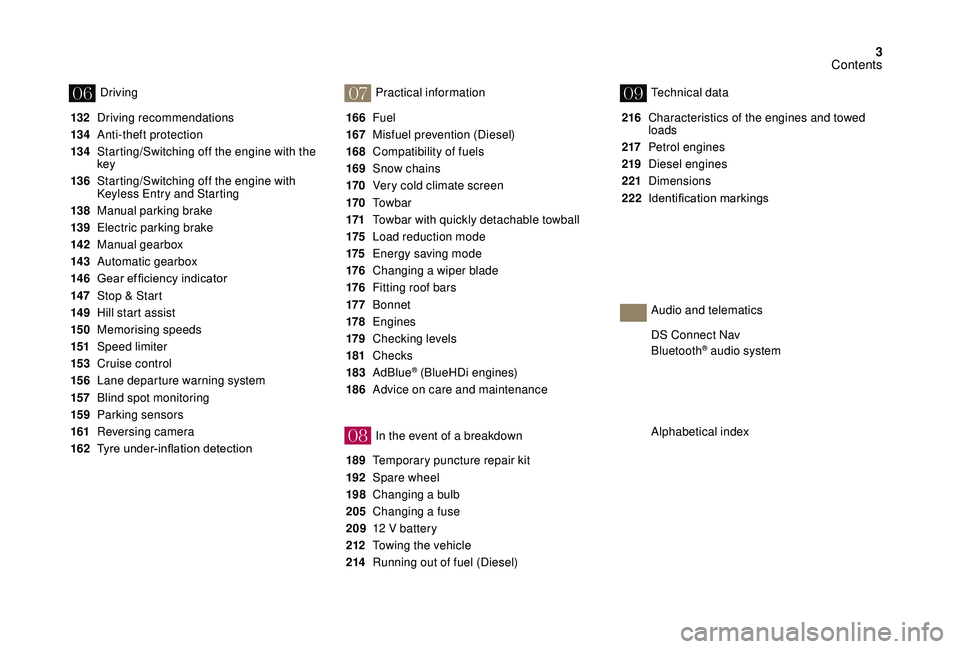
132 Driving recommendations
13 4
A
nti-theft protection
13 4
S
tarting/Switching off the engine with the
key
136
S
tarting/Switching off the engine with
Keyless Entry and Starting
138
M
anual parking brake
139
E
lectric parking brake
142
M
anual gearbox
14 3
Aut
omatic gearbox
14 6 Gear
ef ficiency indicator
14
7
St
op & Start
14 9
H
ill start assist
15 0
M
emorising speeds
151
Spe
ed limiter
15 3
C
ruise control
15 6
L
ane departure warning system
157
B
lind spot monitoring
15 9
P
arking sensors
161
R
eversing camera
162 Tyre
under-inflation detection 166
Fuel
167
M
isfuel prevention (Diesel)
168
C
ompatibility of fuels
169
S
now chains
170
V
ery cold climate screen
170
T
o w b a r
171
T
owbar with quickly detachable towball
175
L
oad reduction mode
175
E
nergy saving mode
176
C
hanging a wiper blade
176
F
itting roof bars
17 7
B
onnet
178
E
ngines
179
Ch
ecking levels
181
Checks
183
AdBlue
® (BlueHDi engines)
186
A
dvice on care and maintenance
189
T
emporary puncture repair kit
192
S
pare wheel
198
C
hanging a bulb
205
C
hanging a fuse
209
1
2 V battery
212
T
owing the vehicle
214
R
unning out of fuel (Diesel) 216
C
haracteristics of the engines and towed
loads
217
Pe
trol engines
219
D
iesel engines
221
Dimensions
222 Identification
ma
rkings
Driving
Practical information
In the event of a breakdownTechnical data
Alphabetical index DS Connect Nav
Bluetooth
® audio system
Audio and telematics
Contents
Page 8 of 296

6
Side switch panel1
Opening the fuel filler flap
2
DSC/ASR systems
3
Parking sensors
4
Stop & Start
5
Blind Spot Monitoring System
6
Lane Departure Warning
System (depending on country of sale)
7
Alarm
8
Child lock (depending on the country of sale)
Over view
Page 21 of 296
19
Warning/indicator lampStateCause Action/Observations
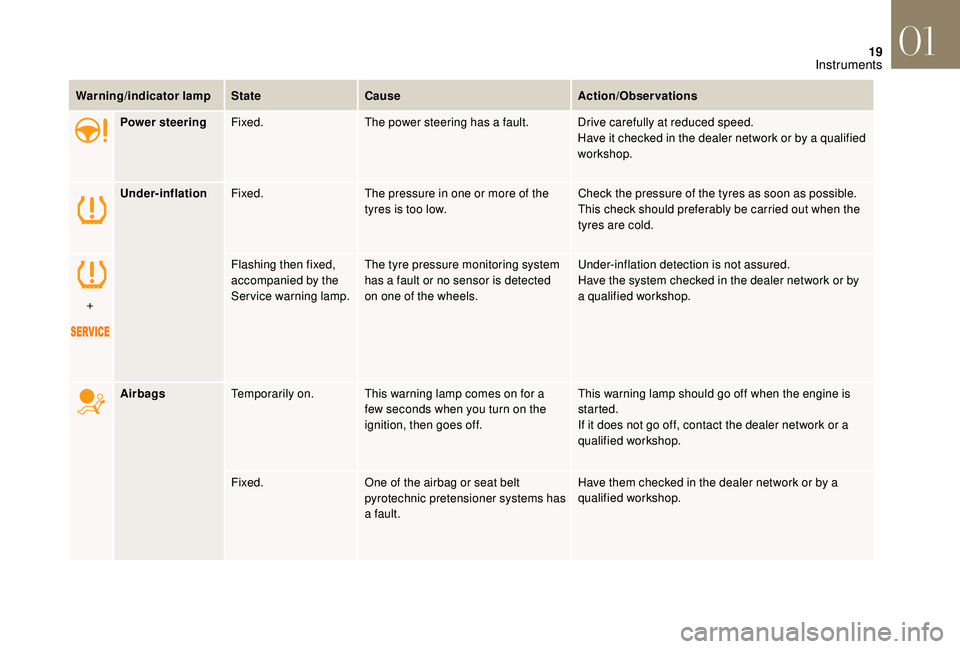
Power steering Fixed. The power steering has a fault. Drive carefully at reduced speed.
Have it checked in the dealer network or by a qualified
workshop.
Under-inflation Fixed. The pressure in one or more of the
tyres is too low. Check the pressure of the tyres as soon as possible.
This check should preferably be carried out when the
tyres are cold.
+ Flashing then fixed,
accompanied by the
Service warning lamp.
The tyre pressure monitoring system
has a fault or no sensor is detected
on one of the wheels. Under-inflation detection is not assured.
Have the system checked in the dealer network or by
a
qualified workshop.
Airbags Temporarily on. This warning lamp comes on for a
few seconds when you turn on the
ignition, then goes off. This warning lamp should go off when the engine is
started.
If it does not go off, contact the dealer network or a
qualified workshop.
Fixed. One of the airbag or seat belt
pyrotechnic pretensioner systems has
a fault. Have them checked in the dealer network or by a
qualified workshop.
01
Instruments
Page 39 of 296

37
Monochrome screen C
Displays in the screen
This displays the following information:
- t he time,
-
t
he date,
-
t
he outside temperature (this flashes if there
is a risk of ice),
-
par
king sensor information,
-
t
he audio source being listened to,
-
t
elephone or hands-free kit information,
-
t
he trip computer,
-
a
lert messages,
-
s
ettings menus for the screen and the
vehicle equipment.
Controls
From the control panel of your audio system,
you can press:
F
button A to chooses between the display
of audio information in full screen or the
shared display of audio and trip computer
information,
F
t
he "MENU " button to access the main
menu ,
F
t
he "5" or " 6" buttons to scroll through the
items in the screen,
F
t
he "7" or " 8" buttons to change a setting
value,
F
t
he "OK" button to confirm,
or
F
t
he "Back " button to abandon the operation
in progress.
F
W
ith the exterior lighting on,
press this button to activate the
function.
F
P
ress this button again to
deactivate the function.
The essential driving information, such as
the vehicle speed, warning lamps, automatic
gearbox gear selected, cruise control or speed
limiter information, remains on in the instrument
panel.
Touch screen
You can return to the current display at
any time by pressing the blacked out
screen or one of the menu buttons.
In automatic headlamp illumination mode,
the "Black panel" function is automatically
deactivated once the ambient light
reaches an adequate level.
01
Instruments
Page 42 of 296
40
Touch screen
The touch screen gives access to:
- m enus for adjusting settings for vehicle
functions and systems,
-
a
udio system and telephone controls and
the display of associated information,
-
t
he display of the exterior temperature
(a
blue snowflake appears if there is a risk
of i c e),
-
t
he display of the trip computer.
and, depending on equipment, allows:
-
t
he display of visual parking sensors
information,
-
a
ccess to the internet ser vices and
navigation system controls and the display
of associated information.
As a safety measure, the driver must
only carry out operations that require
close attention with the vehicle
stationary.
Some functions are not accessible when
driving.
General operation
Recommendations
This screen is of the capacitive type.
Use is possible in all temperatures.
Do not use pointed objects on the touch
screen.
Do not touch the touch screen with wet hands.
Use a soft clean cloth to clean the touch
screen.
Principles
Use the buttons arranged below the touch
screen for access to the main menus, then
press the virtual buttons in the touch screen.
Some menus may display across two pages:
press the " OPTIONS" button to access the
second page.
After a few moments with no action on the
second page, the first page is displayed
automatically.
To deactivate or activate a function, select
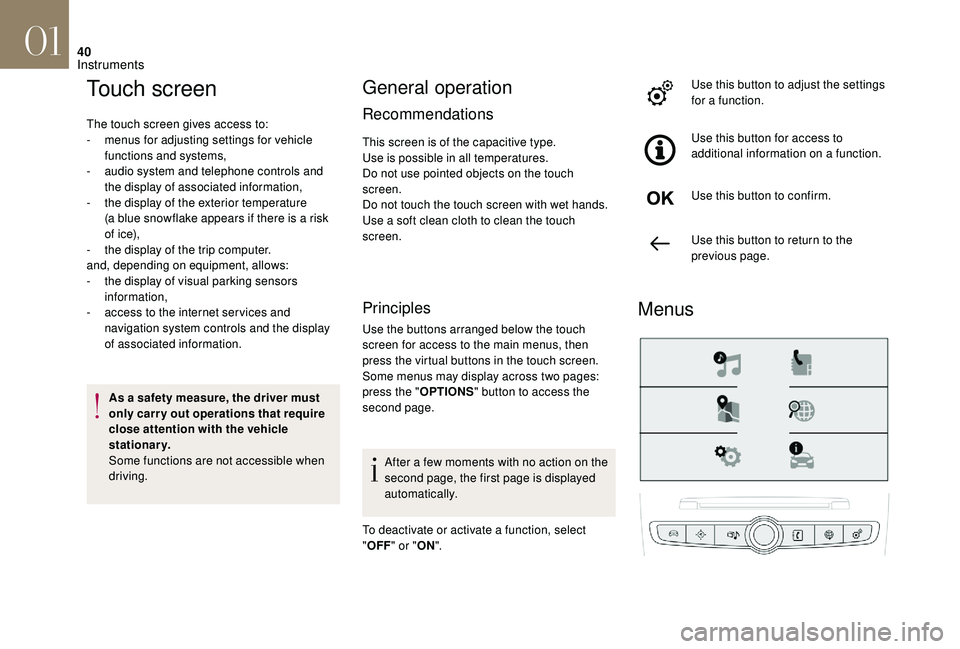
" OFF " or " ON". Use this button to adjust the settings
for a function.
Use this button for access to
additional information on a function.
Use this button to confirm.
Use this button to return to the
previous page.
Menus
01
Instruments
Page 74 of 296
72
Manual air conditioning
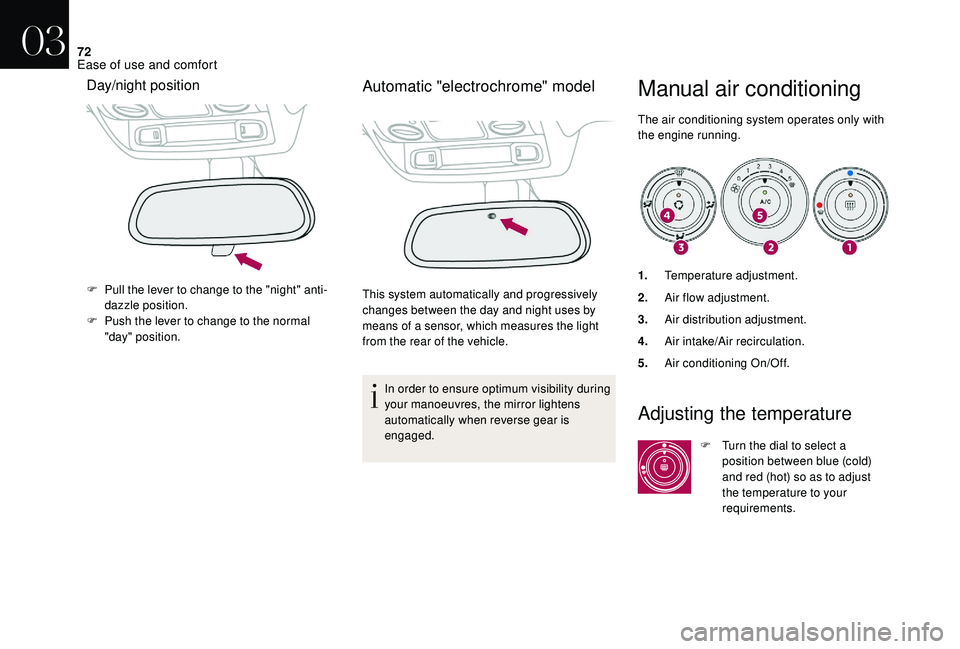
The air conditioning system operates only with
the engine running.
Day/night position
F Pull the lever to change to the "night" anti-dazzle position.
F
P
ush the lever to change to the normal
"day" position.
Automatic "electrochrome" model
This system automatically and progressively
changes between the day and night uses by
means of a sensor, which measures the light
from the rear of the vehicle.
In order to ensure optimum visibility during
your manoeuvres, the mirror lightens
automatically when reverse gear is
engaged. 1.
Temperature adjustment.
2. Air flow adjustment.
3. Air distribution adjustment.
4. Air intake/Air recirculation.
5. Air conditioning On/Off.
Adjusting the temperature
F Turn the dial to select a
position between blue (cold)
and red (hot) so as to adjust
the temperature to your
requirements.
03
Ease of use and comfort
Page 80 of 296
78
Recommendations for ventilation and air conditioning
In order for these systems to be fully
effective, follow the operation and
maintenance guidelines below:
F
T
o ensure that the air is distributed
evenly, keep the external air intake
grilles at the base of the windscreen,
the nozzles, the vents, the air outlets
and the air extractor in the boot free
from obstructions.
F
D
o not cover the sunshine sensor,
located on the dashboard; this is used
for regulation of the automatic air
conditioning system.
F
O
perate the air conditioning system for
at least 5 to 10 minutes once or twice
a month to keep it in per fect working
o r d e r.
F
E
nsure that the passenger
compartment filter is in good condition
and replace the filter elements
periodically. We recommend the use of
a combined passenger compartment
filter. Thanks to its special active
additive, it helps both to purify the air
breathed by the occupants and to keep
the passenger compartment clean
(reduction of allergic symptoms, bad
odours and greasy deposits). F
T o ensure correct operation of the
air conditioning system, you are also
advised to have it checked regularly as
recommended in the Maintenance and
Warranty Guide.
F
I
f the system does not produce cold air,
switch it off and contact the dealer network
or a qualified workshop.
When towing the maximum load on a steep
gradient in high temperatures, switching off
the air conditioning increases the available
engine power and so improves the towing
ability.
To avoid the windows misting up and
deterioration in the quality of the air:
do not drive for too long with the ventilation
switched off.
Do not keep air recirculation set for an
extended period. If after an extended stop in sunshine, the
interior temperature is very high, first air
the passenger compartment for a few
moments.
Put the air flow control at a setting high
enough to quickly change the air in the
passenger compartment.
The condensation created by the air
conditioning results in a discharge of
water under the vehicle which is per fectly
normal.
Stop & Star t
The heating and air conditioning systems
only work when the engine is running.
To maintain a comfortable temperature
in the passenger compartment, you can
temporarily deactivate the Stop & Start
system.
For more information on Stop & Star t ,
refer to the corresponding section.
03
Ease of use and comfort
Page 95 of 296
93
Sidelamps.
Dipped or main beam headlamps.
Headlamp dipping
Pull the stalk towards you to switch between
dipped and main beam headlamps or to
activate automatic headlamp dipping.
In the lighting off and sidelamps modes, the
driver can switch on the main beam headlamps
temporarily ("headlamp flash"), for as long as
the stalk is kept pulled.
Displays
Illumination of the corresponding indicator
lamp in the instrument panel confirms that the
lighting selected is on.
Foglamps
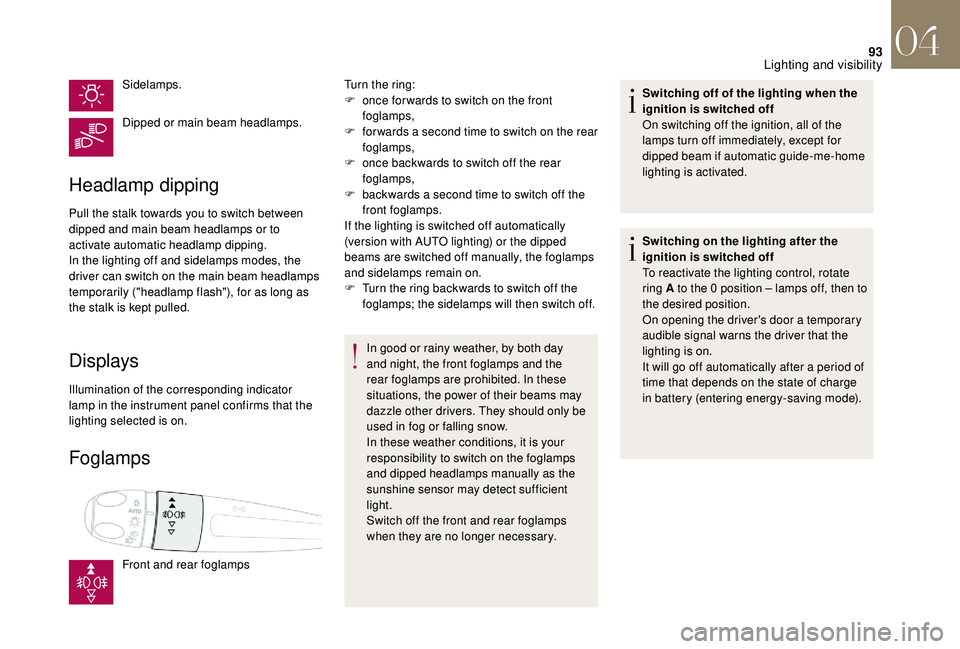
Front and rear foglampsTurn the ring:
F
o
nce for wards to switch on the front
foglamps,
F
f
or wards a second time to switch on the rear
foglamps,
F
o
nce backwards to switch off the rear
foglamps,
F
b
ackwards a second time to switch off the
front foglamps.
If the lighting is switched off automatically
(version with AUTO lighting) or the dipped
beams are switched off manually, the foglamps
and sidelamps remain on.
F
T
urn the ring backwards to switch off the
foglamps; the sidelamps will then switch off.
In good or rainy weather, by both day
and night, the front foglamps and the
rear foglamps are prohibited. In these
situations, the power of their beams may
dazzle other drivers. They should only be
used in fog or falling snow.
In these weather conditions, it is your
responsibility to switch on the foglamps
and dipped headlamps manually as the
sunshine sensor may detect sufficient
light.
Switch off the front and rear foglamps
when they are no longer necessary. Switching off of the lighting when the
ignition is switched off
On switching off the ignition, all of the
lamps turn off immediately, except for
dipped beam if automatic guide-me-home
lighting is activated.
Switching on the lighting after the
ignition is switched off
To reactivate the lighting control, rotate
ring A to the 0 position – lamps off, then to
the desired position.
On opening the driver's door a temporary
audible signal warns the driver that the
lighting is on.
It will go off automatically after a period of
time that depends on the state of charge
in battery (entering energy-saving mode).
04
Lighting and visibility
Page 97 of 296
95
Automatic illumination of
headlamps
When a low level of ambient light is detected
by a sunshine sensor, the number plate
lamps,
sidelamps and dipped beam headlamps
are switched on automatically, without any
action on the part of the driver. They can also
come on if rain is detected, at the same time as
automatic operation of the windscreen wipers.
As soon as the brightness returns to a
sufficient level or after the windscreen wipers
are switched off, the lamps are switched off
automatically.
Switching on
Switching off
F Turn the ring to another position. Deactivation of the function is accompanied
by the display of a message in the screen.
Malfunction
In the event of a fault with the
sunshine sensor, the lighting comes
on, this warning lamp is displayed
in the instrument panel and/or a
message appears in the screen,
accompanied by an audible signal.
Contact the dealer network or a
qualified workshop.
In fog or snow, the sunshine sensor may
detect sufficient light. In this case, the
lighting will not come on automatically.
Do not cover the sunshine sensor, coupled
with the rain sensor and located in the
centre of the windscreen behind the rear
view mirror; the associated functions
would no longer be controlled.
Automatic guide-me-home
lighting
When the automatic headlamp illumination
function is activated (lighting control stalk in
the AUTO position), under low ambient light the
dipped beam headlamps remain on when the
ignition is switched off.
Programming
Activation, deactivation and the
duration of the guide-me-home
lighting are set in the vehicle
configuration or parameters menu .
Welcome lighting
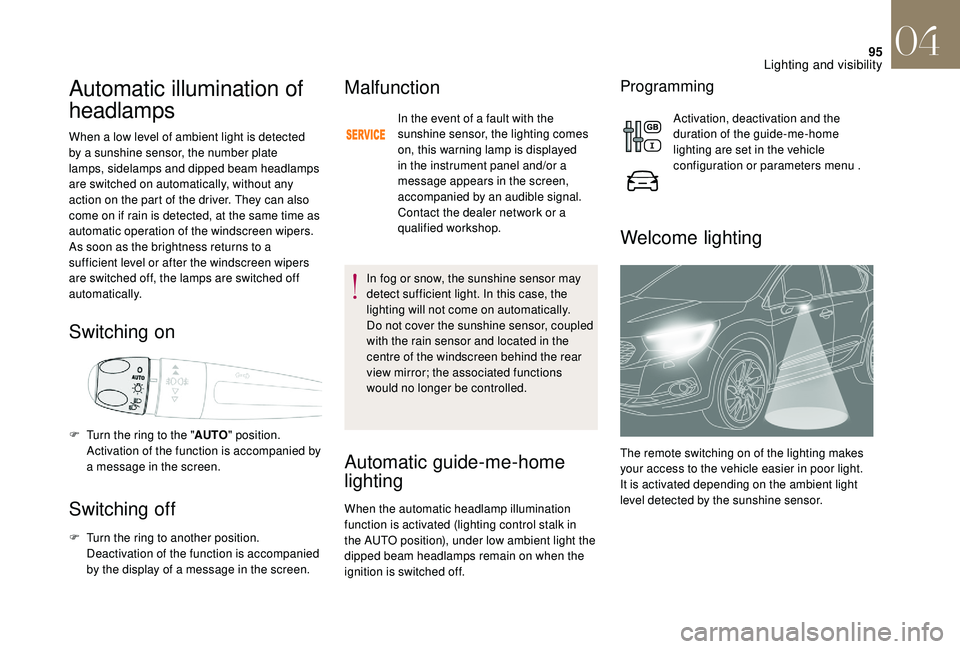
The remote switching on of the lighting makes
your access to the vehicle easier in poor light.
It is activated depending on the ambient light
level detected by the sunshine sensor.
F
T
urn the ring to the "
AUTO" position.
Activation of the function is accompanied by
a message in the screen.
04
Lighting and visibility
Page 101 of 296
99
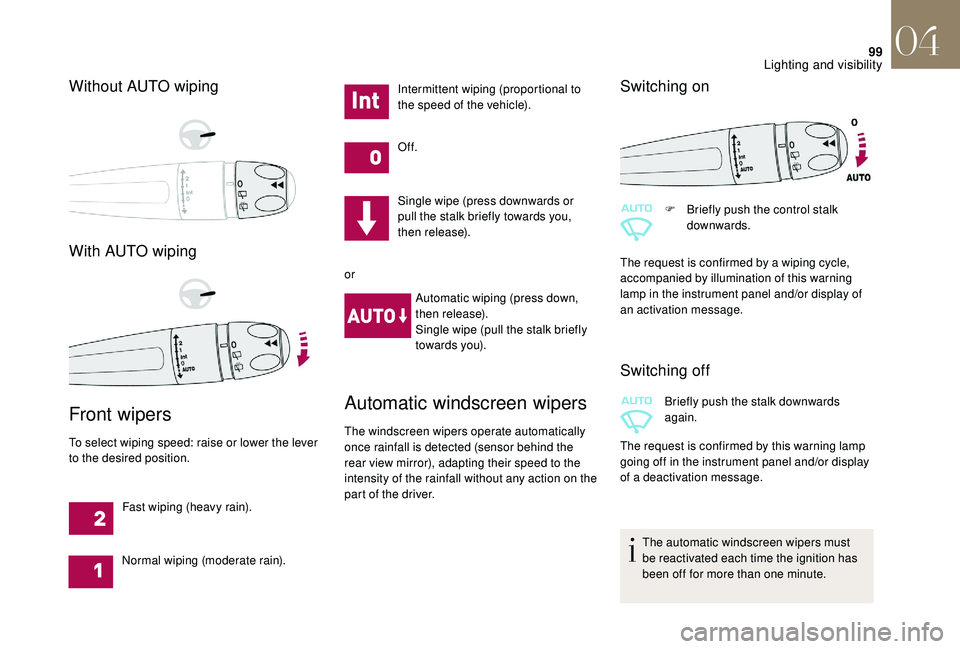
Without AUTO wiping
With AUTO wiping
Front wipers
To select wiping speed: raise or lower the lever
to the desired position.Fast wiping (heavy rain).
Normal wiping (moderate rain). Intermittent wiping (proportional to
the speed of the vehicle).
Of f.
Single wipe (press downwards or
pull the stalk briefly towards you,
then release).
or Automatic wiping (press down,
then release).
Single wipe (pull the stalk briefly
towards you).
Automatic windscreen wipers
The windscreen wipers operate automatically
once rainfall is detected (sensor behind the
rear view mirror), adapting their speed to the
intensity of the rainfall without any action on the
part of the driver.
Switching on
F Briefly push the control stalk downwards.
The request is confirmed by a wiping cycle,
accompanied by illumination of this warning
lamp in the instrument panel and/or display of
an activation message.
Switching off
Briefly push the stalk downwards
again.
The request is confirmed by this warning lamp
going off in the instrument panel and/or display
of a deactivation message.
The automatic windscreen wipers must
be reactivated each time the ignition has
been off for more than one minute.
04
Lighting and visibility