USB port CITROEN DS7 CROSSBACK 2017 Owners Manual
[x] Cancel search | Manufacturer: CITROEN, Model Year: 2017, Model line: DS7 CROSSBACK, Model: CITROEN DS7 CROSSBACK 2017Pages: 244, PDF Size: 6.87 MB
Page 58 of 244
56
Ease of use and comfort03
Sun visor
► With the ignition on, raise the concealing flap;
depending on the version, the mirror is illuminated
automatically.
This sun visor is also equipped with a ticket
holder.
Glove box
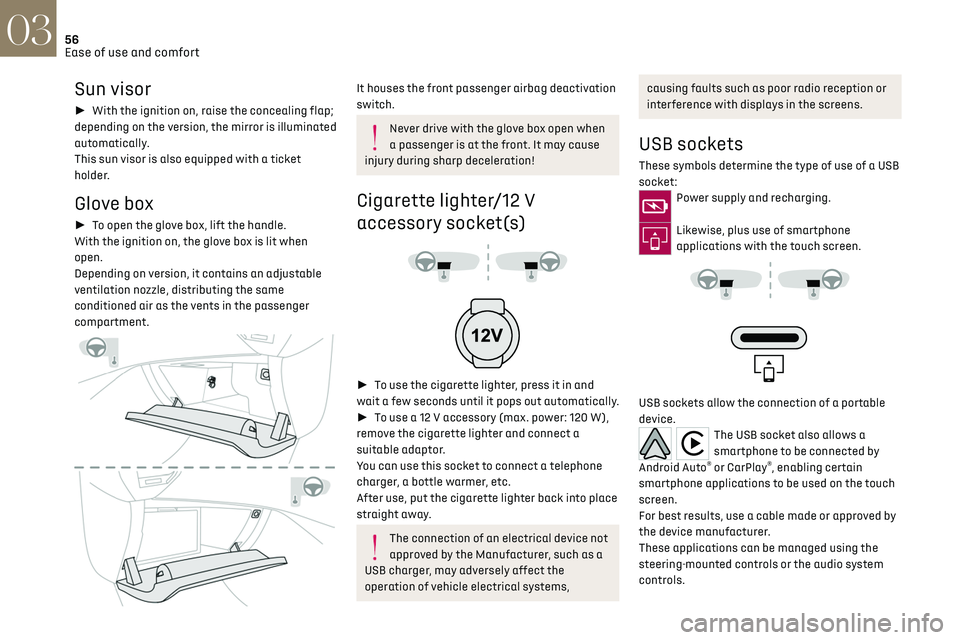
► To open the glove box, lift the handle.
With the ignition on, the glove box is lit when
open.
Depending on version, it contains an adjustable
ventilation nozzle, distributing the same
conditioned air as the vents in the passenger
compartment.
It houses the front passenger airbag deactivation
switch.
Never drive with the glove box open when
a passenger is at the front. It may cause
injury during sharp deceleration!
Cigarette lighter/12 V
accessory socket(s)
► To use the cigarette lighter, press it in and
wait a few seconds until it pops out automatically.
► To use a 12 V accessory (max. power: 120 W),
remove the cigarette lighter and connect a
suitable adaptor.
You can use this socket to connect a telephone
charger, a bottle warmer, etc.
After use, put the cigarette lighter back into place
straight away.
The connection of an electrical device not
approved by the Manufacturer, such as a
USB charger, may adversely affect the
operation of vehicle electrical systems,
causing faults such as poor radio reception or
interference with displays in the screens.
USB sockets
These symbols determine the type of use of a USB
socket:
Power supply and recharging.
Likewise, plus use of smartphone
applications with the touch screen.
USB sockets allow the connection of a portable
device.
The USB socket also allows a
smartphone to be connected by
Android Auto
® or CarPlay®, enabling certain
smartphone applications to be used on the touch
screen.
For best results, use a cable made or approved by
the device manufacturer.
These applications can be managed using the
steering-mounted controls or the audio system
controls.
Page 59 of 244
57
Ease of use and comfort03
When the USB socket is used, the portable
device charges automatically.
While charging, a message is displayed if the
power drawn by the portable device exceeds
the current supplied by the vehicle.
For more information about how to use this
equipment, refer to the sections describing the
audio and telematics systems.
Storage compartment
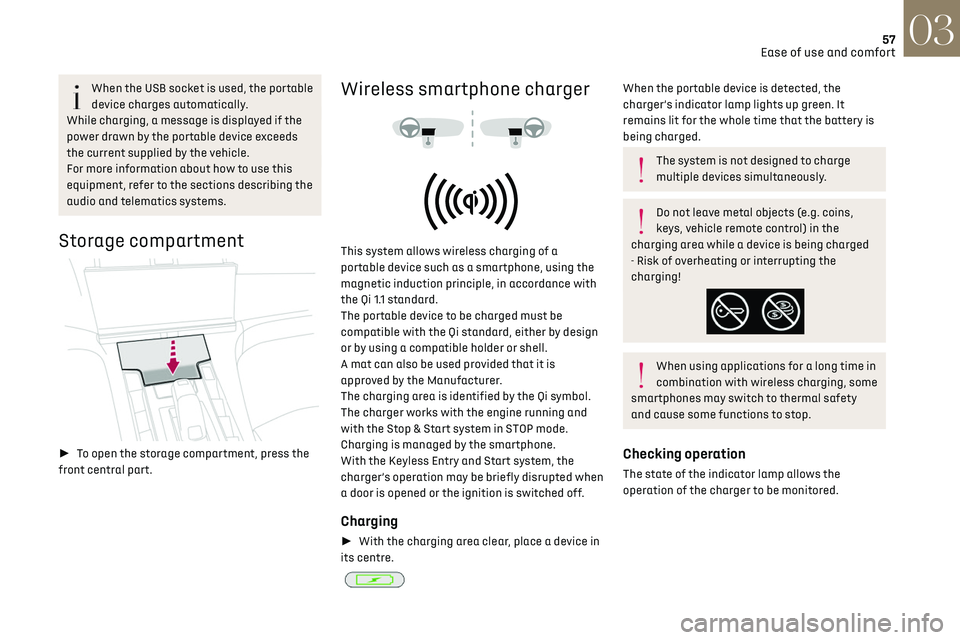
► To open the storage compartment, press the
front central part.
Wireless smartphone charger
This system allows wireless charging of a
portable device such as a smartphone, using the
magnetic induction principle, in accordance with
the Qi 1.1 standard.
The portable device to be charged must be
compatible with the Qi standard, either by design
or by using a compatible holder or shell.
A mat can also be used provided that it is
approved by the Manufacturer.
The charging area is identified by the Qi symbol.
The charger works with the engine running and
with the Stop & Start system in STOP mode.
Charging is managed by the smartphone.
With the Keyless Entry and Start system, the
charger’s operation may be briefly disrupted when
a door is opened or the ignition is switched off.
Charging
► With the charging area clear, place a device in
its centre.
When the portable device is detected, the
charger’s indicator lamp lights up green. It
remains lit for the whole time that the battery is
being charged.
The system is not designed to charge
multiple devices simultaneously.
Do not leave metal objects (e.g. coins,
keys, vehicle remote control) in the
charging area while a device is being charged
- Risk of overheating or interrupting the
charging!
When using applications for a long time in
combination with wireless charging, some
smartphones may switch to thermal safety
and cause some functions to stop.
Checking operation
The state of the indicator lamp allows the
operation of the charger to be monitored.
Page 62 of 244
60
Ease of use and comfort03
By default, the colour of the interior ambient
lighting is linked to that of the screens, depending
on the driving mode selected.
Activation/deactivation and adjustment of
the brightness are set via the Settings >
Brightness touch screen application.
The colour is selected via the Settings >
Customization touch screen application.
Rear fittings
USB sockets
Each USB socket is used only to power or recharge
a portable device.
Rear armrest
The armrest incorporates two cup holders.
Ski flap
Device for storing and transporting long objects.
Opening
► With the rear armrest lowered, open the flap
by pulling its handle downwards.
► Load the objects from inside the boot.
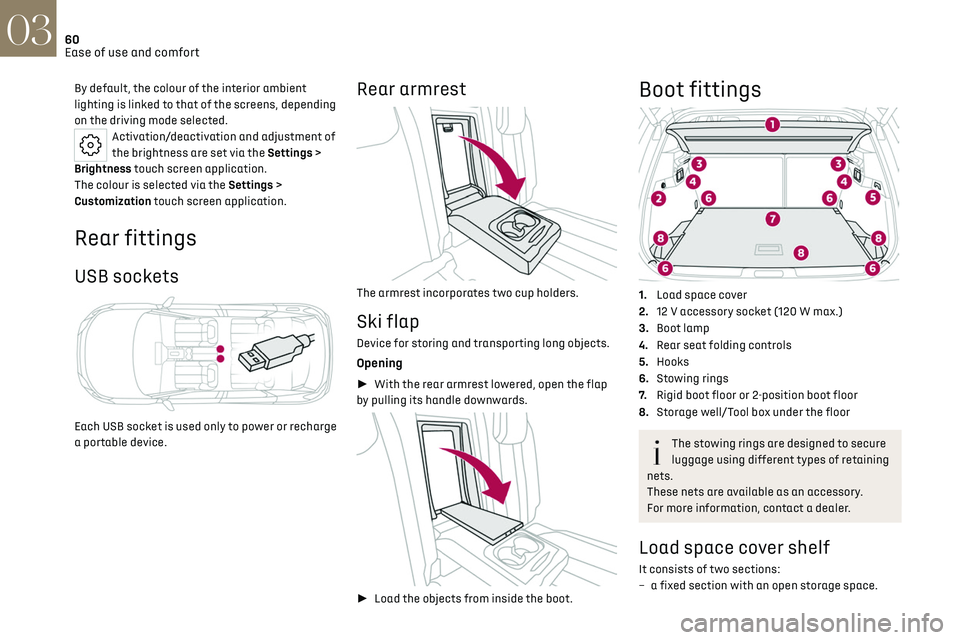
Boot fittings
1.Load space cover
2. 12 V accessory socket (120 W max.)
3. Boot lamp
4. Rear seat folding controls
5. Hooks
6. Stowing rings
7. Rigid boot floor or 2-position boot floor
8. Storage well/Tool box under the floor
The stowing rings are designed to secure
luggage using different types of retaining
nets.
These nets are available as an accessory.
For more information, contact a dealer.
Load space cover shelf
It consists of two sections:
– a fix ed section with an open storage space.
Page 203 of 244
201
DS IRIS SYSTEM - 12" touch screen Infotainment system10
Select "My trips" to display your favourite
routes.
Select "Parking" to display the various
parking options in the area.
Select "Service station" to display the
different service stations on the current
route or near the current location.
Select "TomTom service" to check the
network status.
Select "Settings" to enter the vehicle type
and to personalise the display, voice
instructions, map options, trip planning, sounds
and alerts, and system information.
Select this button to display details on
software versions as well as legal
information. Details of the Open Source software
libraries used and their licence URLs.
Regular connection to a secure Wi-Fi
access point automatically updates the
installed mapping globally.
The mapping is also updated using a cellular
network, depending on version, country of
sale, the vehicle's level of equipment, as well
as the subscription to connected services and
options.
However, using your smartphone's Wi-Fi and/or
cellular networks may incur additional charges
if you exceed your data plan.
These charges, if any, will be passed on to your
telephone operator's bill.
Connectivity
Connecting a wired device by
USB
The USB connection of a mobile device allows it
to be recharged. It makes its authorised media
content available to the system (Media content of
iPod
® type).Only one USB socket will allow a Mirror
Screen connection (Apple®CarPlay® or
Android Auto) for the compatible connected
mobile devices and to use some of the device's
applications on the touch screen.
For more information on the USB socket
compatible with the Mirror Screen
® function, refer
to the "Ease of use and comfort - Fittings" section.
The mobile device is in charging mode when
connected with the USB cable.
It is recommended that you use your
device's original USB cables, preferably
with a short cable to ensure optimum
performance.
To protect the system, do not use a USB
hub.
Bluetooth® connection
Connecting a mobile device to the vehicle's
system via Bluetooth® provides access to its
contents and its "Media" streaming. It also
enables the Phone function to be activated.
The connection can be initiated either from the
mobile device's Bluetooth
® menu or from the
vehicle's system, which requires opening the "My
Devices" menu for the first connection.
In some cases, you will need to unlock
your device and check the authorisation
to synchronise contacts and recent calls.
Some features may not be supported by your
device.
For information on the partial or full
compatibility of device models or
smartphones, please connect to the Brand’s
national website.
Pairing procedure from a device
From the Bluetooth® menu on your mobile
device, select the system’s name from the
list of detected devices.
In order to make your system’s Bluetooth®
visible, first open the "My Devices" menu
on the system.
Continue the first connection procedure proposed
by the system and on the device.
For example: validating pairing codes.
Pairing procedure from the system
Press the "Settings" application.
In the list, select the "Connectivity" tab.
Page 204 of 244
202
DS IRIS SYSTEM - 12" touch screen Infotainment system10
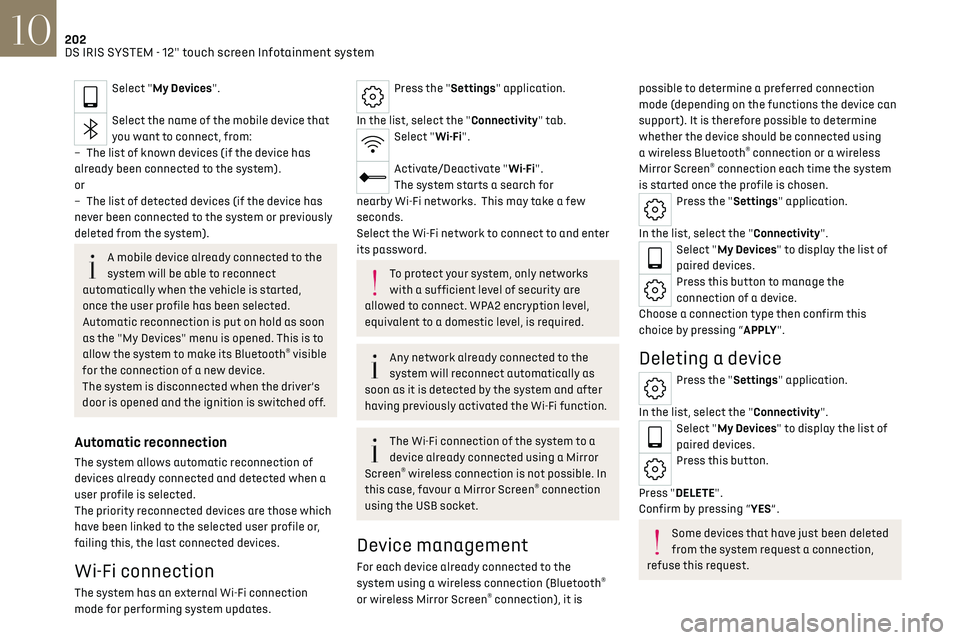
Select "My Devices".
Select the name of the mobile device that
you want to connect, from:
–
The list o
f known devices (if the device has
already been connected to the system).
or
–
The list o
f detected devices (if the device has
never been connected to the system or previously
deleted from the system).
A mobile device already connected to the
system will be able to reconnect
automatically when the vehicle is started,
once the user profile has been selected.
Automatic reconnection is put on hold as soon
as the "My Devices" menu is opened. This is to
allow the system to make its Bluetooth
® visible
for the connection of a new device.
The system is disconnected when the driver’s
door is opened and the ignition is switched off.
Automatic reconnection
The system allows automatic reconnection of
devices already connected and detected when a
user profile is selected.
The priority reconnected devices are those which
have been linked to the selected user profile or,
failing this, the last connected devices.
Wi-Fi connection
The system has an external Wi-Fi connection
mode for performing system updates.
Press the "Settings" application.
In the list, select the "Connectivity" tab.
Select "Wi-Fi".
Activate/Deactivate "Wi-Fi".
The system starts a search for
nearby Wi-Fi networks. This may take a few
seconds.
Select the Wi-Fi network to connect to and enter
its password.
To protect your system, only networks
with a sufficient level of security are
allowed to connect. WPA2 encryption level,
equivalent to a domestic level, is required.
Any network already connected to the
system will reconnect automatically as
soon as it is detected by the system and after
having previously activated the Wi-Fi function.
The Wi-Fi connection of the system to a
device already connected using a Mirror
Screen
® wireless connection is not possible. In
this case, favour a Mirror Screen® connection
using the USB socket.
Device management
For each device already connected to the
system using a wireless connection (Bluetooth®
or wireless Mirror Screen® connection), it is
possible to determine a preferred connection
mode (depending on the functions the device can
support). It is therefore possible to determine
whether the device should be connected using
a wireless Bluetooth
® connection or a wireless
Mirror Screen® connection each time the system
is started once the profile is chosen.
Press the "Settings" application.
In the list, select the "Connectivity".
Select "My Devices" to display the list of
paired devices.
Press this button to manage the
connection of a device.
Choose a connection type then confirm this
choice by pressing “APPLY".
Deleting a device
Press the "Settings" application.
In the list, select the "Connectivity".
Select "My Devices" to display the list of
paired devices.
Press this button.
Press "DELETE".
Confirm by pressing “YES”.
Some devices that have just been deleted
from the system request a connection,
refuse this request.
Page 207 of 244
205
DS IRIS SYSTEM - 12" touch screen Infotainment system10
Radio reception may be affected by the
use of electrical equipment not approved
by the Brand, such as a charger with USB
socket connected to the 12 V socket.
The exterior environment (hills, buildings,
tunnels, basement car parks, etc.) may
block reception, including in RDS mode. This
phenomenon is normal in the propagation
of radio waves and does not indicate any
malfunction of the system.
Storing a radio station
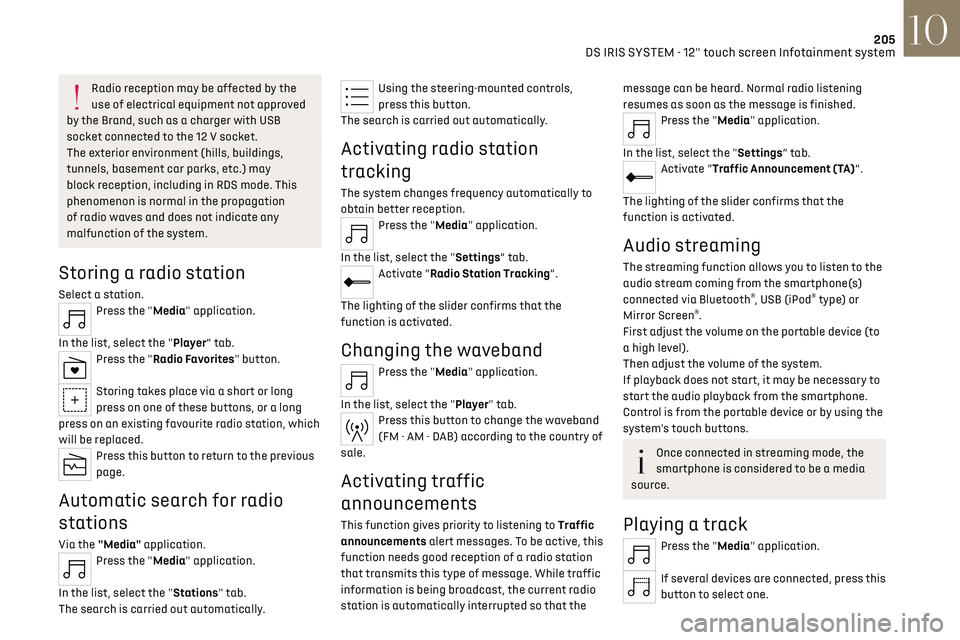
Select a station.Press the "Media" application.
In the list, select the "Player” tab.
Press the "Radio Favorites" button.
Storing takes place via a short or long
press on one of these buttons, or a long
press on an existing favourite radio station, which
will be replaced.
Press this button to return to the previous
page.
Automatic search for radio
stations
Via the "Media" application.Press the "Media" application.
In the list, select the "Stations" tab.
The search is carried out automatically.
Using the steering-mounted controls,
press this button.
The search is carried out automatically.
Activating radio station
tracking
The system changes frequency automatically to
obtain better reception.
Press the "Media" application.
In the list, select the "Settings” tab.
Activate “Radio Station Tracking”.
The lighting of the slider confirms that the
function is activated.
Changing the waveband
Press the "Media" application.
In the list, select the "Player" tab.
Press this button to change the waveband
(FM - AM - DAB) according to the country of
sale.
Activating traffic
announcements
This function gives priority to listening to Traffic
announcements alert messages. To be active, this
function needs good reception of a radio station
that transmits this type of message. While traffic
information is being broadcast, the current radio
station is automatically interrupted so that the
message can be heard. Normal radio listening
resumes as soon as the message is finished.
Press the "Media" application.
In the list, select the "Settings” tab.
Activate “Traffic Announcement (TA)”.
The lighting of the slider confirms that the
function is activated.
Audio streaming
The streaming function allows you to listen to the
audio stream coming from the smartphone(s)
connected via Bluetooth
®, USB (iPod® type) or
Mirror Screen®.
First adjust the volume on the portable device (to
a high level).
Then adjust the volume of the system.
If playback does not start, it may be necessary to
start the audio playback from the smartphone.
Control is from the portable device or by using the
system's touch buttons.
Once connected in streaming mode, the
smartphone is considered to be a media
source.
Playing a track
Press the "Media" application.
If several devices are connected, press this
button to select one.
Page 208 of 244
206
DS IRIS SYSTEM - 12" touch screen Infotainment system10
Once the device is connected, browsing through
the files is possible by pressing the "Playlist" or
"Library" button.
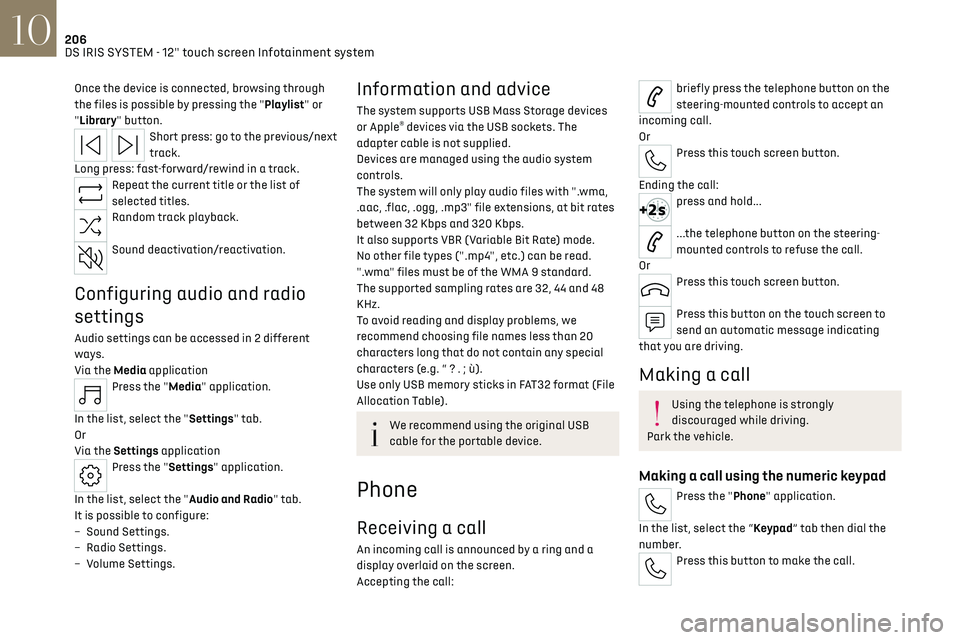
Short press: go to the previous/next
track.
Long press: fast-forward/rewind in a track.
Repeat the current title or the list of
selected titles.
Random track playback.
Sound deactivation/reactivation.
Configuring audio and radio
settings
Audio settings can be accessed in 2 different
ways.
Via the Media application
Press the "Media" application.
In the list, select the "Settings" tab.
Or
Via the Settings application
Press the "Settings" application.
In the list, select the "Audio and Radio" tab.
It is possible to configure:
–
Sound Settings.
–
Radio Settings.
–
V
olume Settings.
Information and advice
The system supports USB Mass Storage devices
or Apple® devices via the USB sockets. The
adapter cable is not supplied.
Devices are managed using the audio system
controls.
The system will only play audio files with ".wma,
.aac, .flac, .ogg, .mp3" file extensions, at bit rates
between 32 Kbps and 320 Kbps.
It also supports VBR (Variable Bit Rate) mode.
No other file types (".mp4", etc.) can be read.
".wma" files must be of the WMA 9 standard.
The supported sampling rates are 32, 44 and 48
KHz.
To avoid reading and display problems, we
recommend choosing file names less than 20
characters long that do not contain any special
characters (e.g. “ ? . ; ù).
Use only USB memory sticks in FAT32 format (File
Allocation Table).
We recommend using the original USB
cable for the portable device.
Phone
Receiving a call
An incoming call is announced by a ring and a
display overlaid on the screen.
Accepting the call:
briefly press the telephone button on the
steering-mounted controls to accept an
incoming call.
Or
Press this touch screen button.
Ending the call:
press and hold...
...the telephone button on the steering-
mounted controls to refuse the call.
Or
Press this touch screen button.
Press this button on the touch screen to
send an automatic message indicating
that you are driving.
Making a call
Using the telephone is strongly
discouraged while driving.
Park the vehicle.
Making a call using the numeric keypad
Press the "Phone" application.
In the list, select the “Keypad” tab then dial the
number.
Press this button to make the call.
Page 219 of 244
217Alphabetical index
Night Vision 70
O
Obstacle detection 137
Oil change
161
Oil consumption
161
Oil, engine
161
On-board tools
62, 170–172
Opening the bonnet
160
Opening the boot
28, 32
Opening the doors
28, 32
P
Pads, brake 164
Paint
168, 193
Paint colour code
193
Parcel shelf, rear
60
Parking brake, electric
99–101, 164
Parking (sensors)
137
Parking sensors, audible and visual
137
Parking sensors, front
137
Parking sensors, rear
137
Parking sensors, side
138
Passenger compartment temperature
pre-conditioning (Rechargeable hybrid)
25, 54
Pedestrian horn (Rechargeable hybrid)
77
Personalisation
10
Plates, identification 193
Port, USB
56, 60
Power
20
Power indicator (Rechargeable hybrid)
8, 20
Pressures, tyres
164, 173–174, 193
Pre-tensioning (seat belts)
83
Priming the fuel system
170
Profiles
195
Programmable cruise control
119
Protecting children
84, 86–91, 94
Puncture
172–173, 175
R
Radar (warnings) 112
Radio
204–205
Range, AdBlue®
19, 163
Reading lamps, touch-sensitive
59
READY (warning lamp)
160
Rear air blower
53
Rear screen (demisting)
54
Rechargeable
hybrid engine
8, 24, 159–160, 186, 192
Rechargeable
hybrid system
6, 8, 24, 98, 107, 145
Recharging the battery
181–182, 184
Recharging the traction battery
149
Recharging the traction battery
(Rechargeable hybrid)
145, 153–154
Recirculation, air
52–53
Recorder, trip distance 21
Reduction of electrical load (mode)
159
Regeneration of the particle filter
163
Regenerative braking
(deceleration by engine braking)
105
Reinitialising the remote control
32
Reinitialising the under-inflation
detection system
111
Reminder, lighting on
63–64
Remote control
26–30
Remote functions
155
Remotely operable functions
(Rechargeable hybrid)
24–25, 54
Removing a wheel
175–177
Removing the mat
59
Replacing bulbs
178–179
Replacing fuses
180
Replacing the air filter
163
Replacing the oil filter
163
Replacing the passenger
compartment filter
163
Reservoir, screenwash
162
Resetting the trip
22
Reversing camera
112, 138–140
Reversing lamps
179
Roof bars
157–158
Running out of fuel (Diesel)
170