wiring CITROEN DS7 CROSSBACK 2017 Owners Manual
[x] Cancel search | Manufacturer: CITROEN, Model Year: 2017, Model line: DS7 CROSSBACK, Model: CITROEN DS7 CROSSBACK 2017Pages: 244, PDF Size: 6.87 MB
Page 39 of 244

37
Access02
► remove the electronic key from the
recognition zone, with the tailgate closed.
For more information on the Towing device
with quickly detachable towball, refer to the
corresponding section.
Alarm
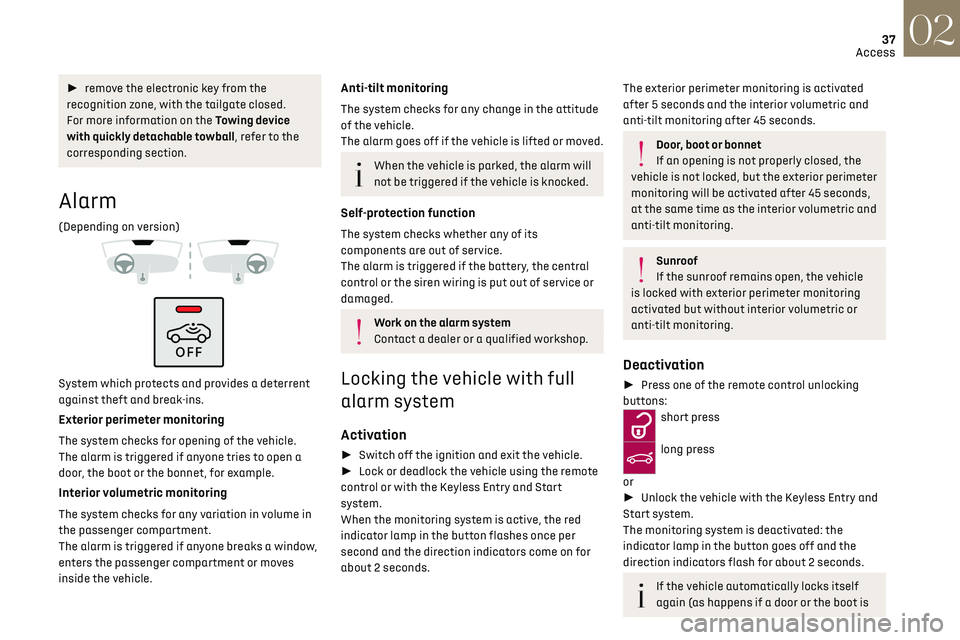
(Depending on version)
System which protects and provides a deterrent
against theft and break-ins.
Exterior perimeter monitoring
The system checks for opening of the vehicle.
The alarm is triggered if anyone tries to open a
door, the boot or the bonnet, for example.
Interior volumetric monitoring
The system checks for any variation in volume in
the passenger compartment.
The alarm is triggered if anyone breaks a window,
enters the passenger compartment or moves
inside the vehicle.
Anti-tilt monitoring
The system checks for any change in the attitude
of the vehicle.
The alarm goes off if the vehicle is lifted or moved.
When the vehicle is parked, the alarm will
not be triggered if the vehicle is knocked.
Self-protection function
The system checks whether any of its
components are out of service.
The alarm is triggered if the battery, the central
control or the siren wiring is put out of service or
damaged.
Work on the alarm system
Contact a dealer or a qualified workshop.
Locking the vehicle with full
alarm system
Activation
► Switch off the ignition and exit the vehicle.
► Lock or deadlock the vehicle using the remote
control or with the Keyless Entry and Start
system.
When the monitoring system is active, the red
indicator lamp in the button flashes once per
second and the direction indicators come on for
about 2 seconds.
The exterior perimeter monitoring is activated
after 5 seconds and the interior volumetric and
anti-tilt monitoring after 45 seconds.
Door, boot or bonnet
If an opening is not properly closed, the
vehicle is not locked, but the exterior perimeter
monitoring will be activated after 45 seconds,
at the same time as the interior volumetric and
anti-tilt monitoring.
Sunroof
If the sunroof remains open, the vehicle
is locked with exterior perimeter monitoring
activated but without interior volumetric or
anti-tilt monitoring.
Deactivation
► Press one of the remote control unlocking
buttons:
short press
long press
or
► Unlock the vehicle with the Keyless Entry and
Start system.
The monitoring system is deactivated: the
indicator lamp in the button goes off and the
direction indicators flash for about 2 seconds.
If the vehicle automatically locks itself
again (as happens if a door or the boot is
Page 157 of 244

155
Practical information07
► If the vehicle is unlocked, lock it and then
unlock it.
If selective unlocking of the doors is
activated, press the unlocking button on
the remote control twice to disconnect the
nozzle.
The red indicator lamp in the flap goes out to
confirm that the nozzle is unlocked.
► Within 30 seconds, remove the charging
nozzle.
Domestic charging (mode 2)
The end of charging is confirmed when the
green CHARGE indicator lamp on the control unit
comes on fixed and the green light guides in the
flap come on fixed.
► After disconnection, replace the protective
cover over the nozzle and close the charging flap.
► Disconnect the control unit's charging cable
from the domestic socket.
Accelerated charging (mode 3)
The end of charging is confirmed by the
accelerated charging unit (Wallbox) and when the
green light guides in the flap come on fixed.
► After disconnection, replace the nozzle on to
the charging unit and close the charging flap.
Deferred charging
By default, the deferred charging start time is set
to be around midnight. Depending on equipment, this time can be
changed.
Settings
►
In the Energy touch screen application,
select the Charging tab.
► Set the charging start time.
► Press OK.
The setting is saved in the system.
You can also programme the deferred
charging function using a smartphone, via
the MyDS App application.
For more information on Remotely operable
additional functions, refer to the corresponding
section.
Activation
► After programming the deferred charging,
connect the vehicle to the desired charging
equipment.
► Press this button in the flap within one
minute to activate the deferred charging
(confirmed by the light guides coming on in blue).
Towing device
Load distribution
► Distribute the load in the trailer so that
the heaviest items are as close as possible to
the axle, and the nose weight approaches the
maximum permitted without exceeding it.
Air density decreases with altitude, thus reducing
engine performance. The maximum towable
load must be reduced by 10% per 1,000 metres of
altitude.
Use genuine towing devices and wiring
harnesses approved by the Manufacturer.
We recommend having them fitted by a dealer
or a qualified workshop.
If not fitted by a dealer, they must still be
fitted in accordance with the Manufacturer's
instructions.
Important: if the vehicle has a motorised
tailgate and Hands-Free Tailgate Access
function, and a towing device has been fitted
outside the dealer network, it is essential to
visit a dealer or a qualified workshop to have
the detection system recalibrated - risk of
malfunction of the Hands-Free Tailgate Access
function.
Certain driving or manoeuvring aid functions
are automatically deactivated while an
approved towing system is in use.
For more information about driving with a
towing device fitted to a trailer and associated
with the Trailer stability assist, refer to the
corresponding section.
Comply with the maximum authorised
towable weight, as indicated on your
vehicle's registration certificate, on the
manufacturer's label and in the Technical data
section of this guide.