lock CITROEN E-MEHARI 2022 Owner's Manual
[x] Cancel search | Manufacturer: CITROEN, Model Year: 2022, Model line: E-MEHARI, Model: CITROEN E-MEHARI 2022Pages: 84, PDF Size: 3.48 MB
Page 64 of 84

62
Stopping the charge
The charging nozzle will only disconnect if
your E-MEHARI is unlocked using the personal
RFID key ring.
1.Press the charging shut-off button in
the charging socket panel, wait until the
charging nozzle is unlocked then pull it
out. If you do not remove the charging
nozzle within the next 10
seconds, the
vehicle star ts charging again. You will
then have to star t the operation again.
2. Refit the protective cover on the charging
nozzle.
3. Disconnect the plug from the power point.
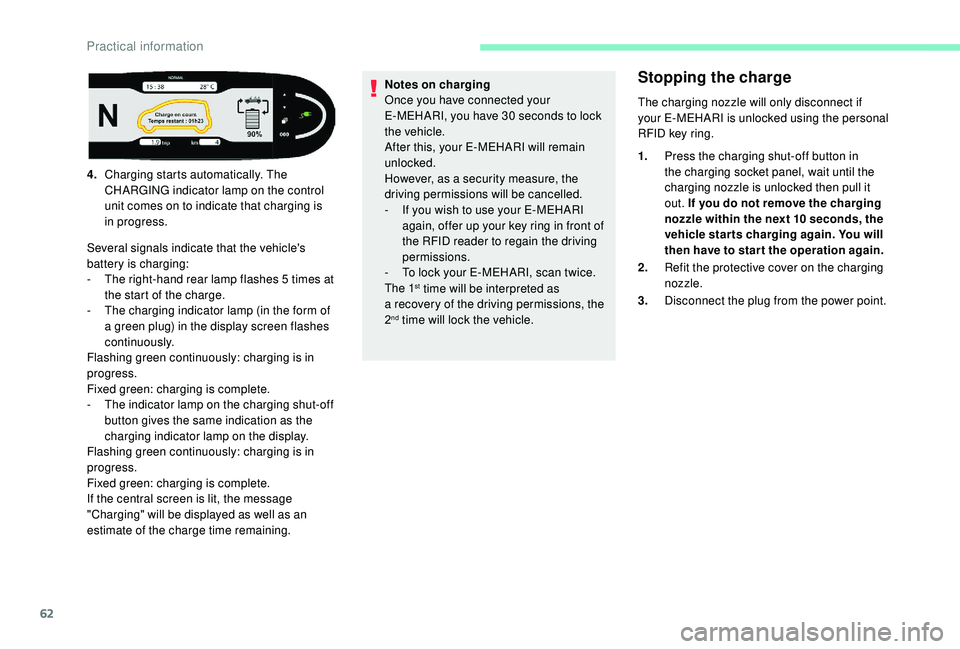
4.
Charging starts automatically. The
CHARGING indicator lamp on the control
unit comes on to indicate that charging is
in progress.
Several signals indicate that the vehicle's
battery is charging:
-
T
he right-hand rear lamp flashes 5
times at
the start of the charge.
-
T
he charging indicator lamp (in the form of
a
green plug) in the display screen flashes
continuously.
Flashing green continuously: charging is in
progress.
Fixed green: charging is complete.
-
T
he indicator lamp on the charging shut-off
button gives the same indication as the
charging indicator lamp on the display.
Flashing green continuously: charging is in
progress.
Fixed green: charging is complete.
If the central screen is lit, the message
"Charging" will be displayed as well as an
estimate of the charge time remaining. Notes on charging
Once you have connected your
E-MEHARI, you have 30
seconds to lock
the vehicle.
After this, your E-MEHARI will remain
unlocked.
However, as a
security measure, the
driving permissions will be cancelled.
-
I
f you wish to use your E-MEHARI
again, offer up your key ring in front of
the RFID reader to regain the driving
permissions.
-
T
o lock your E-MEHARI, scan twice.
The 1
st time will be interpreted as
a
recovery of the driving permissions, the
2
nd time will lock the vehicle.
Practical information
Page 68 of 84

66
To top up the screenwash fluid: remove the cap
from the reser voir, place a funnel in the neck
of the reser voir and fill the reser voir up to the
"MAX" mark.
In low temperatures, use a
screenwash
fluid with adequate protection against
freezing.
Always be extremely vigilant when
filling the screenwash reservoir and
take account of the general safety
recommendations mentioned in this
handbook.
Hibernation mode
Hibernation mode allows the consumption
of energy from the battery to be reduced to
a
minimum.
In this way you can park your E-MEHARI, not
connected and therefore with no consumption
of electrical energy, for several weeks or even
several months.
Coming out of hibernation mode takes 4
hours
and is followed by the charging time (a
maximum of between 8
and 13 hours).
You cannot put your E-MEHARI into
hibernation with a
battery state of charge
of less than 25%.
Going into hibernation
mode
Maximum hibernation period
depending on the state of charge
of the battery
In hibernation, the battery will self-discharge by
between 0.5% and 1% per day.
Therefore, the maximum duration of
hibernation depending on the battery charge
level is:
100%: 4
months
75% – 99%: 3
months
50% – 74%: 2
months
25% – 49%: 1
month 2.
If necessary, unlock your vehicle and
disconnect the charging plug.
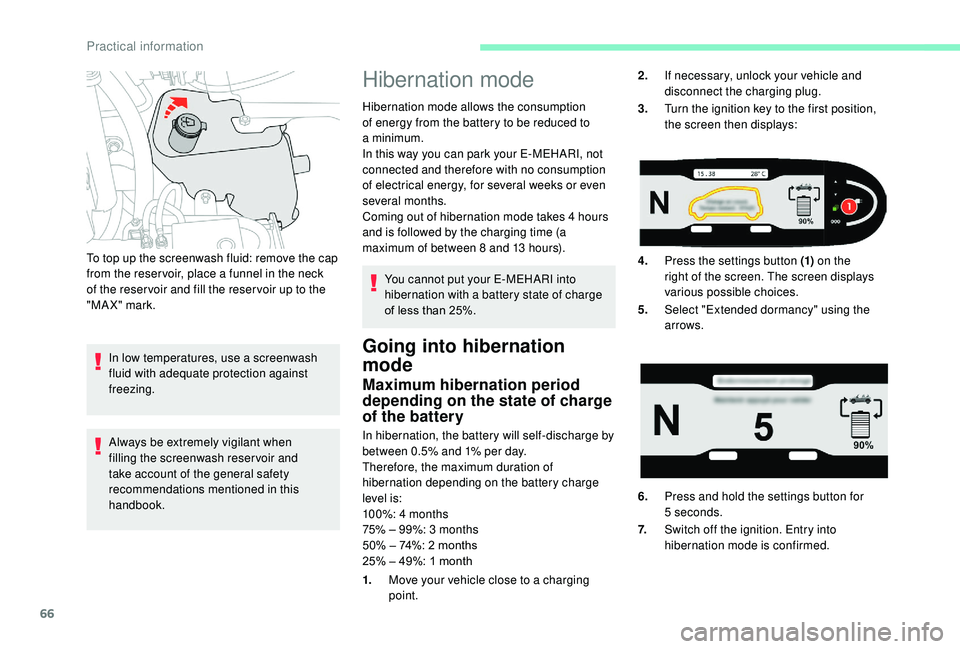
3. Turn the ignition key to the first position,
the screen then displays:
4. Press the settings button (1) on the
right of the screen. The screen displays
various possible choices.
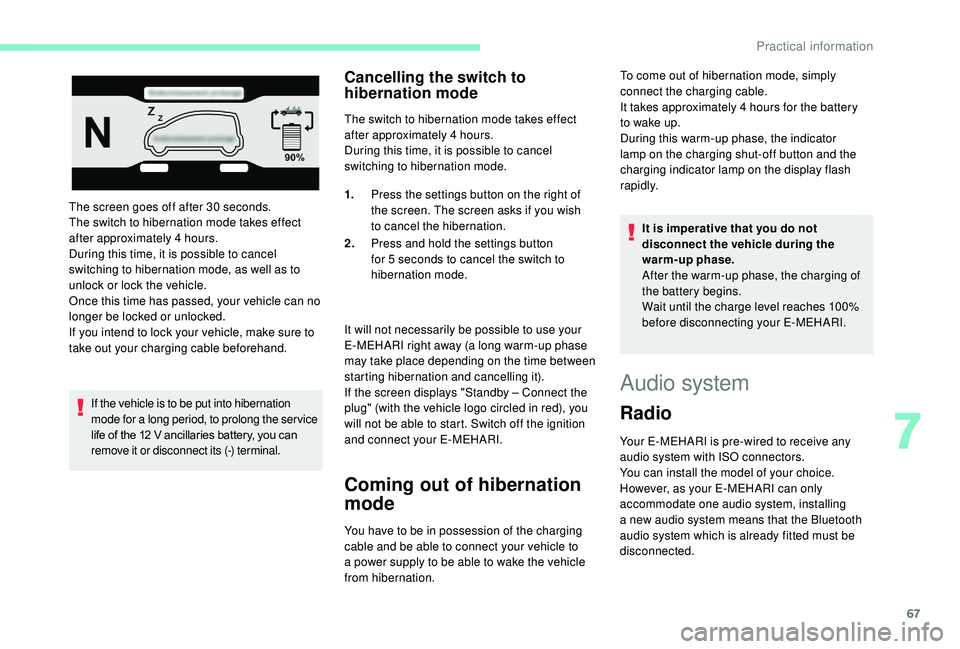
5. Select "Extended dormancy" using the
arrows.
6. Press and hold the settings button for
5
seconds.
7. Switch off the ignition. Entry into
hibernation mode is confirmed.
1. Move your vehicle close to a
charging
point.
Practical information
Page 69 of 84

67
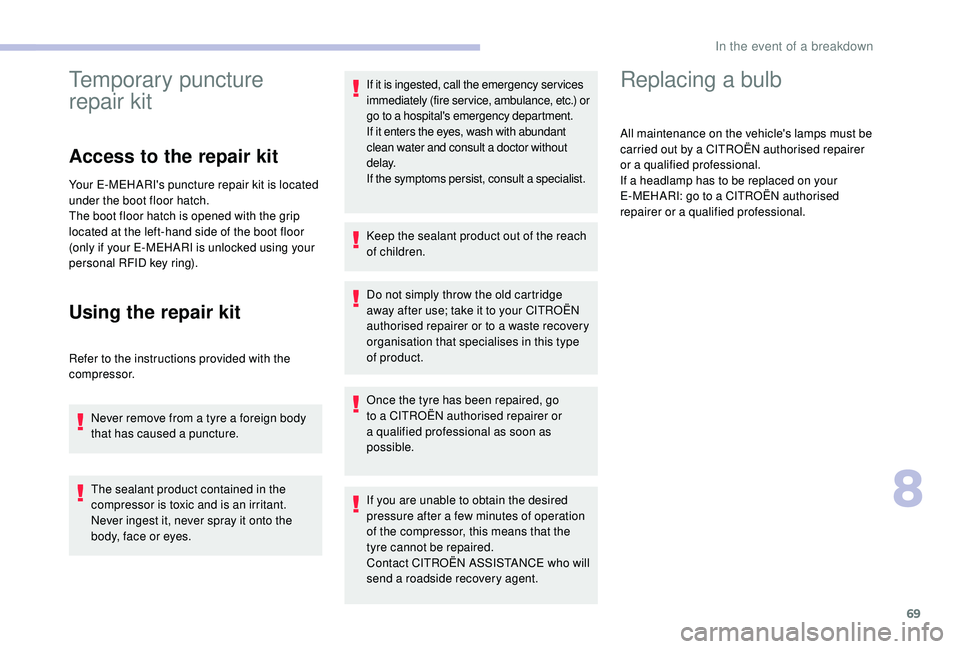
The screen goes off after 30 seconds.
T he switch to hibernation mode takes effect
after approximately 4
hours.
During this time, it is possible to cancel
switching to hibernation mode, as well as to
unlock or lock the vehicle.
Once this time has passed, your vehicle can no
longer be locked or unlocked.
If you intend to lock your vehicle, make sure to
take out your charging cable beforehand.
If the vehicle is to be put into hibernation
mode for a
long period, to prolong the ser vice
life of the 12
V ancillaries battery, you can
remove it or disconnect its (-) terminal.
Cancelling the switch to
hibernation mode
The switch to hibernation mode takes effect
after approximately 4 hours.
During this time, it is possible to cancel
switching to hibernation mode.
It will not necessarily be possible to use your
E-MEHARI right away (a long warm-up phase
may take place depending on the time between
starting hibernation and cancelling it).
If the screen displays "Standby – Connect the
plug" (with the vehicle logo circled in red), you
will not be able to start. Switch off the ignition
and connect your E-MEHARI.
Coming out of hibernation
mode
You have to be in possession of the charging
cable and be able to connect your vehicle to
a
power supply to be able to wake the vehicle
from hibernation. 1.
Press the settings button on the right of
the screen. The screen asks if you wish
to cancel the hibernation.
2. Press and hold the settings button
for 5 seconds to cancel the switch to
hibernation mode. It is imperative that you do not
disconnect the vehicle during the
warm-up phase.
After the warm-up phase, the charging of
the battery begins.
Wait until the charge level reaches 100%
before disconnecting your E-MEHARI.
Audio system
Radio
Your E-MEHARI is pre-wired to receive any
audio system with ISO connectors.
You can install the model of your choice.
However, as your E-MEHARI can only
accommodate one audio system, installing
a
new audio system means that the Bluetooth
audio system which is already fitted must be
disconnected. To come out of hibernation mode, simply
connect the charging cable.
It takes approximately 4
hours for the battery
to wake up.
During this warm-up phase, the indicator
lamp on the charging shut-off button and the
charging indicator lamp on the display flash
rapidly.
7
Practical information
Page 71 of 84

69
Temporary puncture
repair kit
Access to the repair kit
Your E-MEHARI's puncture repair kit is located
under the boot floor hatch.
The boot floor hatch is opened with the grip
located at the left-hand side of the boot floor
(only if your E-MEHARI is unlocked using your
personal RFID key ring).
Using the repair kit
Refer to the instructions provided with the
compressor.Never remove from a
tyre a foreign body
that has caused a puncture.
The sealant product contained in the
compressor is toxic and is an irritant.
Never ingest it, never spray it onto the
body, face or eyes. If it is ingested, call the emergency services
immediately (fire service, ambulance, etc.) or
go to a
hospital's emergency department.
If it enters the eyes, wash with abundant
clean water and consult a doctor without
d e l ay.
If the symptoms persist, consult a specialist.
Keep the sealant product out of the reach
of children.
Do not simply throw the old cartridge
away after use; take it to your CITROËN
authorised repairer or to a waste recovery
organisation that specialises in this type
of product.
Once the tyre has been repaired, go
to a
CITROËN authorised repairer or
a
qualified professional as soon as
possible.
If you are unable to obtain the desired
pressure after a
few minutes of operation
of the compressor, this means that the
tyre cannot be repaired.
Contact CITROËN ASSISTANCE who will
send a
roadside recovery agent.
Replacing a bulb
All maintenance on the vehicle's lamps must be
carried out by a
CITROËN authorised repairer
or a
qualified professional.
If a
headlamp has to be replaced on your
E-MEHARI: go to a
CITROËN authorised
repairer or a qualified professional.
8
In the event of a breakdown
Page 79 of 84

77
Access, charging socket .....................10, 58, 61
Accessories .................................................... 34
Adjusting the time
.......................................... 7- 9
Advice on driving
............................................ 50
Airbags
...............................
............39-41, 43-46
Airbags, curtain
......................................... 4 0 - 41
Airbags, front ....................................... 4 0 - 41, 4 4
Airbags, lateral
.......................................... 4 0 - 41
Air conditioning
......................................... 28-29
Anti-theft/Immobiliser
...............................10, 36
Assistance call
...............................
.....29, 35 -36
Care of interior trim
......................................... 57
C
are of the bodywork...................................... 57
Central locking
........................................... 1
0 -11
Characteristics (components)
....................72-73
Charger, built-in
.............................................. 73
Child seats
..............................
......42- 43, 47- 48
Conditioning, air
........................................ 28-29
Controls
.......................................................... 7- 9
Coolant, motor
................................................ 65
Courtesy lamp
................................................. 29A
B
C
Battery ..................................... 3 - 6, 66 - 67, 72-73
Bonnet ....................................................... 64-65
Boot flap
.......................................................... 17
Braking
...............
............................................. 76
Brightness
...................................................... 7- 9
Bulbs
............................................................... 69
F
H
I
Fault, electric .................................................5-6
Flap, charging ..................................... 1
0, 58, 61
Foglamp, rear
............................................. 31- 32
Fuses
.......................................................... 7
0 -71
Hard top (rigid roof)
.................................... 18
-21
Hazard warning lamps
..............................48-49
Headlamps, automatic illumination
................32
Headlamps, dipped beam
..........................31- 32
Headlamps, main beam
.............................31- 32
Heating
............................................................ 26
Hi
bernation mode
..................................... 66 - 67
High voltage
........3 - 6, 35 -36, 58, 64- 65, 70, 73 Identification, vehicle
......................................
72
Indicators: speed – time – temperature .........
7- 9
Inflating tyres
.............................................
74 -75
Instrument panel
............................................
7- 9
Instruments and controls ..................................
3
ISOFIX mountings ..................................... 47- 4 8
D
Dashboard ...................................................... 7- 9
Daytime running lamps ...................................31
Deactivating the passenger airbag
.....40, 43 - 46
Demisting/defrosting the windscreen
.............28
Design
........................................................... 3-6
Dimensions
..............................
.......................73
Direction indicators
................................... 31, 4 8
Doors
.......................................................... 10 -12
Drive selector
.................................................. 54K
Key ring, personal RFID ......................1 0 -11, 3 6
Lamps, indicator/warning
.............................. 7-
9
Levels
........................................................ 65-66
Lighting, exterior
........................................ 31- 33
Lighting, interior
...............................
...............29
Locking, central
...............................
...........11 -12
L
M
Maintenance ................................................... 57
Maintenance, mechanical .........................64-66
Mirrors
...............................
..............................25
Mobility, electric
............................................ 3-6
Motor characteristics
...................................... 72
O
Opening (access) ...................................... 10 -21
.
Alphabetical index