warning light Citroen JUMPY 2011 2.G User Guide
[x] Cancel search | Manufacturer: CITROEN, Model Year: 2011, Model line: JUMPY, Model: Citroen JUMPY 2011 2.GPages: 260, PDF Size: 9.5 MB
Page 63 of 260
61
Ventilation
EASE OF USE
and
COMFOR
T
3
Good practice
To avoid any risk of poisoning or
asphyxiation, the heater must not be used,
even for short periods, in an enclosed space
such as a garage or workshop which is not
fitted with an exhaust gas extraction system.
Do not park the vehicle on an inflammable
surface (dry grass, dead leaves, paper…),
there is a risk of fire. The temperature near the heater must not
exceed 120 °C. A temperature higher than
this (for example in the case of painting in
an oven) could damage the components of
the electronic circuits.
The heater is supplied by the vehicle's fuel
tank. Ensure that the low fuel warning lamp
is not on.
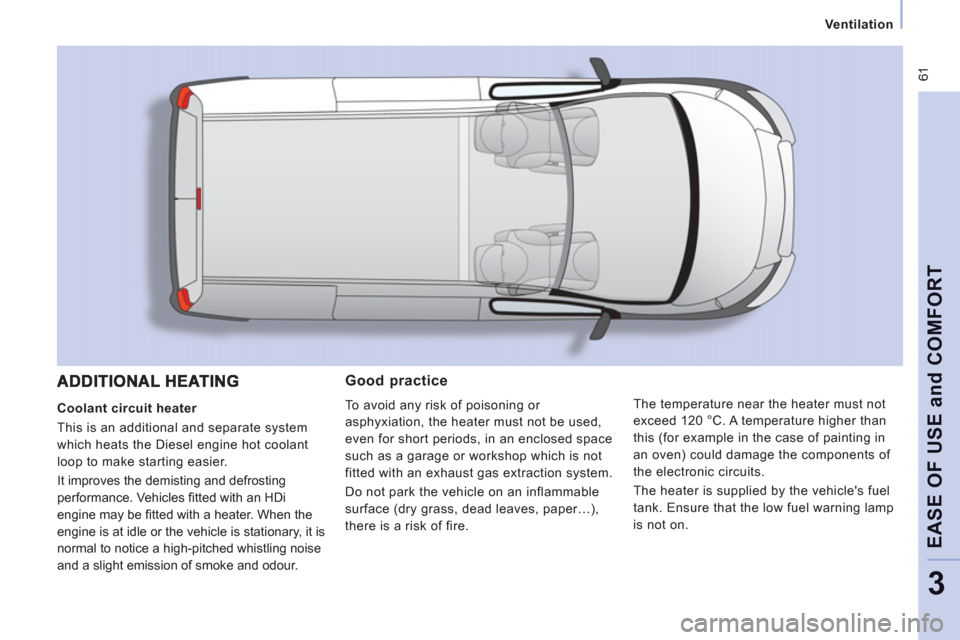
Coolant circuit heater
This is an additional and separate system
which heats the Diesel engine hot coolant
loop to make starting easier.
It improves the demisting and defrosting
performance. Vehicles fi tted with an HDi
engine may be fi tted with a heater. When the
engine is at idle or the vehicle is stationary, it is
normal to notice a high-pitched whistling noise
and a slight emission of smoke and odour.
Page 78 of 260

76
Rear suspension
Metal suspension
This equipment adopts long movement
limiters which make it possible to guarantee
stable behaviour both when loaded and
when empty. No action on your part is
required except to ensure that maintenance
is carried out and that the authorised loads
are complied with. irrespective of the weight of the load, within
the limit of the authorised values. On board,
the increasing or lightening of the load on
the vehicle's platform is detected by two
height sensors. When all of the doors are
closed, the sensors trigger the automatic
height correction and determine the optimum
height of the sill for the vehicle's driving
conditions.
Deactivation of automatic height correction
The control which permits deactivation of
automatic regulation is located on the right-
hand side, at the rear of the vehicle.
REAR SUSPENSION
You must deactivate automatic height
correction manually in the following
situations:
- when working underneath the vehicle,
- when changing a wheel,
- when the vehicle is being transported by
lorry, train, ferry, boat, ...
Two types of suspension are available.
Rear suspension with pneumatic
height correction
If fitted on your vehicle, this type of
suspension regulates the variations in the
height of the rear platform of your vehicle
1.
Automatic height
correction
2.
Manual height
correction
1 - Automatic correction of the
height of the rear sill
The pneumatic suspension automatically
regulates the variations in the height of the
rear platform of your vehicle.
A red warning light on your
instrument panel fl ashes if the
height is not at its optimum level
and requires correction, drive slowly
until this warning lamp goes off.
The automatic height correction is
temporarily inactive:
- if a door/the tailgate is open,
- when braking or when stopped at a red
traffic signal (brake pedal pressed). With the vehicle stationary:
- press and hold,
- release the control.
Return to automatic correction
With the vehicle stationary:
- press and hold,
- release the control.
According to the configurations, a bleep may
be heard during these operations.
Two functions
Return to automatic height correction is
confirmed by the LED which goes off. Deactivation is confirmed by the LED which
is on. It remains on for approximately
30 seconds.
Page 86 of 260
ABS
ABS
Driving safely
HORN
Press the centre of the steering wheel.
ANTI-LOCK BRAKING SYSTEM(ABS - EBFD)
The ABS and EBFD (electronic brake force
distribution) systems improve the stability
and manoeuvrability of your vehicle on
braking, in particular on poor or slippery
surfaces.
The ABS prevents locking of the wheels,
the EBFD provides control of the braking
pressure wheel by wheel.
Good practice
The anti-lock braking system comes into
operation automatically when there is a risk
of wheel lock. It does not reduce the braking
distance.
On very slippery surfaces (ice, oil, etc...)
the ABS may increase the braking distance.
When braking in an emergency, do not
hesitate to press the brake pedal firmly,
without releasing the pressure, even on a
slippery surface, you will then be able to
continue to manoeuvre the vehicle to avoid
an obstacle.
Normal operation of the ABS may be felt by
slight vibration of the brake pedal.
When changing wheels (tyres and rims),
ensure that these are recommended by
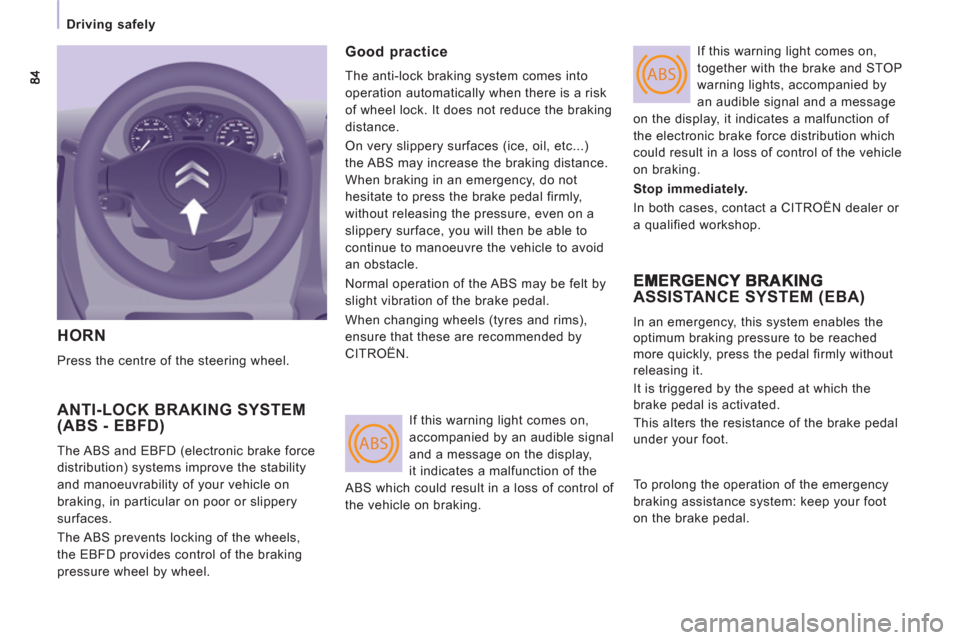
CITROËN. If this warning light comes on,
together with the brake and STOP
warning lights, accompanied by
an audible signal and a message
on the display, it indicates a malfunction of
the electronic brake force distribution which
could result in a loss of control of the vehicle
on braking.
Stop immediately.
In both cases, contact a CITROËN dealer or
a qualified workshop.
ASSISTANCE SYSTEM (EBA)
In an emergency, this system enables the
optimum braking pressure to be reached
more quickly, press the pedal firmly without
releasing it.
It is triggered by the speed at which the
brake pedal is activated.
This alters the resistance of the brake pedal
under your foot. If this warning light comes on,
accompanied by an audible signal
and a message on the display,
it indicates a malfunction of the
ABS which could result in a loss of control of
the vehicle on braking. To prolong the operation of the emergency
braking assistance system: keep your foot
on the brake pedal.
Page 88 of 260

86
Seat belts
Height adjustment
Squeeze the control with the return and slide
the assembly on the driver's seat side and
on the individual passenger seat side.
If your vehicle is fitted with a front bench,
the height of the seat belt associated with
the centre seat cannot be adjusted.
Unfastening
Press the red button.
SEAT BELTS
Good practice
The driver must ensure that passengers use
the seat belts correctly and that they are all
strapped in securely before moving off.
Wherever you are seated in the vehicle,
always fasten your seat belt, even for short
journeys.
The seat belts are fitted with an inertia reel
which automatically adjusts the length of the
strap to your size.
Do not use accessories (clothes pegs, clips,
safety pins, etc.) which permit a clearance
with the seat belt straps.
Ensure that the seat belt has reeled in
correctly after use.
After folding or moving a seat or a rear
bench seat, ensure that the seat belt has
reeled in correctly and that the buckle is
ready to accommodate the tongue.
Depending on the nature and seriousness
of any impact, the pretensioning device may
be triggered before and independently of
inflation of the airbags. It instantly tightens
the seat belts against the body of the
occupants.
Triggering of the pretensioners is
accompanied by a slight discharge of
harmless smoke and a noise, due to the
activation of the pyrotechnic cartridge
incorporated in the system.
Fastening
Pull the strap, then insert the tongue into the
buckle.
Check that the seat belt is fastened correctly
by pulling the strap.
Driver's seat belt not fastened warning
light
Passenger seat belt not fastened warning
light When the vehicle is started, this
warning light comes on if the
driver has not fastened his seat
belt.
If your vehicle is fitted with a front
passenger seat, when the vehicle
is started, this warning light
comes on if the passenger has not
fastened his seat belt.
Page 104 of 260
102
Opening the bonnet
OPENING THE BONNET
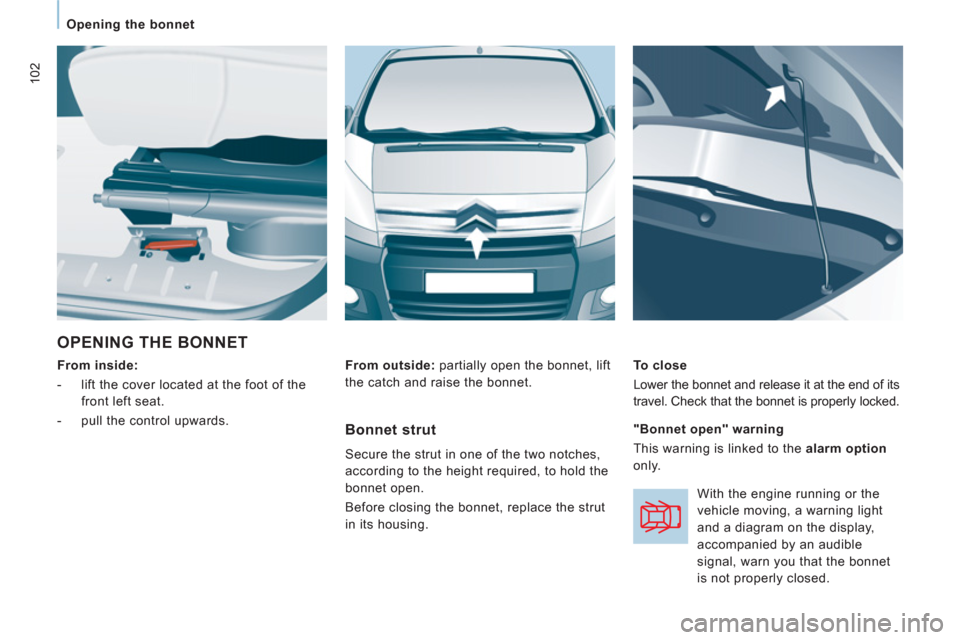
From inside:
- lift the cover located at the foot of the
front left seat.
- pull the control upwards.
To close
Lower the bonnet and release it at the end of its
travel. Check that the bonnet is properly locked.
From outside:
partially open the bonnet, lift
the catch and raise the bonnet.
Bonnet strut
Secure the strut in one of the two notches,
according to the height required, to hold the
bonnet open.
Before closing the bonnet, replace the strut
in its housing.
"Bonnet open" warning
This warning is linked to the alarm option
only.
With the engine running or the
vehicle moving, a warning light
and a diagram on the display,
accompanied by an audible
signal, warn you that the bonnet
is not properly closed.
Page 108 of 260
106
Levels
Cooling system
Only use the fluid recommended by the
manufacturer.
Otherwise, you risk seriously damaging your
engine.
When the engine is warm, the temperature
of the coolant is controlled by the engine
fan. As this fan can operate with the ignition
key removed and because the cooling
system is pressurised, wait for at least one
hour after the engine has stopped before
carrying out any work.
Slacken the cap by 1/4 of a turn to release
the pressure to prevent any risk of scalding.
When the pressure has dropped, remove the
cap and top up the level with coolant.
If fluid has to be added frequently, this
indicates a fault which must be checked by a
CITROËN dealer or a qualified workshop as
soon as possible.
Power steering fluid level
The vehicle must be parked on level ground
with the engine cold. Unscrew the cap
integrated with the gauge and check the
level which must be between the MIN and
MAX marks. When this occurs with the engine running it
is due to the start of saturation of the particle
emission filter (exceptionally prolonged
urban type driving conditions: low speed,
long traffic jams, ...).
In order to regenerate the filter, you are
advised to drive at a speed higher than
40 mph (60 km/h) for at least five minutes
as soon as possible, when traffic conditions
permit (until the message disappears and
the service warning lamp goes off).
During regeneration of the particle emission
filter, relay noise may be heard under the
dashboard.
If the message is still displayed and if the
service warning lamp remains on, contact a
CITROËN dealer or a qualified workshop.
Topping up
The level must be between the MIN and
MAX marks on the expansion bottle. If
more than 1 litre of fluid is required to top
up the level, have the system checked by a
CITROËN dealer or a qualified workshop.
Screenwash and headlamp wash
level
For best quality cleaning and for your safety,
we would advise that you use products of
the CITROËN range.
Capacity of the screenwash reservoir:
approximately 4.5 litres.
If your vehicle is fitted with headlamp
washers, the capacity of the reservoir is
7.5 litres.
To ensure optimum cleaning and prevent
freezing, this fluid must not be topped up or
replaced with plain water.
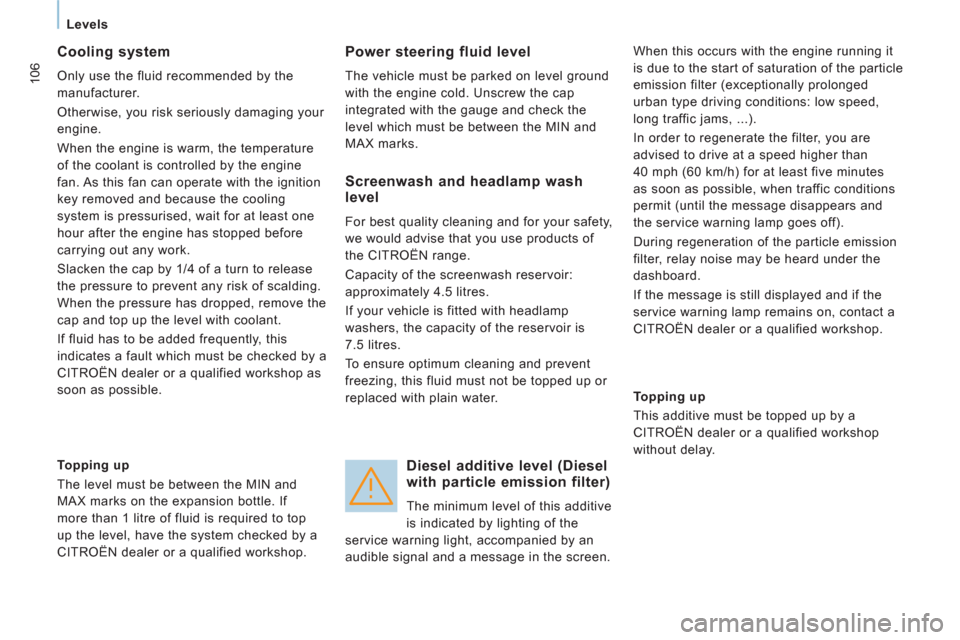
Diesel additive level (Diesel
with particle emission filter)
The minimum level of this additive
is indicated by lighting of the
service warning light, accompanied by an
audible signal and a message in the screen.
Topping up
This additive must be topped up by a
CITROËN dealer or a qualified workshop
without delay.
Page 112 of 260
11 0
Fuel
FILLING WITH FUEL
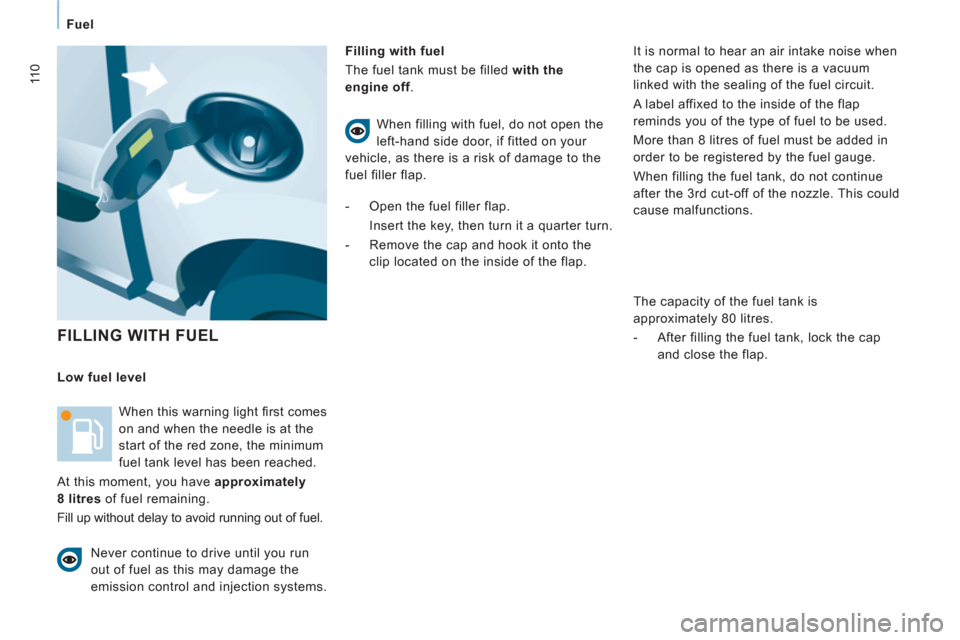
Filling with fuel
The fuel tank must be filled with the
engine off
.
Low fuel level
When this warning light fi rst comes
on and when the needle is at the
start of the red zone, the minimum
fuel tank level has been reached.
At this moment, you have approximately
8 litres
of fuel remaining.
Fill up without delay to avoid running out of fuel. When filling with fuel, do not open the
left-hand side door, if fitted on your
vehicle, as there is a risk of damage to the
fuel filler flap.
- Open the fuel filler flap.
Insert the key, then turn it a quarter turn.
- Remove the cap and hook it onto the
clip located on the inside of the flap.
It is normal to hear an air intake noise when
the cap is opened as there is a vacuum
linked with the sealing of the fuel circuit.
A label affixed to the inside of the flap
reminds you of the type of fuel to be used.
More than 8 litres of fuel must be added in
order to be registered by the fuel gauge.
When filling the fuel tank, do not continue
after the 3 rd cut-off of the nozzle. This could
cause malfunctions.
The capacity of the fuel tank is
approximately 80 litres.
- After filling the fuel tank, lock the cap
and close the flap.
Never continue to drive until you run
out of fuel as this may damage the
emission control and injection systems.
Page 113 of 260

DIESEL
111
Fuel
CHECK
S
6
FUEL CIRCUIT DISARMED
DIESEL REPRIMING PUMP
If you should run out of fuel, it is necessary
to re-prime the circuit:
- fill the fuel tank with at least five litres of
diesel,
- squeeze and release the manual
re-priming pump, under the bonnet
under the protective cover, until fuel
appears in the transparent pipe,
- operate the starter until the engine
starts. In a serious collision, a mechanism
automatically prevents fuel from reaching
the engine.
The flashing of this warning light
is accompanied by a message on
the display.
Check that there is no odour or leakage of
fuel outside the vehicle and re-establish the
fuel supply:
- switch off the ignition (STOP position),
- remove the key,
- put the key back in the ignition,
- switch on the ignition and start.
Quality of the fuel used for petrol
engines
Quality of the fuel used for Diesel
engines
The petrol engines are perfectly compatible
with E10 or E24 type petrol biofuels
(containing 10 % or 24 % ethanol),
conforming to European standards EN 228
and EN 15376.
E85 type fuels (containing up to 85 %
ethanol) are reserved exclusively for
vehicles marketed for the use of this type
of fuel (BioFlex vehicles). The quality of
the ethanol must comply with European
standard EN 15293.
For Brazil only, special vehicles are
marketed to run on fuels containing up to
100 % ethanol (E100 type).
The Diesel engines are perfectly compatible
with biofuels which conform to current
and future European standards (Diesel
fuel which complies with standard EN 590
mixed with a biofuel which complies with
standard EN 14214) available at the pumps
(containing up to 7 % Fatty Acid Methyl
Ester).
The B30 biofuel can be used in certain
Diesel engines; however, this use is subject
to strict application of the special servicing
conditions. Contact a CITROËN dealer or a
qualified workshop.
The use of any other type of (bio)fuel
(vegetable or animal oils, pure or diluted,
domestic fuel...) is strictly prohibited (risk of
damage to the engine and fuel system).
Page 115 of 260

11
3
Battery
QUICK HEL
P
7
BATTERY
This is housed in a compartment located
underneath the fl oor, in front of the front right seat.
Before disconnecting the battery, you must
wait for 2 minutes after switching off the
ignition.
Never disconnect a terminal when the
engine is running.
Never charge a battery without first
disconnecting the terminals.
After every reconnection of the battery,
switch on the ignition and wait 1 minute
before starting to allow the electronic
systems to be initialised. If some problems
persist after this operation, please contact a
CITROËN dealer or a qualified workshop. It is advisable to disconnect the battery
if the vehicle is not to be used for a
period of more than one month.
After the engine has stopped, with the key
in the ignition position, certain functions
(windscreen wiper, electric windows, courtesy
lights, audio equipment, etc.) can only be used
for a cumulative duration of thirty minutes, to
prevent discharging of the battery.
To charge the battery using a battery
charger
- Disconnect the battery,
- Follow the instructions for use given by
the battery charger manufacturer,
- Reconnect starting with the negative (-)
terminal,
- Check that the terminals and connectors
are clean. If they are covered with
sulphate (white or greenish deposit),
disconnect them and clean them.
To start the vehicle from another
battery
- Connect the red cable to the positive (+)
terminals of the two batteries,
- Connect one end of the green or black
cable to the negative (-) terminal of the
slave battery,
- Connect the other end of the green or
black cable to an earth point on the
broken down vehicle as far as possible
from the battery,
- Operate the starter, let the engine run,
- Wait for the engine to return to idle, then
disconnect the cables. Once the thirty minutes are over, the active
functions are put on standby and the battery
warning light flashes accompanied by a
message on the display.
To resume the use of these functions
immediately, start the engine and let it run
for a few minutes.
The time available will then be double the
time for which the engine was left running.
However, this time will always be between
five and thirty minutes.
A flat battery will prevent the engine from
starting.
Page 250 of 260
144
Instruments and controls
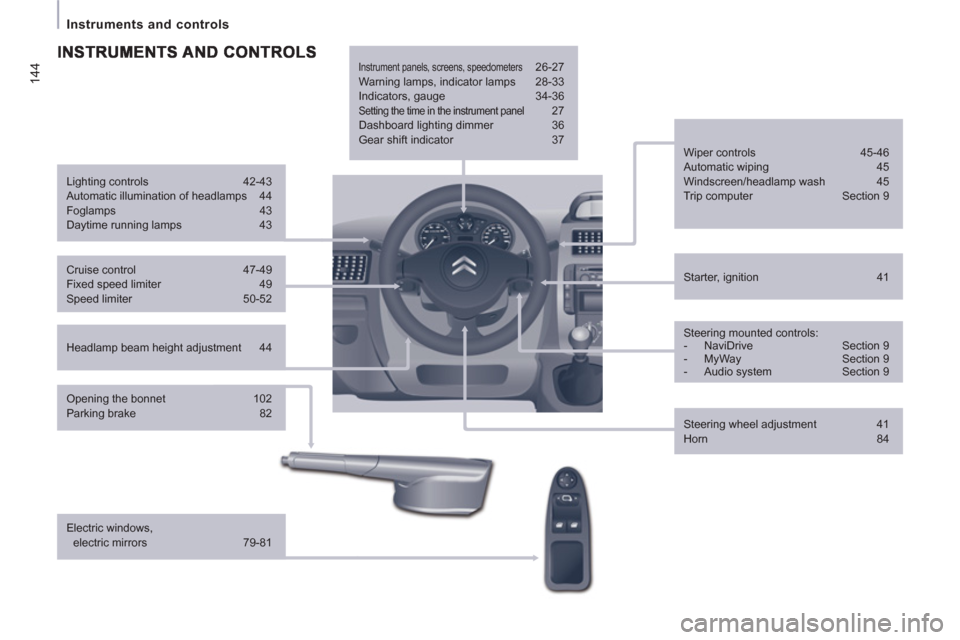
Headlamp beam height adjustment 44
Starter, ignition 41
Wiper controls 45-46
Automatic wiping 45
Windscreen/headlamp wash 45
Trip computer Section 9
Cruise control 47-49
Fixed speed limiter 49
Speed limiter 50-52
Steering mounted controls:
- NaviDrive Section 9
- MyWay Section 9
- Audio system Section 9
Lighting controls 42-43
Automatic illumination of headlamps 44
Foglamps 43
Daytime running lamps 43
Opening the bonnet 102
Parking brake 82
Electric windows,
electric mirrors 79-81
Instrument panels, screens, speedometers 26-27
Warning lamps, indicator lamps 28-33
Indicators, gauge 34-36
Setting the time in the instrument panel 27
Dashboard lighting dimmer 36
Gear shift indicator 37
Steering wheel adjustment 41
Horn 84