jump start Citroen JUMPY 2014 2.G User Guide
[x] Cancel search | Manufacturer: CITROEN, Model Year: 2014, Model line: JUMPY, Model: Citroen JUMPY 2014 2.GPages: 252, PDF Size: 12.23 MB
Page 43 of 252

41
Gearboxes and steering wheel
READY TO GO
2
JUMPY-VU_EN_CHAP02_PRET A PARTIR_ED01-2014
AUTOMATIC GEARBOX
Selecting positions
- Move the lever select a position. Once the position is selected, the
corresponding indicator lamp appears in
the instrument panel screen.
Park: position of the lever for
parking.
To immobilise the vehicle or start
the engine. Reverse: position of the lever for
reverse gear.
To reverse the vehicle.
Neutral: position of the lever for
neutral.
To park the vehicle (parking brake
on) and start the engine.
Drive: position of the lever for
driving.
To move the vehicle forwards in
automatic mode.
Manual: selection of the gears by
pushing or pulling the gear lever
(+ or -).
To move the vehicle forwards in
manual mode.
Page 44 of 252

42
Gearboxes and steering wheel
JUMPY-VU_EN_CHAP02_PRET A PARTIR_ED01-2014
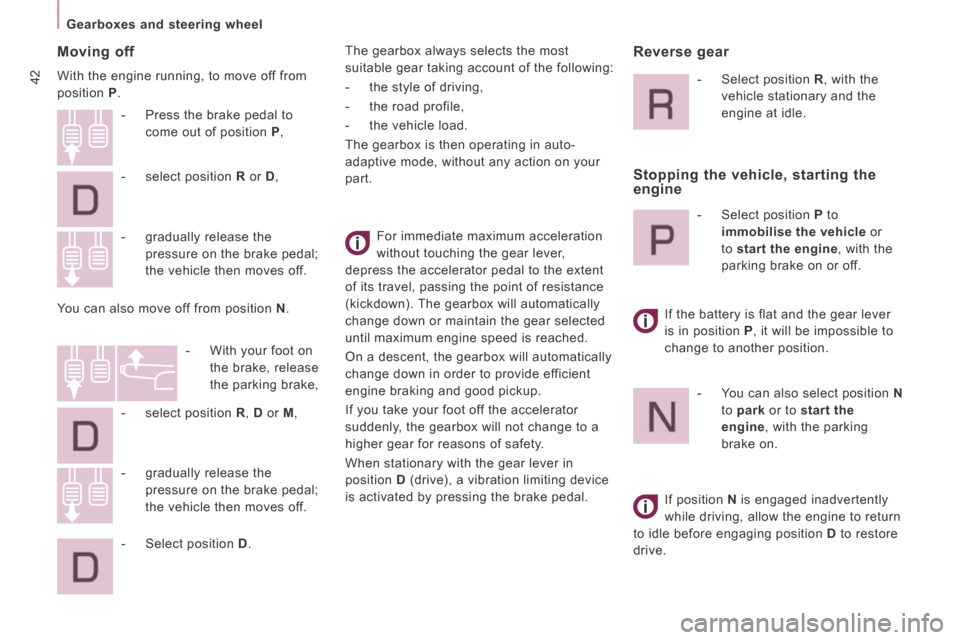
Moving off
With the engine running, to move off from
position P .
For immediate maximum acceleration
without touching the gear lever,
depress the accelerator pedal to the extent
of its travel, passing the point of resistance
(kickdown). The gearbox will automatically
change down or maintain the gear selected
until maximum engine speed is reached.
On a descent, the gearbox will automatically
change down in order to provide efficient
engine braking and good pickup.
If you take your foot off the accelerator
suddenly, the gearbox will not change to a
higher gear for reasons of safety.
When stationary with the gear lever in
position D (drive), a vibration limiting device
is activated by pressing the brake pedal.
- gradually release the
pressure on the brake pedal;
the vehicle then moves off.
- Press the brake pedal to
come out of position P ,
- select position R or D ,
- gradually release the pressure on the brake pedal;
the vehicle then moves off.
You can also move off from position N .
- With your foot on the brake, release
the parking brake,
- select position R , D or M ,
- Select position D . The gearbox always selects the most
suitable gear taking account of the following:
- the style of driving,
- the road profile,
- the vehicle load.
The gearbox is then operating in auto-
adaptive mode, without any action on your
part.
Reverse gear
- Select position R
, with the
vehicle stationary and the
engine at idle.
Stopping the vehicle, starting the
engine
- Select position P to
immobilise the vehicle or
to start the engine , with the
parking brake on or off.
If the battery is flat and the gear lever
is in position P , it will be impossible to
change to another position.
- You can also select position N
to park or to start the
engine , with the parking
brake on.
If position N is engaged inadvertently
while driving, allow the engine to return
to idle before engaging position D to restore
drive.
Page 47 of 252

45
Starting and stopping
READY TO GO
2
JUMPY-VU_EN_CHAP02_PRET A PARTIR_ED01-2014
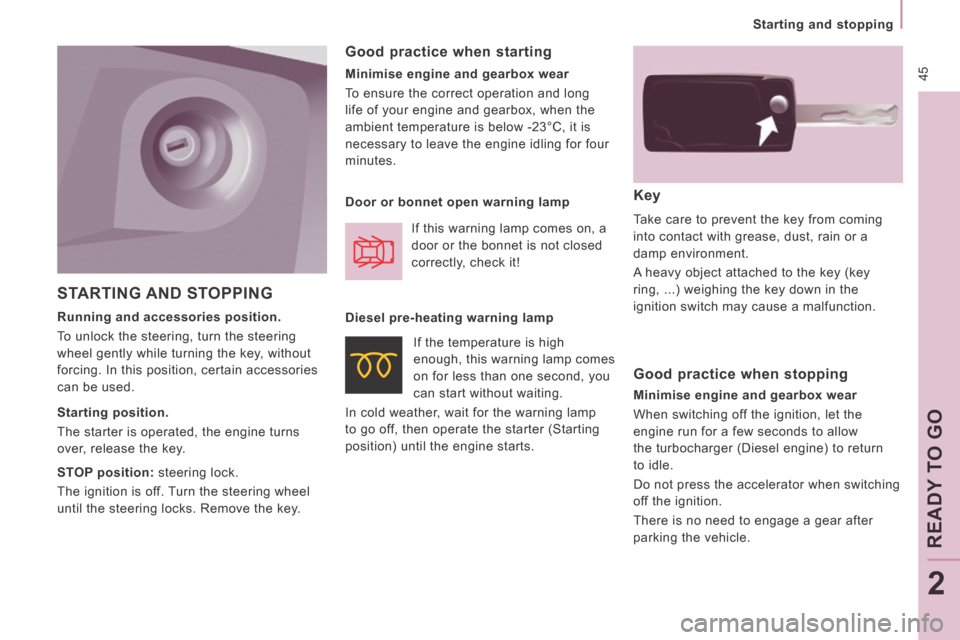
STARTING AND STOPPING
Key
Take care to prevent the key from coming
into contact with grease, dust, rain or a
damp environment.
A heavy object attached to the key (key
ring, ...) weighing the key down in the
ignition switch may cause a malfunction.
Good practice when starting
Minimise engine and gearbox wear
To ensure the correct operation and long
life of your engine and gearbox, when the
ambient temperature is below -23°C, it is
necessary to leave the engine idling for four
minutes.
Door or bonnet open warning lamp If this warning lamp comes on, a
door or the bonnet is not closed
correctly, check it!
Good practice when stopping
Minimise engine and gearbox wear
When switching off the ignition, let the
engine run for a few seconds to allow
the turbocharger (Diesel engine) to return
to idle.
Do not press the accelerator when switching
off the ignition.
There is no need to engage a gear after
parking the vehicle.
Running and accessories position.
To unlock the steering, turn the steering
wheel gently while turning the key, without
forcing. In this position, certain accessories
can be used.
Starting position.
The starter is operated, the engine turns
over, release the key.
STOP position: steering lock.
The ignition is off. Turn the steering wheel
until the steering locks. Remove the key. If the temperature is high
enough, this warning lamp comes
on for less than one second, you
can start without waiting.
In cold weather, wait for the warning lamp
to go off, then operate the starter (Starting
position) until the engine starts. Diesel pre-heating warning lamp
Page 49 of 252

47
Steering mounted controls
EASE OF USE
and
COMFORT
3
JUMPY-VU_EN_CHAP03_ERGONOMIE ET CONFORT_ED01-2014
Front foglamps (green)
and rear foglamps (amber,
2nd rotation of the ring
forwards).
To switch off the front and rear
foglamps, turn the ring rearwards
twice in succession.
In clear weather or in rain, both day
and night, rear foglamps dazzle and
their use is prohibited.
Do not forget to switch them off when they
are no longer needed.
Automatic illumination of the headlamps
switches off the rear foglamps, but the front
foglamps remain on. Daytime running lamps
Depending on the country in which the vehicle
is sold, the vehicle may be equipped with
daytime running lamps. The dipped headlamps
come on when the vehicle is started.
The instruments and controls
(instrument panel, screen, air
conditioning control panel, ...) are only
illuminated on switching to the automatic
illumination of headlamps mode or when the
lamps are switched on manually.
Front and rear foglamps
Rotate ring B forwards to switch on and
rearwards to switch off. The status is
confirmed by the warning lamp in the
instrument panel.
These operate with the sidelamps and the
dipped beam headlamps.
Front foglamps (green,
1st rotation of the ring forwards). This warning lamp comes on in
the instrument panel.
Page 62 of 252

60
Ventilation
JUMPY-VU_EN_CHAP03_ERGONOMIE ET CONFORT_ED01-2014
Driver or passenger side comfort value
The value indicated on the display
corresponds to a level of comfort and
not a temperature in degrees Celsius or
Fahrenheit. Automatic operation Do not cover the sunshine sensor,
located on the windscreen behind the
mirror, it is used for regulation of the air
conditioning.
AUTO comfort programme
This is the normal air conditioning system
operating mode.
Press this button, the
AUTO symbol is
displayed.
Depending on the comfort value selected,
the system controls the distribution,
the fl ow and the intake of air to guarantee comfort
and a suffi cient circulation of air in the passenger
compartment. No further action on your part is required.
When the engine is cold, to prevent an
excessive diffusion of cold air, the ventilation
will reach its optimum level gradually.
For your comfort, the settings are stored
when the ignition is switched off and are
reinstated the next time the vehicle is
started, if the temperature in the passenger
compartment has not changed significantly;
otherwise, operation resumes in automatic
mode. Turn this control to the left or to
the right to decrease or increase
the value. A setting around the
value 21 provides optimum
comfort. However, depending on your
requirements, a setting between 18 and 24
is usual.
Page 67 of 252

65
Ventilation
EASE OF USE
and
COMFORT
3
JUMPY-VU_EN_CHAP03_ERGONOMIE ET CONFORT_ED01-2014
Good practice
To avoid any risk of poisoning or
asphyxiation, the heater must not be used,
even for short periods, in an enclosed space
such as a garage or workshop which is not
fitted with an exhaust gas extraction system.
Do not park the vehicle on an inflammable
surface (dry grass, dead leaves, paper…),
there is a risk of fire. The temperature near the heater must not
exceed 120 °C. A temperature higher than
this (for example in the case of painting in
an oven) could damage the components of
the electronic circuits.
The heater is supplied by the vehicle's fuel
tank. Ensure that the low fuel warning lamp
is not on.
ADDITIONAL HEATING
Coolant circuit heater
This is an additional and separate system
which heats the Diesel engine cooling
system to make starting easier.
It improves the demisting and defrosting
performance.
Vehicles fitted with an HDi engine may be
fitted with a heater. When the engine is at
idle or the vehicle is stationary, it is normal
to notice a high-pitched whistling noise and
a slight emission of smoke and odour.
Page 83 of 252

81
Rear suspension
EASE OF USE
and
COMFORT
3
JUMPY-VU_EN_CHAP03_ERGONOMIE ET CONFORT_ED01-2014
Deactivation of manual height correction Good practice
When stationary and with the ignition key
removed, excessive use of the system
consumes battery power. Long term parking
Avoid parking for a long duration on ground
which could present a potential obstacle as
your vehicle could lower.
Following a long period out of use, the
height of the platform may change due to the
automatic height correction on unlocking or
on opening one of your vehicle's doors.
With the vehicle stationary:
- press and hold,
- release the control.
Return to manual height correction
According to the configuration, a beep may
be heard during these operations. You must deactivate the manual height
correction in the following situations:
- when working underneath the vehicle,
- when changing a wheel,
- when the vehicle is being transported by lorry, train, ferry, boat, ... Warning lamp
Driving with the height of the rear platform:
- too low, risks damaging the technical
components underneath the vehicle,
- too high, risks unstable driving.
With the vehicle stationary:
- press and hold,
- release the control. Refer to the "Instruments and controls"
section of chapter 2.
If you start and the warning lamp flashes, to
switch it off:
- correct the position of the manual
control which is still at the lower or
upper limit,
- or drive slowly at above 6 mph (10 km/h), until height correction returns to automatic
mode.
Return to manual correction is confirmed by
the LED which goes off. Deactivation is confirmed by the LED which
is on. It remains on for approximately
30 seconds.
Page 90 of 252

OFF
88
Driving safely
JUMPY-VU_EN_CHAP04_SECURITE_ED01-2014
ANTI-SLIP REGULATION (ASR) AND DYNAMIC STABILITY CONTROL (DSC)
These systems are linked and complement
the ABS.
The ASR system is very useful for
maintaining optimum drive and avoiding
losses of control of the vehicle on
acceleration.
The system optimises drive to prevent the
wheels skidding, by acting on the brakes of
the drive wheels and on the engine. It also
allows the directional stability of the vehicle
to be improved on acceleration. If there is a variation between the trajectory
followed by the vehicle and that required by
the driver, the DSC system automatically
acts on the engine and the brake of one
or more wheels, in order to put the vehicle
back on course.
Deactivation
In certain exceptional conditions (starting
the vehicle when stuck in mud or snow, or
on loose ground...), it could prove useful
to deactivate the ASR and DSC systems to
make the wheels spin and regain grip.
Operating fault
Good practice
The ASR/DSC systems offer increased
safety during normal driving, but should not
encourage the driver to take risks or to drive
at high speed.
The operation of these systems is assured
only if the recommendations of the
manufacturer regarding the wheels (tyres
and rims), the braking components, the
electronic components and fitting and repair
procedures are observed.
After an impact, have these systems
checked by a CITROËN dealer or a qualified
workshop.
Use the DSC to hold your course without
attempting to countersteer.
Operation
The warning lamp flashes when
operation of the ASR or DSC is
triggered.
They engage again:
- automatically above 30 mph (50 km/h),
- manually by pressing the button again. When a malfunction of the
systems occurs, the warning
lamp and the LED come on,
accompanied by an audible signal
and a message in the screen.
Contact a CITROËN dealer or a qualified
workshop to have the system checked.
The warning lamp may also come on if the
tyres are under-inflated. Check the pressure
of each tyre.
- Press the button, located on the centre console.
- The LED comes on: the ASR and DSC systems no longer
operate.
Page 93 of 252

91
Seat belts
SAFETY
4
JUMPY-VU_EN_CHAP04_SECURITE_ED01-2014
Height adjustment
Squeeze the control with the return and slide
the assembly on the driver's seat side and
on the individual passenger seat side.
If your vehicle is fitted with a front bench,
the height of the seat belt associated with
the centre seat cannot be adjusted.
Unfastening
Press the red button.
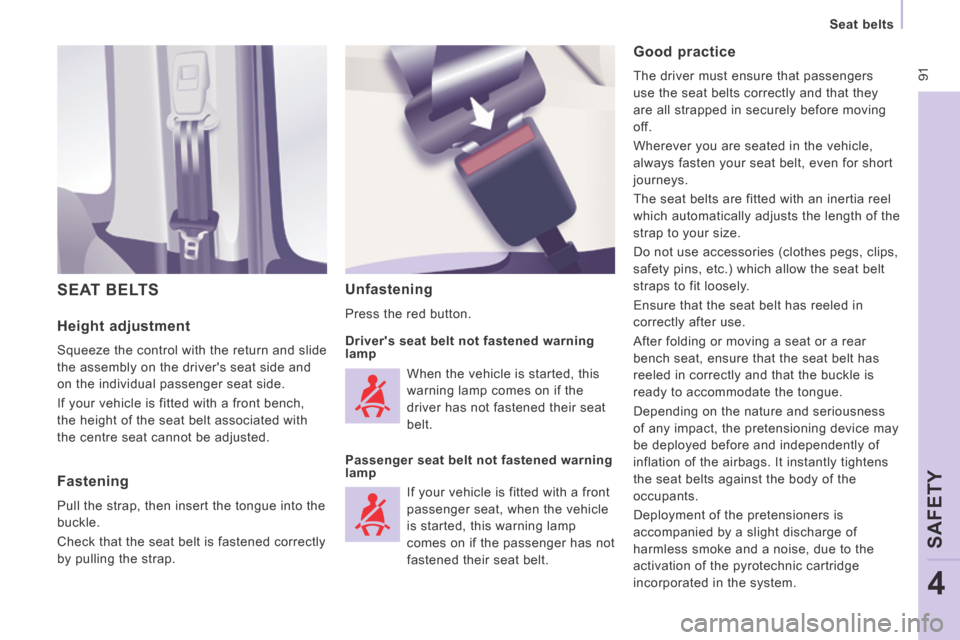
SEAT BELTS
Good practice
The driver must ensure that passengers
use the seat belts correctly and that they
are all strapped in securely before moving
off.
Wherever you are seated in the vehicle,
always fasten your seat belt, even for short
journeys.
The seat belts are fitted with an inertia reel
which automatically adjusts the length of the
strap to your size.
Do not use accessories (clothes pegs, clips,
safety pins, etc.) which allow the seat belt
straps to fit loosely.
Ensure that the seat belt has reeled in
correctly after use.
After folding or moving a seat or a rear
bench seat, ensure that the seat belt has
reeled in correctly and that the buckle is
ready to accommodate the tongue.
Depending on the nature and seriousness
of any impact, the pretensioning device may
be deployed before and independently of
inflation of the airbags. It instantly tightens
the seat belts against the body of the
occupants.
Deployment of the pretensioners is
accompanied by a slight discharge of
harmless smoke and a noise, due to the
activation of the pyrotechnic cartridge
incorporated in the system.
Fastening
Pull the strap, then insert the tongue into the
buckle.
Check that the seat belt is fastened correctly
by pulling the strap. Driver's seat belt not fastened warning
lamp
Passenger seat belt not fastened warning
lamp
When the vehicle is started, this
warning lamp comes on if the
driver has not fastened their seat
belt.
If your vehicle is fitted with a front
passenger seat, when the vehicle
is started, this warning lamp
comes on if the passenger has not
fastened their seat belt.
Page 115 of 252

11 3
Levels
CHECKS
6
JUMPY-VU_EN_CHAP06_VERIFICATIONS_ED01-2014
Cooling system
Only use the fluid recommended by the
manufacturer.
Otherwise, you risk seriously damaging your
engine.
When the engine is warm, the temperature
of the coolant is controlled by the engine
fan. As this fan can operate with the ignition
key removed and because the cooling
system is pressurised, wait for at least one
hour after the engine has stopped before
carrying out any work.
Slacken the cap by 1/4 of a turn to release
the pressure to prevent any risk of scalding.
When the pressure has dropped, remove the
cap and top up the level with coolant.
If fluid has to be added frequently, this
indicates a fault which must be checked by a
CITROËN dealer or a qualified workshop as
soon as possible.
Power steering fluid level
The vehicle must be parked on level ground
with the engine cold. Unscrew the cap
integrated with the gauge and check the
level which must be between the MIN and
MAX marks. When this occurs with the engine running it
is due to the start of saturation of the particle
emission filter (exceptionally prolonged
urban type driving conditions: low speed,
long traffic jams, ...).
In order to regenerate the filter, you are
advised to drive at a speed higher than
40 mph (60 km/h) for at least five minutes
as soon as possible, when traffic conditions
permit (until the message disappears and
the service warning lamp goes off).
During regeneration of the particle emission
filter, relay noise may be heard under the
dashboard.
If the message is still displayed and if the
service warning lamp remains on, contact a
CITROËN dealer or a qualified workshop.
Topping up
The level must be between the MIN and
MAX marks on the expansion bottle. If
more than 1 litre of fluid is required to top
up the level, have the system checked by a
CITROËN dealer or a qualified workshop.
Screenwash and headlamp wash
level
For best quality cleaning and for your safety,
we would advise that you use products of
the CITROËN range.
Capacity of the screenwash reservoir:
approximately 4.5 litres.
If your vehicle is fitted with headlamp
washers, the capacity of the reservoir
is 7.5 litres.
To ensure optimum cleaning and prevent
freezing, this fluid must not be topped up or
replaced with plain water.
Diesel additive level
(Diesel with particle
emission filter)
The minimum level of this additive
is indicated by lighting of the service warning
light, accompanied by an audible signal and
a message in the screen. Topping up
This additive must be topped up by a
CITROËN dealer or a qualified workshop
without delay.