Window Citroen JUMPY 2016 2.G Owner's Manual
[x] Cancel search | Manufacturer: CITROEN, Model Year: 2016, Model line: JUMPY, Model: Citroen JUMPY 2016 2.GPages: 595, PDF Size: 12.47 MB
Page 4 of 595
.
.
Jumpy _en_Chap00a_sommaire_ed01-2016
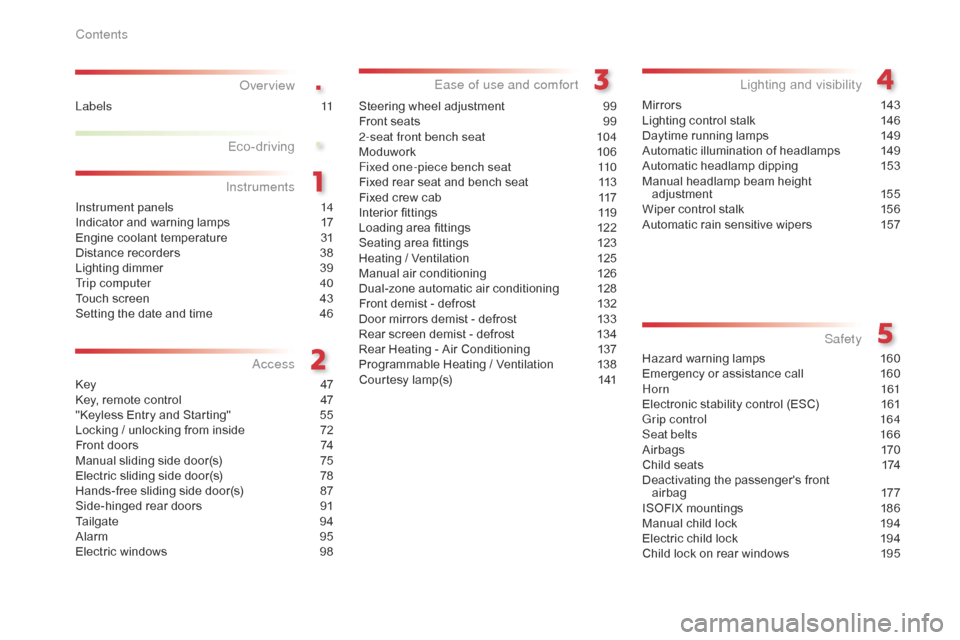
Over view
Instrument panels 14
Indicator and warning lamps 1 7
Engine coolant temperature
3
1
Distance recorders
3
8
Lighting dimmer
3
9
Trip computer
4
0
Touch screen
4
3
Setting the date and time
4
6
Key
47
K
ey, remote control
4
7
"Keyless Entry and Starting"
5
5
Locking / unlocking from inside
7
2
Front doors
7
4
Manual sliding side door(s)
7
5
Electric sliding side door(s)
7
8
Hands-free sliding side door(s)
87
S
ide-hinged rear doors
9
1
Tailgate
9
4
Alarm
9
5
Electric windows
9
8Steering wheel adjustment
9
9
Front seats
9
9
2-seat front bench seat
1
04
Moduwork
1
06
Fixed one-piece bench seat
1
10
Fixed rear seat and bench seat
1
13
Fixed crew cab 1 17
Interior fittings 1 19
Loading area fittings
1
22
Seating area fittings
1
23
Heating / Ventilation
1
25
Manual air conditioning
1
26
Dual-zone automatic air conditioning
1
28
Front demist - defrost
1
32
Door mirrors demist - defrost
1
33
Rear screen demist - defrost
1
34
Rear Heating - Air Conditioning
1
37
Programmable Heating / Ventilation
1
38
Courtesy lamp(s)
1
41Mir ror s
14
3
Lighting control stalk
1
46
Daytime running lamps
1
49
Automatic illumination of headlamps
1
49
Automatic headlamp dipping
1
53
Manual headlamp beam height adjustment 1 55
Wiper control stalk 1 56
Automatic rain sensitive wipers
1
57
Hazard warning lamps
1
60
Emergency or assistance call
1
60
Horn
161
Electronic stability control (ESC)
1
61
Grip control
1
64
Seat belts
1
66
Airbags
1
70
Child seats
1
74
Deactivating the passenger's front
airbag
1
77
ISOFIX mountings
1
86
Manual child lock
1
94
Electric child lock
1
94
Child lock on rear windows
1
95
Eco-driving
Instruments
Access Ease of use and comfort
Lighting and visibility
Safety
Labels 11
Contents
Page 7 of 595
5
Jumpy _en_Chap00b_vue-ensemble_ed01-2016
Number plate lamp 311, 314
- s ide-hinged doors
-
t
ailgate
Reversing camera
2
58
180º Rear vision
2
59 -261
Changing rear bulbs
3
10, 315
Rear lamps (side-hinged doors)
3
03, 310 -312
Rear lamps (tailgate)
3
03, 313 -315
3
rd brake lamp 3 11, 314
-
s ide-hinged doors
-
t
ailgate
Warning triangle
2
87
Temporary puncture repair kit
2
90 -295
Spare wheel, jack, changing a wheel
2
96-302
Inflation, pressures
2
95, 337Door mirrors
1
43 -144
-
manual
-
electric
Demisting-defrosting the mirrors
1
33
Blind spot monitoring system
2
52-254
Fixed crew cab
1
17-118
Manual sliding side door(s)
7
5 -77, 84- 86
Electric sliding side door(s)
7
8 - 83, 84- 86
Hands-free sliding side door(s)
87
-90
Manual child lock
1
94
Electric child lock
1
94
Rear window child lock
1
95
Direction indicator side repeaters
3
05
Accessories
2
71-273
Roof bars / Roof rack
2
73
Towing
325
-326
Trailer towbar
1
98, 269
Rear parking sensors
2
55 -257
Side-hinged doors
9
1-93
Tailgate
9
4
Demisting-defrosting
the rear screen
1
34
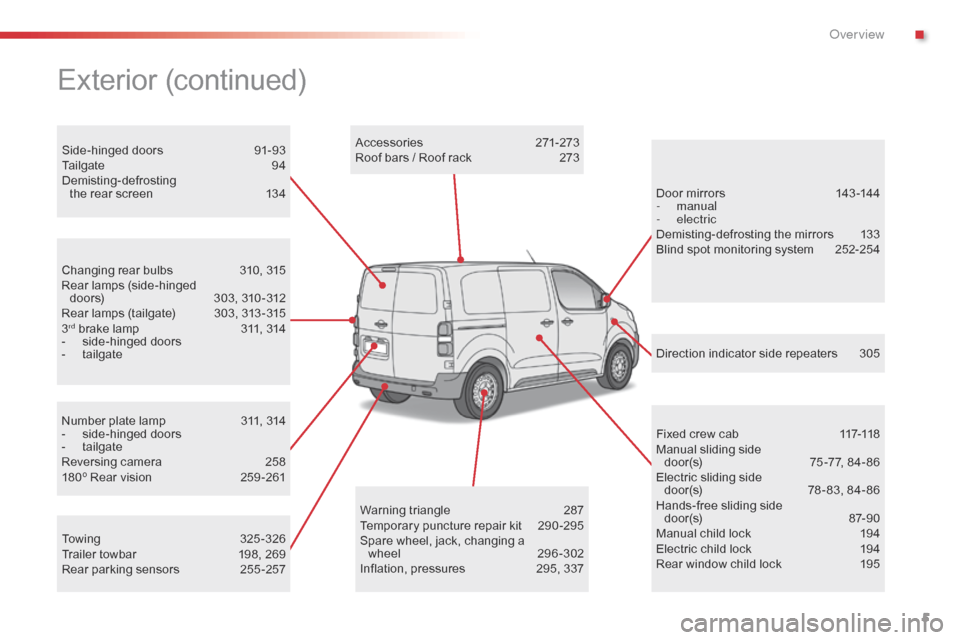
Exterior (continued)
.
Over view
Page 9 of 595
7
Jumpy _en_Chap00b_vue-ensemble_ed01-2016
Locking/unlocking from inside 72-73
Electric sliding door(s) 7 8 - 86
Cabin / loading area selectivity
4
7- 48, 55
Electric child lock
1
94
Hazard warning lamps
1
60
Reinitialising the under-inflation detection
26
3-264
Deactivating Stop & Start
2
20
Deactivating
the DSC/ASR system
1
63
Adjusting the steering wheel
9
9
Horn
161
Head-up display
2
22-223
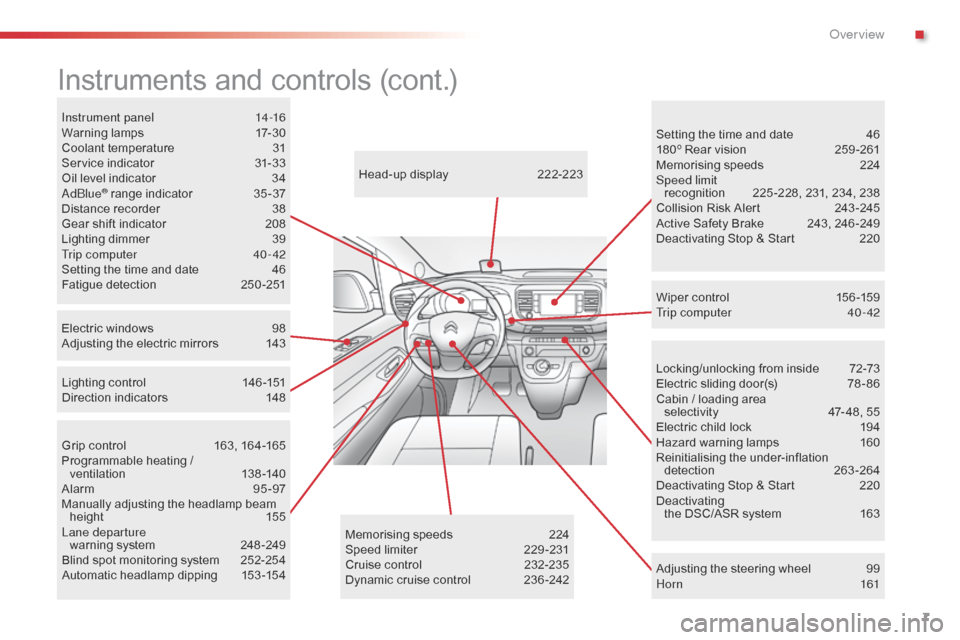
Instruments and controls (cont.)
Wiper control 1
56 -159
Trip computer 4 0 - 42
Memorising speeds
2
24
Speed limiter
2
29-231
Cruise control
2
32-235
Dynamic cruise control
2
36 -242
Instrument panel
1
4-16
Warning lamps
1
7-30
Coolant temperature
3
1
Service indicator
3
1-33
Oil level indicator
3
4
AdBlue
® range indicator 3 5 -37
Distance recorder 3 8
Gear shift indicator
2
08
Lighting dimmer
3
9
Trip computer
4
0 - 42
Setting the time and date
4
6
Fatigue detection
2
50-251
Electric windows
9
8
Adjusting the electric mirrors
1
43
Grip control
1
63, 164-165
Programmable heating / ventilation
1
38-140
Alarm
9
5-97
Manually adjusting the headlamp beam height
1
55
Lane departure warning system
24
8 -249
Blind spot monitoring system
2
52-254
Automatic headlamp dipping
1
53 -154 Setting the time and date
4
6
180º Rear vision
2
59 -261
Memorising speeds
2
24
Speed limit recognition 2 25 -228, 231, 234, 238
Collision Risk Alert 2 43 -245
Active Safety Brake
2
43, 246 -249
Deactivating Stop & Start
2
20
Lighting control
1
46 -151
Direction indicators
1
48
.
Over view
Page 11 of 595
9
Jumpy _en_Chap00b_vue-ensemble_ed01-2016
Interior fittings 119 -122
- c up/can holder
-
mats
-
s
un visors
-
g
love box
-
s
torage box
-
u
pper storage box
-
a
ccessory socket, USB port, JACK
auxiliary socket
Tool box
2
87-289
Child seats
1
74-181, 184-185
ISOFIXmountings
1
86 -187, 190 -192
Rear side windows
1
24, 195
Fixed one-piece bench seat
1
10-112
Rear seat and fixed bench seat
1
13 -115
Seat labels
1
16
2-seat front bench seat
1
04-105
Heated bench seat
1
05
Rear heating - air conditioning
1
37
Temporary puncture repair kit
2
87-289, 290 -295
Spare wheel, jack, changing a wheel, tools
2
87-289, 296 -302
Seating area fittings
1
23 -124
-
h
igh load retaining net
-
r
ear windows
Accessories
2
71-272
Rear courtesy lamp
1
42
Changing courtesy lamp bulbs
3
12Rear view mirror
1 45
Front courtesy lamp
1
42
Changing courtesy lamp bulbs
3
12Front, side airbags
1
70 -173
Deactivating the passenger front airbag
1
72, 177
12 V accessory sockets
1
21
USB port
1
22
JACK auxiliary socket
1
22
Front seats, adjustments, head restraint
9
9-103
-
m
anual adjustments
-
e
lectric adjustments
-
t
able positon
-
h
ead restraints
-
hea
ted seats
Seat belts
1
66 -168
Fixed one-piece bench seat
1
10-112
Rear seat and fixed bench seat
1
13 -115
Seat labels
1
16
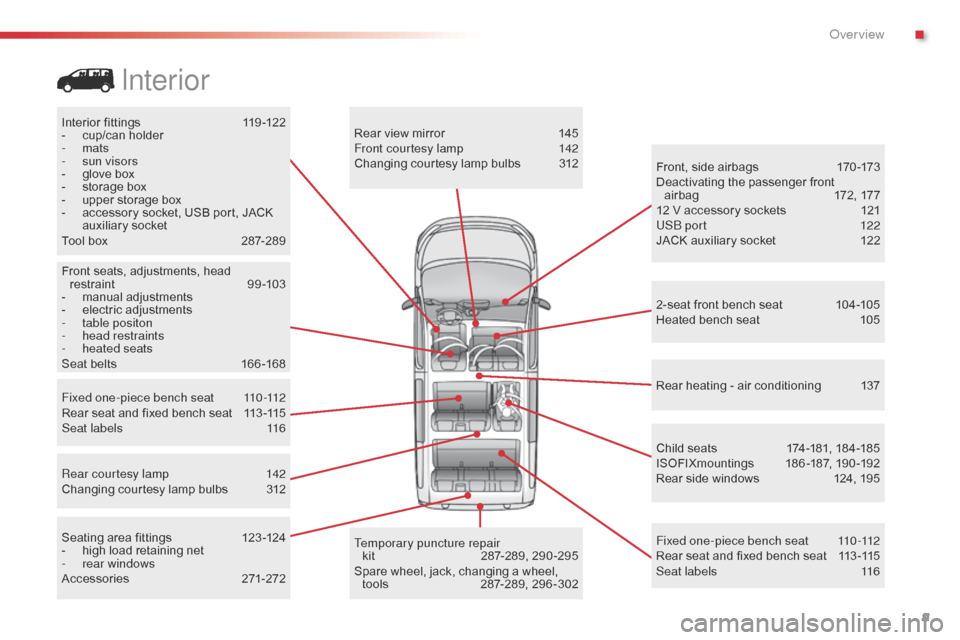
Interior
.
Over view
Page 14 of 595
12
Jumpy _en_Chap00c_eco-conduite_ed01-2016
Eco-driving is a range of everyday practices
that allow the motorist to optimise their fuel
consumption and CO
2 emissions.
Eco-driving
Optimise the use of your
gearbox
With a manual gearbox, move off gently and
change up without waiting. During acceleration
change up early.
With an automatic or electronic gearbox,
give preference to automatic mode and avoid
pressing the accelerator pedal heavily or
suddenly.
The gear shift indicator invites you to engage
the most suitable gear: as soon as the
indication is displayed in the instrument panel,
follow it straight away.
For vehicles fitted with an electronic or
automatic gearbox, this indicator appears only
in manual mode.
Drive smoothly
Maintain a safe distance between vehicles, use
engine braking rather than the brake pedal,
and press the accelerator progressively. These
practices contribute towards a reduction in fuel
consumption and CO
2 emissions and also help
to reduce the background traffic noise.
If your vehicle has cruise control, make use of
the system at speeds above 25 mph (40 km/h)
when the traffic is flowing well.
Control the use of your
electrical equipment
Switch off the demisting and defrosting controls,
if not automatic.
Switch off the heated seat as soon as possible.
Switch off the headlamps and front foglamps
when the level of light does not require
their
u
se.
Avoid running the engine before moving off,
particularly in winter; your vehicle will warm up
much faster while driving.
As a passenger, if you avoid connecting
your multimedia devices (film, music, video
game...), you will contribute towards limiting the
consumption of electrical energy, and so of fuel.
Disconnect your portable devices before
leaving the vehicle.
Before moving off, if the passenger compartment is
too warm, ventilate it by opening the windows and
air vents before using the air conditioning.
Above 30 mph (50 km/h), close the windows and
leave the air vents open.
Remember to make use of equipment that can
help keep the temperature in the passenger
compartment down (sunroof and window blinds...).
Switch off the air conditioning, unless it has
automatic regulation, as soon as the desired
temperature is attained.
Eco-driving
Page 50 of 595
48
Jumpy _en_Chap02_ouvertures_ed01-2016
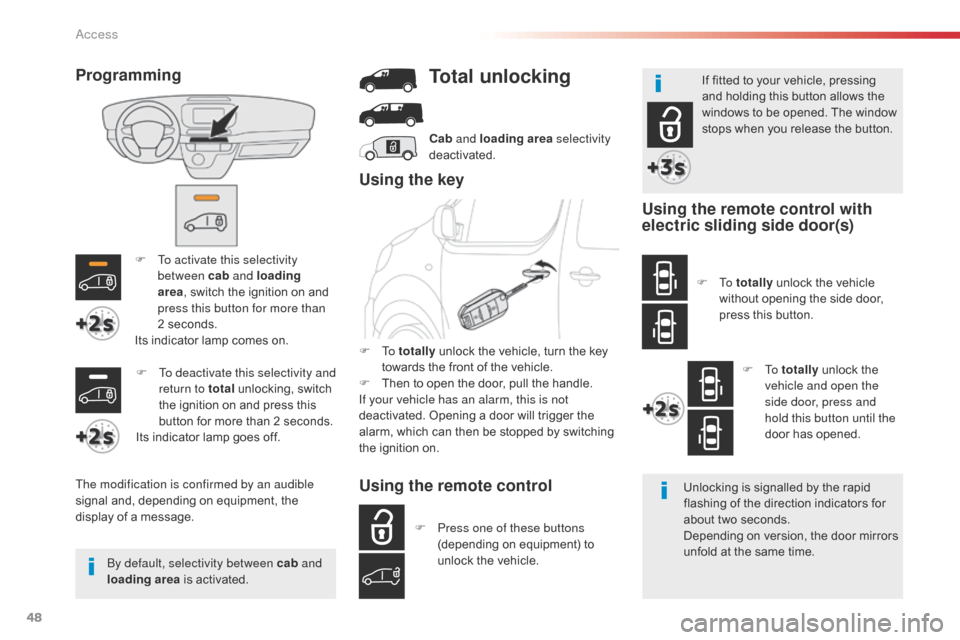
F To activate this selectivity between cab and loading
area , switch the ignition on and
press this button for more than
2
seconds.
Its indicator lamp comes on.
The modification is confirmed by an audible
signal and, depending on equipment, the
display of a message. F
T
o deactivate this selectivity and
return to total unlocking, switch
the ignition on and press this
button for more than 2
seconds.
Its indicator lamp goes off.
By default, selectivity between cab and
loading area is activated.
Total unlocking
Using the remote control
F Press one of these buttons
(depending on equipment) to
unlock the vehicle. Unlocking is signalled by the rapid
flashing of the direction indicators for
about two seconds.
Depending on version, the door mirrors
unfold at the same time.If fitted to your vehicle, pressing
and holding this button allows the
windows to be opened. The window
stops when you release the button.
Using the key
Using the remote control with
electric sliding side door(s)
F To totally unlock the
vehicle and open the
side door, press and
hold this button until the
door has opened.
F
To
totally unlock the vehicle
without opening the side door,
press this button.
Programming
F To totally unlock the vehicle, turn the key
towards the front of the vehicle.
F
T
hen to open the door, pull the handle.
If your vehicle has an alarm, this is not
deactivated. Opening a door will trigger the
alarm, which can then be stopped by switching
the ignition on. Cab
and loading area selectivity
deactivated.
Access
Page 51 of 595
49
Jumpy _en_Chap02_ouvertures_ed01-2016
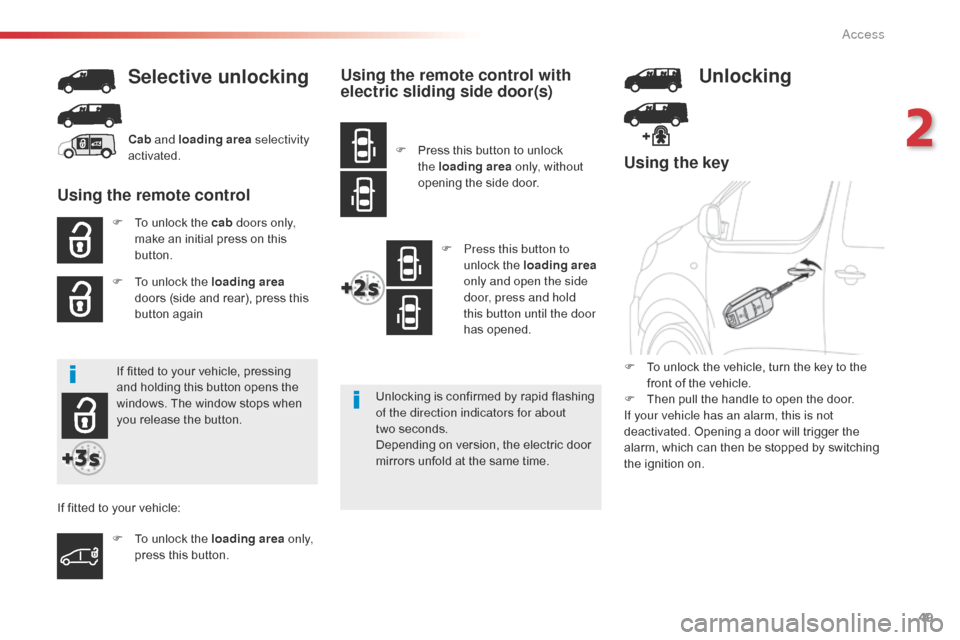
Using the key
F To unlock the cab doors only,
make an initial press on this
button.
F
T
o unlock the loading area
doors (side and rear), press this
button again
Selective unlocking
Unlocking is confirmed by rapid flashing
of the direction indicators for about
two
seconds.
Depending on version, the electric door
mirrors unfold at the same time. F
T
o unlock the vehicle, turn the key to the
front of the vehicle.
F T hen pull the handle to open the door.
If your vehicle has an alarm, this is not
deactivated. Opening a door will trigger the
alarm, which can then be stopped by switching
the ignition on.
Cab
and loading area selectivity
activated.
Using the remote control
If fitted to your vehicle, pressing
and holding this button opens the
windows. The window stops when
you release the button.
F
T
o unlock the loading area o n l y,
press this button.
If fitted to your vehicle:
Using the remote control with
electric sliding side door(s)
F Press this button to
unlock the loading area
only and open the side
door, press and hold
this button until the door
has opened.
F
P
ress this button to unlock
the loading area only, without
opening the side door.
Unlocking
2
Access
Page 52 of 595
50
Jumpy _en_Chap02_ouvertures_ed01-2016
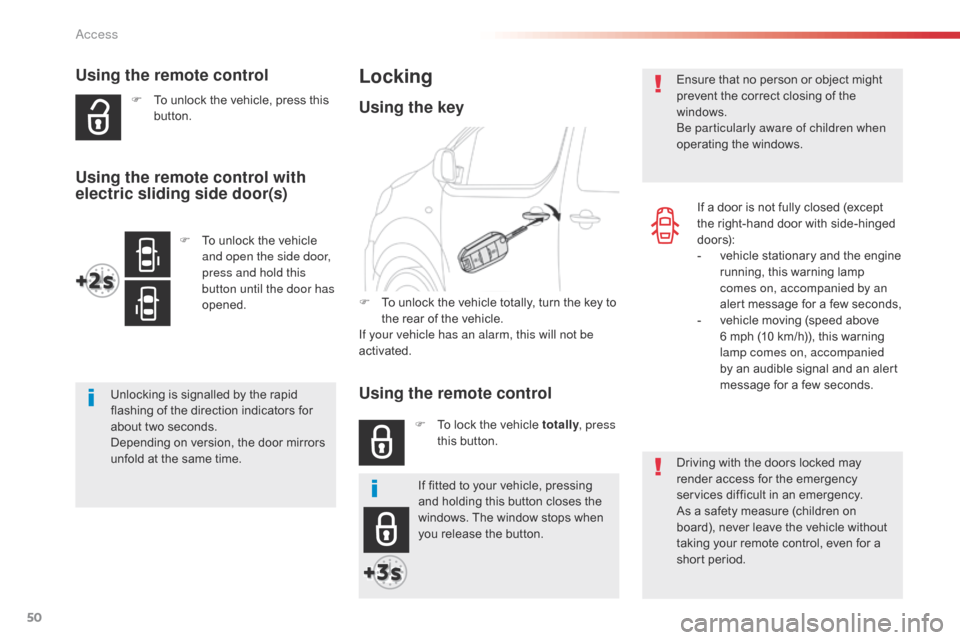
Using the remote control
F To unlock the vehicle, press this button.
Unlocking is signalled by the rapid
flashing of the direction indicators for
about two seconds.
Depending on version, the door mirrors
unfold at the same time. Driving with the doors locked may
render access for the emergency
services difficult in an emergency.
As a safety measure (children on
board), never leave the vehicle without
taking your remote control, even for a
short period. Ensure that no person or object might
prevent the correct closing of the
windows.
Be particularly aware of children when
operating the windows.
Locking
F To unlock the vehicle totally, turn the key to
the rear of the vehicle.
If your vehicle has an alarm, this will not be
activated.
F
T
o lock the vehicle totally , press
this button.
Using the key
If a door is not fully closed (except
the right-hand door with side-hinged
d o o r s):
-
v
ehicle stationary and the engine
running, this warning lamp
comes on, accompanied by an
alert message for a few seconds,
-
v
ehicle moving (speed above
6 mph (10 km/h)), this warning
lamp comes on, accompanied
by an audible signal and an alert
message for a few seconds.
If fitted to your vehicle, pressing
and holding this button closes the
windows. The window stops when
you release the button.
F
T
o unlock the vehicle
and open the side door,
press and hold this
button until the door has
opened.
Using the remote control with
electric sliding side door(s)
Using the remote control
Access
Page 54 of 595
52
Jumpy _en_Chap02_ouvertures_ed01-2016
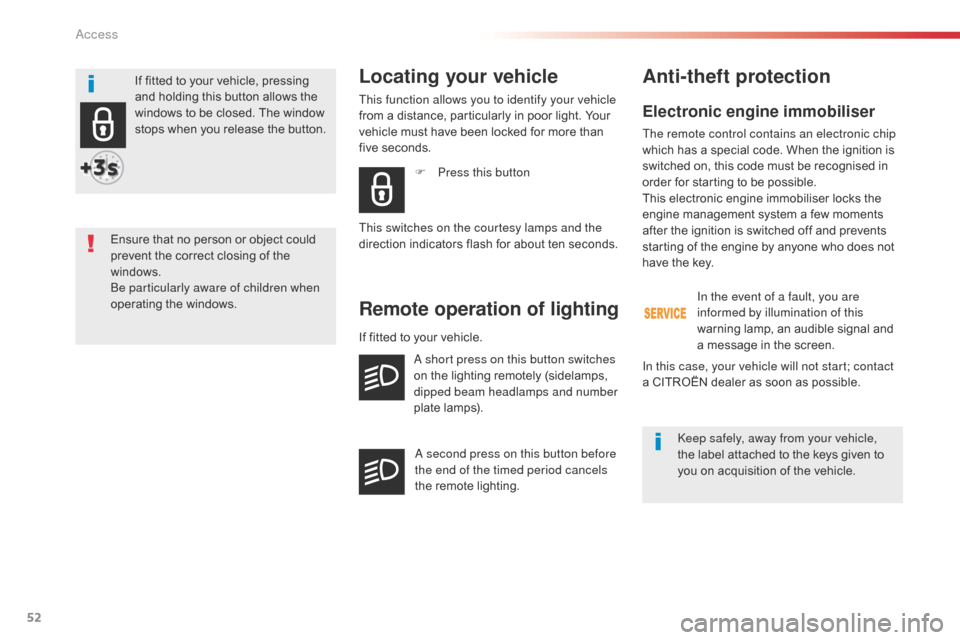
Electronic engine immobiliser
The remote control contains an electronic chip
which has a special code. When the ignition is
switched on, this code must be recognised in
order for starting to be possible.
This electronic engine immobiliser locks the
engine management system a few moments
after the ignition is switched off and prevents
starting of the engine by anyone who does not
have the key.
F
P
ress this button
Locating your vehicle
This function allows you to identify your vehicle
from a distance, particularly in poor light. Your
vehicle must have been locked for more than
five seconds.
This switches on the courtesy lamps and the
direction indicators flash for about ten seconds.
Remote operation of lighting
A short press on this button switches
on the lighting remotely (sidelamps,
dipped beam headlamps and number
plate lamps).
A second press on this button before
the end of the timed period cancels
the remote lighting.
Anti-theft protection
In the event of a fault, you are
informed by illumination of this
warning lamp, an audible signal and
a message in the screen.
Keep safely, away from your vehicle,
the label attached to the keys given to
you on acquisition of the vehicle.
In this case, your vehicle will not start; contact
a CITROËN dealer as soon as possible.
If fitted to your vehicle.
Ensure that no person or object could
prevent the correct closing of the
windows.
Be particularly aware of children when
operating the windows. If fitted to your vehicle, pressing
and holding this button allows the
windows to be closed. The window
stops when you release the button.
Access
Page 58 of 595
56
Jumpy _en_Chap02_ouvertures_ed01-2016
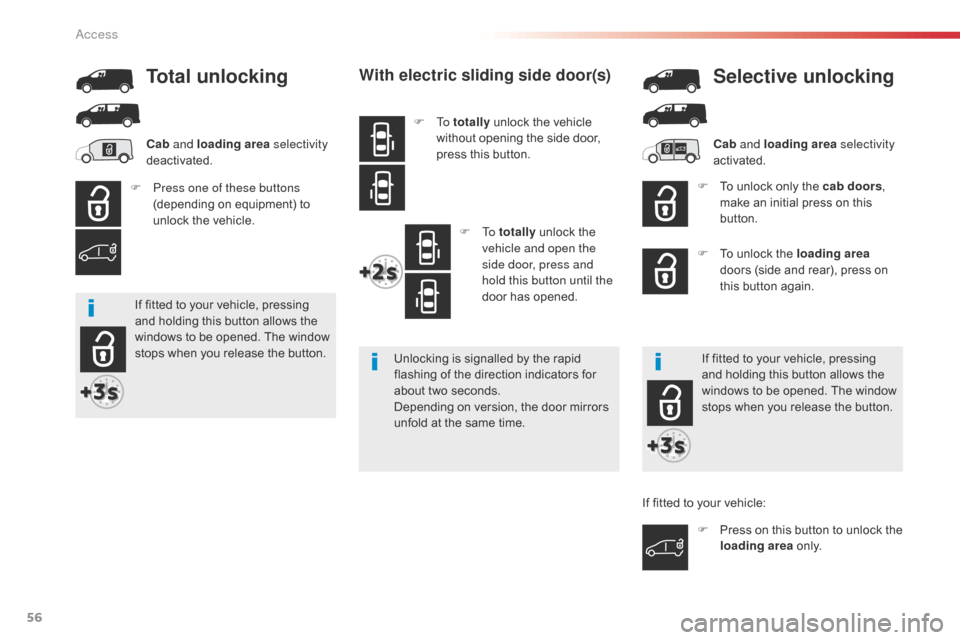
With electric sliding side door(s)
F To totally unlock the vehicle
without opening the side door,
press this button.
F
To totally unlock the
vehicle and open the
side door, press and
hold this button until the
door has opened.
Unlocking is signalled by the rapid
flashing of the direction indicators for
about two seconds.
Depending on version, the door mirrors
unfold at the same time.
F
P
ress one of these buttons
(depending on equipment) to
unlock the vehicle. F
T
o unlock only the cab doors,
make an initial press on this
button.
F
T
o unlock the loading area
doors (side and rear), press on
this button again.
Total unlocking Selective unlocking
Cab and loading area selectivity
deactivated. Cab
and loading area selectivity
activated.
If fitted to your vehicle, pressing
and holding this button allows the
windows to be opened. The window
stops when you release the button. If fitted to your vehicle, pressing
and holding this button allows the
windows to be opened. The window
stops when you release the button.
F
P
ress on this button to unlock the
loading area o n l y.
If fitted to your vehicle:
Access