snow chains CITROEN JUMPY 2022 Owners Manual
[x] Cancel search | Manufacturer: CITROEN, Model Year: 2022, Model line: JUMPY, Model: CITROEN JUMPY 2022Pages: 324, PDF Size: 10.05 MB
Page 5 of 324

3
Contents
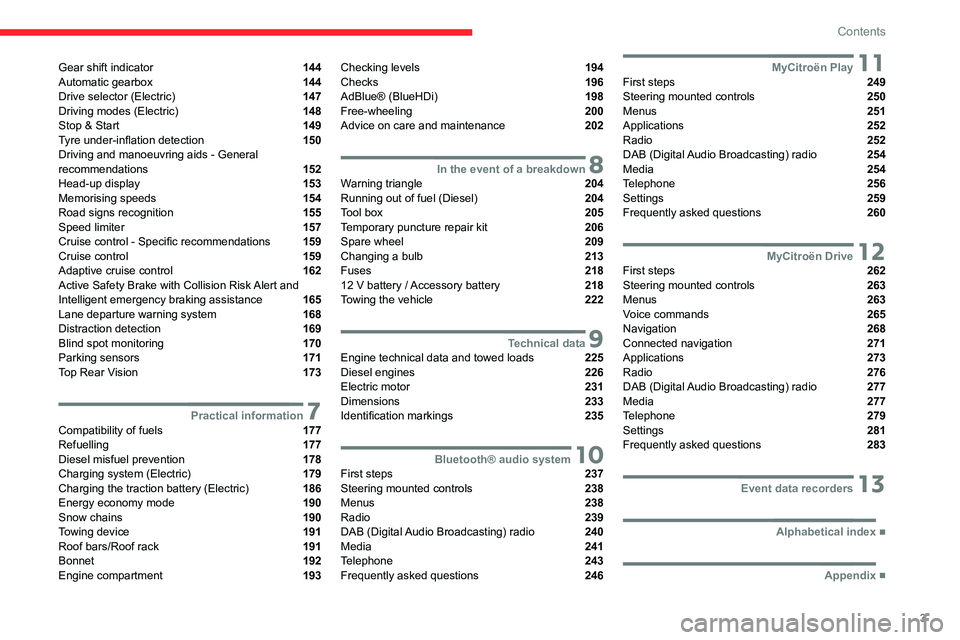
Gear shift indicator 144
Automatic gearbox 144
Drive selector (Electric) 147
Driving modes (Electric) 148
Stop & Start 149
Tyre under-inflation detection 150
Driving and manoeuvring aids - General
recommendations
152
Head-up display 153
Memorising speeds 154
Road signs recognition 155
Speed limiter 157
Cruise control - Specific recommendations 159
Cruise control 159
Adaptive cruise control 162
Active Safety Brake with Collision Risk Alert and
Intelligent emergency braking assistance
165
Lane departure warning system 168
Distraction detection 169
Blind spot monitoring 170
Parking sensors 171
Top Rear Vision 173
7Practical informationCompatibility of fuels 177
Refuelling 177
Diesel misfuel prevention 178
Charging system (Electric) 179
Charging the traction battery (Electric) 186
Energy economy mode 190
Snow chains 190
Towing device 191
Roof bars/Roof rack 191
Bonnet 192
Engine compartment 193
Checking levels 194
Checks 196
AdBlue® (BlueHDi) 198
Free-wheeling 200
Advice on care and maintenance 202
8In the event of a breakdownWarning triangle 204
Running out of fuel (Diesel) 204
Tool box 205
Temporary puncture repair kit 206
Spare wheel 209
Changing a bulb 213
Fuses 218
12
V battery
/ Accessory battery 218
Towing the vehicle 222
9Technical dataEngine technical data and towed loads 225
Diesel engines 226
Electric motor 231
Dimensions 233
Identification markings 235
10Bluetooth® audio systemFirst steps 237
Steering mounted controls 238
Menus 238
Radio 239
DAB (Digital Audio Broadcasting) radio 240
Media 241
Telephone 243
Frequently asked questions 246
11MyCitroën PlayFirst steps 249
Steering mounted controls 250
Menus 251
Applications 252
Radio 252
DAB (Digital Audio Broadcasting) radio 254
Media 254
Telephone 256
Settings 259
Frequently asked questions 260
12MyCitroën DriveFirst steps 262
Steering mounted controls 263
Menus 263
Voice commands 265
Navigation 268
Connected navigation 271
Applications 273
Radio 276
DAB (Digital Audio Broadcasting) radio 277
Media 277
Telephone 279
Settings 281
Frequently asked questions 283
13Event data recorders
■
Alphabetical index
■
Appendix
Page 153 of 324

151
Driving
6The system triggers an alert as soon as it
detects a drop in the inflation pressure of one or
more tyres.
Under-inflation detection does not
replace the need for vigilance on the part
of the driver.
This system does not avoid the need to
regularly check the tyre pressures (including
the spare wheel) as well as before a long
journey.
Driving with under-inflated tyres, particularly
in adverse conditions (heavy load, high
speed, long journey):
–
worsens road-holding,
–
lengthens braking distances,
–
causes premature wear of the tyres,
–
increases fuel consumption.
The inflation pressures specified for the vehicle can be found on the tyre pressure
label.
For more information on the Identification
markings, refer to the corresponding section.
Checking tyre pressures
This check should be done when the
tyres are "cold" (vehicle stopped for 1 hour or
after a journey of less than 6 miles (10
km) at
moderate speeds).
Otherwise, add 0.3
bar to the pressures
shown on the label.
Snow chains
The system does not have to be
reinitialised after fitting or removing snow
chains.
Spare wheel
The steel spare wheel does not have an
under-inflation detection sensor.
Under-inflation alert
This is signalled by the fixed illumination of this warning lamp, accompanied by an
audible signal and, depending on equipment, the
display of a message.
►
Reduce speed immediately
, avoid excessive
steering movements and avoid sudden braking.
►
Stop the vehicle as soon as it is safe to do
so.
The loss of pressure detected may not always cause visible deformation of the
tyre.
Do not rely on just a visual check.
►
Using a compressor
, such as the one in
the temporary puncture repair kit, check the
pressures of all four tyres when cold.
►
If it is not possible to carry out this check
immediately
, drive carefully at reduced speed.
►
In the event of a puncture, use the
temporary puncture repair kit or the spare wheel
(depending on equipment).
Driving too slowly may not ensure
optimum monitoring.
The alert is not immediately triggered in the
event of a sudden loss of pressure or tyre
blow-out. This is because analysis of the
values read by the wheel's speed sensors
can take several minutes.
The alert may be delayed at speeds below
25 mph (40 km/h), or when adopting a sporty
driving mode.
The alert is kept active until the system is reinitialised.
Reinitialisation
► The system must be reinitialised after any
adjustment to the pressure of one or more tyres,
and after changing one or more wheels.
Before reinitialising the system, make
sure that the pressures of the four tyres
are correct for the conditions of use of the
vehicle and conform to the values written on
the tyre pressure label.
Check the pressures of the four tyres before
performing the reinitialisation.
The system does not advise if a pressure is
incorrect at the time of reinitialisation.
Page 158 of 324

156
Driving
Head-up display
1.Speed limit indication
Speed display
The system is active but is not detecting speed
limit information.
On detection of speed limit information, the
system displays the value.
The driver can, if desired, adjust the
speed of the vehicle according to the
information given by the system.
Operating limits
The system does not take account of reduced
speed limits, especially those imposed in the
following cases:
–
Poor weather (rain, snow).
–
Atmospheric pollution.
–
Towing.
–
Driving with a space-saver type spare wheel
or snow chains fitted.
–
T
yre repaired using the temporary puncture
repair kit.
–
Y
oung drivers.
The system may not display the speed limit if it
does not detect a speed limit sign within a preset
period and in the following situations:
–
Road signs that are obstructed, non-standard,
damaged or bent.
–
Obsolete or incorrect maps.
Storing the speed setting
In addition to Road signs recognition , the
driver can select the speed displayed as a speed
setting for the speed limiter or cruise control
using the speed limiter or cruise control 'store'
button.
For more information on the Speed
limiter, Cruise control or Adaptive
cruise control, refer to the corresponding
sections.
Steering-mounted controls
1. Speed limiter/cruise control mode selection
2. Memorise the speed setting
Page 161 of 324

159
Driving
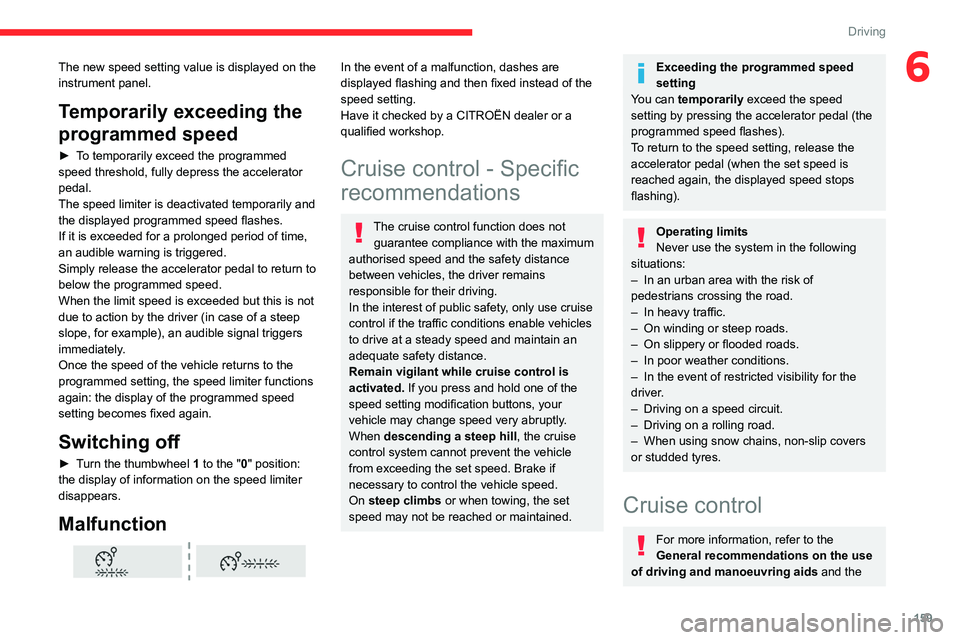
6The new speed setting value is displayed on the
instrument panel.
Temporarily exceeding the
programmed speed
► To temporarily exceed the programmed
speed threshold, fully depress the accelerator
pedal.
The speed limiter is deactivated temporarily and
the displayed programmed speed flashes.
If it is exceeded for a prolonged period of time,
an audible warning is triggered.
Simply release the accelerator pedal to return to
below the programmed speed.
When the limit speed is exceeded but this is not
due to action by the driver (in case of a steep
slope, for example), an audible signal triggers
immediately.
Once the speed of the vehicle returns to the
programmed setting, the speed limiter functions
again: the display of the programmed speed
setting becomes fixed again.
Switching off
► Turn the thumbwheel 1 to the "0" position:
the display of information on the speed limiter
disappears.
Malfunction
In the event of a malfunction, dashes are
displayed flashing and then fixed instead of the
speed setting.
Have it checked by a CITROËN dealer or a
qualified workshop.
Cruise control - Specific
recommendations
The cruise control function does not guarantee compliance with the maximum
authorised speed and the safety distance
between vehicles, the driver remains
responsible for their driving.
In the interest of public safety, only use cruise
control if the traffic conditions enable vehicles
to drive at a steady speed and maintain an
adequate safety distance.
Remain vigilant while cruise control is
activated. If you press and hold one of the
speed setting modification buttons, your
vehicle may change speed very abruptly.
When descending a steep hill , the cruise
control system cannot prevent the vehicle
from exceeding the set speed. Brake if
necessary to control the vehicle speed.
On steep climbs or when towing, the set
speed may not be reached or maintained.
Exceeding the programmed speed
setting
You can temporarily exceed the speed
setting by pressing the accelerator pedal (the
programmed speed flashes).
To return to the speed setting, release the
accelerator pedal (when the set speed is
reached again, the displayed speed stops
flashing).
Operating limits
Never use the system in the following
situations:
–
In an urban area with the risk of
pedestrians crossing the road.
–
In heavy traffic.
–
On winding or steep roads.
–
On slippery or flooded roads.
–
In poor weather conditions.
–
In the event of restricted visibility for the
driver
.
–
Driving on a speed circuit.
–
Driving on a rolling road.
–
When using snow chains, non-slip covers
or studded tyres.
Cruise control
For more information, refer to the
General recommendations on the use
of driving and manoeuvring aids and the
Page 168 of 324

166
Driving
Brake system operational.
Seat belts fastened for all passengers.
Stabilised speed on roads with no or low
curvature.
This warning lamp lights up on the instrument panel without any additional
message, to indicate that the automatic braking
system is not available.
This is a normal behavior indicating that a
condition is not fulfilled and which does not
request the support of a workshop.
In any situations with ignition on where automatic
braking presents a risk, deactivating the
system via the vehicle's configuration menu is
recommended, for instance:
–
T
owing a trailer (particularly a trailer without its
own braking system).
–
Carrying long objects on roof bars or roof rack.
–
Driving with snow chains.
–
Using an automatic car wash.
–
Performing any maintenance (e.g.
changing a
wheel, working inside the engine compartment).
–
Placing the vehicle on a rolling bench in a
workshop.
–
T
owing the vehicle.
–
Following a front bumper deformation.
–
Following
an impact to the windscreen close to
the detection camera.
The system diagnoses permanently its capability and may inhibit itself without
specific driver indication, if the system is
outside of the regular operating conditions
(e.g. sensor initialization, board voltage out of
regular range, activation of stability system).
Therefore, the system may not be available
just after starting the vehicle.
It can be dangerous to drive if the brake
lamps are not in perfect working order.
The driver must not overload the vehicle (keep within the GVW limit and load
height limits for roof bars).
Following an impact (e.g. a collision), the
system is automatically deactivated.
Have it checked by a CITROËN dealer or a
qualified workshop.
Collision Risk Alert
This function warns the driver if there is a risk
of collision with the preceding vehicle, or with a
pedestrian or cyclist.
Modifying the alert trigger threshold
This trigger threshold determines the sensitivity
with which the function warns of the risk of
collision.
The threshold is set via the vehicle configuration menu with the audio
system or touch screen.
►
Select one of the three pre-defined
thresholds: "Far", "Normal" or "Close".
The last threshold selected is memorised when
the ignition is switched off.
Operation
Depending on the collision risk detected by the
system and the alert trigger threshold chosen
by the driver, different levels of alert may be
triggered and displayed on the instrument panel.
The system takes into account the vehicle
dynamics, the difference speed of the own
vehicle and the object identified for the
collision risk, and the operation of the vehicle
(e.g.
actions on the pedals, steering wheel) to
trigger the alert at the most relevant moment.
(orange)
Level 1: visual alert only, warning that the
preceding vehicle is very close.
The message "Vehicle close" is displayed.
(red)
Level 2: visual and audible alert, warning
that a collision is imminent.
The message "Brake! " is displayed.
While approaching a vehicle too quickly,
the level 2 alert may be displayed
directly.
Important: the level 1 alert depends on the
trigger threshold selected. It reacts only on
moving vehicles. It is disabled automatically
at lower speed.
Page 192 of 324

190
Practical information
When charging is complete, the green
charging indicator lamp in the flap goes
out after about 2 minutes.
Domestic charging, mode 2
The end of charging is confirmed when the green
CHARGE indicator lamp on the control unit and
the green charging indicator lamp in the flap
come on fixed.
►
Replace the protective cover on the charging
nozzle and close the charging flap.
►
Disconnect the control unit end of the
charging cable from the domestic socket.
Accelerated charging, mode 3
The end of charging is indicated by the charging
control unit and by the fixed lighting of the green
indicator lamp in the flap.
►
Hang up the nozzle on the charging unit and
close the charging flap.
Superfast charging, mode 4
The end of charging is indicated by the charger
and by the fixed lighting of the green indicator
lamp in the flap.
► You can also pause charging by
pressing this button in the flap (in mode 4
only).
►
Hang up the nozzle on the charger
.
►
Depending on version, replace the protective
cover on the lower section and close the
charging flap.
When the charging nozzle is
disconnected, a message on the
instrument panel indicates that charging is
complete, even if the charging nozzle was
disconnected before full charging was
completed.
Energy economy mode
This system manages the duration of use of
certain functions, in order to conserve a sufficient
level of charge in the battery with the ignition off.
After switching off the engine and for a maximum
cumulative period of around 30 minutes, you can
continue to use functions such as the audio and
telematics system, dipped beam headlamps or
courtesy lamps.
Selecting the mode
A confirmation message is displayed when
energy economy mode is entered, and the active
functions are placed on standby.
If a telephone call is in progress at the
time, it will be maintained for around 10
minutes via the audio system’s hands-free
system.
Exiting the mode
These functions are automatically reactivated the
next time the vehicle is used.
To restore the use of these functions
immediately, start the engine and let it run:
–
For less than 10 minutes, to use the
equipment for approximately 5 minutes.
–
For more than 10 minutes, to use the
equipment for approximately 30 minutes.
Let the engine run for the specified duration to
ensure that the battery charge is sufficient.
T
o recharge the battery, avoid repeatedly or
continuously restarting the engine.
A flat battery prevents the engine from starting.
For more information on the 12
V battery,
refer to the corresponding section.
Load reduction mode
This system manages the use of certain
functions according to the level of charge
remaining in the battery.
When the vehicle is being driven, the load
reduction function temporarily deactivates certain
functions, such as the air conditioning and the
heated rear screen.
The deactivated functions are reactivated
automatically as soon as conditions permit.
Snow chains
In wintry conditions, snow chains improve
traction as well as the behaviour of the vehicle
when braking.
Page 193 of 324

191
Practical information
7Snow chains must be fitted only to the
front wheels. They must never be fitted to
"space-saver" type spare wheels.
Observe the legislation in force in your
country relating to the use of snow
chains and maximum authorised speeds.
Only use chains that have been designed for the
type of wheel fitted to your vehicle.
Original tyre size Type of chain 215/65 R16 12
mm link
215/60 R17 KONIG K-SUMMIT VAN K84
225/55 R17
You can also use snow socks.
For more information, contact a CITROËN dealer
or a qualified workshop.
Installation tips
► To fit the snow chains during a journey, stop
the vehicle on a flat surface at the side of the
road.
►
Apply the parking brake and position any
wheel chocks under the wheels to prevent
movement of the vehicle.
►
Fit the snow chains following the instructions
provided by the manufacturer
.
►
Move off gently and drive for a few moments,
without exceeding 31
mph (50 km/h).
►
Stop the vehicle and check that the snow
chains are correctly tightened.
It is strongly recommended that you
practise fitting the snow chains on a level
and dry surface before setting off.
Avoid driving with snow chains on roads that have been cleared of snow to avoid
damaging the vehicle's tyres and the road
surface. If the vehicle is fitted with alloy
wheels, check that no part of the chain or its
fixings is in contact with the wheel rim.
Towing device
Load distribution
► Distribute the load in the trailer so that the
heaviest items are as close as possible to the
axle, and the nose weight approaches the
maximum permitted without exceeding it.
Air density decreases with altitude, thus reducing
engine performance.
The maximum towable load
must be reduced by 10% per 1,000
metres of
altitude.
Use genuine towing devices and wiring
harnesses approved by CITROËN. We
recommend having them fitted by a CITROËN
dealer or a qualified workshop.
If not fitted by a CITROËN dealer, they must
still be fitted in accordance with the vehicle
manufacturer's instructions.
Certain driving or manoeuvring aid functions
are automatically deactivated while an
approved towing system is in use.
Comply with the maximum authorised
towable weight, as indicated on your
vehicle's registration certificate, on the
manufacturer's label and in the Technical
data section of this guide.
Complying with the maximum authorised
nose weight (towball weight) also includes
the use of accessories (bicycle carriers,
tow boxes, etc.).
Observe the legislation in force in the
country where you are driving.
Electric motor
An electric vehicle may be fitted with a
towing device.
It is therefore possible to tow a trailer or
caravan.
Contact a CITROËN dealer or qualified
workshop for more information and to obtain a
suitable towing device.
Roof bars/Roof rack
As a safety measure and to avoid damaging the roof, it is essential to use
the roof bars and roof racks approved for your
vehicle.
Observe the instructions on fitting and use
contained in the guide supplied with the roof
bars and racks.
Page 297 of 324

295
Alphabetical index
Removing the mat 68
Replacing bulbs
213–214, 216, 218
Replacing fuses
218
Replacing the air filter
197
Replacing the oil filter
197
Replacing the passenger compartment
filter
197
Reservoir, screenwash
196
Resetting the trip recorder
21–22
Reversing camera
153, 173, 175
Reversing lamp
216, 218
Roof bars
191–192
Roof rack
191
Running out of fuel (Diesel)
204
S
Safety, children 106, 108–110, 112, 120–121,
127, 130, 130–131
Saturation of the particle filter (Diesel)
197
Screen, instrument panel
22
Screen menu map
256
Screen, multifunction (with audio system)
238
Screenwash
93
Screenwash, front
93
Screenwash, rear
94
SCR (Selective Catalytic Reduction)
19, 198
Seat and bench seat, rear, fixed
57, 59–61
Seat and bench seat, rear, on rails
57, 61–63
Seat angle
48
Seat belts
102–105, 111
Seat belts, rear
104
Seat, bench front, 2-seat 50, 104
Seat, rear bench
57
Seats, electric
49–50
Seats, front
48–50
Seats, heated
51
Seat(s), individual, rear, on rails
63–65, 104
Seats, rear
57–63, 109
Selector, gear
144
Sensors (warnings)
153
Serial number, vehicle
235
Service indicator
16
Servicing
16, 196, 198
Settings, equipment
24–25
Settings, system
259, 282
Sidelamps
88, 214–216, 218
Side repeater
216
Silent vehicle warning sound (Electric)
99, 135
Sliding side door, electric
33–34, 38–41
Sliding side door, hands-free
42–43
Sliding side window
73
Smartphone
26
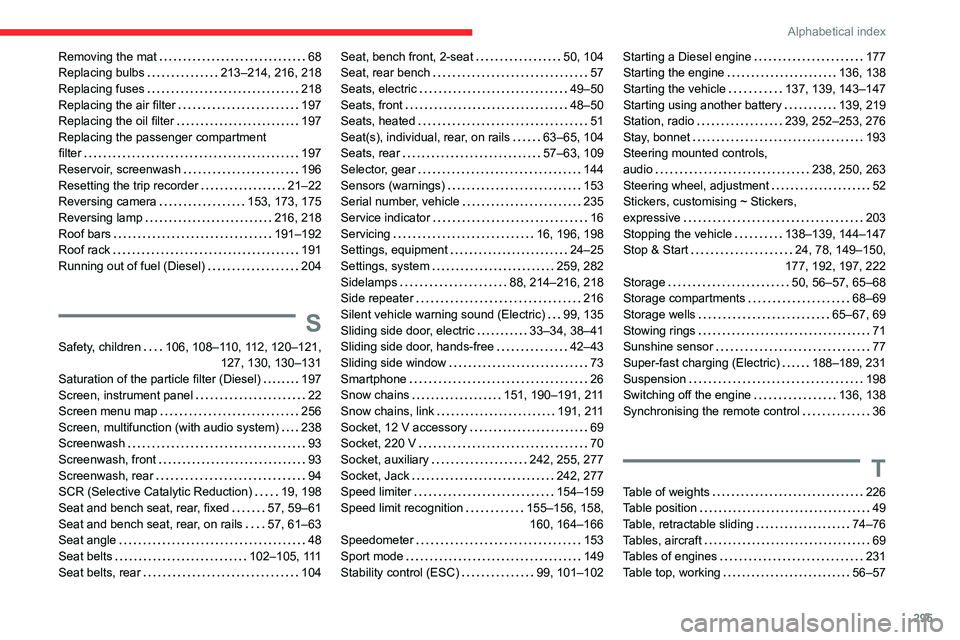
Snow chains
151, 190–191, 211
Snow chains, link
191, 211
Socket, 12 V accessory
69
Socket, 220 V
70
Socket, auxiliary
242, 255, 277
Socket, Jack
242, 277
Speed limiter
154–159
Speed limit recognition
155–156, 158, 160, 164–166
Speedometer
153
Sport mode
149
Stability control (ESC)
99, 101–102Starting a Diesel engine 177
Starting the engine
136, 138
Starting the vehicle
137, 139, 143–147
Starting using another battery
139, 219
Station, radio
239, 252–253, 276
Stay, bonnet
193
Steering mounted controls,
audio
238, 250, 263
Steering wheel, adjustment
52
Stickers, customising ~ Stickers,
expressive
203
Stopping the vehicle
138–139, 144–147
Stop & Start
24, 78, 149–150,
177, 192, 197, 222
Storage
50, 56–57, 65–68
Storage compartments
68–69
Storage wells
65–67, 69
Stowing rings
71
Sunshine sensor
77
Super-fast charging (Electric)
188–189, 231
Suspension
198
Switching off the engine
136, 138
Synchronising the remote control
36
T
Table of weights 226
Table position
49
Table, retractable sliding
74–76
Tables, aircraft
69
Tables of engines
231
Table top, working
56–57