Refrigeration DAEWOO LACETTI 2004 Service Repair Manual
[x] Cancel search | Manufacturer: DAEWOO, Model Year: 2004, Model line: LACETTI, Model: DAEWOO LACETTI 2004Pages: 2643, PDF Size: 80.54 MB
Page 2003 of 2643
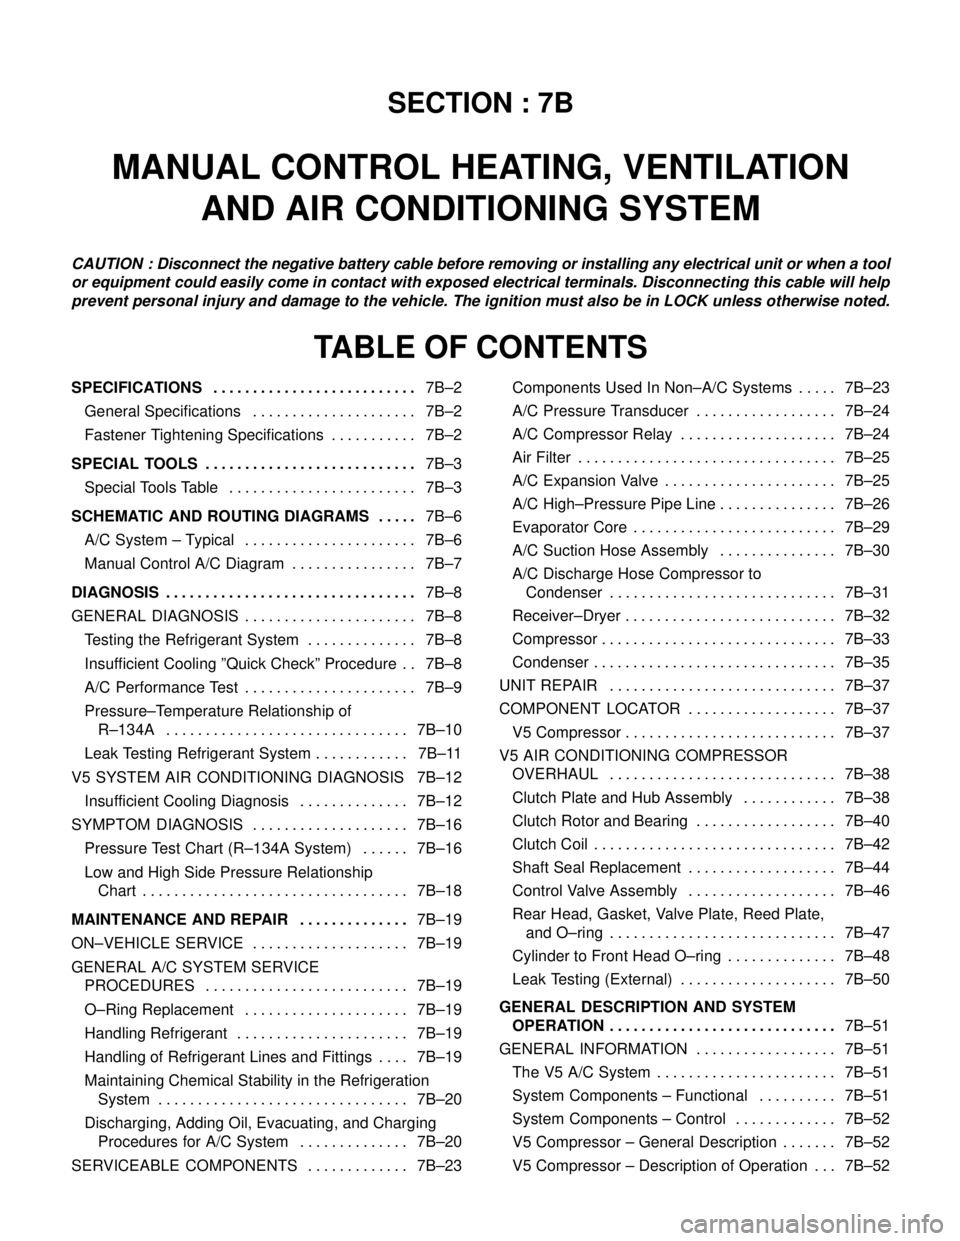
SECTION : 7B
MANUAL CONTROL HEATING, VENTILATION
AND AIR CONDITIONING SYSTEM
CAUTION : Disconnect the negative battery cable before removing or installing any electrical unit or when a tool
or equipment could easily come in contact with exposed electrical terminals. Disconnecting this cable will help
prevent personal injury and damage to the vehicle. The ignition must also be in LOCK unless otherwise noted.
TABLE OF CONTENTS
SPECIFICATIONS7B–2 . . . . . . . . . . . . . . . . . . . . . . . . . .
General Specifications 7B–2. . . . . . . . . . . . . . . . . . . . .
Fastener Tightening Specifications 7B–2. . . . . . . . . . .
SPECIAL TOOLS7B–3 . . . . . . . . . . . . . . . . . . . . . . . . . . .
Special Tools Table 7B–3. . . . . . . . . . . . . . . . . . . . . . . .
SCHEMATIC AND ROUTING DIAGRAMS7B–6 . . . . .
A/C System – Typical 7B–6. . . . . . . . . . . . . . . . . . . . . .
Manual Control A/C Diagram 7B–7. . . . . . . . . . . . . . . .
DIAGNOSIS7B–8 . . . . . . . . . . . . . . . . . . . . . . . . . . . . . . . .
GENERAL DIAGNOSIS 7B–8. . . . . . . . . . . . . . . . . . . . . .
Testing the Refrigerant System 7B–8. . . . . . . . . . . . . .
Insufficient Cooling ”Quick Check” Procedure 7B–8. .
A/C Performance Test 7B–9. . . . . . . . . . . . . . . . . . . . . .
Pressure–Temperature Relationship of
R–134A 7B–10. . . . . . . . . . . . . . . . . . . . . . . . . . . . . . .
Leak Testing Refrigerant System 7B–11. . . . . . . . . . . .
V5 SYSTEM AIR CONDITIONING DIAGNOSIS 7B–12
Insufficient Cooling Diagnosis 7B–12. . . . . . . . . . . . . .
SYMPTOM DIAGNOSIS 7B–16. . . . . . . . . . . . . . . . . . . .
Pressure Test Chart (R–134A System) 7B–16. . . . . .
Low and High Side Pressure Relationship
Chart 7B–18. . . . . . . . . . . . . . . . . . . . . . . . . . . . . . . . . .
MAINTENANCE AND REPAIR7B–19 . . . . . . . . . . . . . .
ON–VEHICLE SERVICE 7B–19. . . . . . . . . . . . . . . . . . . .
GENERAL A/C SYSTEM SERVICE
PROCEDURES 7B–19. . . . . . . . . . . . . . . . . . . . . . . . . .
O–Ring Replacement 7B–19. . . . . . . . . . . . . . . . . . . . .
Handling Refrigerant 7B–19. . . . . . . . . . . . . . . . . . . . . .
Handling of Refrigerant Lines and Fittings 7B–19. . . .
Maintaining Chemical Stability in the Refrigeration
System 7B–20. . . . . . . . . . . . . . . . . . . . . . . . . . . . . . . .
Discharging, Adding Oil, Evacuating, and Charging
Procedures for A/C System 7B–20. . . . . . . . . . . . . .
SERVICEABLE COMPONENTS 7B–23. . . . . . . . . . . . . Components Used In Non–A/C Systems 7B–23. . . . .
A/C Pressure Transducer 7B–24. . . . . . . . . . . . . . . . . .
A/C Compressor Relay 7B–24. . . . . . . . . . . . . . . . . . . .
Air Filter 7B–25. . . . . . . . . . . . . . . . . . . . . . . . . . . . . . . . .
A/C Expansion Valve 7B–25. . . . . . . . . . . . . . . . . . . . . .
A/C High–Pressure Pipe Line 7B–26. . . . . . . . . . . . . . .
Evaporator Core 7B–29. . . . . . . . . . . . . . . . . . . . . . . . . .
A/C Suction Hose Assembly 7B–30. . . . . . . . . . . . . . .
A/C Discharge Hose Compressor to
Condenser 7B–31. . . . . . . . . . . . . . . . . . . . . . . . . . . . .
Receiver–Dryer 7B–32. . . . . . . . . . . . . . . . . . . . . . . . . . .
Compressor 7B–33. . . . . . . . . . . . . . . . . . . . . . . . . . . . . .
Condenser 7B–35. . . . . . . . . . . . . . . . . . . . . . . . . . . . . . .
UNIT REPAIR 7B–37. . . . . . . . . . . . . . . . . . . . . . . . . . . . .
COMPONENT LOCATOR 7B–37. . . . . . . . . . . . . . . . . . .
V5 Compressor 7B–37. . . . . . . . . . . . . . . . . . . . . . . . . . .
V5 AIR CONDITIONING COMPRESSOR
OVERHAUL 7B–38. . . . . . . . . . . . . . . . . . . . . . . . . . . . .
Clutch Plate and Hub Assembly 7B–38. . . . . . . . . . . .
Clutch Rotor and Bearing 7B–40. . . . . . . . . . . . . . . . . .
Clutch Coil 7B–42. . . . . . . . . . . . . . . . . . . . . . . . . . . . . . .
Shaft Seal Replacement 7B–44. . . . . . . . . . . . . . . . . . .
Control Valve Assembly 7B–46. . . . . . . . . . . . . . . . . . .
Rear Head, Gasket, Valve Plate, Reed Plate,
and O–ring 7B–47. . . . . . . . . . . . . . . . . . . . . . . . . . . . .
Cylinder to Front Head O–ring 7B–48. . . . . . . . . . . . . .
Leak Testing (External) 7B–50. . . . . . . . . . . . . . . . . . . .
GENERAL DESCRIPTION AND SYSTEM
OPERATION7B–51 . . . . . . . . . . . . . . . . . . . . . . . . . . . . .
GENERAL INFORMATION 7B–51. . . . . . . . . . . . . . . . . .
The V5 A/C System 7B–51. . . . . . . . . . . . . . . . . . . . . . .
System Components – Functional 7B–51. . . . . . . . . .
System Components – Control 7B–52. . . . . . . . . . . . .
V5 Compressor – General Description 7B–52. . . . . . .
V5 Compressor – Description of Operation 7B–52. . .
Page 2021 of 2643
MANUAL CONTROL HEATING, VENTILATION AND AIR CONDITIONING SYSTEM 7B – 19
DAEWOO V–121 BL4
MAINTENANCE AND REPAIR
ON–VEHICLE SERVICE
GENERAL A/C SYSTEM SERVICE PROCEDURES
O–RING REPLACEMENT
Important : Even though O–rings may look identical, it is
extremely important that only recommended service re-
placement air conditioning O–rings be used or excessive
leakage of refrigerant may occur.
Important : Always slip the O–ring onto the flange tube to
ensure proper locating and sealing.
Install new Daewoo–approved service replacement air
conditioning (A/C) O–rings whenever a joint or a fitting is
disassembled, except when the O–rings are provided on
new components.
When replacing O–rings on an A/C component or a joint
connection, the fitting design should be identified to en-
sure installation of the correct air conditioning service re-
placement O–ring. Some joint connections and compo-
nents will implement a ”captured” O–ring design fitting that
uses a groove to retain the O–ring. Others do not have a
groove and use a ”non–captured” or ”standard” O–ring.
Assembly and tightening procedures are the same for
both designs, but the O–rings are different.
Notice : Before installation, verify that both O–rings and
fittings have not been nicked or deformed. Deformed or
nicked parts must be replaced. Failure to use the proper
service replacement parts and procedures may result in
excessive refrigerant leakage.
HANDLING REFRIGERANT
CAUTION : Always work in a well–ventilated area and
avoid breathing any refrigerant fumes. If you have dif-
ficulty with breathing, seek medical attention immedi-
ately. If refrigerant comes in contact with any part of
your body, flush the exposed area with water. If a rash
or pain develops, seek medical attention.
Air conditioning systems contain refrigerant. This is a
chemical mixture which requires special handling proce-
dures to avoid personal injury.
Always wear goggles and wrap a clean cloth around the
fittings, the valves and the connections when performing
work that involves opening the refrigerant system. Do not
weld or steam clean on or near any vehicle–installed air
conditioning lines or components.
All refrigerant drums are shipped with a heavy metal screw
cap. The purpose of the cap is to protect the valve and the
safety plug from damage. It is good practice to replace the
cap after each use of the drum.If it is necessary to transport or carry any container of re-
frigerant in a vehicle, do not carry it in the passenger
compartment.
HANDLING OF REFRIGERANT LINES
AND FITTINGS
Notice : Using too low or too high torque when tightening
a fitting can result in loose joints or deformed joint parts.
Both conditions can result in refrigerant leakage.
S Keep all metal tubing lines free of dents or kinks.
Any line restrictions will cause the loss of system
capacity.
S Never bend a flexible hose line to a radius of less
than four times the diameter of the hose.
S Never allow a flexible hose line to come within 65
mm (2–1/2 inches) of the exhaust manifold.
S Inspect flexible hose lines regularly for leaks or
brittleness.
S Replace flexible hose lines with new lines if you find
signs of deterioration or leaking.
S Discharge all refrigerant of the refrigeration system
before disconnecting any fitting in the refrigeration
system.
S Proceed very cautiously regardless of the gauge
readings.
CAUTION : Keep your face and your hands away from
the fitting so that you will not be injured if there hap-
pens to be liquid refrigerant in the line.
S Open the fittings very slowly.
S If you notice pressure when you loosen a fitting,
allow the pressure to bleed off as described under
”Discharging, Adding Oil, Evacuating, and Charging
Procedures for A/C System” in this section.
S Cap or tape any refrigerant line immediately after it
is opened. This will prevent the entrance of mois-
ture and dirt, which can cause internal compressor
wear or plugged lines in the condenser, the evapo-
rator core, the expansion valve, or the compressor
inlet screens.
Important : Use two proper wrenches to connect the O–
ring fittings.
S Back up the opposing fitting to prevent distortion of
the connecting lines or the components.
S Back up both the swagged fitting on the flexible
hose connections and the coupling to which it is
attached with two wrenches to prevent turning the
fitting and damaging the ground seat.
S Keep the O–rings and the seats in perfect condi-
tion. A burr or a piece of dirt may cause a refriger-
ant leak.
Page 2022 of 2643
7B – 20IMANUAL CONTROL HEATING, VENTILATION AND AIR CONDITIONING SYSTEM
DAEWOO V–121 BL4
S Dip new O–rings in clean polyalkaline glycol refrig-
erant oil before installation.
MAINTAINING CHEMICAL STABILITY
IN THE REFRIGERATION SYSTEM
The efficient operation and the life of the air conditioning
(A/C) system is dependent upon the chemical stability of
the refrigeration system. When foreign materials, such as
dirt, air, or moisture, contaminate the refrigeration system,
they will change the stability of the refrigerant and the poly-
alkaline glycol (PAG) compressor oil. They will also affect
the pressure–temperature relationship, reduce efficient
operation, and can possibly cause interior corrosion and
abnormal wear of moving parts.
Observe the following practices to ensure chemical stabil-
ity in the system:
S Wipe away dirt or oil at and near any connection
before opening that connection. This will reduce the
chance of dirt entering the system.
S Cap, plug, or tape both sides of a connection as
soon as possible after opening the connection. This
will prevent the entry of dirt, foreign material, and
moisture.
S Keep all tools clean and dry, including the manifold
gauge set and all replacement parts.
S Use a clean and dry transfer device and container
to add polyalkaline glycol refrigerant oil. This will
ensure that the oil remains as moisture–free as
possible. Refer to ”Discharging, Adding Oil, Eva-
cuating, and Charging Procedures for A/C System”
in this section.
S Have everything you need ready to allow you to
perform all operations quickly when opening an A/C
system. Do not leave the A/C system open any lon-
ger than necessary.
S Evacuate and recharge any A/C system that has
been opened. Refer to ”Discharging, Adding Oil,
Evacuating, and Charging Procedures for A/C Sys-
tem” in this section for the instructions to perform
this procedure properly.
All service parts are dehydrated and sealed before ship-
ping. They should remain sealed until just before making
connections. All the parts should be at room temperature
before uncapping. This prevents condensation of mois-
ture from the air from entering the system. Reseal all parts
as soon as possible.
DISCHARGING, ADDING OIL,
EVACUATING, AND CHARGING
PROCEDURES FOR A/C SYSTEM
CAUTION : Use only refillable refrigerant tanks that
are authorized for the charging station being used.
The use of other tanks may cause personal injury or
void the warranty. Refer to the manufacturer’s in-
structions for the charging station.CAUTION : To avoid personal injury, always wear
goggles and gloves when performing work that in-
volves opening the refrigeration system.
A charging station discharges, evacuates, and recharges
an air–conditioning (A/C) system with one hookup. Filter-
ing the refrigerant during the recovery cycle together with
filtering during the evacuation cycle ensures a supply of
clean, dry refrigerant for A/C system charging.
S Never use the R–134a charging station on a sys-
tem charged with R–12. The refrigerants and the
oils from each system are not compatible with
those from the other system and must never be
mixed, even in the smallest amount. Mixing refriger-
ant residue will damage the equipment.
S Never use adapters which convert from one size
fitting to another. Such use allows contamination,
which may cause system failure.
Charging Station Setup and Maintenance
There are many charging stations available. All perform
the various tasks required to discharge the system and re-
cover refrigerant, evacuate the system, add a measured
amount of oil, and recharge an A/C system with a mea-
sured amount of refrigerant. Refer to the manufacturer’s
instructions for all initial setup procedures and all mainte-
nance procedures.
Control Panel Functions
A charging station will have controls and indicators to allow
the operator to control and monitor the operation in prog-
ress. Refer to the manufacturer’s instructions for details.
These can be expected to include the following:
1. Main Power Switch
S Supplies electrical power to the control panel.
2. Display
S Shows the time programmed for vacuum.
S Shows the weight of the refrigerant programmed
for recharging.
S Refer to the manufacturer’s instructions for de-
tailed programming information.
3. Low–Side Manifold Gauge
S Shows the system’s low–side pressure.
4. High–Side Manifold Gauge
S Shows the system’s high–side pressure.
5. Controls Panel
S Controls the various operating functions.
6. Low–Side Valve
S Connects the low side of the A/C system to the
unit.
7. Moisture Indicator
S Shows whether the refrigerant is wet or dry.
8. High–Side Valve
S Connects the high side of the A/C system to the
unit.
Page 2087 of 2643
7D – 32IAUTOMATIC TEMPERATURE CONTROL HEATING, VENTILATION, AND AIR CONDITIONING SYSTEM
DAEWOO V–121 BL4
MAINTENANCE AND REPAIR
ON–VEHICLE SERVICE
GENERAL A/C SYSTEM SERVICE PROCEDURES
GENERAL SERVICE PROCEDURES
Refer to Section 7B, Manual Control Heating, Ventilation,
and Air Conditioning System, for details of the following
procedures:
S Discharging, Adding Oil, Evacuating, and Charging
Procedures for A/C System.
S Handling of Refrigerant Lines and Fittings.
S Handling Refrigerant.
S Maintaining Chemical Stability in the Refrigeration
System.
S O–Ring Replacement.