heating DODGE AVENGER 2008 Owners Manual
[x] Cancel search | Manufacturer: DODGE, Model Year: 2008, Model line: AVENGER, Model: DODGE AVENGER 2008Pages: 467, PDF Size: 7.16 MB
Page 81 of 467
Do not run the engine in a closed garage or in confined
areas any longer than needed to move your vehicle in or
out of the area.
If it is necessary to sit in a parked vehicle with the engine
running, adjust your heating or cooling controls to force
outside air into the vehicle. Set the blower at high speed.
WARNING!If you are required to drive with the deck lid open,
make sure that all windows are closed, and the
climate control blower switch is set at high speed.
DO NOT use the recirculation mode. Safety Checks You Should Make Inside The
Vehicle
Seat Belts
Inspect the belt system periodically, checking for cuts,
frays and loose parts. Damaged parts must be replaced
immediately. Do not disassemble or modify the system.
Front seat belt assemblies must be replaced after a
collision. Rear seat belt assemblies must be replaced after
a collision if they have been damaged (bent retractor, torn
webbing, etc.). If there is any question regarding belt or
retractor condition, replace the belt.
Airbag Light
The light should come on and remain on for six to eight
seconds as a bulb check when the ignition switch is first
turned ON. If the LED is not lit during starting, have it
checked. If the light stays on or comes on while driving,
have the system checked by an authorized dealer. THINGS TO KNOW BEFORE STARTING YOUR VEHICLE 79
2
Page 150 of 467
GATE OPERATOR/CANADIAN PROGRAMMING
Canadian radio frequency laws require transmitter sig-
nals to time-out (or quit) after several seconds of trans-
mission ± which may not be long enough for HomeLink t
to pick up the signal during programming. Similar to this
Canadian law, some U.S. gate operators are designed to
time-out in the same manner.
It may be helpful to unplug the device during the cycling
process to prevent possible overheating of the garage
door or gate motor.
If you are having difficulties programming a garage door
opener or a gate operator, replace ªProgramming
HomeLink t º Step 3, with the following:
3. Continue to press and hold the HomeLink t button
while you press and release - every two seconds
(ªcycleº) your hand-held transmitter until HomeLink t has successfully accepted the frequency signal. The
indicator light will flash slowly and then rapidly when
fully trained.
If you unplugged the device for training, plug it back in
at this time.
Then proceed with Step 4 under ªProgramming
HomeLink t ,º earlier in this section.
SECURITY
It is advised to erase all channels before you sell or turn
in your vehicle.
To do this, press and hold the two outside buttons for 20
seconds until the red indicator flashes. Note that all
channels will be erased. Individual channels cannot be
erased.
The HomeLink t Universal Transceiver is disabled when
the Vehicle Security Alarm is active.148 UNDERSTANDING THE FEATURES OF YOUR VEHICLE
Page 168 of 467
N Manual Air Conditioning And Heating System . . 242
N Automatic Temperature Control (ATC) Ð
If Equipped .........................246
N Operating Tips .......................252 m Rear Window Features ...................256
N Electric Rear Window Defroster Ð
If Equipped .........................256166 UNDERSTANDING YOUR INSTRUMENT PANEL
Page 244 of 467
3. Do not apply paper, paper CD labels, or tape to the
disc; avoid scratching a disc.
4. Do not use solvents such as benzine, thinner, cleaners,
or antistatic sprays.
5. Store a disc in its case after playing.
6. Do not expose a disc to direct sunlight.
7. Do not store a disc where temperatures may become
too high.
8. Do not play discs that are small in size or have
irregular shapes. CLIMATE CONTROLS
The Air Conditioning and Heating System is designed to
make you comfortable in all types of weather.
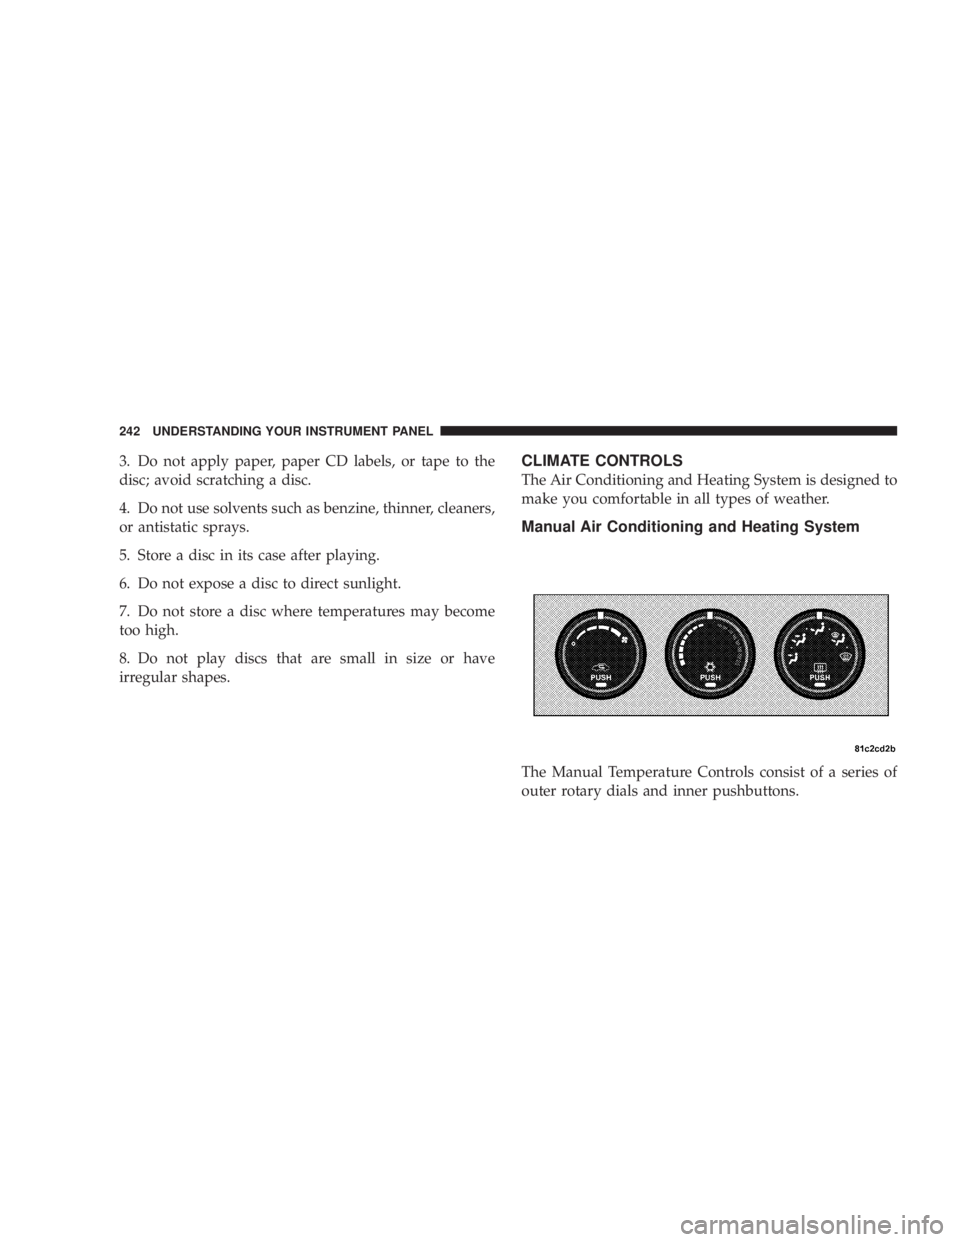
Manual Air Conditioning and Heating System
The Manual Temperature Controls consist of a series of
outer rotary dials and inner pushbuttons.242 UNDERSTANDING YOUR INSTRUMENT PANEL
Page 249 of 467
cabin infrared sensor mounted between the sun-visors
and from various sensors located throughout the vehicle.
The controls on the climate control provide the system
with operator input. Other sensors take account of ve-
hicle speed, A/C pressure, outside temperature, and
engine cooling temperature. Using all of these inputs, the
system automatically adjusts airflow temperature, air-
flow distribution, airflow volume, and the amount of
outside air recirculation. This maintains a comfortable
temperature even under changing conditions.
Operation of the system is quite simple.
1. Turn the Mode Control knob (on the right) and the
Blower Control knob (on the left) to AUTO.
NOTE: The AUTO position performs best for front seat
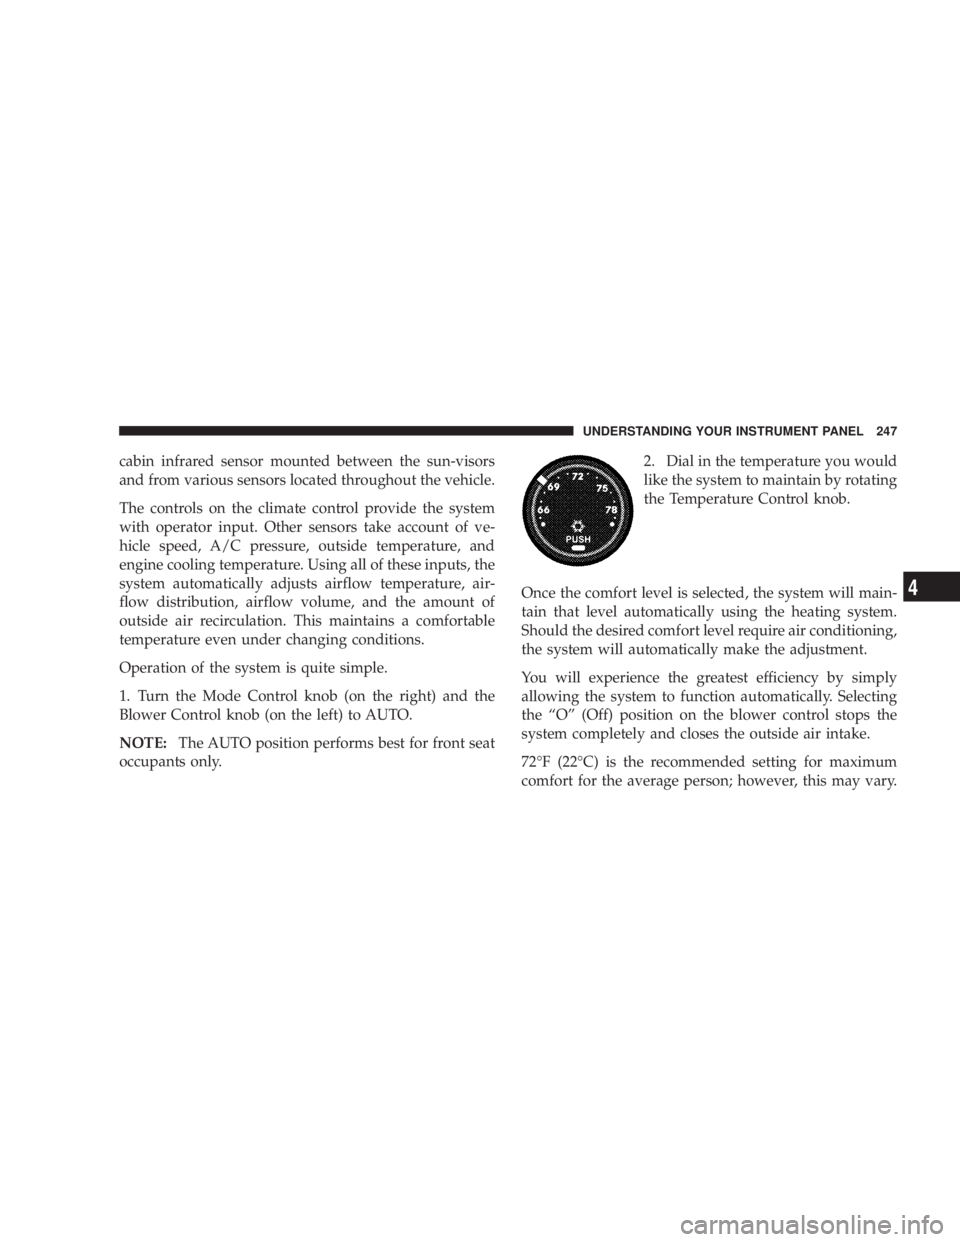
occupants only. 2. Dial in the temperature you would
like the system to maintain by rotating
the Temperature Control knob.
Once the comfort level is selected, the system will main-
tain that level automatically using the heating system.
Should the desired comfort level require air conditioning,
the system will automatically make the adjustment.
You will experience the greatest efficiency by simply
allowing the system to function automatically. Selecting
the ªOº (Off) position on the blower control stops the
system completely and closes the outside air intake.
72ÉF (22ÉC) is the recommended setting for maximum
comfort for the average person; however, this may vary. UNDERSTANDING YOUR INSTRUMENT PANEL 247
4
Page 254 of 467
² Extended use of recirculation may cause the windows
to fog. If the interior of the windows begins to fog,
press the RECIRCULATION button to return to out-
side air. Some temp/humidity conditions will cause
captured interior air to condense on windows and
hamper visibility. For this reason, the system will not
allow Recirculation to be selected while in floor, de-
frost, or defrost/floor mode. Attempting to use the
Recirculation while in these modes will cause the LED
in the CONTROL button to blink and then turn off.
² Most of the time, when in Automatic Operation, you
can temporarily put the system into Recirculation
mode by pressing the RECIRCULATION button.
However, under certain conditions, while in Auto-
matic Mode, the system is blowing air out the defrost
vents. When these conditions are present, and the
RECIRCULATION button is pressed, the indicator will
flash and then turn off. This tells you that you are
unable to go into recirculation mode at this time. If you would like the system to go into Recirculation mode,
you must first move the Mode Knob to Panel, Panel/
Floor and then press the RECIRCULATION button.
This feature reduces the possibility of window fog-
ging.
Operating Tips
NOTE: Refer to the chart at the end of this section for
suggested control settings for various weather condi-
tions.
Summer Operation
The engine cooling system in air-conditioned vehicles
must be protected with a high-quality antifreeze coolant
to provide proper corrosion protection and to protect
against engine overheating. A 50% solution of ethylene
glycol antifreeze coolant in water is recommended. Refer
to ªMaintenance Proceduresº in Section 7 of this manual
for proper coolant selection.252 UNDERSTANDING YOUR INSTRUMENT PANEL
Page 255 of 467
Winter Operation
Use of the air Recirculation mode during winter months
is not recommended because it may cause window
fogging.
Vacation Storage
Anytime you store your vehicle, or keep it out of service
(i.e., vacation) for two weeks or more, run the air
conditioning system at idle for about five minutes in the
fresh air and high blower settings. This will ensure
adequate system lubrication to minimize the possibility
of compressor damage when the system is started again. Window Fogging
Interior fogging on the windshield can be quickly re-
moved by turning the mode selector to Defrost. The
Defrost/Floor mode can be used to maintain a clear
windshield and provide sufficient heating. If side win-
dow fogging becomes a problem, increase blower speed.
Vehicle windows tend to fog on the inside in mild but
rainy or humid weather.
NOTE: Recirculate without A/C should not be used for
long periods as fogging may occur.
Side Window Demisters
A side window demister outlet is located at each end of
the instrument panel. These non-adjustable outlets direct
air toward the side windows when the system is in the
Floor, Mix, or Defrost mode. The air is directed at the area
of the windows through which you view the outside
mirrors. UNDERSTANDING YOUR INSTRUMENT PANEL 253
4
Page 263 of 467
STARTING PROCEDURES
Before starting your vehicle, adjust your seat, adjust both
inside and outside mirrors, and fasten your seat belt.
Make sure all occupants have securely fastened their seat
belts.
WARNING!Never leave children alone in a vehicle. Leaving
children in a vehicle unattended is dangerous for a
number of reasons. A child or others could be seri-
ously or fatally injured. Don't leave the keys in the
ignition. A child could operate power windows,
other controls, or move the vehicle. WARNING!Be sure to turn off the engine and remove the key
from the ignition switch if you want to rest or sleep
in your car. Accidents can be caused by inadvertently
moving the gear selection lever or by pressing the
accelerator pedal. This may cause excessive heat in
the exhaust system, resulting in overheating and
vehicle fire which may cause serious or fatal injuries.
Automatic Transaxle
The gear selector must be in the PARK or NEUTRAL
position before you can start the engine. Apply the brakes
before shifting to any driving gear.
NOTE: You must press the brake pedal before shifting
out of Park. STARTING AND OPERATING 261
5
Page 275 of 467
CAUTION!If the transaxle operating temperature exceeds ac-
ceptable limits, the vehicle computer will override
OVERDRIVE and ª3º DRIVE range by changing
shift points. This is done to prevent transaxle damage
due to overheating.
Reset Mode - Electronic Transaxle
The transaxle is monitored electronically for abnormal
conditions. If a condition is detected that could cause
damage, the transaxle automatically shifts into second
gear. The transaxle remains in second gear (3rd gear with
a six speed automatic) despite the forward gear selected.
Park (P), Reverse (R), and Neutral (N) will continue to
operate. This Reset feature allows the vehicle to be driven
to a dealer for service without damaging the transaxle. In the event that the problem has been momentary, the
transaxle can be reset to regain all forward gears.
1. Stop the vehicle.
2. Shift into PARK.
3. Turn the ignition OFF, and then restart the engine.
4. Shift into the desired gear range and resume driving.
NOTE: Even if the transaxle can be reset, it is recom-
mended that you visit a dealer at your earliest possible
convenience. Your dealer has diagnostic equipment to
determine if the problem could recur.
If the transaxle cannot be reset, dealer service is required. STARTING AND OPERATING 273
5
Page 277 of 467
² The transaxle will automatically shift up when maxi-
mum engine speed is reached while Autostick t is
engaged.
² Transaxle shifting will be more noticeable when
Autostick t is engaged.
² If a downshift would cause the engine to over-speed,
that shift will not occur until it is safe for the engine.
The transaxle will stay in the manually selected gear.
² If the system detects powertrain overheating, the
transaxle will revert to the automatic shift mode and
remain in that mode until the powertrain cools off.
² If the system detects a problem, it will disable the
AutoStick t mode and the transaxle will return to the
automatic mode until the problem is corrected. ALL WHEEL DRIVE Ð IF EQUIPPED
This feature provides full time, on-demand, All Wheel
Drive (AWD). The system is automatic with no driver
inputs or additional driving skills required. Under nor-
mal driving conditions, the front wheels provide most of
the traction. If the front wheels begin to lose traction,
power is shifted automatically to the rear wheels. The
greater the front wheel traction loss, the greater the
power transfer to the rear wheels.
Additionally, on dry pavement under heavy throttle
input (where one may have no wheel spin), torque will be
sent to the rear in a preemptive effort to improve vehicle
launch and performance characteristics.
The system contributes to good fuel economy by operat-
ing only on demand, thereby minimizing power-robbing
friction and inertia. STARTING AND OPERATING 275
5