engine DODGE AVENGER 2010 2.G Owner's Manual
[x] Cancel search | Manufacturer: DODGE, Model Year: 2010, Model line: AVENGER, Model: DODGE AVENGER 2010 2.GPages: 448, PDF Size: 7.17 MB
Page 140 of 448
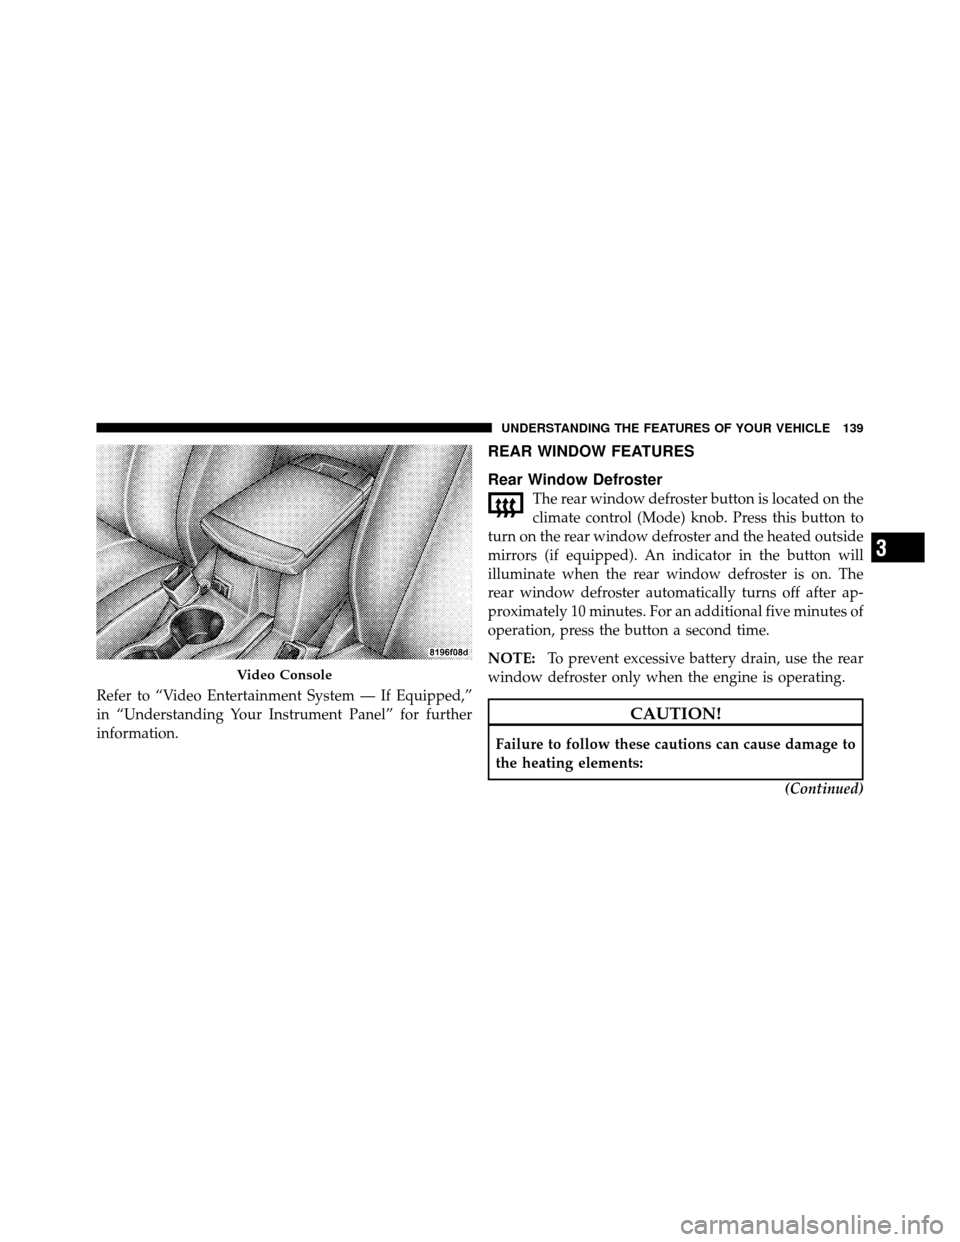
Refer to “Video Entertainment System — If Equipped,”
in “Understanding Your Instrument Panel” for further
information.
REAR WINDOW FEATURES
Rear Window Defroster
The rear window defroster button is located on the
climate control (Mode) knob. Press this button to
turn on the rear window defroster and the heated outside
mirrors (if equipped). An indicator in the button will
illuminate when the rear window defroster is on. The
rear window defroster automatically turns off after ap-
proximately 10 minutes. For an additional five minutes of
operation, press the button a second time.
NOTE: To prevent excessive battery drain, use the rear
window defroster only when the engine is operating.
CAUTION!
Failure to follow these cautions can cause damage to
the heating elements:
(Continued)
Video Console
3
UNDERSTANDING THE FEATURES OF YOUR VEHICLE 139
Page 151 of 448
INSTRUMENT CLUSTER DESCRIPTIONS
1. Temperature Gauge
The temperature gauge shows engine coolant tempera-
ture. Any reading below the red area of the gauge shows
that the engine cooling system is operating properly. The
gauge pointer may show a higher than normal tempera-
ture when driving in hot weather, up mountain grades, in
heavy stop and go traffic, or when towing a trailer.
If the pointer rises to theH(red) mark, the instrument
cluster will sound a chime. Pull over and stop the vehicle.
Idle the vehicle with the air conditioner turned off until
the pointer drops back into the normal range. If the
pointer remains on the H(red) mark, turn the engine off
immediately and call for service.
There are steps that you can take to slow down an
impending overheat condition. If your air conditioning is
on, turn it off. The air conditioning system adds heat to
the engine cooling system and turning off the A/C removes this heat. You can also turn the Temperature
control to maximum heat, the Mode control to Floor and
the Fan control to High. This allows the heater core to act
as a supplement to the radiator and aids in removing heat
from the engine cooling system.
2. Fuel Door Reminder
This is a reminder that the Fuel Filler Door is
located on the left side of the vehicle.
3. Fuel Gauge
When the ignition switch is in the ON position, the
pointer will show the level of fuel remaining in the fuel
tank.
4. Speedometer
Indicates the vehicle speed in miles per hour (MPH) and
kilometers per hour (km/h).
150 UNDERSTANDING YOUR INSTRUMENT PANEL
Page 153 of 448
you do not buckle up, the light will remain on. Refer to
“Occupant Restraints” in “Things To Know Before Start-
ing Your Vehicle” for further information.
9. Oil Pressure Warning LightThis light indicates low engine oil pressure. The
light will come on and remain on when the
ignition switch is turned from the OFF to the ON
position, and the light will turn off after the engine is
started. If the bulb does not come on during starting,
have the system checked by an authorized dealer.
If the light comes on and remains on while driving, stop
the vehicle and shut off the engine. DO NOT OPERATE
THE VEHICLE UNTIL THE CAUSE IS CORRECTED.
The light does not show the quantity of oil in the engine.
This can be determined using the procedure shown in
“Maintaining Your Vehicle”. 10. Engine Temperature Warning Light
This light warns of an overheated engine condi-
tion. If the engine is critically hot, a warning chime
will sound 10 times. After the chime turns off, the
engine will still be critically hot until the light goes out.
11. Brake Warning Light This light monitors various brake functions,
including brake fluid level and parking brake
application. If the brake light turns on, it may
indicate that the parking brake is applied, that
the brake fluid level is low, or that there is a problem with
the anti-lock brake system.
The dual brake system provides a reserve braking capac-
ity in the event of a failure to a portion of the hydraulic
system. Failure of either half of the dual brake system is
indicated by the Brake Warning Light which will turn on
when the brake fluid level in the master cylinder has
dropped below a specified level.
152 UNDERSTANDING YOUR INSTRUMENT PANEL
Page 155 of 448
12. Tachometer
The silver area of the scale shows the permissible engine
revolutions-per-minute (RPM x 1000) for each gear range.
Before reaching the red area, ease up on the accelerator to
prevent engine damage.
13. Shift Lever Indicator
The Shift Lever Indicator is self-contained within the
instrument cluster. It displays the gear position of the
automatic transmission.
NOTE:You must apply the brakes before shifting from
PARK.
14. Odometer/Trip Odometer Display Area
The odometer shows the total distance the vehicle has
been driven. U.S. Federal regulations require that upon
transfer of vehicle ownership, the seller certify to the
purchaser the correct mileage that the vehicle has been driven. If your odometer needs to be repaired or serviced,
the repair technician should leave the odometer reading
the same as it was before the repair or service. If s/he
cannot do so, then the odometer must be set at zero, and
a sticker must be placed in the door jamb stating what the
mileage was before the repair or service. It is a good idea
for you to make a record of the odometer reading before
the repair/service, so that you can be sure that it is
properly reset, or that the door jamb sticker is accurate if
the odometer must be reset at zero.
The two trip odometers show individual trip mileage. To
switch from odometer to trip odometers, press and
release the Trip Odometer button. To reset a trip odom-
eter, display the desired trip odometer to be reset then
push and hold the button until the display resets (ap-
proximately two seconds). Refer to “Trip Odometer But-
ton” for additional information.
154 UNDERSTANDING YOUR INSTRUMENT PANEL
Page 156 of 448
Vehicle Odometer Messages
When the appropriate conditions exist, the odometer will
display the following messages:
door............................. Door Ajar
deck ............................. T runk Ajar
LoW TirE .................... LowTirePr essure
CHAngE OIL ............... Oil Change Required
gASCAP ....................... Fuel Cap Fault
HOTOIL ............ Tr ansmission Oil Temperature
Exceeds Safe Threshold
NOTE: If the instrument cluster is equipped with the
optional Electronic Vehicle Information Center (EVIC),
then all warnings including ”Low Tire,” “Door Ajar” and
“Trunk Ajar” will only display in the EVIC. (Refer to
“Electronic Vehicle Information Center (EVIC)” for spe-
cific messages). LoW TirE
When the appropriate condition exists, the odometer
display will toggle between LoW and TirE for three
cycles.
HOTOIL
When this message is displayed there is a transmission
over-temperature condition. When this condition occurs,
the “HOTOIL” message will be displayed in the odom-
eter along with a chime.
NOTE:
When this message is displayed, bring the
vehicle to a stop and idle the engine in park until the
message clears. Raising the idle of the engine slightly will
help speed up the cooling.
gASCAP
If the vehicle diagnostic system detects a leak or change
in the evaporative system, or the fuel filler cap is loose,
improperly installed, or damaged, the words “gASCAP”
will display in the odometer display area. If this occurs,
4
UNDERSTANDING YOUR INSTRUMENT PANEL 155
Page 157 of 448
tighten the fuel filler cap properly and press the odom-
eter reset button to turn off the “gASCAP” message.
(Refer to “Onboard Diagnostic System — OBDII” in
“Maintaining Your Vehicle” for further information). If
the problem continues, the message will appear the next
time the vehicle is started. See your authorized dealer
service center as soon as possible.
CHAngE OIL
Your vehicle is equipped with an engine oil change
indicator system. The “CHAngE OIL” message will flash
in the instrument cluster odometer for approximately
12 seconds after a single chime has sounded to indicate
the next scheduled oil change interval. The engine oil
change indicator system is duty cycle based, which
means the engine oil change interval may fluctuate
dependent upon your personal driving style.
Unless reset, this message will continue to display each
time you turn the ignition switch to the “ON” position.To turn off the message temporarily, press and release the
Trip Odometer button on the instrument cluster. To reset
the oil change indicator system (after performing the
scheduled maintenance) perform the following proce-
dure:
1. Turn the ignition switch to the ON position (Do not
start the engine).
2. Fully depress the accelerator pedal slowly 3 times
within 10 seconds.
3. Turn the ignition switch to the LOCK position.
NOTE: If the indicator message illuminates when you
start the vehicle, the oil change indicator system did not
reset. If necessary repeat this procedure.
4. For vehicles equipped with the Electronic Vehicle
Information Center (EVIC), refer to “Electronic Vehicle
Information Center (EVIC)”.
156 UNDERSTANDING YOUR INSTRUMENT PANEL
Page 158 of 448
15. Cruise Indicator — If EquippedThis indicator shows that the Electronic Speed
Control System is ON.
16. Odometer/Trip Odometer Reset Button
Single Trip Odometer
Press and release this button to change the display from
odometer to trip odometer. The word “Trip” displays to
show that the odometer is in Trip Mode. Press and release
the button again to change the display back to the
odometer.
To reset the trip odometer, first set the display to Trip
Mode. Then push and hold the button (approximately
two seconds) until the display resets to 0 miles (km). The
odometer must be in Trip Mode to reset the trip odom-
eter. Dual Trip Odometer — If Equipped
Press and release this button to change the display from
odometer to “Trip A.” Press and release it a second time
to change the display to “Trip B.” Press and release it a
third time to change the display back to the odometer.
To reset the trip odometer, first display the trip mileage
that you want to reset, “Trip A” or “Trip B.” Then push
and hold the button (approximately two seconds) until
the display resets to 0 miles (km). The odometer must be
in Trip Mode to reset the trip odometer.
17. Electronic Throttle Control (ETC) Indicator Light
This light informs you of a problem with the
Electronic Throttle Control (ETC) system. If a
problem is detected, the light will come on
while the engine is running. If the light remains
lit with the engine running, your vehicle will usually be
drivable and not need towing, however see your autho-
rized dealer for service as soon as possible.
4
UNDERSTANDING YOUR INSTRUMENT PANEL 157
Page 159 of 448
If the light is flashing when the engine is running you
may experience power loss, an elevated/rough idle, and
increased brake pedal effort, and your vehicle may
require towing. Immediate service is required.
The light will come on when the ignition switch is first
turned on and remain on approximately 15 seconds as a
bulb check. This is normal. If the light does not come on
during starting, have the system checked by an autho-
rized dealer.
18. Position Light Indicator — If EquippedThis indicator will illuminate when the park
lights or headlights are turned on. 19. Electronic Stability Control (ESC) OFF Indicator
Light — If Equipped
This light indicates the Electronic Stability Con-
trol system (ESC) has been turned off by the
driver.
20. Turn Signal Indicators The arrows will flash in unison with the exterior
turn signal, when using the turn signal lever.
21. Vehicle Security Light — If Equipped This light will flash rapidly for approximately
16 seconds when the alarm system is arming.
The light will begin to flash slowly indicating
that the system is armed. The light will stop
flashing when the vehicle is disarmed.
158 UNDERSTANDING YOUR INSTRUMENT PANEL
Page 160 of 448
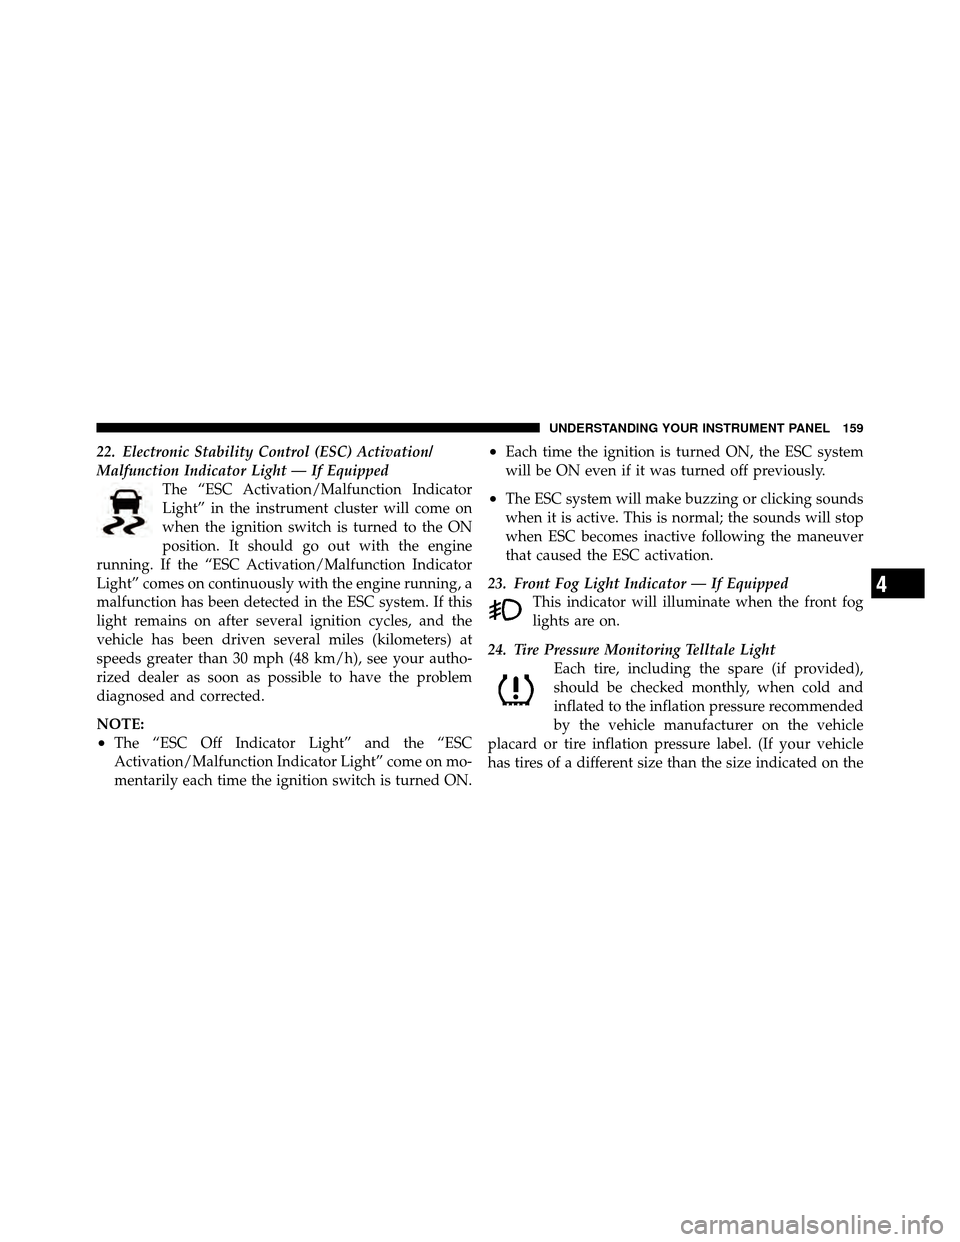
22. Electronic Stability Control (ESC) Activation/
Malfunction Indicator Light — If EquippedThe “ESC Activation/Malfunction Indicator
Light” in the instrument cluster will come on
when the ignition switch is turned to the ON
position. It should go out with the engine
running. If the “ESC Activation/Malfunction Indicator
Light” comes on continuously with the engine running, a
malfunction has been detected in the ESC system. If this
light remains on after several ignition cycles, and the
vehicle has been driven several miles (kilometers) at
speeds greater than 30 mph (48 km/h), see your autho-
rized dealer as soon as possible to have the problem
diagnosed and corrected.
NOTE:
•The “ESC Off Indicator Light” and the “ESC
Activation/Malfunction Indicator Light” come on mo-
mentarily each time the ignition switch is turned ON.
•Each time the ignition is turned ON, the ESC system
will be ON even if it was turned off previously.
•The ESC system will make buzzing or clicking sounds
when it is active. This is normal; the sounds will stop
when ESC becomes inactive following the maneuver
that caused the ESC activation.
23. Front Fog Light Indicator — If Equipped This indicator will illuminate when the front fog
lights are on.
24. Tire Pressure Monitoring Telltale Light Each tire, including the spare (if provided),
should be checked monthly, when cold and
inflated to the inflation pressure recommended
by the vehicle manufacturer on the vehicle
placard or tire inflation pressure label. (If your vehicle
has tires of a different size than the size indicated on the
4
UNDERSTANDING YOUR INSTRUMENT PANEL 159
Page 162 of 448
tires or wheels on your vehicle, to ensure that the
replacement or alternate tires and wheels allow the TPMS
to continue to function properly.
CAUTION!
The TPMS has been optimized for the original
equipment tires and wheels. TPMS pressures and
warning have been established for the tire size
equipped on your vehicle. Undesirable system opera-
tion or sensor damage may result when using re-
placement equipment that is not of the same size,
type, and/or style. Aftermarket wheels can cause
sensor damage. Do not use tire sealant from a can, or
balance beads if your vehicle is equipped with a
TPMS, as damage to the sensors may result.25. Malfunction Indicator Light (MIL)
The Malfunction Indicator Light (MIL) is part of
an onboard diagnostic system called OBD that
monitors emissions, engine, and automatic trans-
mission control systems. The light will illuminate when
the key is in the ON position before engine start. If the
bulb does not come on when turning the key from LOCK
to ON, have the condition checked promptly.
Certain conditions such as a loose or missing gas cap,
poor fuel quality, etc., may illuminate the light after
engine start. The vehicle should be serviced if the light
stays on through several of your typical driving cycles. In
most situations, the vehicle will drive normally and will
not require towing.
4
UNDERSTANDING YOUR INSTRUMENT PANEL 161