Maintaining DODGE AVENGER 2012 2.G Owners Manual
[x] Cancel search | Manufacturer: DODGE, Model Year: 2012, Model line: AVENGER, Model: DODGE AVENGER 2012 2.GPages: 514, PDF Size: 2.98 MB
Page 3 of 514
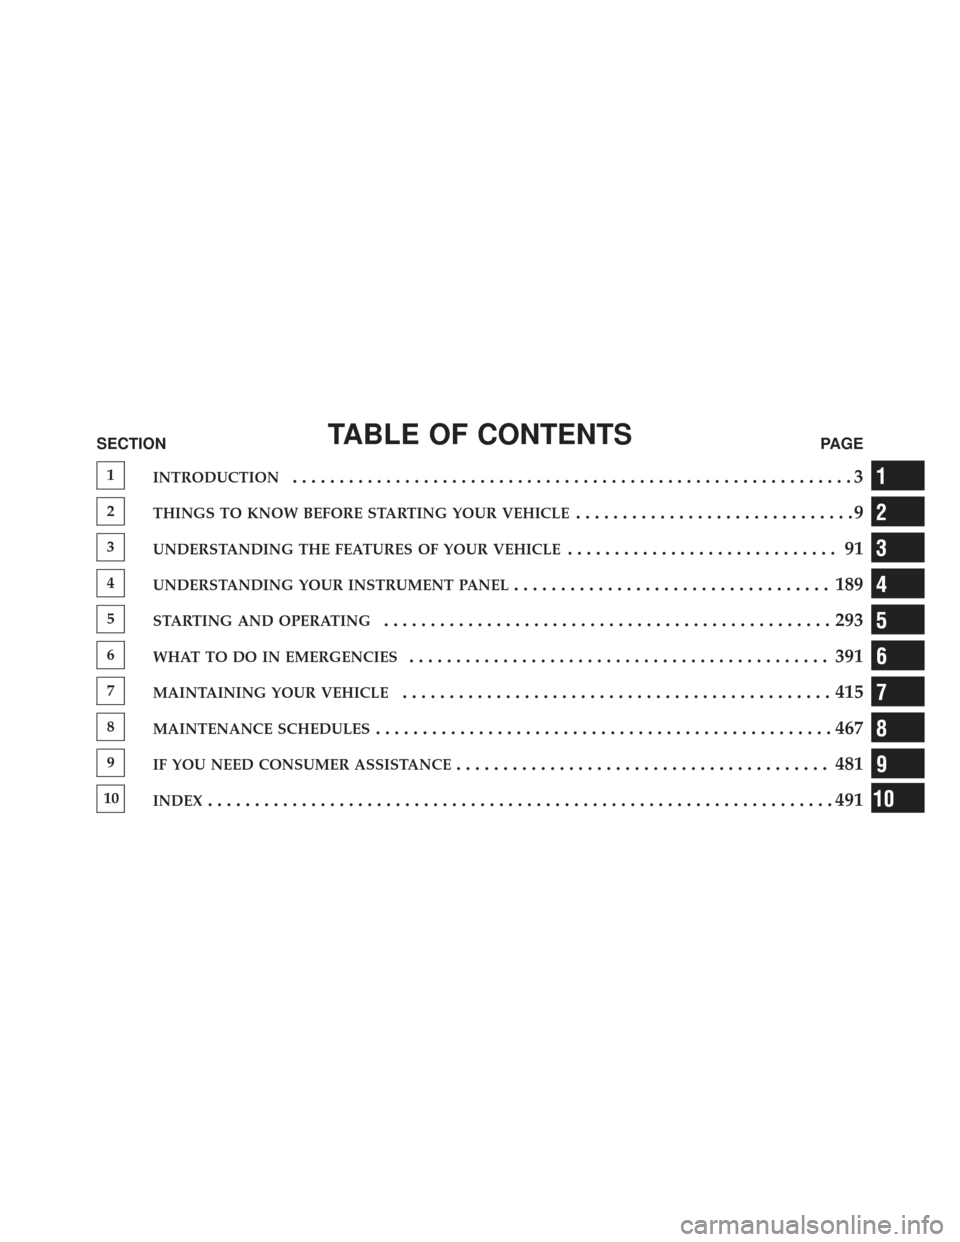
TABLE OF CONTENTSSECTIONPAGE
1INTRODUCTION............................................................3
2THINGS TO KNOW BEFORE STARTING YOUR VEHICLE..............................9
3UNDERSTANDING THE FEATURES OF YOUR VEHICLE............................. 91
4UNDERSTANDING YOUR INSTRUMENT PANEL.................................. 189
5STARTING AND OPERATING................................................293
6WHAT TO DO IN EMERGENCIES............................................. 391
7MAINTAINING YOUR VEHICLE..............................................415
8MAINTENANCE SCHEDULES.................................................467
9IF YOU NEED CONSUMER ASSISTANCE........................................ 481
10INDEX...................................................................491
1
2
3
4
5
6
7
8
9
10
Page 17 of 514
WARNING! (Continued)
•Never leave children alone in a vehicle, or with
access to an unlocked vehicle.
•Allowing children to be in a vehicle unattended is
dangerous for a number of reasons. A child or
others could be seriously or fatally injured. Chil-
dren should be warned not to touch the parking
brake, brake pedal or the shift lever.
•Do not leave the key fob in or near the vehicle, and
do not leave the ignition in the ACC or ON/RUN
position. A child could operate power windows,
other controls, or move the vehicle.
CAUTION!
An unlocked car is an invitation to thieves. Always
remove key from the ignition and lock all doors
when leaving the vehicle unattended.
Key-In-Ignition Reminder
Opening the driver’s door when the key is in the ignition
sounds a signal to remind you to remove the key.
NOTE:
•The Key-In-Ignition reminder only sounds when the
ignition key is placed in the LOCK or ACC position.
•With either front door open, and the key in the
ignition, neither the power door locks nor Remote
Keyless Entry (RKE) transmitter will function.
Locking Doors With A Key
There is only one external door lock cylinder which is
located in the driver’s door.
You can insert the key with either side up. To lock the
door, turn the key rearward, to unlock the door, turn the
key forward. For door lock lubrication, refer to “Mainte-
nance Procedures” in “Maintaining Your Vehicle”.
2
THINGS TO KNOW BEFORE STARTING YOUR VEHICLE 15
Page 29 of 514
General Information
This device complies with part 15 of FCC rules and with
RS-210 of Industry Canada. Operation is subject to the
following conditions:
1. This device may not cause harmful interference.
2. This device must accept any interference that may be
received including interference that may cause undesired
operation.
NOTE:Changes or modifications not expressly ap-
proved by the party responsible for compliance could
void the user’s authority to operate the equipment.
If your RKE transmitter fails to operate from a normal
distance, check for these two conditions.
1. Weak battery in the RKE transmitter. The expected life
of a battery is five years. 2. Closeness to a radio transmitter such as a radio station
tower, airport transmitter, military base, and some mobile
or CB radios.
REMOTE START SYSTEM — IF EQUIPPED
This system uses the Remote Keyless Entry
(RKE) transmitter to start the engine conve-
niently from outside the vehicle while still
maintaining security. The system has a range of
approximately 300 ft (91 m).
NOTE: The vehicle must be equipped with an auto-
matic transmission to be equipped with Remote Start.
2
THINGS TO KNOW BEFORE STARTING YOUR VEHICLE 27
Page 72 of 514
Maintaining Your Air Bag System
WARNING!
•Modifications to any part of the air bag system
could cause it to fail when you need it. You could
be injured if the air bag system is not there to
protect you. Do not modify the components or
wiring, including adding any kind of badges or
stickers to the steering wheel hub trim cover or the
upper right side of the instrument panel. Do not
modify the front bumper, vehicle body structure,
or add aftermarket side steps or running boards.
•It is dangerous to try to repair any part of the air
bag system yourself. Be sure to tell anyone who
works on your vehicle that it has an air bag system.(Continued)
WARNING! (Continued)
•Do not attempt to modify any part of your air bag
system. The air bag may inflate accidentally or
may not function properly if modifications are
made. Take your vehicle to an authorized dealer
for any air bag system service. If your seat includ-
ing your trim cover and cushion needs to be
serviced in any way (including removal or
loosening/tightening of seat attachment bolts),
take the vehicle to your authorized dealer. Only
manufacturer approved seat accessories may be
used. If it is necessary to modify the air bag system
for persons with disabilities, contact your autho-
rized dealer.
70 THINGS TO KNOW BEFORE STARTING YOUR VEHICLE
Page 87 of 514
The engine oil installed in the engine at the factory is a
high-quality energy conserving type lubricant. Oil
changes should be consistent with anticipated climate
conditions under which vehicle operations will occur. For
the recommended viscosity and quality grades, refer to
“Maintenance Procedures” in “Maintaining Your Ve-
hicle”.
CAUTION!
Never use Non-Detergent Oil or Straight Mineral Oil
in the engine or damage may result.
NOTE: A new engine may consume some oil during its
first few thousand miles (kilometers) of operation. This
should be considered a normal part of the break-in and
not interpreted as an indication of difficulty.
SAFETY TIPS
Transporting Passengers
NEVER TRANSPORT PASSENGERS IN THE CARGO
AREA.
WARNING!
•Do not leave children or animals inside parked
vehicles in hot weather. Interior heat build-up may
cause serious injury or death.
•It is extremely dangerous to ride in a cargo area,
inside or outside of a vehicle. In a collision, people
riding in these areas are more likely to be seri-
ously injured or killed.
•Do not allow people to ride in any area of your
vehicle that is not equipped with seats and seat
belts.
2
THINGS TO KNOW BEFORE STARTING YOUR VEHICLE 85
Page 200 of 514
flash or remain on continuously. Refer to “Occupant
Restraints” in “Things To Know Before Starting Your
Vehicle” for further information.
9. Oil Pressure Warning LightThis light indicates low engine oil pressure. The
light will come on and remain on when the
ignition switch is turned from the OFF to the ON/RUN
position, and the light will turn off after the engine is
started. If the bulb does not come on during starting,
have the system checked by an authorized dealer.
If the light comes on and remains on while driving, stop
the vehicle and shut off the engine. DO NOT OPERATE
THE VEHICLE UNTIL THE CAUSE IS CORRECTED.
The light does not show the quantity of oil in the engine.
This can be determined using the procedure shown in
“Maintaining Your Vehicle”. 10. Engine Temperature Warning Light
This light warns of an overheated engine condi-
tion. As engine coolant temperatures rise and the
gauge approaches H, this indicator will illuminate
and a single chime will sound after reaching a set
threshold. Further overheating will cause the tempera-
ture gauge to pass H, the indicator will continuously
flash and a continuous chime will occur until the engine
is allowed to cool.
If the light turns on while driving, safely pull over and
stop the vehicle. If the A/C system is on, turn it off. Also,
shift the transmission into NEUTRAL and idle the ve-
hicle. If the temperature reading does not return to
normal, turn the engine off immediately and call for
service. Refer to “If Your Engine Overheats” in “What To
Do In Emergencies” for further information.
198 UNDERSTANDING YOUR INSTRUMENT PANEL
Page 204 of 514
gASCAP
If the vehicle diagnostic system detects a leak or change
in the evaporative system, or the fuel filler cap is loose,
improperly installed, or damaged, the words “gASCAP”
will display in the odometer display area. If this occurs,
tighten the fuel filler cap properly and press the odom-
eter reset button to turn off the “gASCAP” message.
(Refer to “Onboard Diagnostic System — OBDII” in
“Maintaining Your Vehicle” for further information). If
the problem continues, the message will appear the next
time the vehicle is started. See your authorized dealer
service center as soon as possible.
CHANgE OIL
Your vehicle is equipped with an engine oil change
indicator system. The “CHANgE OIL” message will flash
in the instrument cluster odometer for approximately
12 seconds after a single chime has sounded to indicate
the next scheduled oil change interval. The engine oil
change indicator system is duty cycle based, whichmeans the engine oil change interval may fluctuate
dependent upon your personal driving style.
Unless reset, this message will continue to display each
time you turn the ignition switch to the “ON” position.
To turn off the message temporarily, press and release the
Trip Odometer button on the instrument cluster. To reset
the oil change indicator system (after performing the
scheduled maintenance) perform the following proce-
dure:
1. Turn the ignition switch to the ON/RUN position
(do not start the engine).
2. Fully depress the accelerator pedal slowly 3 times
within 10 seconds.
3. Turn the ignition switch to the LOCK position.
NOTE: If the indicator message illuminates when you
start the vehicle, the oil change indicator system did not
reset. If necessary, repeat this procedure.
202 UNDERSTANDING YOUR INSTRUMENT PANEL
Page 283 of 514
NOTE:For all settings, except full cold or full hot, there
is a difference in temperature between the upper and
lower outlets. The warmer air flows to the floor outlets.
This feature gives improved comfort during sunny but
cool conditions.
Floor Air is directed through the floor outlets with a
small amount flowing through the defrost and side
window demist outlets.
Mix Air is directed through the floor, defrost, and side
window demist outlets. This setting works best in
cold or snowy conditions that require extra heat to
the windshield. This setting is good for maintaining
comfort while reducing moisture on the windshield. Defrost
Air is directed through the windshield and side
window demist outlets. Use this mode with maxi-
mum blower and temperature settings for best wind-
shield and side window defrosting.
NOTE: The air conditioning compressor operates in
Mix, Defrost, or a blend of these modes, even if the Air
Conditioning (A/C) button is not pressed. This dehu-
midifies the air to help dry the windshield. To improve
fuel economy, use these modes only when necessary.
Recirculation Control Pressing the Recirculation Control button will
temporarily put the system in recirculation
mode. This can be used when outside condi-
tions such as smoke, odors, dust, or high
humidity are present. Activating recirculation will cause
4
UNDERSTANDING YOUR INSTRUMENT PANEL 281
Page 289 of 514
The operator can override the AUTO mode setting to
change airflow distribution by rotating the Mode Control
knob (on the right) to one of the following positions.
•PanelAir is directed through the outlets in the instrument
panel. These outlets can be adjusted to direct airflow.
NOTE: The center instrument panel outlets can be
aimed so that they are directed toward the rear seat
passengers for maximum airflow to the rear.
•Bi-Level Air is directed through the panel and floor outlets.
NOTE: For all settings, except full cold or full hot, there
is a difference in temperature between the upper and
lower outlets. The warmer air flows to the floor outlets.
This feature gives improved comfort during sunny but
cool conditions.
•Floor Air is directed through the floor outlets with a
small amount flowing through the defrost and side
window demist outlets.
•Mix Air is directed through the floor, defrost, and side
window demist outlets. This setting works best in
cold or snowy conditions that require extra heat to
the windshield. This setting is good for maintaining
comfort while reducing moisture on the windshield.
•Defrost Air is directed through the windshield and side
window demist outlets. Use this mode with maxi-
mum blower and temperature settings for best wind-
shield and side window defrosting.
4
UNDERSTANDING YOUR INSTRUMENT PANEL 287
Page 291 of 514
•Most of the time, when in Automatic Operation, you
can temporarily put the system into Recirculation
Mode by pressing the Recirculation button. However,
under certain conditions, while in Automatic Mode,
the system is blowing air out the defrost vents. When
these conditions are present, and the Recirculation
button is pressed, the indicator will flash and then turn
off. This tells you that you are unable to go into
Recirculation Mode at this time. If you would like the
system to go into Recirculation Mode, you must first
move the Mode knob to Panel, Mix and then press the
Recirculation button. This feature reduces the possibil-
ity of window fogging.
Operating Tips
NOTE:Refer to the chart at the end of this section for
suggested control settings for various weather condi-
tions.
Summer Operation
The engine cooling system in air-conditioned vehicles
must be protected with a high-quality antifreeze coolant
to provide proper corrosion protection and to protect
against engine overheating. A solution of 50% ethylene
glycol antifreeze coolant and 50% water is recommended.
Refer to “Maintenance Procedures” in “Maintaining Your
Vehicle” for proper coolant selection.
Winter Operation
Use of the air Recirculation Mode during winter months
is not recommended because it may cause window
fogging.
Vacation Storage
Anytime you store your vehicle, or keep it out of service
(i.e., vacation) for two weeks or more, run the air
conditioning system at idle for about five minutes in the
fresh air and high blower settings. This will ensure
adequate system lubrication to minimize the possibility
of compressor damage when the system is started again.
4
UNDERSTANDING YOUR INSTRUMENT PANEL 289