warning lights DODGE AVENGER 2013 2.G Owners Manual
[x] Cancel search | Manufacturer: DODGE, Model Year: 2013, Model line: AVENGER, Model: DODGE AVENGER 2013 2.GPages: 519, PDF Size: 3.1 MB
Page 23 of 519
To Disarm The System
Either press the UNLOCK button on the RKE transmitter
or insert a valid Sentry Key® into the ignition lock
cylinder and turn the key to the ON/START position.
NOTE:
•The driver’s door key cylinder and the trunk button on
the RKE transmitter cannot arm or disarm the Vehicle
Security Alarm.
• The Vehicle Security Alarm remains armed during
trunk entry. Pressing the trunk button will not disarm
the Vehicle Security Alarm. If someone enters the
vehicle through the trunk and opens any door, the
alarm will sound.
The Vehicle Security Alarm is designed to protect your
vehicle; however, you can create conditions where the
Vehicle Security Alarm will give you a false alarm. If one of the previously described arming sequences has oc-
curred, the Vehicle Security Alarm will arm regardless of
whether you are in the vehicle or not. If you remain in the
vehicle and open a door, the alarm will sound. If this
occurs, disarm the Vehicle Security Alarm.
If the Vehicle Security Alarm is armed and the battery
becomes disconnected the Vehicle Security Alarm will
remain armed when the battery is reconnected. The
exterior lights will flash, and the horn will sound. If this
occurs, disarm the Vehicle Security Alarm.
Tamper Alert
If the alarm was triggered, but the warning signals have
timed out, the park and taillights flash three times, and
the horn will chirp three times, when unlocking the
vehicle with a valid RKE transmitter to alert the driver.
2
THINGS TO KNOW BEFORE STARTING YOUR VEHICLE 21
Page 66 of 519
WARNING!
•No objects should be placed over or near the air bag
on the instrument panel, because any such objects
could cause harm if the vehicle is in a collision
severe enough to cause the air bag to inflate.
•Do not put anything on or around the air bag covers
or attempt to open them manually. You may damage
the air bags and you could be injured because the air
bags may no longer be functional. The protective
covers for the air bag cushions are designed to open
only when the air bags are inflating.
• Do not drill, cut or tamper with the knee bolster in
any way.
•
Do not mount any accessories to the knee bolster
such as alarm lights, stereos, citizen band radios, etc.
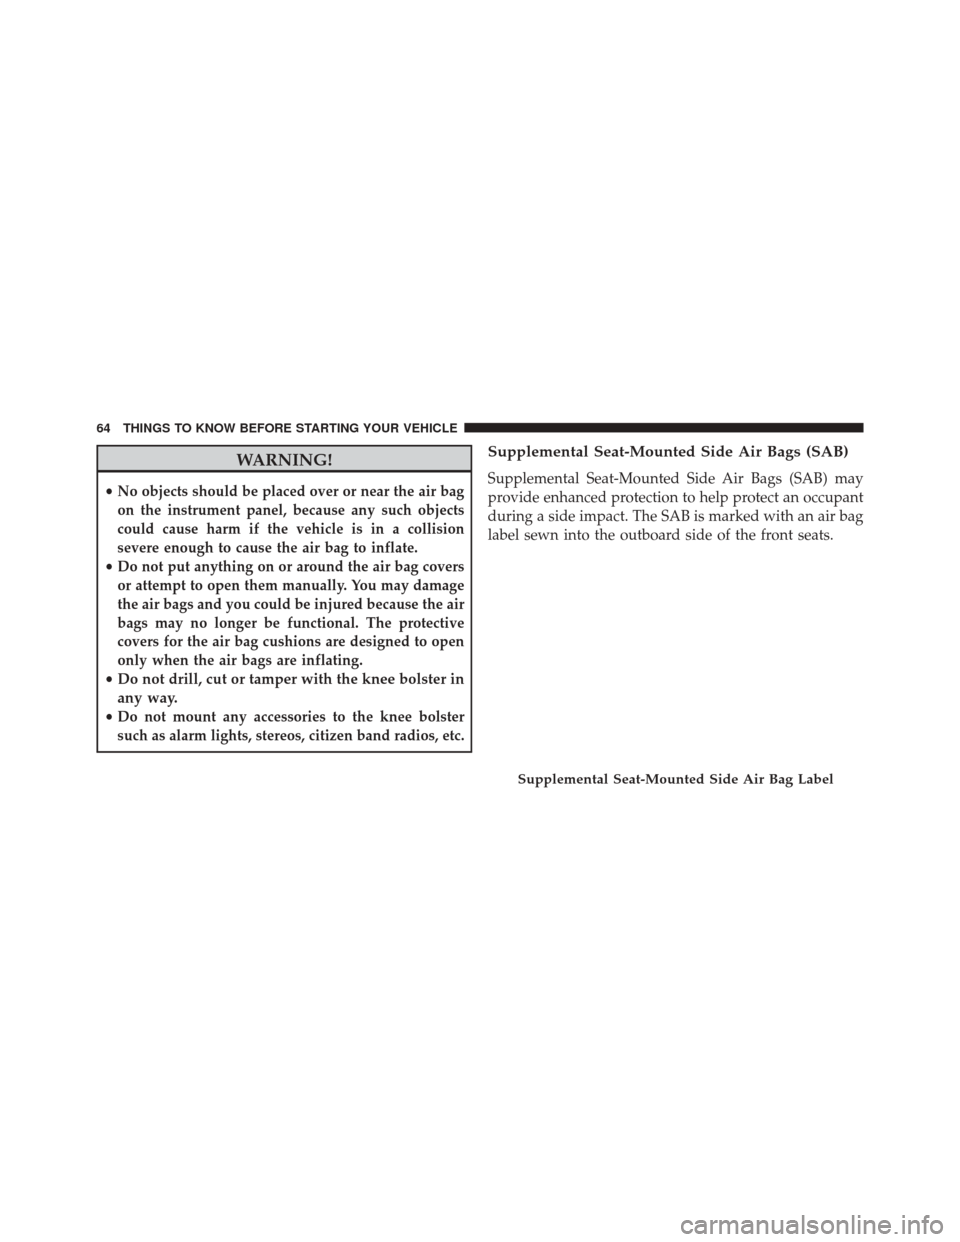
Supplemental Seat-Mounted Side Air Bags (SAB)
Supplemental Seat-Mounted Side Air Bags (SAB) may
provide enhanced protection to help protect an occupant
during a side impact. The SAB is marked with an air bag
label sewn into the outboard side of the front seats.
Supplemental Seat-Mounted Side Air Bag Label
64 THINGS TO KNOW BEFORE STARTING YOUR VEHICLE
Page 113 of 519
WARNING!(Continued)
when judging the size or distance of a vehicle seen in
the passenger side convex mirror. Some vehicles will
not have a convex passenger side mirror.
Exterior Mirrors Folding Feature
All exterior mirrors are hinged and may be moved either
forward or rearward to resist damage. The hinges have
three detent positions: full forward, full rearward and
normal.
Heated Mirrors — If Equipped
These mirrors are heated to melt frost or ice. This
feature can be activated whenever you turn on the
rear window defroster (if equipped). Some vehicles may
not be equipped with rear window defroster, in this case
the heated mirrors will still function as intended. Refer to
“Rear Window Features” in “Understanding The Fea-
tures Of Your Vehicle” for further information.
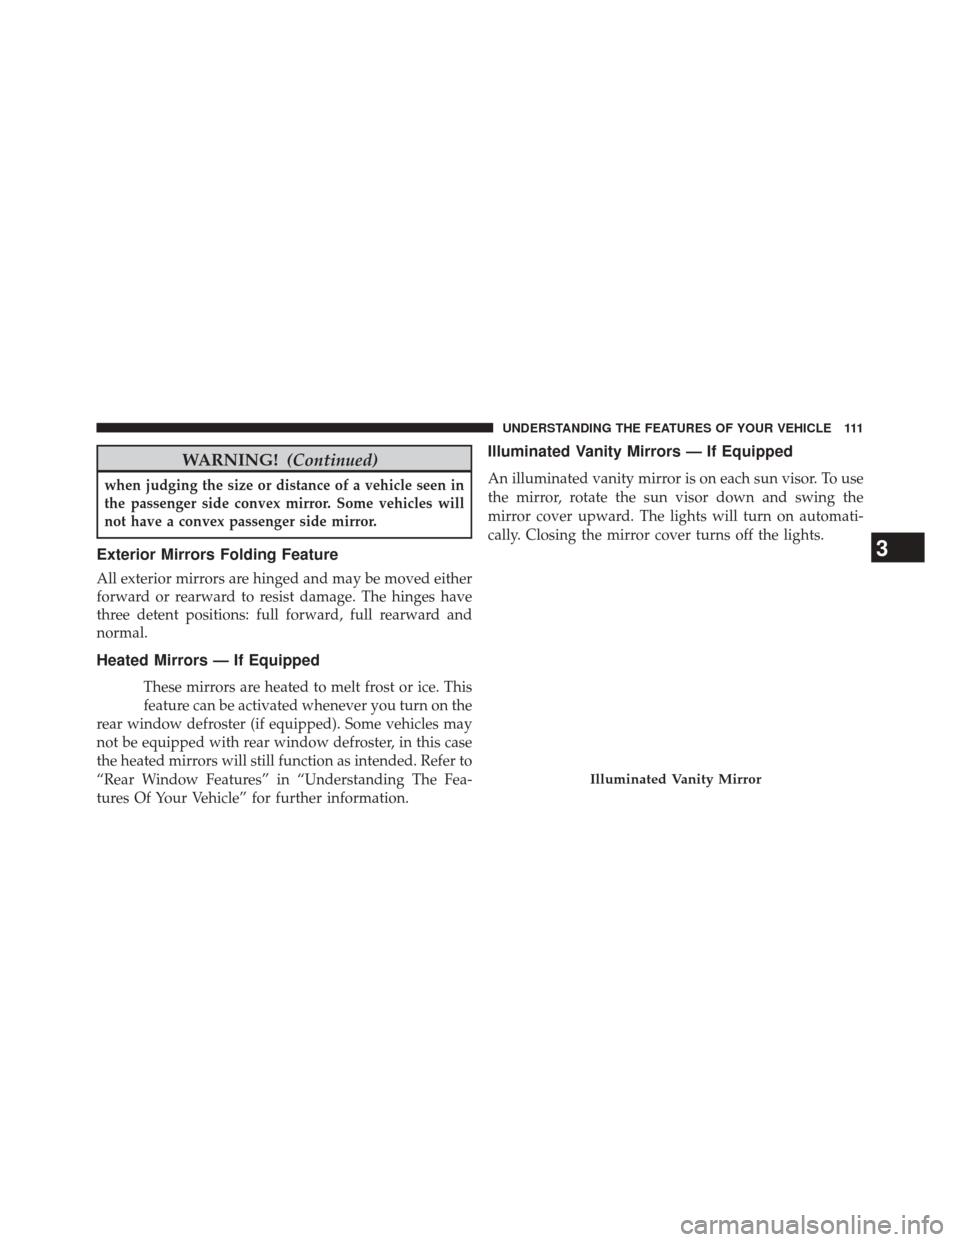
Illuminated Vanity Mirrors — If Equipped
An illuminated vanity mirror is on each sun visor. To use
the mirror, rotate the sun visor down and swing the
mirror cover upward. The lights will turn on automati-
cally. Closing the mirror cover turns off the lights.
Illuminated Vanity Mirror
3
UNDERSTANDING THE FEATURES OF YOUR VEHICLE 111
Page 154 of 519
WARNING!(Continued)
•Do not ride with the seatback reclined so that the
shoulder belt is no longer resting against your chest.
In a collision you could slide under the seat belt,
which could result in serious injury or death.
CAUTION!
Do not place any article under a power seat or
impede its ability to move as it may cause damage to
the seat controls. Seat travel may become limited if
movement is stopped by an obstruction in the seat’s
path.
Heated Seats — If Equipped
There are two heated seat switches that allow the driver
and passenger to operate the seats independently. The
controls for each heater are located near the bottom center
of the instrument panel (below the climate controls).
You can choose from HIGH, LOW or OFF heat settings.
Amber indicator lights in each switch indicate the level of
heat in use. Two indicator lights will illuminate for
HIGH, one for LOW and none for OFF.
Press the switch once to select HIGH-level
heating. Press the switch a second time to select
LOW-level heating. Press the switch a third
time to shut the heating elements OFF.
152 UNDERSTANDING THE FEATURES OF YOUR VEHICLE
Page 193 of 519
POWER SUNROOF — IF EQUIPPED
The sunroof controls are mounted between the dome/
reading lights.
WARNING!
•Never leave children alone in a vehicle, or with
access to an unlocked vehicle. Never leave the key
fob in or near the vehicle. Occupants, particularly
unattended children, can become entrapped by the
power sunroof while operating the power sunroof
switch. Such entrapment may result in serious
injury or death.
• In a collision, there is a greater risk of being thrown
from a vehicle with an open sunroof. You could
also be seriously injured or killed. Always fasten
your seat belt properly and make sure all passen-
gers are properly secured.
• Do not allow small children to operate the sunroof.
Never allow your fingers, other body parts, or any
object to project through the sunroof opening.
Injury may result.
Power Sunroof Switch
3
UNDERSTANDING THE FEATURES OF YOUR VEHICLE 191
Page 199 of 519
WARNING!
To avoid serious injury or death:
•Only devices designed for use in this type of outlet
should be inserted into any 12 Volt outlet.
• Do not touch with wet hands.
• Close the lid when not in use and while driving the
vehicle.
• If this outlet is mishandled, it may cause an electric
shock and failure.
CAUTION!
• Many accessories that can be plugged in draw
power from the vehicle’s battery, even when not in
use (i.e., cellular phones, etc.). Eventually, if
plugged in long enough, the vehicle’s battery will
discharge sufficiently to degrade battery life and/or
prevent the engine from starting.
• Accessories that draw higher power (i.e., coolers,
vacuum cleaners, lights, etc.) will degrade the bat-
tery even more quickly. Only use these intermit-
tently and with greater caution.
• After the use of high power draw accessories, or
long periods of the vehicle not being started (with
accessories still plugged in), the vehicle must be
driven a sufficient length of time to allow the
generator to recharge the vehicle’s battery.
3
UNDERSTANDING THE FEATURES OF YOUR VEHICLE 197
Page 216 of 519
5. Low Fuel LightWhen the fuel level drops to approximately
2.0 gallons (7.6 Liters), the fuel symbol will light
and a single chime will sound.
NOTE: This light will remain on until a minimum of
approximately 3.0 gallons of fuel is added.
6. Charging System Light
This light shows the status of the electrical charg-
ing system. The light should come on briefly
when the ignition is first turned on and remain on briefly
as a bulb check. If the light stays on or comes on while
driving, turn off some of the vehicle’s electrical devices,
such as the Front Fog Lights or Rear Window Defroster.
If the Charging System Light remains on, it means that
the vehicle is experiencing a problem with the charging
system. Obtain SERVICE IMMEDIATELY. See your local
authorized dealer. If jump starting is required, refer to “Jump Starting
Procedures” in “What To Do In Emergencies”.
7. Air Bag Warning Light
This light will turn on for four to eight seconds
as a bulb check when the ignition switch is first
turned to ON/RUN. If the light is either not
on during starting, stays on, or turns on while
driving, have the system inspected at an authorized
dealer as soon as possible. Refer to “Occupant Restraints”
in “Things To Know Before Starting Your Vehicle” for
further information.
8. Seat Belt Reminder Light
When the ignition switch is first turned to ON/
RUN, this light will turn on for four to eight
seconds as a bulb check. During the bulb check, if
the driver’s seat belt is unbuckled, a chime will sound.
After the bulb check or when driving, if the driver seat
214 UNDERSTANDING YOUR INSTRUMENT PANEL
Page 229 of 519
WARNING!
If you continue operating the vehicle when the
Transmission Temperature Warning Light is illumi-
nated you could cause the fluid to boil over, come in
contact with hot engine or exhaust components and
cause a fire.
28. High Beam Indicator This light indicates that the headlights are on high
beam. Pull the turn signal lever toward the steer-
ing wheel to switch the headlights to low beam.
29. Electronic Vehicle Information Center (EVIC)
Display — If Equipped
This display shows the EVIC messages when the appro-
priate conditions exist. Refer to “Electronic Vehicle Infor-
mation Center (EVIC)” for further information.
MINI-TRIP COMPUTER — IF EQUIPPED
The Mini-Trip Computer is located in the instrument
cluster and features a driver-interactive trip information
and temperature display.
NOTE: The system will display the last known outside
temperature when starting the vehicle and may need to
be driven several minutes before the updated tempera-
ture is displayed. Engine temperature can also affect the
displayed temperature; therefore, temperature readings
are not updated when the vehicle is not moving.
4
UNDERSTANDING YOUR INSTRUMENT PANEL 227
Page 233 of 519
SELECT ButtonPress and release the SELECT Button to accept
a selection. The SELECT Button also resets
various Trip Functions.
Electronic Vehicle Information Center (EVIC)
Displays
When the appropriate conditions exist, the EVIC displays
the following messages:
•Turn Signal On (with a continuous warning chime
after one mile traveled)
• Left Front Turn Signal Lamp Out (with a single chime)
• Left Rear Turn Signal Lamp Out (with a single chime)
•
Right Front Turn Signal Lamp Out (with a single chime)
• Right Rear Turn Signal Lamp Out (with a single chime) •
RKE (Remote Keyless Entry) Battery Low (with a
single chime)
• Personal Settings Not Avail – Vehicle Not In PARK
• Personal Settings Not Avail – Vehicle in Motion
• Door Ajar (with vehicle graphic showing which door is
open. A single chime sounds if the vehicle is in
motion).
• Doors Ajar (with vehicle graphic showing which doors
are open. A single chime sounds if the vehicle is in
motion).
• Trunk Open (with vehicle graphic showing an open
trunk and A single chime )
• Lights On
• Key In Ignition
4
UNDERSTANDING YOUR INSTRUMENT PANEL 231
Page 393 of 519
CAUTION!
If the trailer weighs more than 1,000 lbs (454 kg)
loaded, it should have its own brakes and they
should be of adequate capacity. Failure to do this
could lead to accelerated brake lining wear, higher
brake pedal effort, and longer stopping distances.
WARNING!
•Do not connect trailer brakes to your vehicle’s
hydraulic brake lines. It can overload your brake
system and cause it to fail. You might not have
brakes when you need them and could have a
collision.
(Continued)
WARNING! (Continued)
•Towing any trailer will increase your stopping
distance. When towing you should allow for addi-
tional space between your vehicle and the vehicle
in front of you. Failure to do so could result in a
collision.
Towing Requirements – Trailer Lights And Wiring
Whenever you pull a trailer, regardless of the trailer size,
stop lights and turn signals on the trailer are required for
motoring safety.
The Trailer Tow Package may include a four-pin and
seven-pin wiring harness. Use a factory approved trailer
harness and connector.
NOTE: Do not cut or splice wiring into the vehicle’s
wiring harness.5
STARTING AND OPERATING 391