TPMS DODGE AVENGER 2014 2.G User Guide
[x] Cancel search | Manufacturer: DODGE, Model Year: 2014, Model line: AVENGER, Model: DODGE AVENGER 2014 2.GPages: 124, PDF Size: 3.24 MB
Page 8 of 124

INSTRUMENT CLUSTER
Warning Lights
- Low Fuel Warning Light
- Charging System Light**
- Oil Pressure Warning Light**
- Anti-Lock Brake (ABS) Light**
- Air Bag Warning Light**
- Electronic Throttle Control (ETC) Light
- Tire Pressure Monitoring System (TPMS) Light
- Engine Temperature Warning Light
- Transmission Temperature Warning Light
- Seat Belt Reminder Light
BRAKE- Brake Warning Light**
- Malfunction Indicator Light (MIL)**
- Electronic Stability Control (ESC) Activation/Malfunction Indicator Light**
(See page 76 for more information.)
CONTROLS AT A GLANCE
6
Page 78 of 124

ROADSIDE ASSISTANCE
• Dial toll-free 1-800-521-2779 for U.S. Residents or 1-800-363-4869 for Canadian Resi-dents.
• Provide your name, vehicle identification number, license plate number, and your loca- tion, including the telephone number from which you are calling.
• Briefly describe the nature of the problem and answer a few simple questions.
• You will be given the name of the service provider and an estimated time of arrival. If you feel you are in an “unsafe situation”, please let us know. With your consent, we will
contact local police or safety authorities.
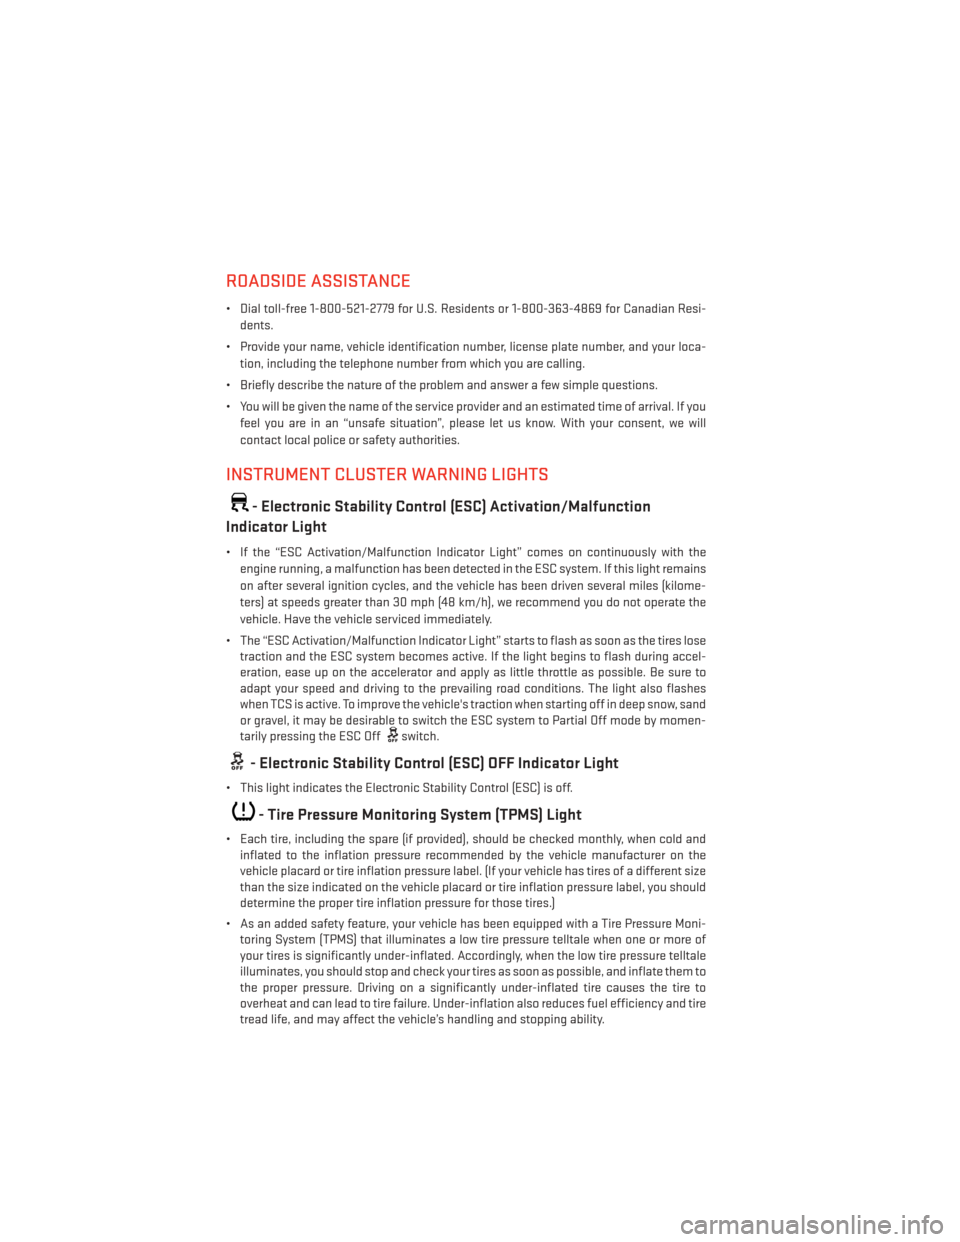
INSTRUMENT CLUSTER WARNING LIGHTS
- Electronic Stability Control (ESC) Activation/Malfunction
Indicator Light
• If the “ESC Activation/Malfunction Indicator Light” comes on continuously with the
engine running, a malfunction has been detected in the ESC system. If this light remains
on after several ignition cycles, and the vehicle has been driven several miles (kilome-
ters) at speeds greater than 30 mph (48 km/h), we recommend you do not operate the
vehicle. Have the vehicle serviced immediately.
• The “ESC Activation/Malfunction Indicator Light” starts to flash as soon as the tires lose traction and the ESC system becomes active. If the light begins to flash during accel-
eration, ease up on the accelerator and apply as little throttle as possible. Be sure to
adapt your speed and driving to the prevailing road conditions. The light also flashes
when TCS is active. To improve the vehicle's traction when starting off in deep snow, sand
or gravel, it may be desirable to switch the ESC system to Partial Off mode by momen-
tarily pressing the ESC Off
switch.
- Electronic Stability Control (ESC) OFF Indicator Light
• This light indicates the Electronic Stability Control (ESC) is off.
- Tire Pressure Monitoring System (TPMS) Light
• Each tire, including the spare (if provided), should be checked monthly, when cold andinflated to the inflation pressure recommended by the vehicle manufacturer on the
vehicle placard or tire inflation pressure label. (If your vehicle has tires of a different size
than the size indicated on the vehicle placard or tire inflation pressure label, you should
determine the proper tire inflation pressure for those tires.)
• As an added safety feature, your vehicle has been equipped with a Tire Pressure Moni- toring System (TPMS) that illuminates a low tire pressure telltale when one or more of
your tires is significantly under-inflated. Accordingly, when the low tire pressure telltale
illuminates, you should stop and check your tires as soon as possible, and inflate them to
the proper pressure. Driving on a significantly under-inflated tire causes the tire to
overheat and can lead to tire failure. Under-inflation also reduces fuel efficiency and tire
tread life, and may affect the vehicle’s handling and stopping ability.
WHAT TO DO IN EMERGENCIES
76
Page 79 of 124

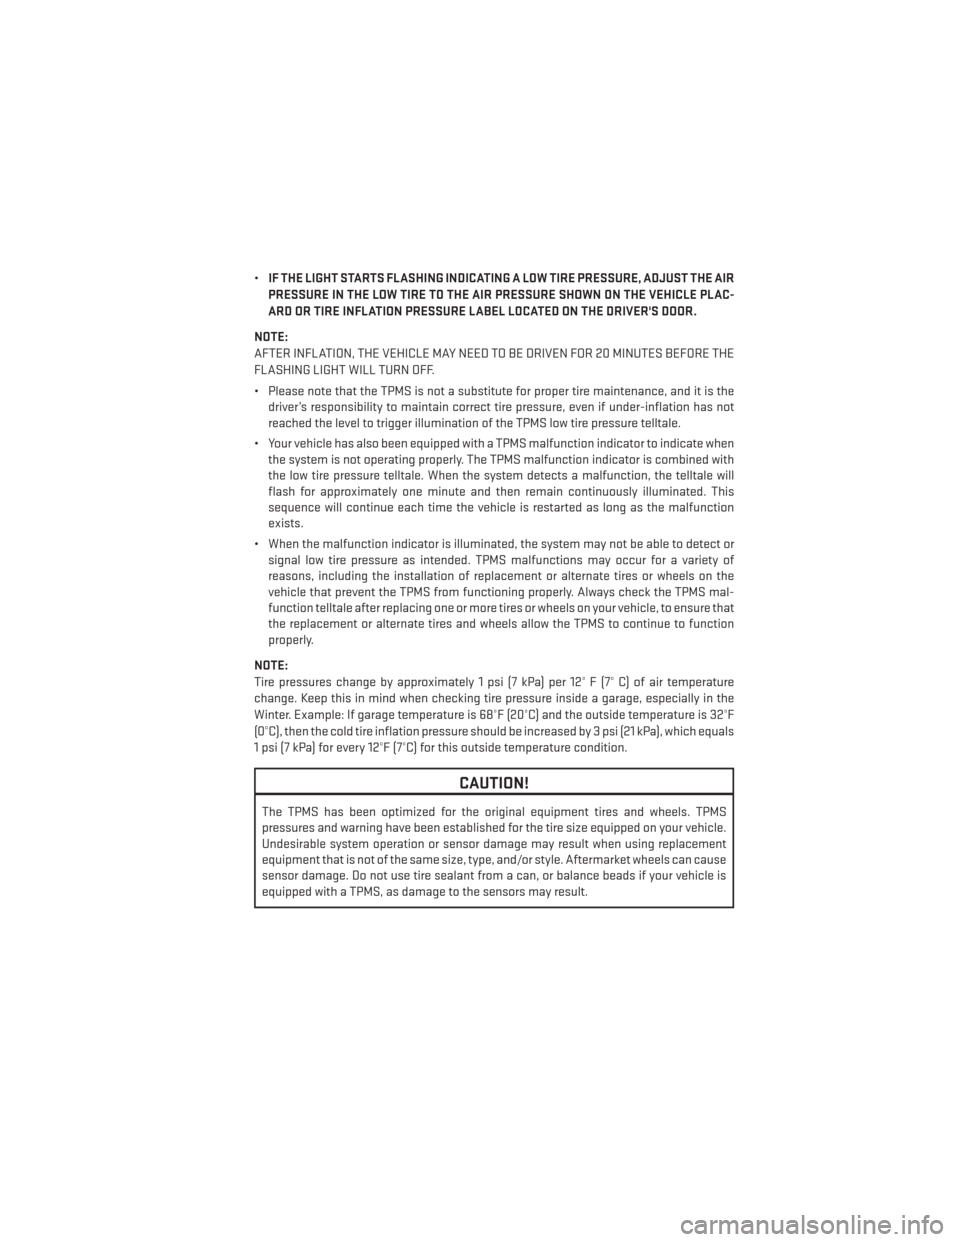
•IF THE LIGHT STARTS FLASHING INDICATING A LOW TIRE PRESSURE, ADJUST THE AIR
PRESSURE IN THE LOW TIRE TO THE AIR PRESSURE SHOWN ON THE VEHICLE PLAC-
ARD OR TIRE INFLATION PRESSURE LABEL LOCATED ON THE DRIVER'S DOOR.
NOTE:
AFTER INFLATION, THE VEHICLE MAY NEED TO BE DRIVEN FOR 20 MINUTES BEFORE THE
FLASHING LIGHT WILL TURN OFF.
• Please note that the TPMS is not a substitute for proper tire maintenance, and it is the driver’s responsibility to maintain correct tire pressure, even if under-inflation has not
reached the level to trigger illumination of the TPMS low tire pressure telltale.
• Your vehicle has also been equipped with a TPMS malfunction indicator to indicate when the system is not operating properly. The TPMS malfunction indicator is combined with
the low tire pressure telltale. When the system detects a malfunction, the telltale will
flash for approximately one minute and then remain continuously illuminated. This
sequence will continue each time the vehicle is restarted as long as the malfunction
exists.
• When the malfunction indicator is illuminated, the system may not be able to detect or signal low tire pressure as intended. TPMS malfunctions may occur for a variety of
reasons, including the installation of replacement or alternate tires or wheels on the
vehicle that prevent the TPMS from functioning properly. Always check the TPMS mal-
function telltale after replacing one or more tires or wheels on your vehicle, to ensure that
the replacement or alternate tires and wheels allow the TPMS to continue to function
properly.
NOTE:
Tire pressures change by approximately 1 psi (7 kPa) per 12° F (7° C) of air temperature
change. Keep this in mind when checking tire pressure inside a garage, especially in the
Winter. Example: If garage temperature is 68°F (20°C) and the outside temperature is 32°F
(0°C), then the cold tire inflation pressure should be increased by 3 psi (21 kPa), which equals
1 psi (7 kPa) for every 12°F (7°C) for this outside temperature condition.
CAUTION!
The TPMS has been optimized for the original equipment tires and wheels. TPMS
pressures and warning have been established for the tire size equipped on your vehicle.
Undesirable system operation or sensor damage may result when using replacement
equipment that is not of the same size, type, and/or style. Aftermarket wheels can cause
sensor damage. Do not use tire sealant from a can, or balance beads if your vehicle is
equipped with a TPMS, as damage to the sensors may result.
WHAT TO DO IN EMERGENCIES
77
Page 114 of 124

GPS Navigation (Uconnect® gps).....45
Headlights Automatic ..............20
Dimmer Switch ............21
HighBeam ..............21
HeatedMirrors............25,26
HeatedSeats...............18
High Beam/Low Beam Select (Dimmer) Switch .................21
HomeLink® (Garage Door Opener) ....70
Hood Release ...............94
Instrument Cluster Indicators ...............7
Interior and Instrument Lights .....4,5
Intermittent Wipers (Delay Wipers) ....22
Introduction ................2
iPod®/USB/MP3 Control .........61
Bluetooth®StreamingAudio.....68
Jacking Instructions ...........82
Jack Location ...............81
Jack Operation ............81,82
Jump Starting ..............87
KeyFob...................8
Key Fob Programmable Features .....69
Lane Change and Turn Signals ......21
Lane Change Assist ............21
Lap/Shoulder Belts ............11
LATCH (Lower Anchors and Tether for CHildren) ............12,13,14
Lights Tire Pressure Monitoring (TPMS) . . .76
TurnSignal ..............21
Locks Door ..................8
Lower Anchors and Tether for CHildren (LATCH) ................13
Maintenance Record ...........103
Maintenance Schedule ..........99
Malfunction Indicator Light (Check Engine).................78
Mirrors Heated ..............25,26 MOPAR® Accessories
..........110
Navigation ................53
Navigation System (Uconnect® gps) . . .44
Navigation Voice Prompt Volume. . .43, 53
New Vehicle Break-In Period .......20
Oil Change Indicator ...........80
Oil, Engine Capacity ...............97
Oil Pressure Light .............79
Outlet Power .................73
Overheating, Engine ...........80
Panic Alarm ................8
Phone (Uconnect®) ............62
Placard, Tire and Loading Information ..............106
Power Deck Lid Release ...........9
Glass Sunroof ............27
Outlet (Auxiliary Electrical Outlet)...73
Steering .............97,98
Preparation for Jacking .........82
Programmable Electronic Features . . .69
Radio Operation ...........33,35
Rain Sensitive Wiper System .......22
Rear Seat, Folding ............18
Recreational Towing ...........75
Remote Starting System ..........9
Remote Trunk Release ...........9
Reporting Safety Defects ........109
Satellite Radio (Uconnect® studios) ..............34,36
Schedule, Maintenance .........99
Seat Belts .................11
Seats ...................16
Adjustment ..............16
Heated ................18
Manual ................16
Rear Folding .............18
Shift Lever Override ............90
Signals, Turn ...............21
Sirius Satellite Radio (Uconnect® studios) ................57
INDEX
112
Page 117 of 124

UTILITY
• How do I know how much I can tow with my Dodge Avenger? pg. 74
WHAT TO DO IN EMERGENCIES
• What do I do if my TPMS warning light is blinking? pg. 76
• How do I change a flat tire? pg. 81
• How do I Jump-Start my vehicle? pg. 87
MAINTAINING YOUR VEHICLE
• Where is my Fuse Block located? pg. 104
• What type of oil do I use? pg. 97
• How often should I change my engine’s oil? pg. 99
• What should my tire pressure be set at? pg. 106
FREQUENTLY ASKED QUESTIONS
115