clock DODGE CALIBER 2011 1.G User Guide
[x] Cancel search | Manufacturer: DODGE, Model Year: 2011, Model line: CALIBER, Model: DODGE CALIBER 2011 1.GPages: 80, PDF Size: 3.66 MB
Page 30 of 80
• Pressing the AUX button will change the mode to auxiliary device if the Audio Jackis connected, allowing the music from your portable device to play through the
vehicle's speakers.
• The functions of the portable device are controlled using the device buttons. The volume may be controlled using the radio or portable device.
Clock Setting
• Press and hold the TIME button until the hours blink; turn the TUNE/SCROLLcontrol knob to set the hours.
• Press the TUNE/SCROLL control knob until the minutes begin to blink; turn the TUNE/SCROLL control knob to set the minutes.
• Press the TUNE/SCROLL control knob to save the time change.
• To exit, press any button/knob or wait five seconds.
Store Radio Presets
• Press the SET/RND button once and SET 1 will show in the display. Then select button (1–6).
• A second station may be added to each push button. Press the SET/RND button twice and SET 2 will show in the display, then select button (1–6).
How To Load Multiple CDs/DVDs
Media Center 230 (Sales Code REQ) Only
• Press the LOAD button and then press the button with the corresponding number (1–6) where the CD is being loaded. The radio will display PLEASE WAIT and
prompt when to INSERT DISC.
• After the radio displays INSERT DISC, insert the CD into the player. The radio display will show LOADING DISC when the disc is loading and “READING DISC”
when the radio is reading the disc.
• Press the eject button and then the corresponding number (1–6) to eject the desired disc.
ELECTRONICS
28
Page 32 of 80
• The functions of the portable device are controlled using the device buttons. Thevolume may be controlled using the radio or portable device.
Clock Setting
• Turn the radio on, then touch the screen where the time is displayed.
• Touch the USER CLOCK soft-key (Navigation radio only).
• To adjust the hours, touch either the HOUR FORWARD or HOUR BACKWARDsoft-key.
• To adjust the minutes, touch either the MINUTE FORWARD or MINUTE BACKWARD soft-key.
• To save the new time setting, touch the screen where the word “Save” is displayed.
Store Radio Presets
• Press the RADIO hard-key to display AM FM SAT in the upper left corner of the screen.
• Select the radio band by touching either the AM, FM, or SAT soft-key.
• Find the station to store by touching the right and left arrow soft-keys, touching the SCAN soft-key, or by using the DIRECT TUNE soft-key.
• Once the station is found, touch and hold one of the PRESET soft-keys in the list to the right, until you hear a confirmation beep.
Hard Disk Drive Operation
Copy Complete Audio Disc To Hard-Drive
• Press the LOAD hard-key.
• Insert a disc, then press the MENU hard-key.
• Touch the MY FILES soft-key, then select MY MUSIC.
• Touch the Add Music Files to HDD soft-key, then touch the From Disc soft-key in the next screen to start the process.
Copying From USB • The USB port on the radio face plate is for copying files to your hard drive. To access, lift up on the cover.
• Insert a USB device (e.g. thumb drive or memory stick), then select MY MUSIC.
• Touch the Add Music Files to HDD soft-key, then touch the From USB soft-key in the next screen.
• Select the folders or titles you would like to copy, then touch the DONE soft-key to start the copy process.
Copy Pictures To The Hard-Drive • Insert either a CD or a USB device containing your pictures in JPEG format into the USB port on the radio face.
• Touch the MY FILES soft-key, then go to the MANAGE MY FILES screen.
• Touch the MY PICTURES soft-key to get an overview of the currently stored images.
ELECTRONICS
30
Page 52 of 80
JACKING AND TIRE CHANGING
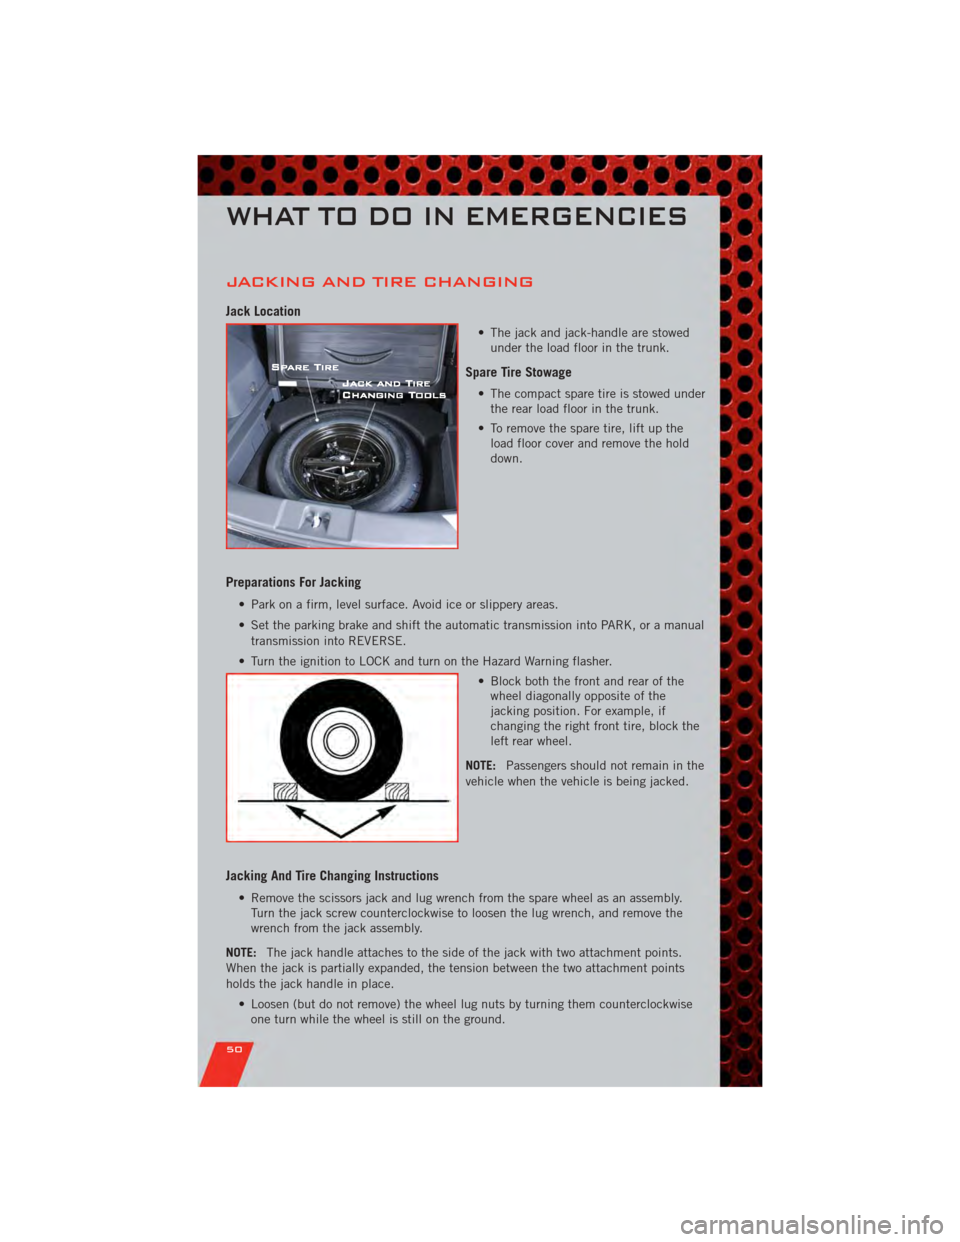
Jack Location
• The jack and jack-handle are stowedunder the load floor in the trunk.
Spare Tire Stowage
• The compact spare tire is stowed underthe rear load floor in the trunk.
• To remove the spare tire, lift up the load floor cover and remove the hold
down.
Preparations For Jacking
• Park on a firm, level surface. Avoid ice or slippery areas.
• Set the parking brake and shift the automatic transmission into PARK, or a manual
transmission into REVERSE.
• Turn the ignition to LOCK and turn on the Hazard Warning flasher. • Block both the front and rear of thewheel diagonally opposite of the
jacking position. For example, if
changing the right front tire, block the
left rear wheel.
NOTE: Passengers should not remain in the
vehicle when the vehicle is being jacked.
Jacking And Tire Changing Instructions
• Remove the scissors jack and lug wrench from the spare wheel as an assembly. Turn the jack screw counterclockwise to loosen the lug wrench, and remove the
wrench from the jack assembly.
NOTE: The jack handle attaches to the side of the jack with two attachment points.
When the jack is partially expanded, the tension between the two attachment points
holds the jack handle in place.
• Loosen (but do not remove) the wheel lug nuts by turning them counterclockwiseone turn while the wheel is still on the ground.
WHAT TO DO IN EMERGENCIES
50
Page 53 of 80
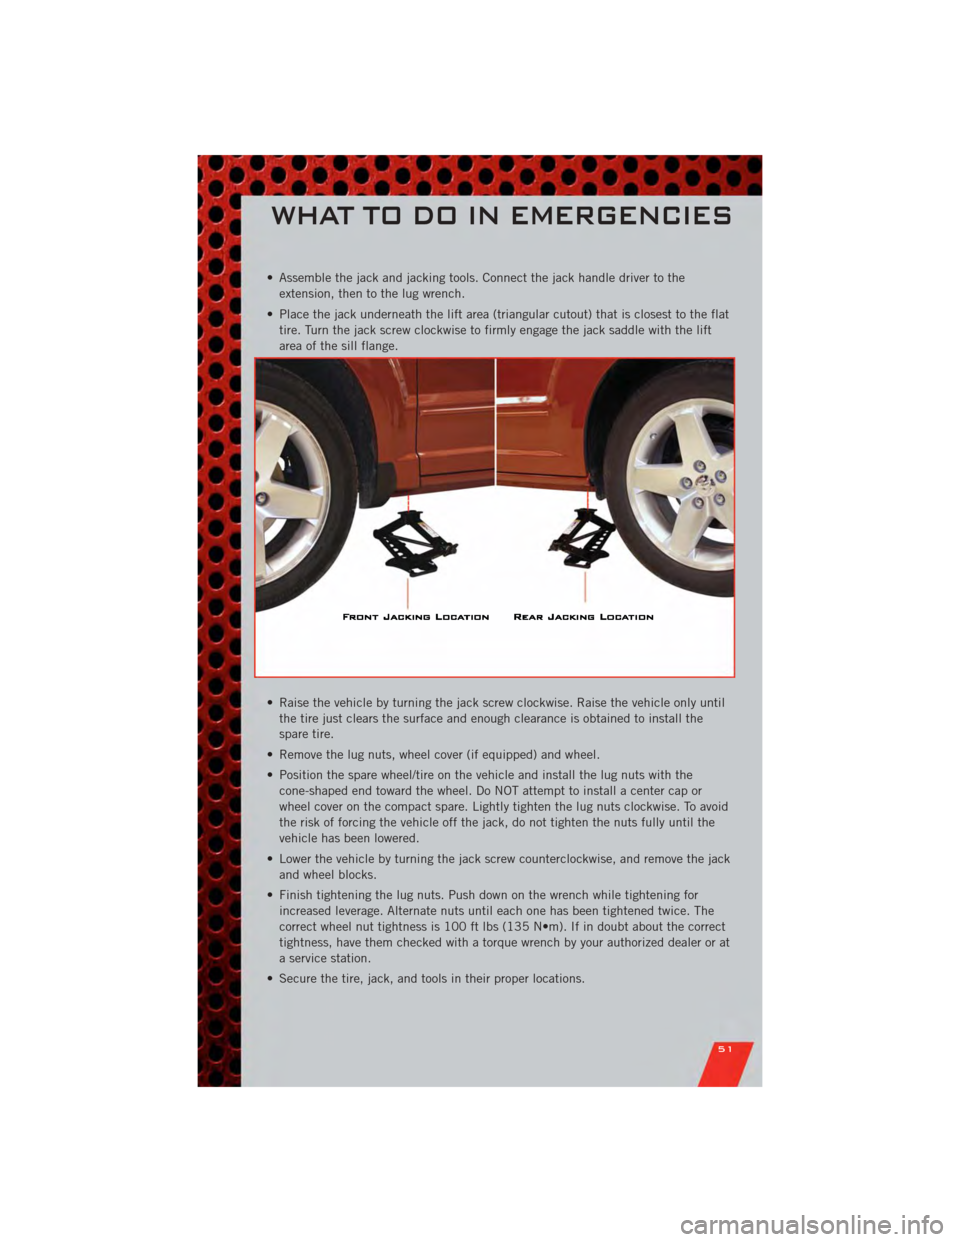
• Assemble the jack and jacking tools. Connect the jack handle driver to theextension, then to the lug wrench.
• Place the jack underneath the lift area (triangular cutout) that is closest to the flat tire. Turn the jack screw clockwise to firmly engage the jack saddle with the lift
area of the sill flange.
• Raise the vehicle by turning the jack screw clockwise. Raise the vehicle only until the tire just clears the surface and enough clearance is obtained to install the
spare tire.
• Remove the lug nuts, wheel cover (if equipped) and wheel.
• Position the spare wheel/tire on the vehicle and install the lug nuts with the cone-shaped end toward the wheel. Do NOT attempt to install a center cap or
wheel cover on the compact spare. Lightly tighten the lug nuts clockwise. To avoid
the risk of forcing the vehicle off the jack, do not tighten the nuts fully until the
vehicle has been lowered.
• Lower the vehicle by turning the jack screw counterclockwise, and remove the jack and wheel blocks.
• Finish tightening the lug nuts. Push down on the wrench while tightening for increased leverage. Alternate nuts until each one has been tightened twice. The
correct wheel nut tightness is 100 ft lbs (135 N•m). If in doubt about the correct
tightness, have them checked with a torque wrench by your authorized dealer or at
a service station.
• Secure the tire, jack, and tools in their proper locations.
WHAT TO DO IN EMERGENCIES
51
Page 74 of 80
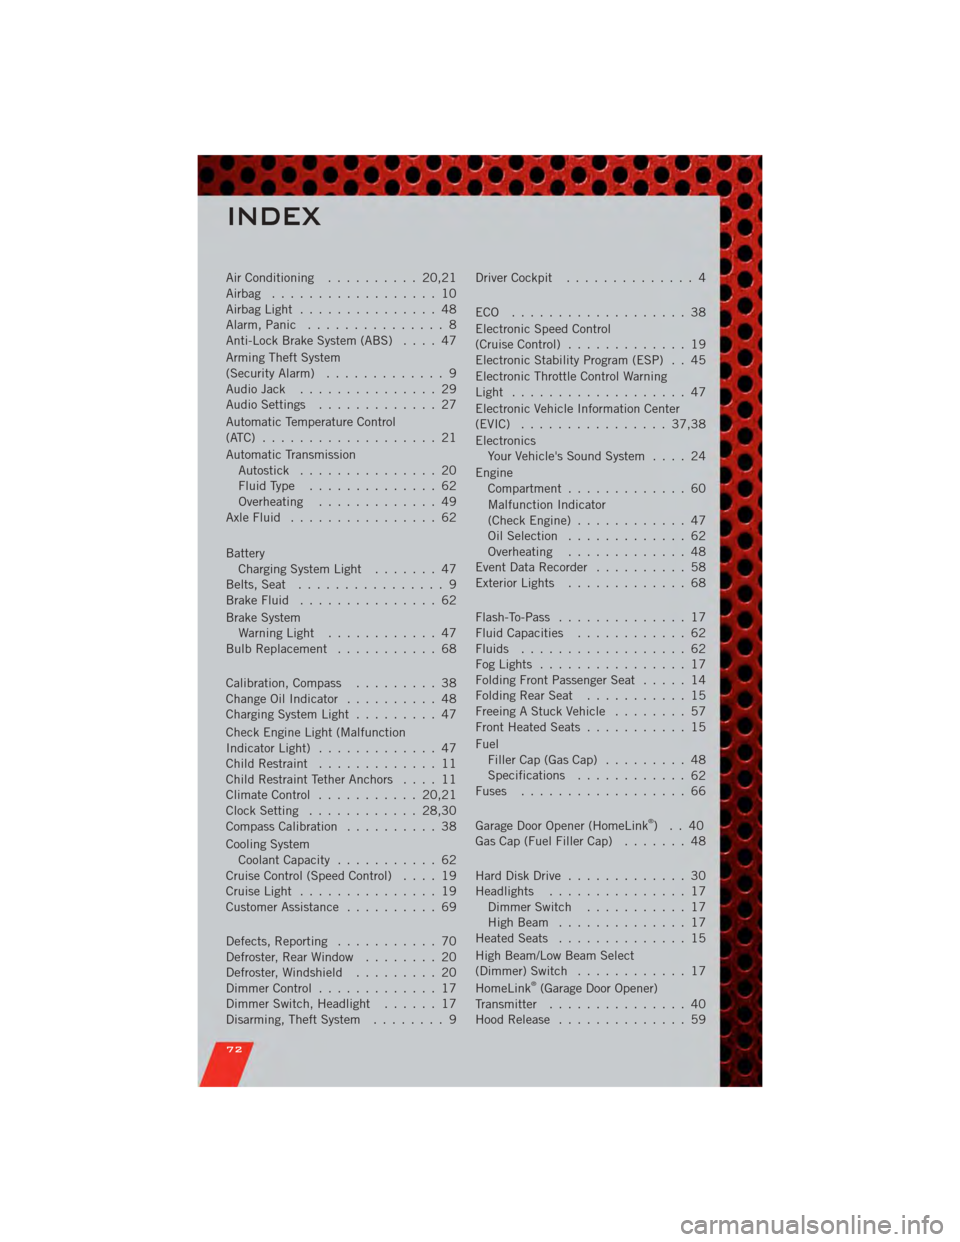
Air Conditioning.......... 20,21
Airbag .................. 10
AirbagLight ............... 48
Alarm, Panic ............... 8
Anti-Lock Brake System (ABS) .... 47
Arming Theft System
(Security Alarm) ............. 9
Audio Jack ............... 29
Audio Settings ............. 27
Automatic Temperature Control
(ATC) ................... 21
Automatic Transmission Autostick ............... 20
FluidType .............. 62
Overheating ............. 49
AxleFluid ................ 62
Battery Charging System Light ....... 47
Belts, Seat ................ 9
BrakeFluid ............... 62
Brake System WarningLight ............ 47
Bulb Replacement ........... 68
Calibration, Compass ......... 38
Change Oil Indicator .......... 48
Charging System Light ......... 47
Check Engine Light (Malfunction
Indicator Light) ............. 47
Child Restraint ............. 11
Child Restraint Tether Anchors .... 11
ClimateControl ........... 20,21
Clock Setting ............ 28,30
Compass Calibration .......... 38
Cooling System Coolant Capacity ........... 62
Cruise Control (Speed Control) .... 19
CruiseLight ............... 19
Customer Assistance .......... 69
Defects, Reporting ........... 70
Defroster, Rear Window ........ 20
Defroster, Windshield ......... 20
Dimmer Control ............. 17
Dimmer Switch, Headlight ...... 17
Disarming, Theft System ........ 9Driver Cockpit
.............. 4
ECO ................... 38
Electronic Speed Control
(CruiseControl) ............. 19
Electronic Stability Program (ESP) . . 45
Electronic Throttle Control Warning
Light ................... 47
Electronic Vehicle Information Center
(EVIC) ................ 37,38
Electronics Your Vehicle's Sound System .... 24
Engine Compartment ............. 60
Malfunction Indicator
(CheckEngine) ............ 47
Oil Selection ............. 62
Overheating ............. 48
EventDataRecorder .......... 58
Exterior Lights ............. 68
Flash-To-Pass .............. 17
Fluid Capacities ............ 62
Fluids .................. 62
FogLights ................ 17
Folding Front Passenger Seat ..... 14
FoldingRearSeat ........... 15
Freeing A Stuck Vehicle ........ 57
Front Heated Seats ........... 15
Fuel Filler Cap (Gas Cap) ......... 48
Specifications ............
6
2
Fuses .................. 66
Garage Door Opener (HomeLink
®)..40
Gas Cap (Fuel Filler Cap) ....... 48
Hard Disk Drive ............. 30
Headlights ............... 17 Dimmer Switch ........... 17
HighBeam .............. 17
Heated Seats .............. 15
High Beam/Low Beam Select
(Dimmer) Switch ............ 17
HomeLink
®(Garage Door Opener)
Transmitter ............... 40
Hood Release .............. 59
INDEX
72
Page 75 of 80
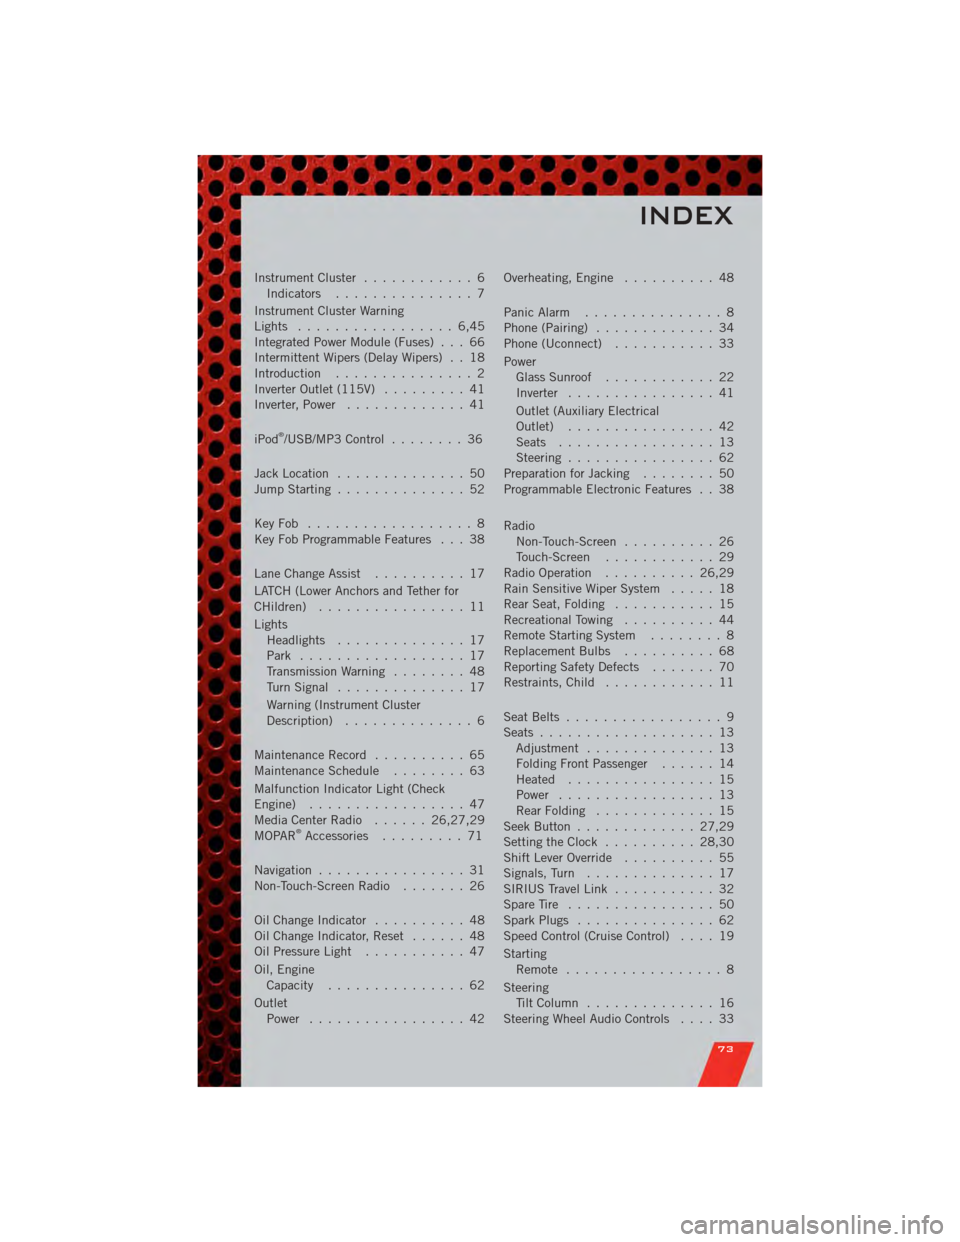
Instrument Cluster............ 6
Indicators ............... 7
Instrument Cluster Warning
Lights ................. 6,45
Integrated Power Module (Fuses) . . . 66
Intermittent Wipers (Delay Wipers) . . 18
Introduction ............... 2
Inverter Outlet (115V) ......... 41
Inverter, Power ............. 41
iPod
®/USB/MP3 Control ........ 36
Jack Location .............. 50
Jump Starting .............. 52
KeyFob .................. 8
Key Fob Programmable Features . . . 38
Lane Change Assist .......... 17
LATCH (Lower Anchors and Tether for
CHildren) ................ 11
Lights Headlights .............. 17
Park .................. 17
Transmission Warning ........ 48
TurnSignal .............. 17
Warning (Instrument Cluster
Description) .............. 6
Maintenance Record .......... 65
MaintenanceSchedule ........ 63
Malfunction Indicator Light (Check
Engine) ................. 47
MediaCenterRadio ...... 26,27,29
MOPAR
®Accessories ......... 71
Navigation ................ 31
Non-Touch-Screen Radio ....... 26
OilChangeIndicator .......... 48
Oil Change Indicator, Reset ...... 48
Oil Pressure Light ........... 47
Oil, Engine Capacity ............... 62
Outlet Power ................. 42 Overheating, Engine
.......... 48
Panic Alarm ............... 8
Phone (Pairing) ............. 34
Phone (Uconnect) ........... 33
Power Glass Sunroof ............ 22
Inverter ................ 41
Outlet (Auxiliary Electrical
Outlet) ................ 42
Seats ................. 13
Steering ................ 62
Preparation for Jacking ........ 50
Programmable Electronic Features . . 38
Radio Non-Touch-Screen .......... 26
Touch-Screen ............ 29
Radio Operation .......... 26,29
Rain Sensitive Wiper System ..... 18
Rear Seat, Folding ........... 15
Recreational Towing .......... 44
Remote Starting System ........ 8
ReplacementBulbs .......... 68
Reporting Safety Defects ....... 70
Restraints, Child ............ 11
Seat Belts ................. 9
Seats ................... 13
Adjustment .............. 13
Folding Front Passenger ...... 14
Heated ................ 15
Power ................. 13
RearFolding ............. 15
Seek Button ............. 27,29
Setting the Clock .......... 28,30
Shift Lever Override .......... 55
Signals, Turn .............. 17
SIRIUS Travel Link ........... 32
SpareTire ................ 50
SparkPlugs ............... 62
Speed Control (Cruise Control) .... 19
Starting Remote ................. 8
Steering TiltColumn .............. 16
Steering Wheel Audio Controls .... 33
INDEX
73