mirror DODGE CALIBER 2012 1.G User Guide
[x] Cancel search | Manufacturer: DODGE, Model Year: 2012, Model line: CALIBER, Model: DODGE CALIBER 2012 1.GPages: 100, PDF Size: 2.63 MB
Page 7 of 100
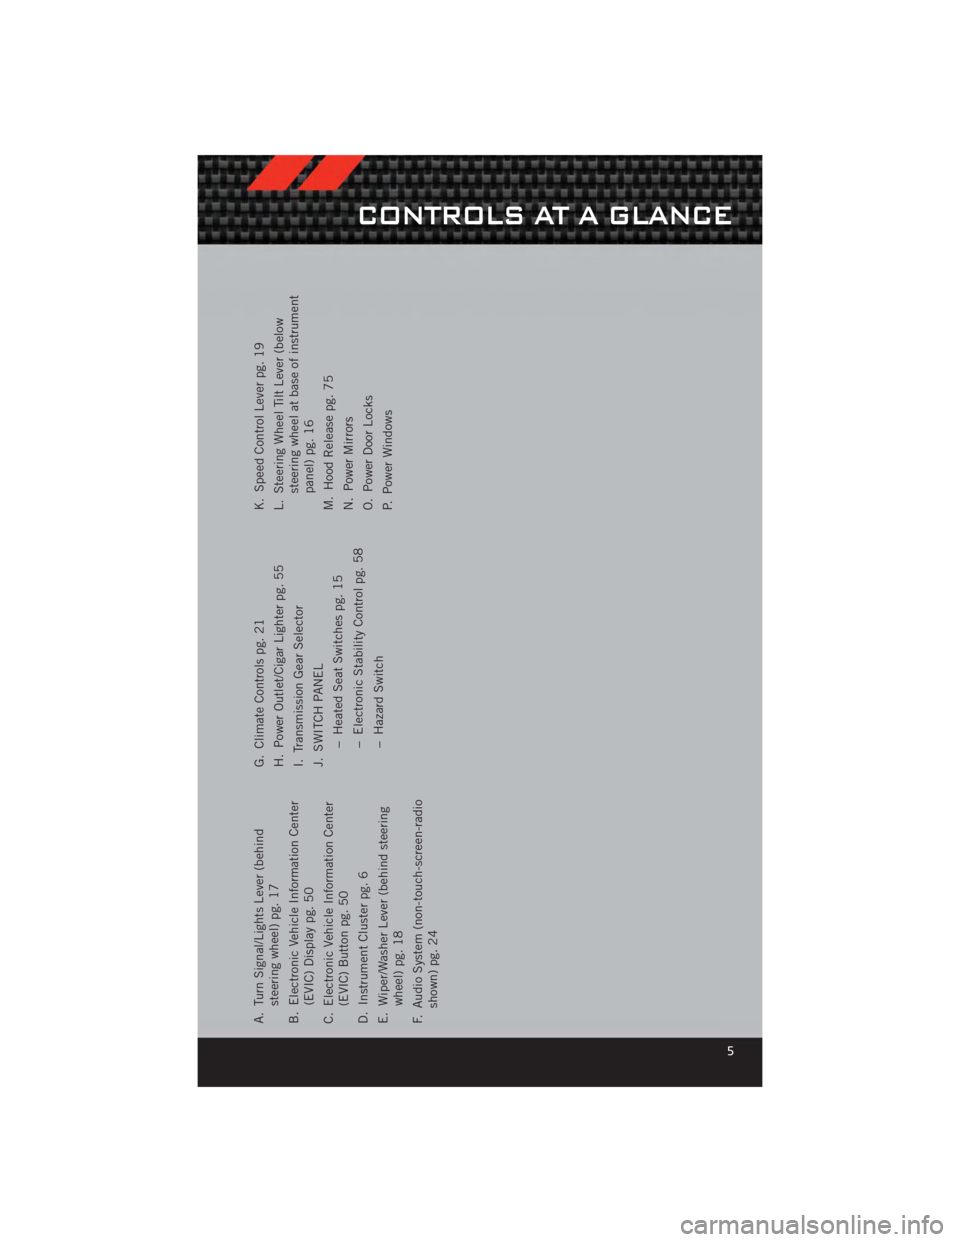
A. Turn Signal/Lights Lever (behindsteering wheel) pg. 17
B. Electronic Vehicle Information Center (EVIC) Display pg. 50
C. Electronic Vehicle Information Center (EVIC) Button pg. 50
D. Instrument Cluster pg. 6
E. Wiper/Washer Lever (behind steering wheel) pg. 18
F. Audio System (non-touch-screen-radio shown) pg. 24 G. Climate Controls pg. 21
H. Power Outlet/Cigar Lighter pg. 55
I. Transmission Gear Selector
J. SWITCH PANEL
− Heated Seat Switches pg. 15
− Electronic Stability Control pg. 58
− Hazard Switch K. Speed Control Lever pg. 19
L. Steering Wheel Tilt Lever (below
steering wheel at base of instrument
panel) pg. 16
M. Hood Release pg. 75
N. Power Mirrors
O. Power Door Locks
P. Power Windows
CONTROLS AT A GLANCE
5
Page 23 of 100
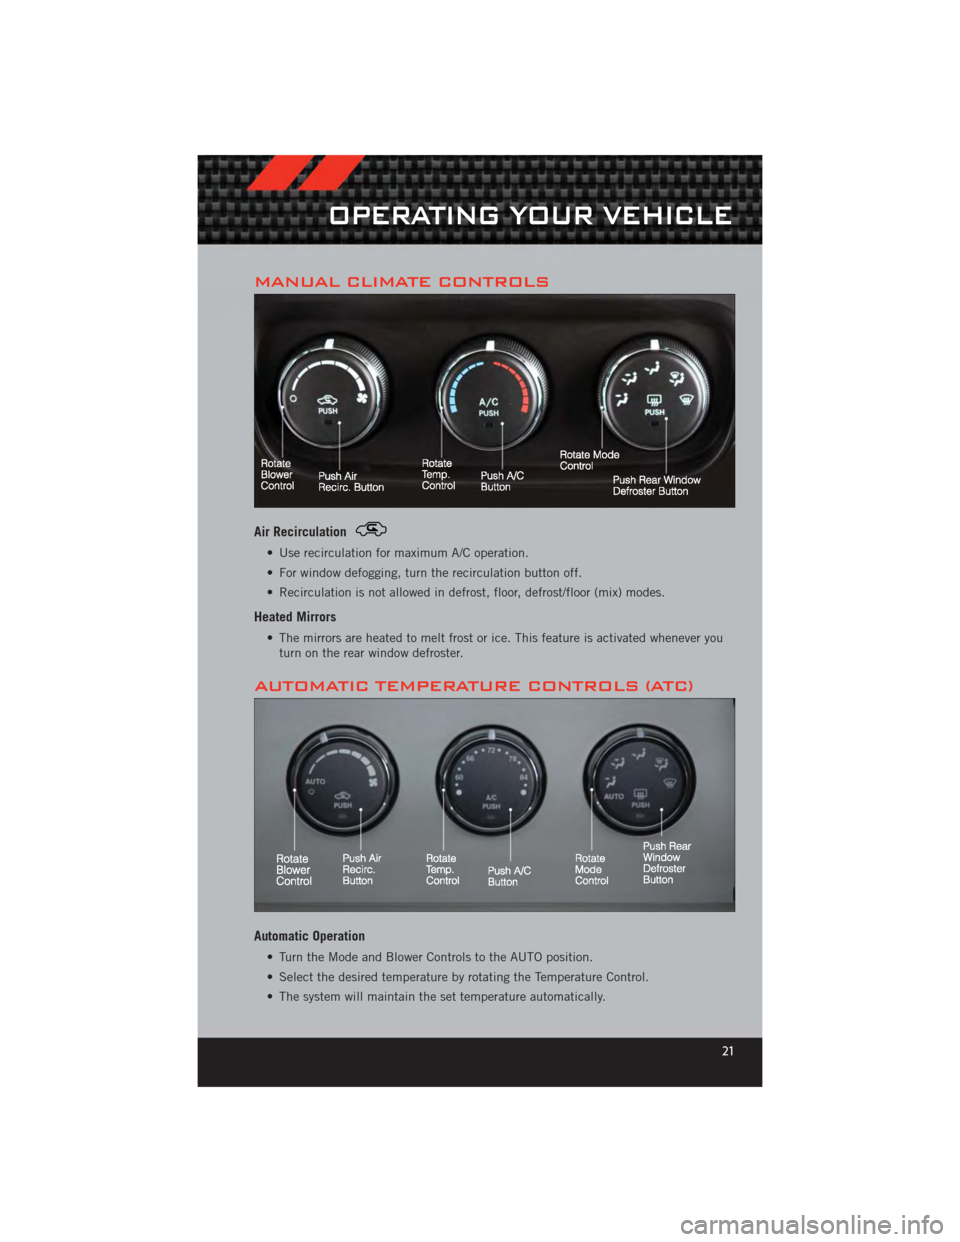
MANUAL CLIMATE CONTROLS
Air Recirculation
• Use recirculation for maximum A/C operation.
• For window defogging, turn the recirculation button off.
• Recirculation is not allowed in defrost, floor, defrost/floor (mix) modes.
Heated Mirrors
• The mirrors are heated to melt frost or ice. This feature is activated whenever youturn on the rear window defroster.
AUTOMATIC TEMPERATURE CONTROLS (ATC)
Automatic Operation
• Turn the Mode and Blower Controls to the AUTO position.
• Select the desired temperature by rotating the Temperature Control.
• The system will maintain the set temperature automatically.
OPERATING YOUR VEHICLE
21
Page 24 of 100
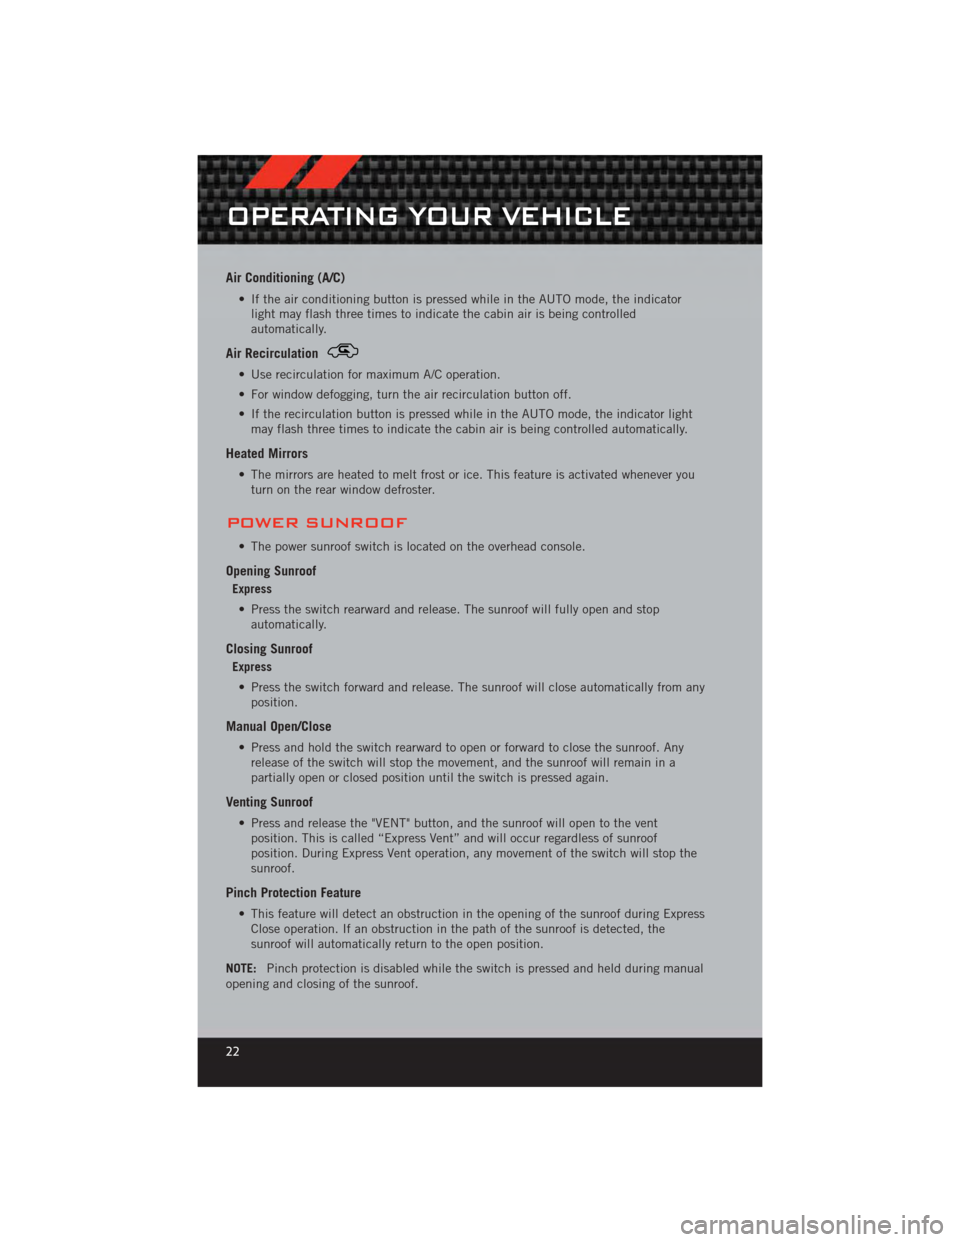
Air Conditioning (A/C)
• If the air conditioning button is pressed while in the AUTO mode, the indicatorlight may flash three times to indicate the cabin air is being controlled
automatically.
Air Recirculation
• Use recirculation for maximum A/C operation.
• For window defogging, turn the air recirculation button off.
• If the recirculation button is pressed while in the AUTO mode, the indicator lightmay flash three times to indicate the cabin air is being controlled automatically.
Heated Mirrors
• The mirrors are heated to melt frost or ice. This feature is activated whenever youturn on the rear window defroster.
POWER SUNROOF
• The power sunroof switch is located on the overhead console.
Opening Sunroof
Express
• Press the switch rearward and release. The sunroof will fully open and stop automatically.
Closing Sunroof
Express
• Press the switch forward and release. The sunroof will close automatically from any position.
Manual Open/Close
• Press and hold the switch rearward to open or forward to close the sunroof. Anyrelease of the switch will stop the movement, and the sunroof will remain in a
partially open or closed position until the switch is pressed again.
Venting Sunroof
• Press and release the "VENT" button, and the sunroof will open to the ventposition. This is called “Express Vent” and will occur regardless of sunroof
position. During Express Vent operation, any movement of the switch will stop the
sunroof.
Pinch Protection Feature
• This feature will detect an obstruction in the opening of the sunroof during ExpressClose operation. If an obstruction in the path of the sunroof is detected, the
sunroof will automatically return to the open position.
NOTE: Pinch protection is disabled while the switch is pressed and held during manual
opening and closing of the sunroof.
OPERATING YOUR VEHICLE
22
Page 85 of 100
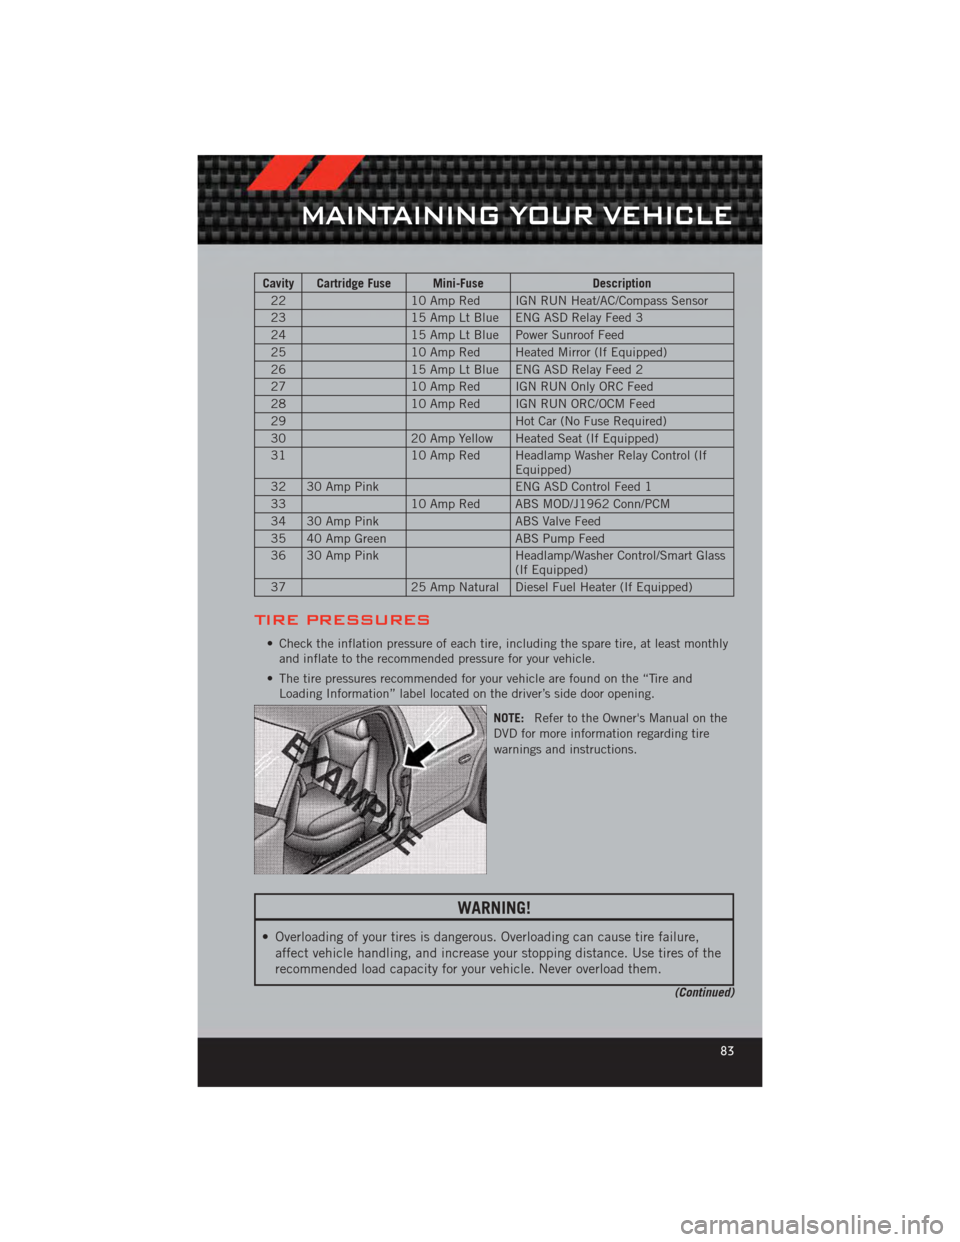
Cavity Cartridge Fuse Mini-FuseDescription
22 10 Amp Red IGN RUN Heat/AC/Compass Sensor
23 15 Amp Lt Blue ENG ASD Relay Feed 3
24 15 Amp Lt Blue Power Sunroof Feed
25 10 Amp Red Heated Mirror (If Equipped)
26 15 Amp Lt Blue ENG ASD Relay Feed 2
27 10 Amp Red IGN RUN Only ORC Feed
28 10 Amp Red IGN RUN ORC/OCM Feed
29 Hot Car (No Fuse Required)
30 20 Amp Yellow Heated Seat (If Equipped)
31 10 Amp Red Headlamp Washer Relay Control (If
Equipped)
32 30 Amp Pink ENG ASD Control Feed 1
33 10 Amp Red ABS MOD/J1962 Conn/PCM
34 30 Amp Pink ABS Valve Feed
35 40 Amp Green ABS Pump Feed
36 30 Amp Pink Headlamp/Washer Control/Smart Glass
(If Equipped)
37 25 Amp Natural Diesel Fuel Heater (If Equipped)
TIRE PRESSURES
• Check the inflation pressure of each tire, including the spare tire, at least monthly
and inflate to the recommended pressure for your vehicle.
• The tire pressures recommended for your vehicle are found on the “Tire and Loading Information” label located on the driver’s side door opening.
NOTE:Refer to the Owner's Manual on the
DVD for more information regarding tire
warnings and instructions.
WARNING!
• Overloading of your tires is dangerous. Overloading can cause tire failure, affect vehicle handling, and increase your stopping distance. Use tires of the
recommended load capacity for your vehicle. Never overload them.
(Continued)
MAINTAINING YOUR VEHICLE
83
Page 91 of 100
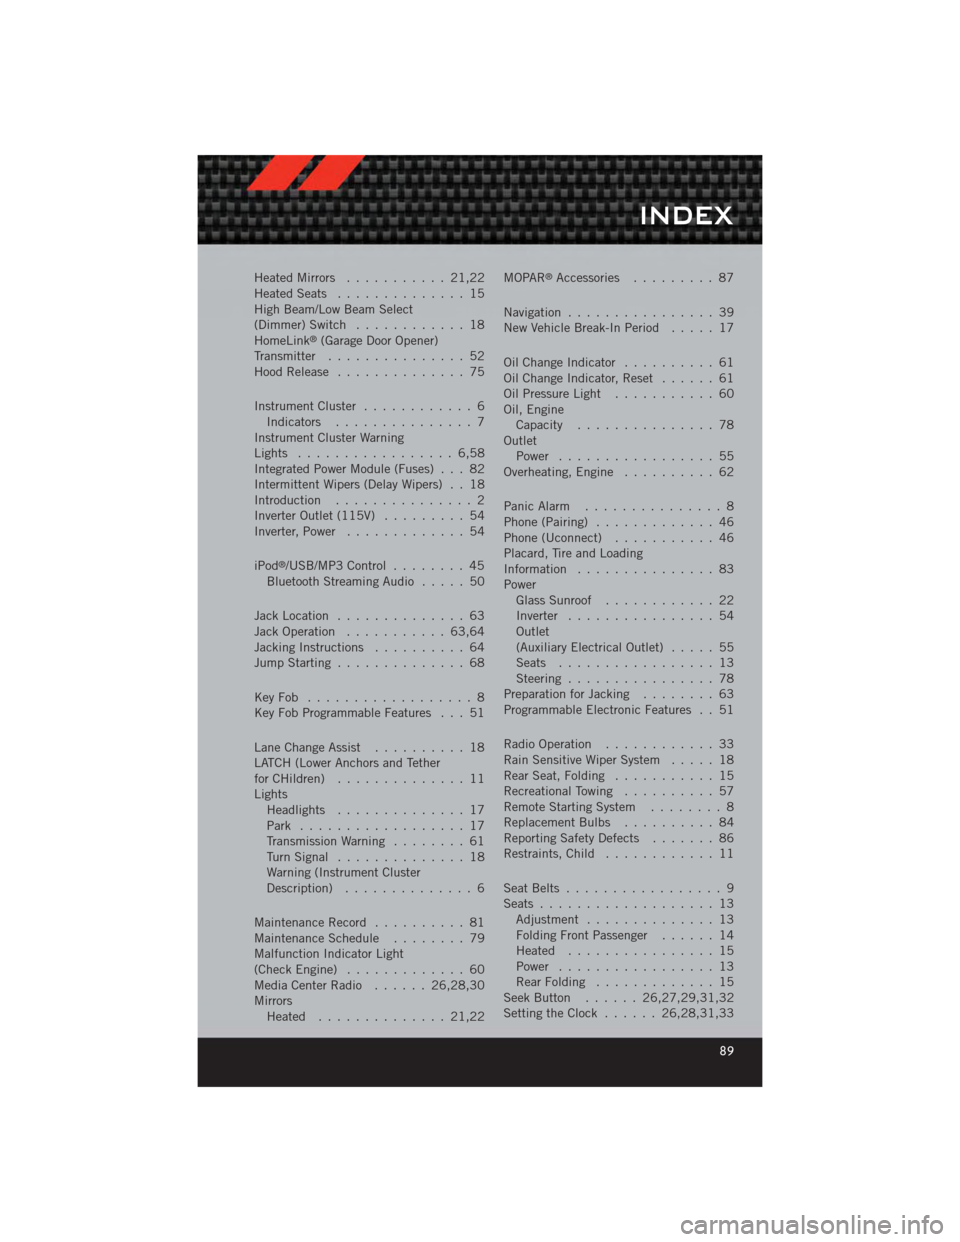
Heated Mirrors........... 21,22
Heated Seats .............. 15
High Beam/Low Beam Select
(Dimmer) Switch ............ 18
HomeLink
®(Garage Door Opener)
Transmitter ............... 52
Hood Release .............. 75
Instrument Cluster ............ 6
Indicators ............... 7
Instrument Cluster Warning
Lights ................. 6,58
Integrated Power Module (Fuses) . . . 82
Intermittent Wipers (Delay Wipers) . . 18
Introduction ............... 2
Inverter Outlet (115V) ......... 54
Inverter, Power ............. 54
iPod
®/USB/MP3 Control ........ 45
Bluetooth Streaming Audio ..... 50
Jack Location .............. 63
Jack Operation ........... 63,64
Jacking Instructions .......... 64
Jump Starting .............. 68
KeyFob .................. 8
Key Fob Programmable Features . . . 51
Lane Change Assist .......... 18
LATCH (Lower Anchors and Tether
forCHildren) .............. 11
Lights Headlights .............. 17
Park .................. 17
Transmission Warning ........ 61
TurnSignal .............. 18
Warning (Instrument Cluster
Description) .............. 6
Maintenance Record .......... 81
MaintenanceSchedule ........ 79
Malfunction Indicator Light
(CheckEngine) ............. 60
MediaCenterRadio ...... 26,28,30
Mirrors Heated .............. 21,22 MOPAR
®Accessories
......... 87
Navigation ................ 39
New Vehicle Break-In Period ..... 17
Oil Change Indicator .......... 61
Oil Change Indicator, Reset ...... 61
Oil Pressure Light ........... 60
Oil, Engine Capacity ............... 78
Outlet Power ................. 55
Overheating, Engine .......... 62
Panic Alarm ............... 8
Phone (Pairing) ............. 46
Phone (Uconnect) ........... 46
Placard, Tire and Loading
Information ............... 83
Power Glass Sunroof ............ 22
Inverter ................ 54
Outlet
(Auxiliary Electrical Outlet) ..... 55
Seats ................. 13
Steering ................ 78
Preparation for Jacking ........ 63
Programmable Electronic Features . . 51
Radio Operation ............ 33
Rain Sensitive Wiper System ..... 18
Rear Seat, Folding ........... 15
Recreational Towing .......... 57
Remote Starting System ........ 8
ReplacementBulbs .......... 84
Reporting Safety Defects ....... 86
Restraints, Child ............ 11
Seat Belts ................. 9
Seats ................... 13
Adjustment .............. 13
Folding Front Passenger ...... 14
Heated ................ 15
Power ................. 13
RearFolding ............. 15
Seek Button ...... 26,27,29,31,32
Setting the Clock ...... 26,28,31,33
INDEX
89