window DODGE CALIBER SRT 2008 1.G User Guide
[x] Cancel search | Manufacturer: DODGE, Model Year: 2008, Model line: CALIBER SRT, Model: DODGE CALIBER SRT 2008 1.GPages: 373, PDF Size: 3 MB
Page 119 of 373
(counterclockwise) to increase the delay time. The delay
can be regulated from a maximum of approximately 18
seconds between cycles, to a cycle every second.
Adding Washer Fluid
The fluid reservoir for the windshield washers and the
rear window washer (If Equipped) is shared. It is located
in the front of the engine compartment on the passenger
side and should be checked for fluid level at regular
intervals. Fill the reservoir with windshield washer sol-
vent (not radiator antifreeze) and operate the system for
a few seconds to flush out the residual water.
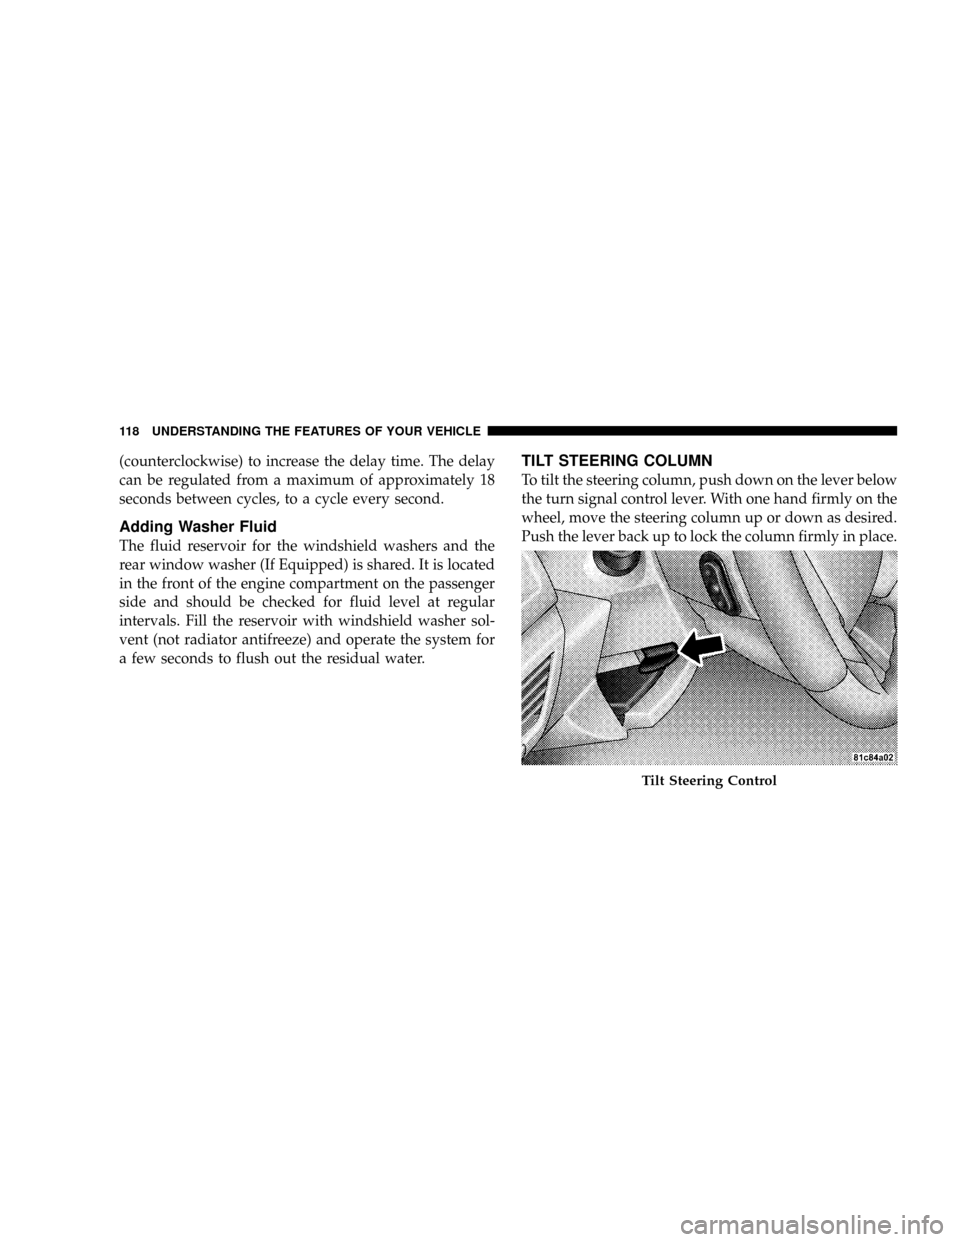
TILT STEERING COLUMN
To tilt the steering column, push down on the lever below
the turn signal control lever. With one hand firmly on the
wheel, move the steering column up or down as desired.
Push the lever back up to lock the column firmly in place.
Tilt Steering Control
118 UNDERSTANDING THE FEATURES OF YOUR VEHICLE
Page 138 of 373
Sunshade Operation
The sunshade can be opened manually. However, the
sunshade will open automatically as the sunroof opens.
NOTE:The sunshade cannot be closed if the sunroof is
open.
Wind Buffeting
Wind buffeting can be described as the perception of
pressure on the ears or a helicopter-type sound in the
ears. Your vehicle may exhibit wind buffeting with the
windows down, or the sunroof (if equipped) in certain
open or partially open positions. This is a normal occur-
rence and can be minimized. If the buffeting occurs with
the rear windows open, open the front and rear windows
together to minimize the buffeting. If the buffeting occurs
with the sunroof open, adjust the sunroof opening to
minimize the buffeting or open any window.
Sunroof Maintenance
Use only a non-abrasive cleaner and a soft cloth to clean
the glass panel.
Ignition Off Operation
The sunroof will also operate up to 45 seconds after the
ignition has been turned off. The sunroof operation will
be canceled if either of the front doors are opened during
the accessory delay time or set accessory delay time.
UNDERSTANDING THE FEATURES OF YOUR VEHICLE 137
3
Page 147 of 373
REAR WINDOW FEATURES
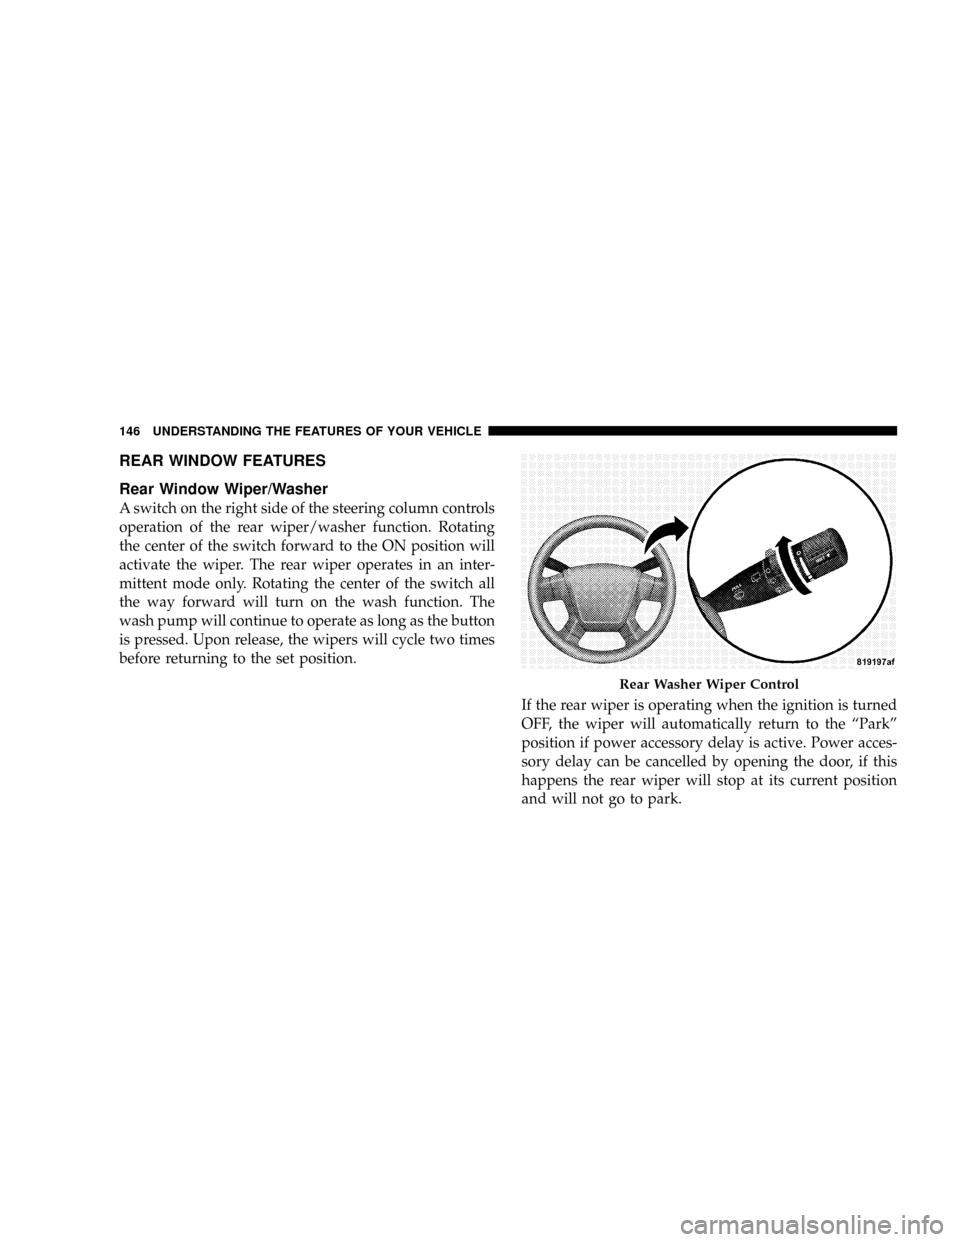
Rear Window Wiper/Washer
A switch on the right side of the steering column controls
operation of the rear wiper/washer function. Rotating
the center of the switch forward to the ON position will
activate the wiper. The rear wiper operates in an inter-
mittent mode only. Rotating the center of the switch all
the way forward will turn on the wash function. The
wash pump will continue to operate as long as the button
is pressed. Upon release, the wipers will cycle two times
before returning to the set position.
If the rear wiper is operating when the ignition is turned
OFF, the wiper will automatically return to the ªParkº
position if power accessory delay is active. Power acces-
sory delay can be cancelled by opening the door, if this
happens the rear wiper will stop at its current position
and will not go to park.
Rear Washer Wiper Control
146 UNDERSTANDING THE FEATURES OF YOUR VEHICLE
Page 148 of 373
Adding Washer Fluid
The fluid reservoir for the windshield washers and the
rear window washer (If Equipped) is shared. It is located
in the front of the engine compartment on the passenger
side and should be checked for fluid level at regular
intervals. Fill the reservoir with windshield washer sol-
vent (not radiator antifreeze) and operate the system for
a few seconds to flush out the residual water.
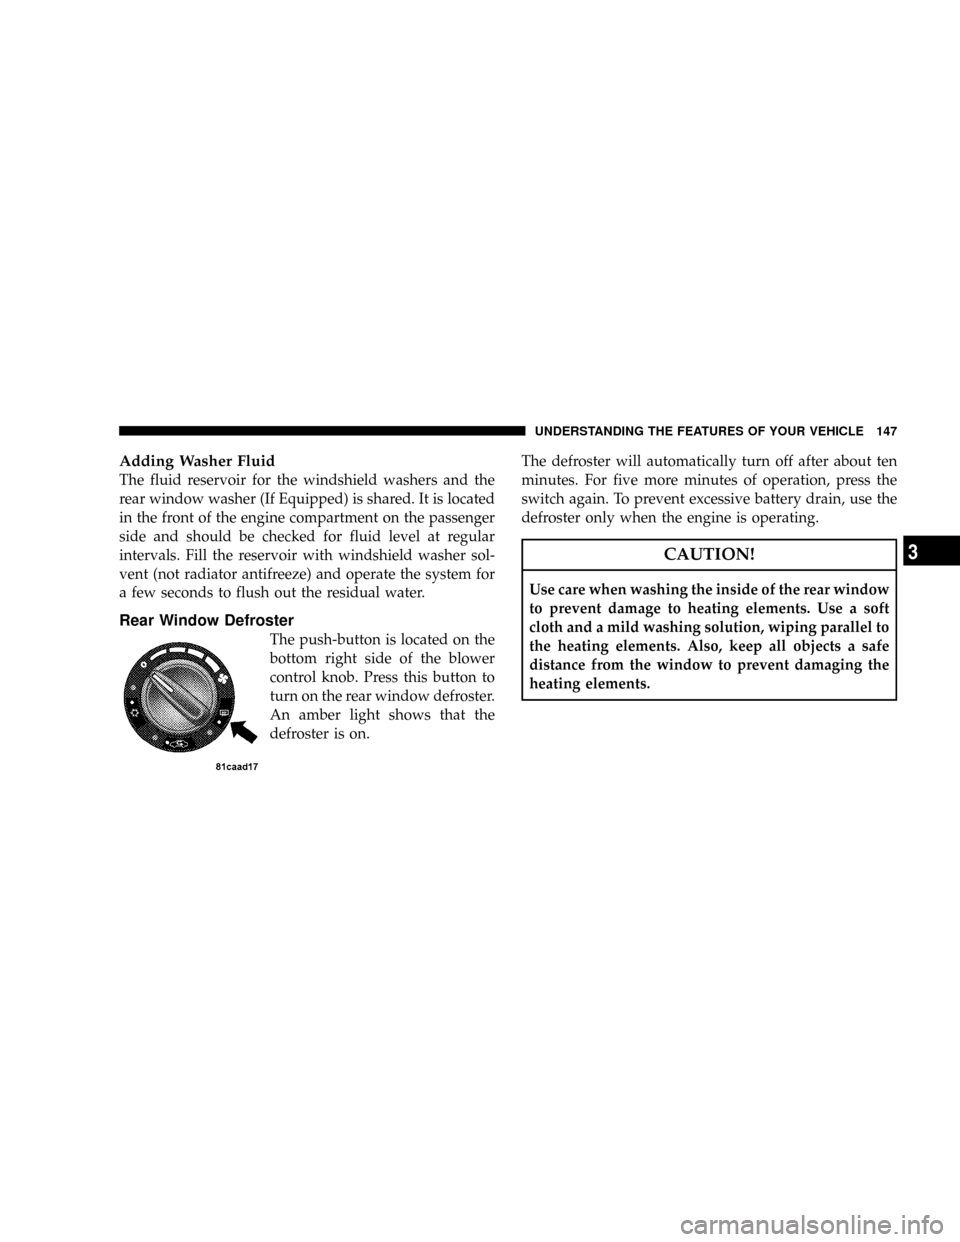
Rear Window Defroster
The push-button is located on the
bottom right side of the blower
control knob. Press this button to
turn on the rear window defroster.
An amber light shows that the
defroster is on.The defroster will automatically turn off after about ten
minutes. For five more minutes of operation, press the
switch again. To prevent excessive battery drain, use the
defroster only when the engine is operating.
CAUTION!
Use care when washing the inside of the rear window
to prevent damage to heating elements. Use a soft
cloth and a mild washing solution, wiping parallel to
the heating elements. Also, keep all objects a safe
distance from the window to prevent damaging the
heating elements.
UNDERSTANDING THE FEATURES OF YOUR VEHICLE 147
3
Page 176 of 373
NOTE:Turning the headlights on during the daytime
causes the instrument panel lights to dim. To increase the
brightness, refer to ªLightsº in this section.
Delay Power Off to Accessories Until Exit
When this feature is selected, the power window
switches, radio, hands±free system, power sunroof, and
power outlets will remain active for up to 60 minutes
after the ignition switch has been turned off. Opening a
vehicle door will cancel this feature. Press and hold the
EVIC button when in this display until ªOffº, ª45 sec.º,
ª5 min.º, or ª10 min.º appears to make your selection.
Turn Headlamps on with Remote Key Unlock
When this feature is selected the headlamps will activate
and remain on for up to 90 seconds when the doors are
unlocked using the remote keyless entry transmitter.
Press and hold the EVIC button when in this display until
ªOFFº, ª30 sec.º, ª60 sec.º, or ª90 sec.º appears to make
your selection.
Confirmation of Voice Commands Ð If Equipped
When ON is selected all voice commands from the
U-Connect system are confirmed. Press and hold the
EVIC button when in this display until ªONº or ªOFFº
appears to make your selection.
Display English or Metric
The EVIC, odometer, and navigation system units can be
changed between English and Metric.
Press and hold the EVIC button when in this display until
ªUSº or ªMETRICº appears to make your selection.
Oil Change Required
Your vehicle is equipped with an engine oil change
indicator system. The ªOil Change Requiredº message
will flash in the EVIC display for approximately 10
seconds after a single chime has sounded to indicate the
next scheduled oil change interval. The engine oil change
UNDERSTANDING YOUR INSTRUMENT PANEL 175
4
Page 185 of 373
Press the rotary TUNE control a fourth time and BAL will
display. Turn the TUNE control to the right or left to
adjust the sound level from the right or left side speakers.
Press the rotary TUNE control a fifth time and FADE will
display. Turn the TUNE control to the left or right to
adjust the sound level between the front and rear speak-
ers.
Press the tune control again or wait five seconds to exit
setting tone, balance, and fade.
RND/SET Button (Radio Mode) To Set The
Push-Button Memory
When you are receiving a station that you wish to
commit to push-button memory, press the SET button.
The symbol SET 1 will now show in the display window.
Select the button (1-6) you wish to lock onto this station
and press and release that button. If a button is notselected within five seconds after pressing the SET but-
ton, the station will continue to play but will not be
stored into push-button memory.
You may add a second station to each push-button by
repeating the above procedure with this exception: Press
the SET button twice and SET 2 will show in the display
window. Each button can be set for SET 1 and SET 2 in
both AM and FM. This allows a total of 12 AM, 12 FM,
and 12 Satellite (if equipped) stations to be stored into
push-button memory. The stations stored in SET 2
memory can be selected by pressing the push-button
twice.
Every time a preset button is used, a corresponding
button number will display.
Preset Buttons1-6(Radio Mode)
These buttons tune the Radio to the stations that you
commit to push-button memory {12 AM, 12 FM, and 12
Satellite (if equipped) stations}.
184 UNDERSTANDING YOUR INSTRUMENT PANEL
Page 195 of 373
SCAN Button
Press this button to play 10 seconds of each selection.
Press the SCAN button a second time to cancel the
feature.
Changing Tape Direction
If you wish to change the direction of tape travel (side
being played), press Preset 6. The lighted arrow in the
display window will show the new direction.
Metal Tape Selection
If a standard metal tape is inserted into the player, the
player will automatically select the correct equalization.
Pinch Roller Release
If ignition power or the radio ON/OFF switch is turned
off, the pinch roller will automatically retract to protect
the tape from any damage. When power is restored to the
tape player, the pinch roller will automatically reengage
and the tape will resume play.
Noise Reduction
The Dolby Noise Reduction System* is on whenever the
tape player is on, but may be switched off.
To turn off the Dolby Noise Reduction System: Press
Preset 1 after you insert the tape. The NR light in the
display will go off when the Dolby System is off.
* ºDolbyº noise reduction is manufactured under license
from Dolby Laboratories Licensing Corporation. Dolby
and the double-D symbol are trademarks of Dolby Labo-
ratories Licensing Corporation.
Operation Instructions - (CD MODE for CD Audio
Play)
NOTE:The ignition switch must be in the ON or ACC
position to operate the radio.
NOTE:
This Radio is capable of playing compact discs
(CD), recordable compact discs (CD-R), rewritable compact
194 UNDERSTANDING YOUR INSTRUMENT PANEL
Page 215 of 373
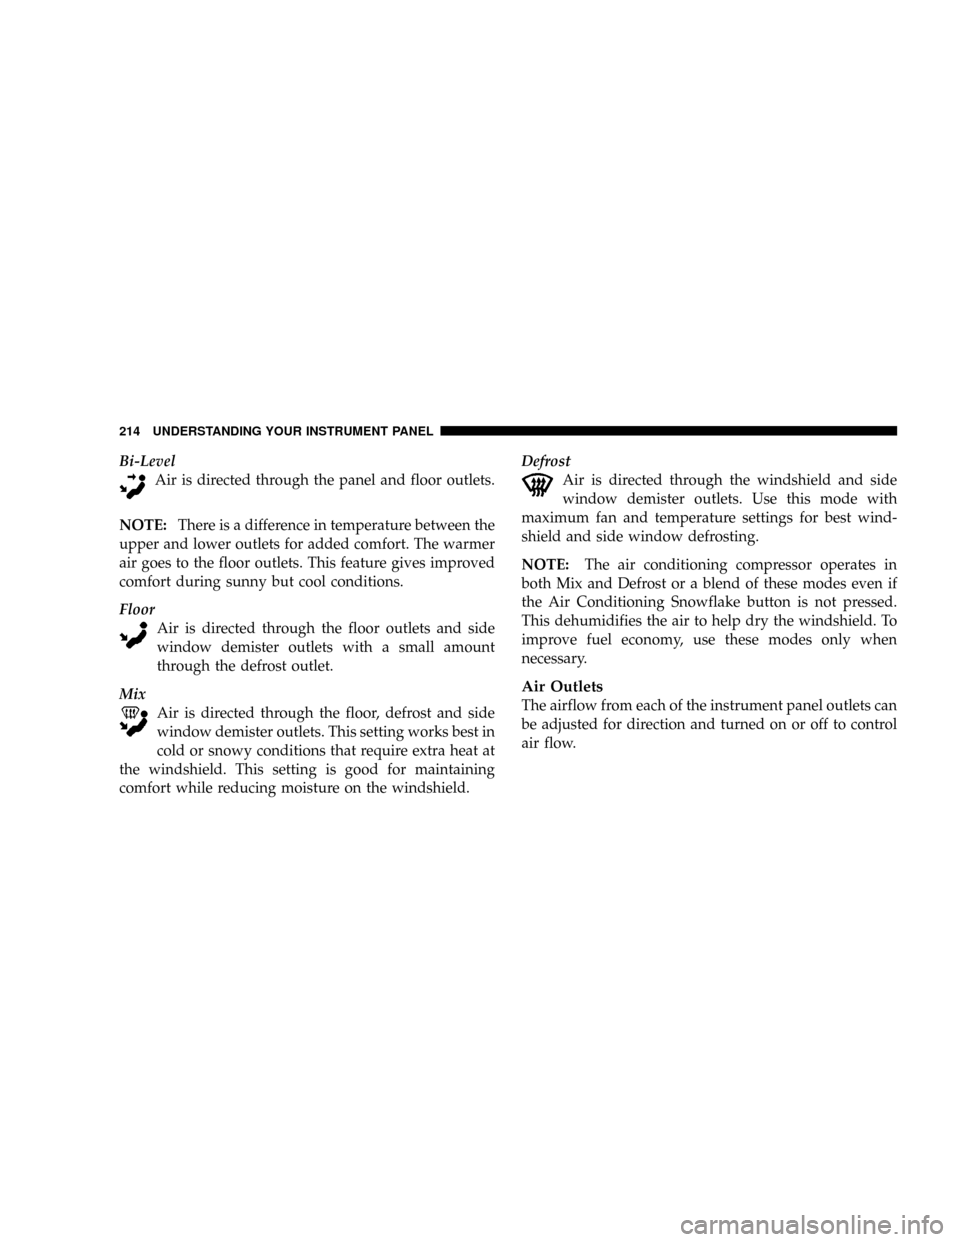
Bi-Level
Air is directed through the panel and floor outlets.
NOTE:There is a difference in temperature between the
upper and lower outlets for added comfort. The warmer
air goes to the floor outlets. This feature gives improved
comfort during sunny but cool conditions.
Floor
Air is directed through the floor outlets and side
window demister outlets with a small amount
through the defrost outlet.
Mix
Air is directed through the floor, defrost and side
window demister outlets. This setting works best in
cold or snowy conditions that require extra heat at
the windshield. This setting is good for maintaining
comfort while reducing moisture on the windshield.Defrost
Air is directed through the windshield and side
window demister outlets. Use this mode with
maximum fan and temperature settings for best wind-
shield and side window defrosting.
NOTE:The air conditioning compressor operates in
both Mix and Defrost or a blend of these modes even if
the Air Conditioning Snowflake button is not pressed.
This dehumidifies the air to help dry the windshield. To
improve fuel economy, use these modes only when
necessary.
Air Outlets
The airflow from each of the instrument panel outlets can
be adjusted for direction and turned on or off to control
air flow.
214 UNDERSTANDING YOUR INSTRUMENT PANEL
Page 217 of 373
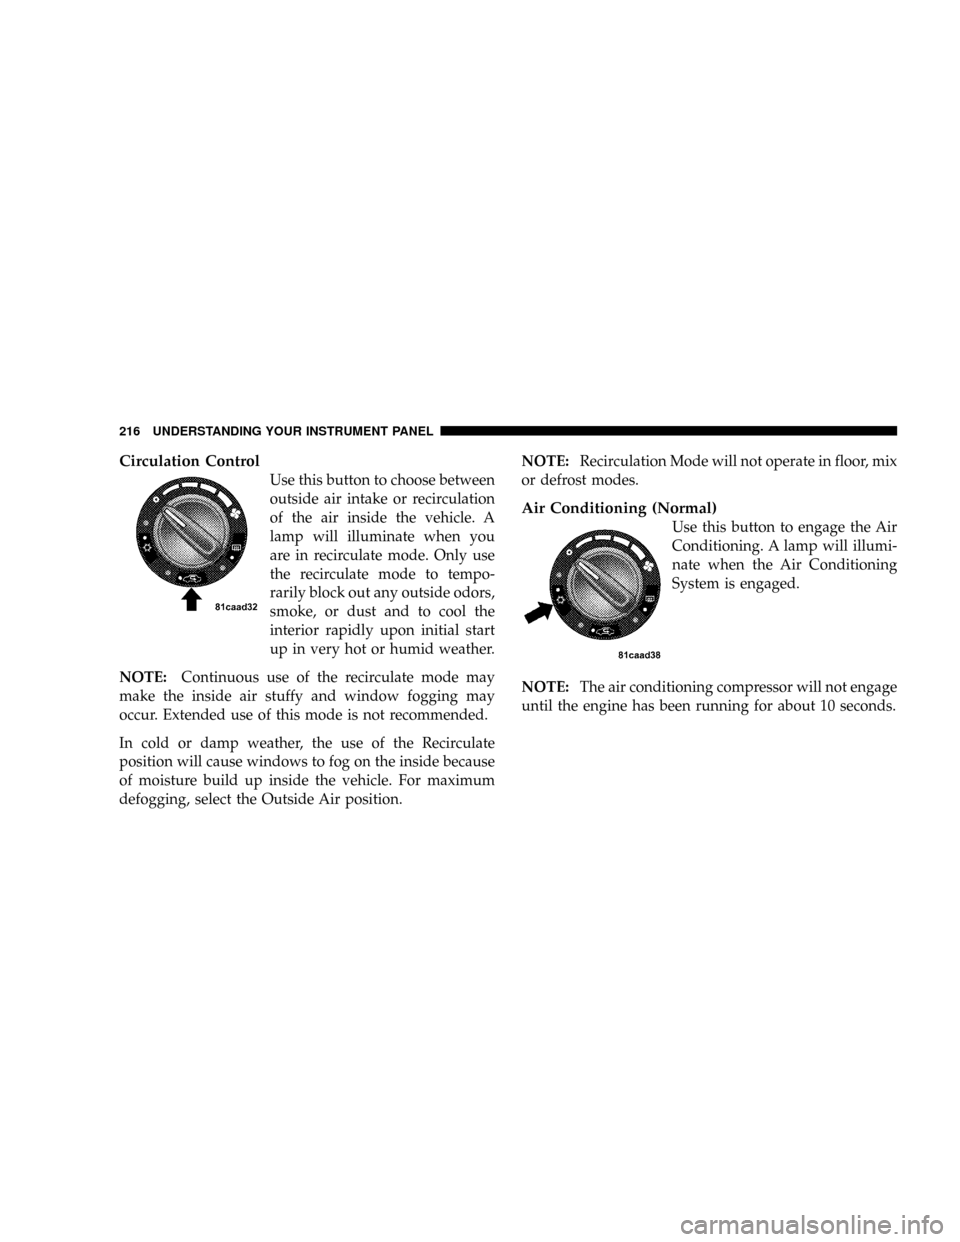
Circulation Control
Use this button to choose between
outside air intake or recirculation
of the air inside the vehicle. A
lamp will illuminate when you
are in recirculate mode. Only use
the recirculate mode to tempo-
rarily block out any outside odors,
smoke, or dust and to cool the
interior rapidly upon initial start
up in very hot or humid weather.
NOTE:Continuous use of the recirculate mode may
make the inside air stuffy and window fogging may
occur. Extended use of this mode is not recommended.
In cold or damp weather, the use of the Recirculate
position will cause windows to fog on the inside because
of moisture build up inside the vehicle. For maximum
defogging, select the Outside Air position.NOTE:Recirculation Mode will not operate in floor, mix
or defrost modes.
Air Conditioning (Normal)
Use this button to engage the Air
Conditioning. A lamp will illumi-
nate when the Air Conditioning
System is engaged.
NOTE:The air conditioning compressor will not engage
until the engine has been running for about 10 seconds.
216 UNDERSTANDING YOUR INSTRUMENT PANEL
Page 220 of 373
Window Fogging
Vehicle side windows tend to fog on the inside in mild
rainy or humid weather. To clear the windows, set mode
to the mix or defrost position. Direct the panel outlets
toward the side windows. Do not use recirculate without
A/C for long periods as fogging may occur.
Interior fogging on the windshield can be quickly re-
moved by using the defrost position.
If the fogging problem persists, clean the inside window
surfaces. The cause of undue fogging may be dirt collect-
ing on the inside surface of the glassNOTE:In cold weather, the use of the recircu-
late position will cause windows to fog on the
inside because of moisture build up inside the
vehicle. For maximum defogging, press the
recirculation button until recirculate is off.
Summer Operation
Air conditioned vehicles must be protected with a high-
quality antifreeze coolant to provide proper corrosion
protection and to raise the boiling point of the coolant for
protection against overheating. A 50% concentration is
recommended.
UNDERSTANDING YOUR INSTRUMENT PANEL 219
4