radiator DODGE CALIBER SRT 2008 1.G Owners Manual
[x] Cancel search | Manufacturer: DODGE, Model Year: 2008, Model line: CALIBER SRT, Model: DODGE CALIBER SRT 2008 1.GPages: 373, PDF Size: 3 MB
Page 119 of 373
(counterclockwise) to increase the delay time. The delay
can be regulated from a maximum of approximately 18
seconds between cycles, to a cycle every second.
Adding Washer Fluid
The fluid reservoir for the windshield washers and the
rear window washer (If Equipped) is shared. It is located
in the front of the engine compartment on the passenger
side and should be checked for fluid level at regular
intervals. Fill the reservoir with windshield washer sol-
vent (not radiator antifreeze) and operate the system for
a few seconds to flush out the residual water.
TILT STEERING COLUMN
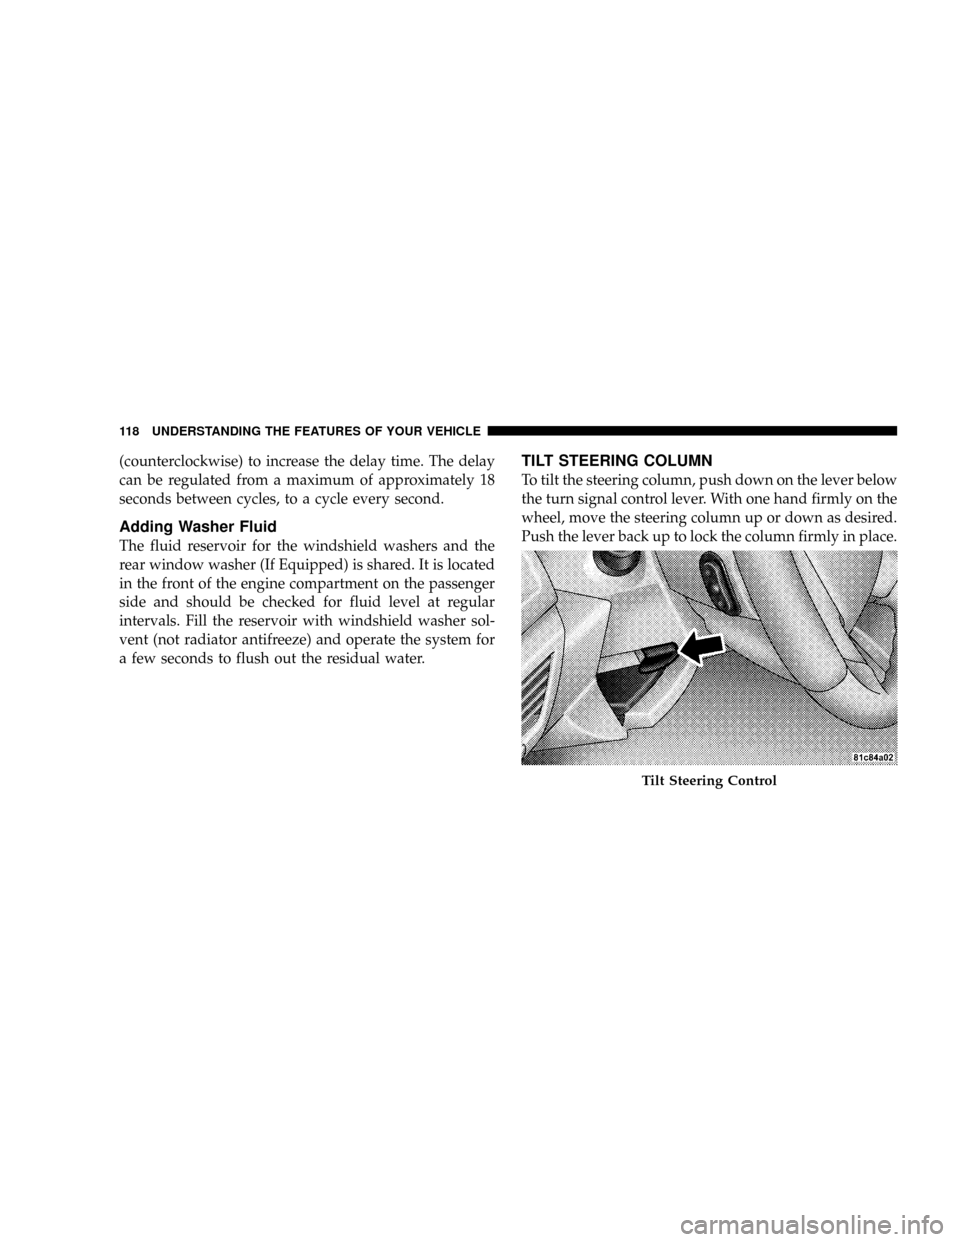
To tilt the steering column, push down on the lever below
the turn signal control lever. With one hand firmly on the
wheel, move the steering column up or down as desired.
Push the lever back up to lock the column firmly in place.
Tilt Steering Control
118 UNDERSTANDING THE FEATURES OF YOUR VEHICLE
Page 148 of 373
Adding Washer Fluid
The fluid reservoir for the windshield washers and the
rear window washer (If Equipped) is shared. It is located
in the front of the engine compartment on the passenger
side and should be checked for fluid level at regular
intervals. Fill the reservoir with windshield washer sol-
vent (not radiator antifreeze) and operate the system for
a few seconds to flush out the residual water.
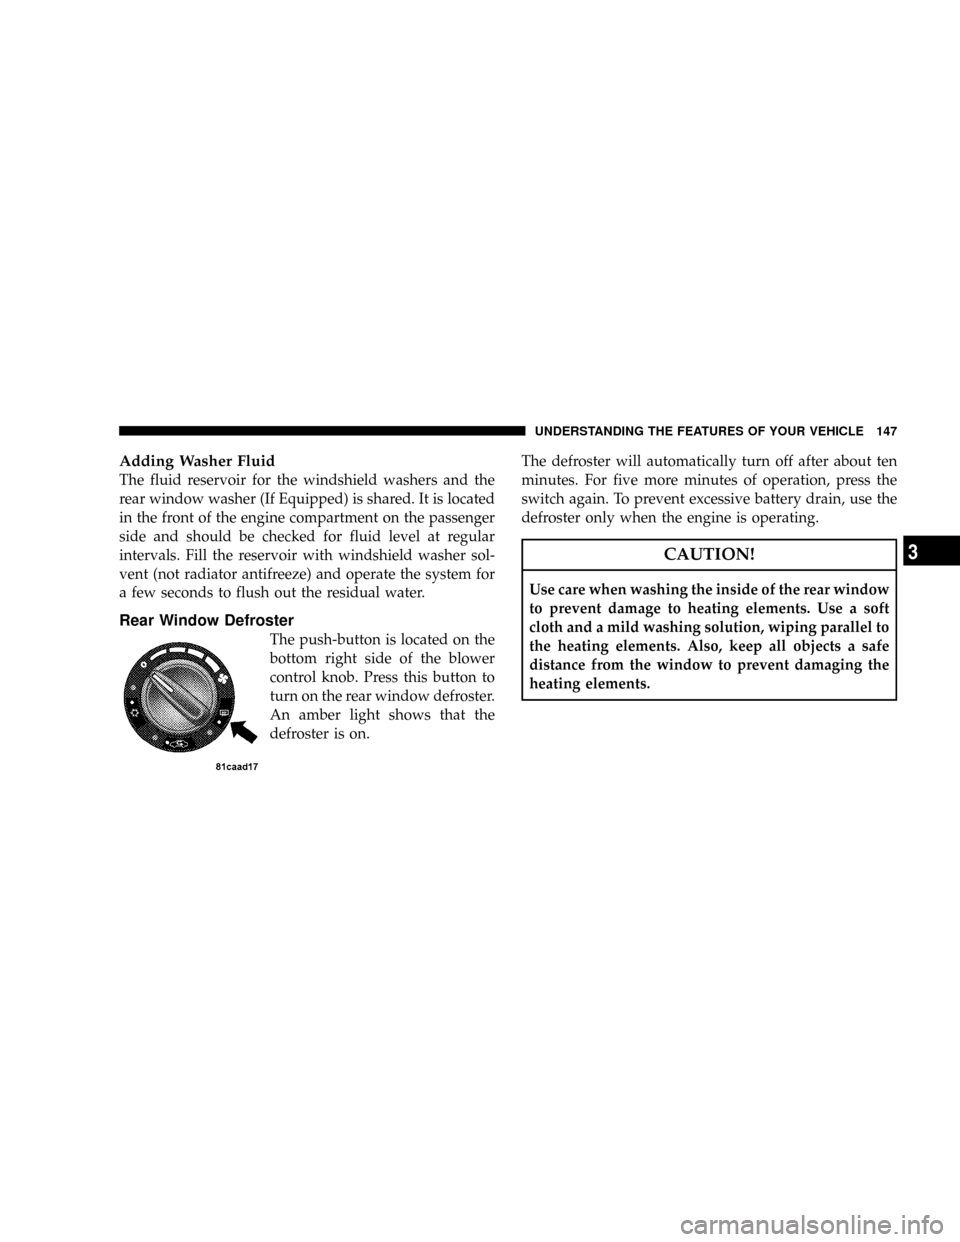
Rear Window Defroster
The push-button is located on the
bottom right side of the blower
control knob. Press this button to
turn on the rear window defroster.
An amber light shows that the
defroster is on.The defroster will automatically turn off after about ten
minutes. For five more minutes of operation, press the
switch again. To prevent excessive battery drain, use the
defroster only when the engine is operating.
CAUTION!
Use care when washing the inside of the rear window
to prevent damage to heating elements. Use a soft
cloth and a mild washing solution, wiping parallel to
the heating elements. Also, keep all objects a safe
distance from the window to prevent damaging the
heating elements.
UNDERSTANDING THE FEATURES OF YOUR VEHICLE 147
3
Page 158 of 373
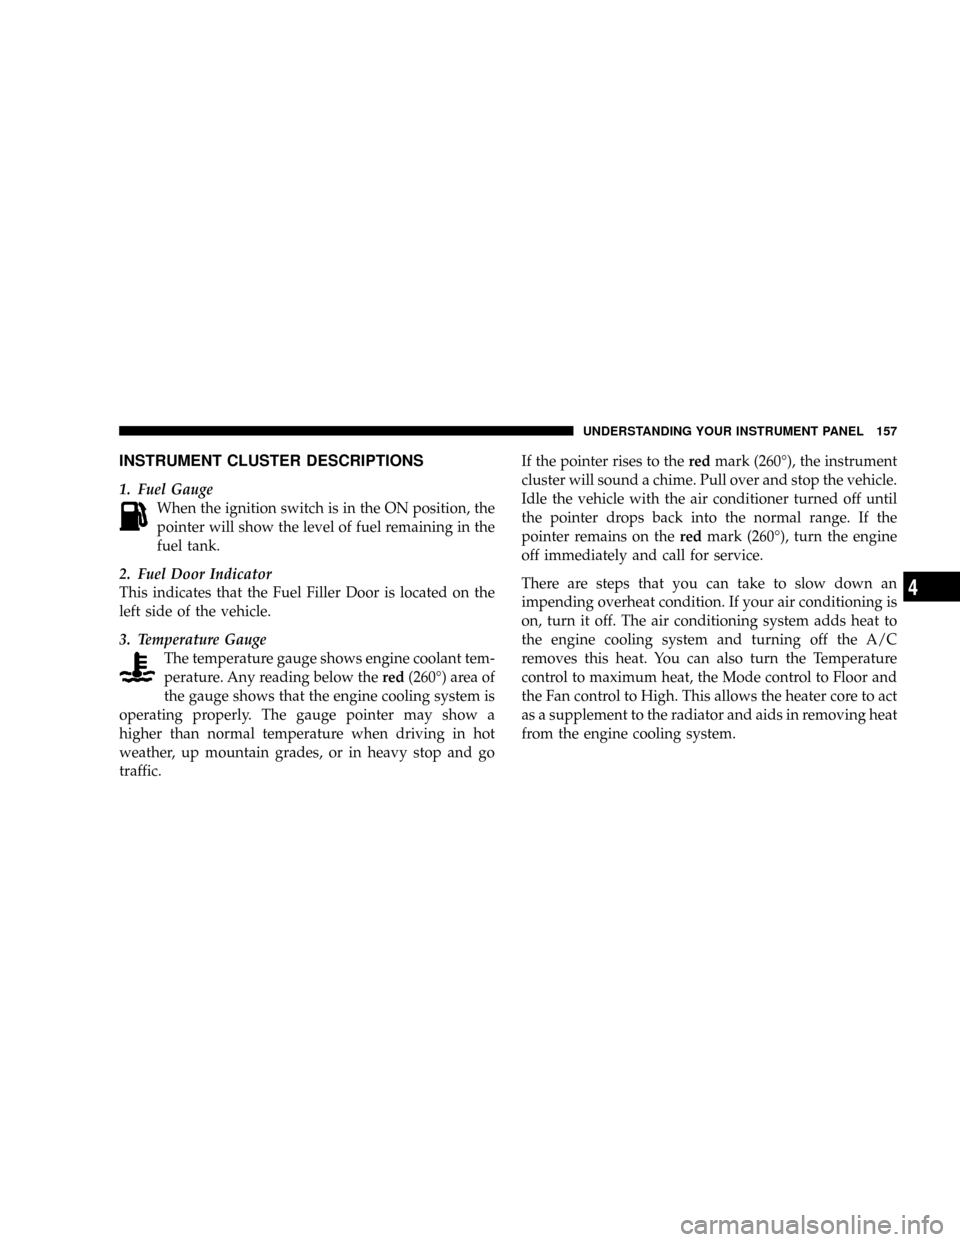
INSTRUMENT CLUSTER DESCRIPTIONS
1. Fuel Gauge
When the ignition switch is in the ON position, the
pointer will show the level of fuel remaining in the
fuel tank.
2. Fuel Door Indicator
This indicates that the Fuel Filler Door is located on the
left side of the vehicle.
3. Temperature Gauge
The temperature gauge shows engine coolant tem-
perature. Any reading below thered(260É) area of
the gauge shows that the engine cooling system is
operating properly. The gauge pointer may show a
higher than normal temperature when driving in hot
weather, up mountain grades, or in heavy stop and go
traffic.If the pointer rises to theredmark (260É), the instrument
cluster will sound a chime. Pull over and stop the vehicle.
Idle the vehicle with the air conditioner turned off until
the pointer drops back into the normal range. If the
pointer remains on theredmark (260É), turn the engine
off immediately and call for service.
There are steps that you can take to slow down an
impending overheat condition. If your air conditioning is
on, turn it off. The air conditioning system adds heat to
the engine cooling system and turning off the A/C
removes this heat. You can also turn the Temperature
control to maximum heat, the Mode control to Floor and
the Fan control to High. This allows the heater core to act
as a supplement to the radiator and aids in removing heat
from the engine cooling system.
UNDERSTANDING YOUR INSTRUMENT PANEL 157
4
Page 216 of 373
NOTE:For maximum airflow to the rear seat passen-
gers, the center instrument panel outlets can be aimed, so
that the left center outlet is directed toward the right rear
passenger and the right center outlet is directed toward
the left rear passenger.
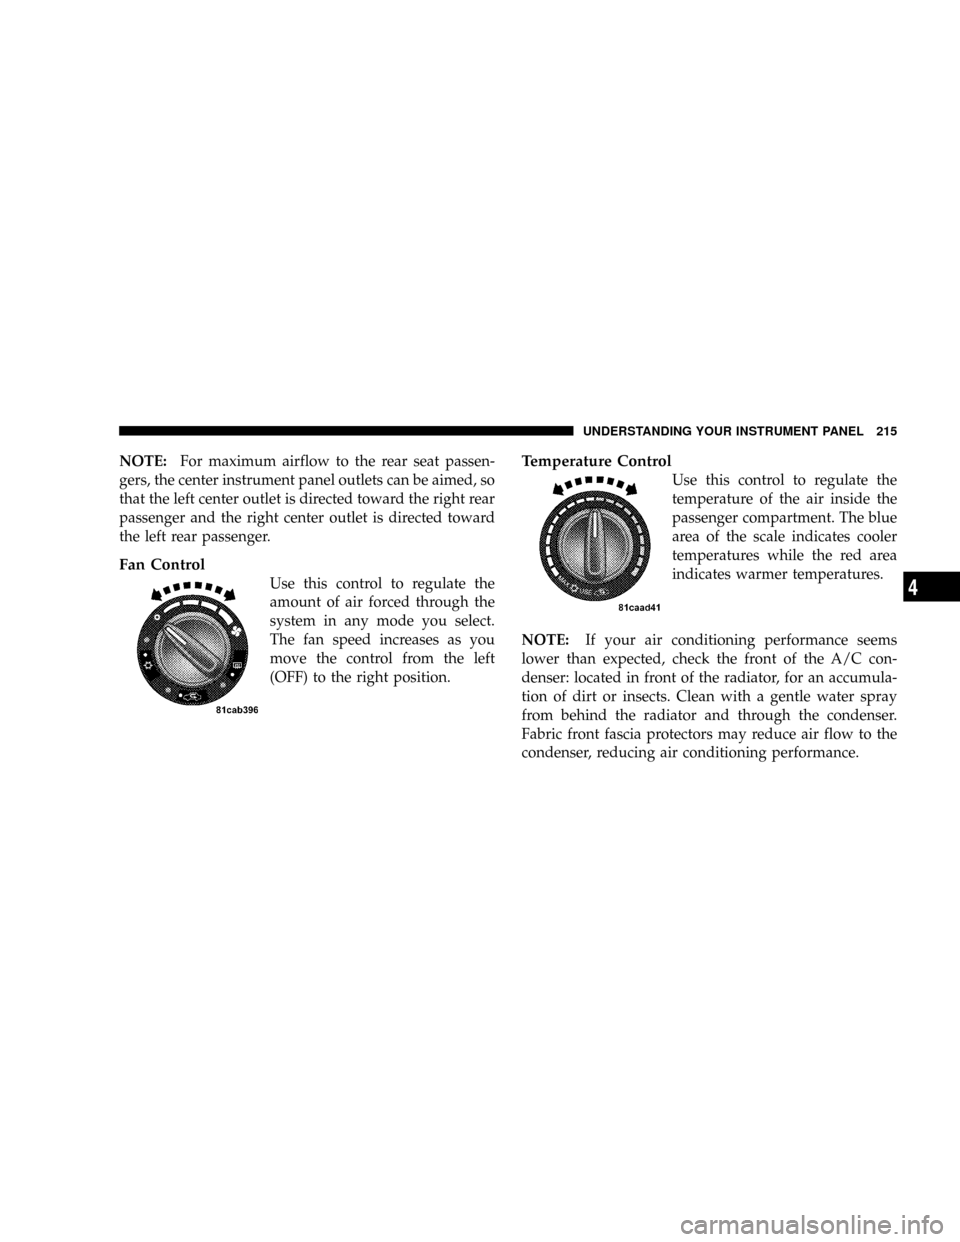
Fan Control
Use this control to regulate the
amount of air forced through the
system in any mode you select.
The fan speed increases as you
move the control from the left
(OFF) to the right position.
Temperature Control
Use this control to regulate the
temperature of the air inside the
passenger compartment. The blue
area of the scale indicates cooler
temperatures while the red area
indicates warmer temperatures.
NOTE:If your air conditioning performance seems
lower than expected, check the front of the A/C con-
denser: located in front of the radiator, for an accumula-
tion of dirt or insects. Clean with a gentle water spray
from behind the radiator and through the condenser.
Fabric front fascia protectors may reduce air flow to the
condenser, reducing air conditioning performance.
UNDERSTANDING YOUR INSTRUMENT PANEL 215
4
Page 276 of 373
the normal range. If the pointer remains on theredmark
(260É) for more than a minute, turn the engine off
immediately and call for service.
NOTE:There are steps that you can take to slow down
an impending overheat condition. If your air conditioner
is on, turn it off. The air conditioning system adds heat to
the engine cooling system and turning off the A/C
removes this heat. You can also turn the Temperature
control to maximum heat, the Mode control to floor, and
the fan control to High. This allows the heater core to act
as a supplement to the radiator and aids in removing heat
from the engine cooling system.CAUTION!
Driving with a hot cooling system could damage
your vehicle. If temperature gauge reads 260É, pull
over and stop the vehicle with the engine at idle,
when safe. Turn the air conditioner off and wait until
the pointer drops back into the normal range. After
appropriate action has been taken, if the pointer
remains on the red mark (260É), turn the engine off
immediately, and call for service.
WHAT TO DO IN EMERGENCIES 275
6
Page 285 of 373
2. Return to Step 1 of ª(D) After Injecting TIREFIT
Sealantº and attempt to inflate the tire. However, this
time, if the tire fails to inflate to 26 psi (1.8 bar) within 15
minutes, the tire is too badly damaged. Do not attempt to
drive the vehicle further. Call for assistance.
JUMP-STARTING PROCEDURES DUE TO A LOW
BATTERY
WARNING!
Take care to avoid the radiator cooling fan whenever
the hood is raised. It can start anytime the ignition
switch is on. You can be hurt by the fan.
WARNING!
Do not attempt to push or tow your vehicle to get it
started. Vehicles equipped with an automatic trans-
axle cannot be started this way and may be damaged.
Unburned fuel could enter the catalytic converter and
once the engine has started, ignite and damage the
converter and vehicle. If the vehicle has a discharged
battery, booster cables may be used to obtain a start
from another vehicle. This type of start can be
dangerous if done improperly, so follow this proce-
dure carefully.
284 WHAT TO DO IN EMERGENCIES
Page 292 of 373
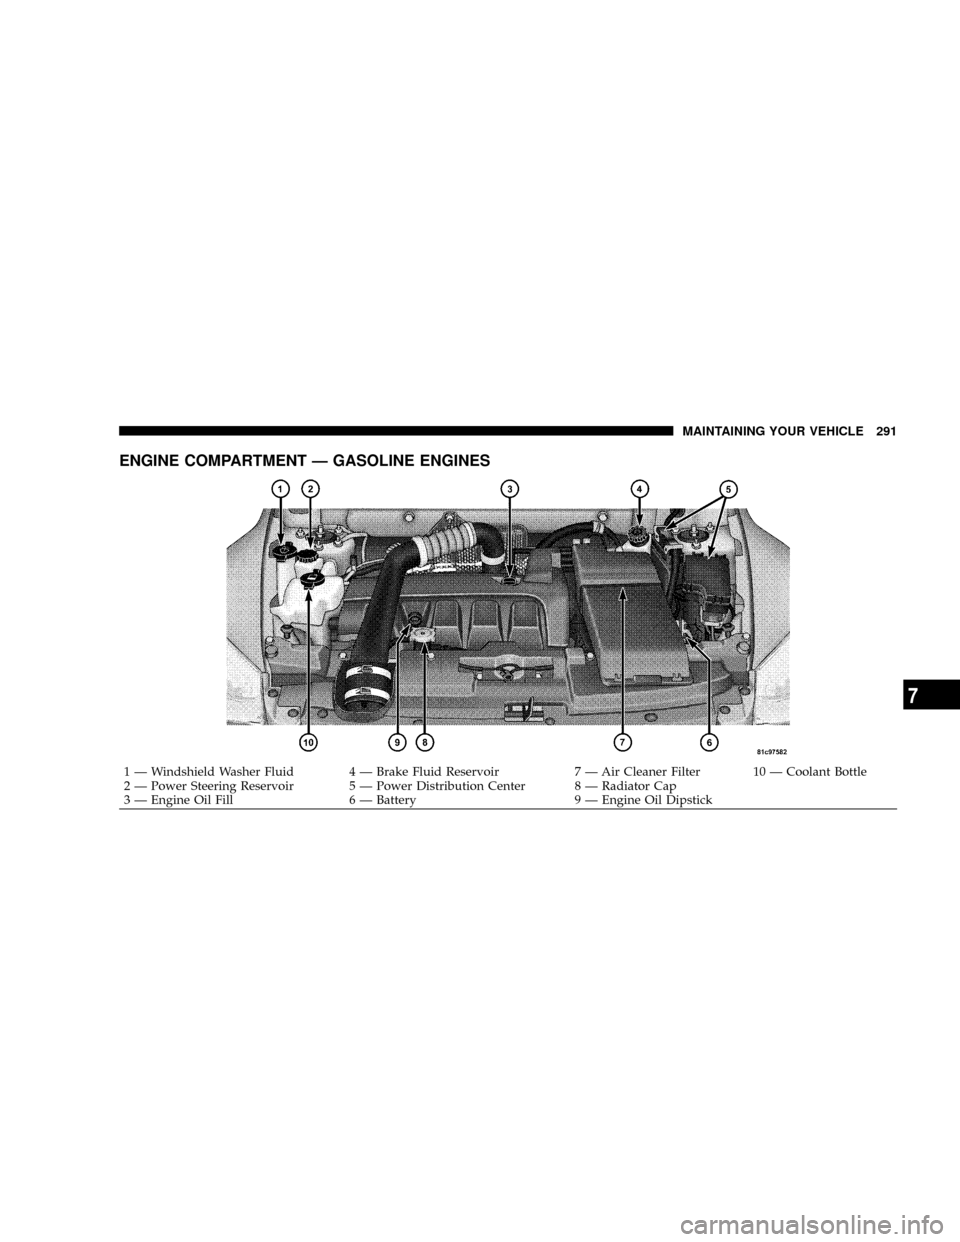
ENGINE COMPARTMENT Ð GASOLINE ENGINES
1 Ð Windshield Washer Fluid 4 Ð Brake Fluid Reservoir 7 Ð Air Cleaner Filter 10 Ð Coolant Bottle
2 Ð Power Steering Reservoir 5 Ð Power Distribution Center 8 Ð Radiator Cap
3 Ð Engine Oil Fill 6 Ð Battery 9 Ð Engine Oil DipstickMAINTAINING YOUR VEHICLE 291
7
Page 308 of 373
Windshield Wiper Blades
Clean the rubber edges of the wiper blades and the
windshield periodically with a sponge or soft cloth and a
mild nonabrasive cleaner or use the washer solvent. This
will remove accumulations of salt, waxes or road film
and help reduce streaking and smearing.
Operation of the wipers on dry glass for long periods
may cause deterioration of the wiper blades. Always use
washer fluid when using the wipers to remove salt or dirt
from a dry windshield. Avoid using the wiper blades to
remove frost or ice from the windshield. make sure that
they are not frozen to the glass before turning them on to
avoid damaging the blade. Keep the blade rubber out of
contact with petroleum products such as engine oil,
gasoline, etc.
Windshield Wiper Blade Replacement
1. Lift the wiper arm away from the glass.2. Push the release tab and slide the wiper blade assem-
bly down along the arm. Gently place the wiper arm on
the windshield.
3. Install the new blade assembly onto the wiper arm tip
until it locks in place.
Windshield Washer Reservoir
The fluid reservoir is located in the engine compartment,
be sure to check the fluid level at regular intervals. Fill
the reservoir with windshield washer solvent only (not
radiator antifreeze). When refilling the washer fluid
reservoir, take some washer fluid and apply it to a cloth
or towel and wipe clean the wiper blades, this will help
blade performance.
To prevent freeze-up of your windshield washer system
in cold weather, select a solution or mixture that meets or
exceeds the temperature range of your climate. This
rating information can be found on most washer fluid
containers.
MAINTAINING YOUR VEHICLE 307
7
Page 310 of 373
Cooling System
WARNING!
²When working near the radiator cooling fan, dis-
connect the fan motor lead or turn the ignition
switch to the OFF position. The fan is temperature
controlled and can start at any time the ignition
switch is in the ON position.
²You or others can be badly burned by hot coolant
or steam from your radiator. If you see or hear
steam coming from under the hood, don't open the
hood until the radiator has had time to cool. Never
try to open a cooling system pressure cap when the
radiator is hot.
Coolant Checks
Check engine coolant (antifreeze) protection every 12
months (before the onset of freezing weather, where
applicable). If coolant is dirty or rusty in appearance, the
system should be drained, flushed and refilled with fresh
coolant. Check the front of the A/C condenser for any
accumulation of bugs, leaves, etc. If dirty, clean by gently
spraying water from a garden hose vertically down the
face of the condenser.
Check the coolant recovery bottle tubing for brittle rub-
ber, cracking, tears, cuts and tightness of the connection
at the bottle and radiator. Inspect the entire system for
leaks.
Cooling System Ð Drain, Flush and Refill
At the intervals shown in the ªMaintenance Schedule,º
the system should be drained, flushed and refilled. Refer
to Section 8 of this manual.
MAINTAINING YOUR VEHICLE 309
7
Page 311 of 373
If the solution is dirty or contains a considerable amount
of sediment, clean and flush with a reliable cooling
system cleaner. Follow with a thorough rinsing to remove
all deposits and chemicals. Properly dispose of old
antifreeze solution.
Selection Of Coolant
Use only the manufacturers recommended coolant, refer
to ª Fluids, Lubricants and Genuine Partsº for correct
coolant type.
CAUTION!
Mixing of coolants other than specified Hybrid Or-
ganic Additive Technology (HOAT) engine coolants,
may result in engine damage and may decrease
corrosion protection. If a non-HOAT coolant is intro-
duced into the cooling system in an emergency, it
should be replaced with the specified coolant as soon
as possible.
Do not use plain water alone or alcohol base engine
coolant (antifreeze) products. Do not use additional
rust inhibitors or antirust products, as they may not
be compatible with the radiator engine coolant and
may plug the radiator.
This vehicle has not been designed for use with
Propylene Glycol based coolants. Use of Propylene
Glycol based coolants is not recommended.
310 MAINTAINING YOUR VEHICLE