check oil DODGE CARAVAN 2004 4.G Owners Manual
[x] Cancel search | Manufacturer: DODGE, Model Year: 2004, Model line: CARAVAN, Model: DODGE CARAVAN 2004 4.GPages: 397, PDF Size: 6.83 MB
Page 72 of 397

Airbag Light
The light should come on and remain on for 6 to 8
seconds as a bulb check when the ignition switch is first
turned ON. If the LED is not lit during starting, have it
checked. If the light stays on or comes on while driving,
have the system checked by an authorized dealer.
Defroster
Check operation by selecting the defrost mode and place
the blower control on high speed. You should be able to
feel the air directed against the windshield.
Periodic Safety Checks You Should Make Outside
The Vehicle
Tires
Examine tires for excessive tread wear or uneven wear
patterns. Check for stones, nails, glass, or other objects
lodged in the tread. Inspect tread and sidewall for cuts or
cracks. Check wheel nuts for tightness, and tires (includ-
ing spare) for proper pressure.
Lights
Have someone observe the operation of exterior lights
while you work the controls. Check turn signal and high
beam indicator lights on the instrument panel.
Fluid Leaks
Check area under vehicle after overnight parking for fuel,
engine coolant, oil or other fluid leaks. Also, if gasoline
fumes are detected or fuel, power steering fluid or brake
fluid leaks are suspected, the cause should be located and
corrected immediately.
72 THINGS TO KNOW BEFORE STARTING YOUR VEHICLE
Page 155 of 397
WARNING!
A hot engine cooling system is dangerous. You or
others could be badly burned by steam or boiling
coolant. You may want to call a service center if your
vehicle overheats. If you decide to look under the
hood yourself, see Section 7 of this manual. Follow
the warnings under the Cooling System Pressure
Cap paragraph.
15. Washer Fluid Light
This light turns on when the washer fluid level
falls below approximately 1/4 filled. The light will
remain on until fluid is added.
16. Transmission Range Indicator
This vacuum fluorescent display indicator shows the
automatic transaxle gear selection.17. Oil Pressure Warning Light
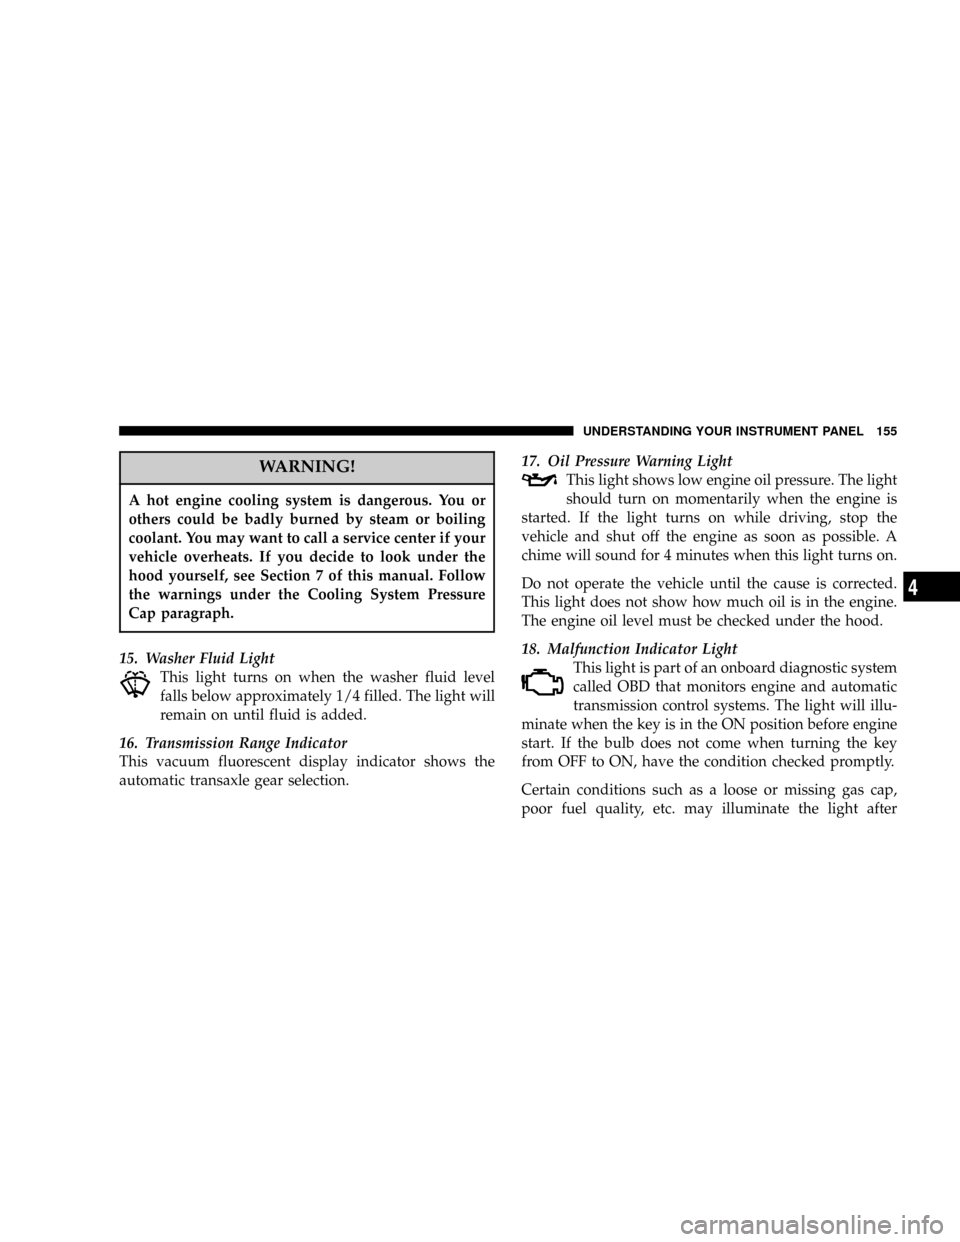
This light shows low engine oil pressure. The light
should turn on momentarily when the engine is
started. If the light turns on while driving, stop the
vehicle and shut off the engine as soon as possible. A
chime will sound for 4 minutes when this light turns on.
Do not operate the vehicle until the cause is corrected.
This light does not show how much oil is in the engine.
The engine oil level must be checked under the hood.
18. Malfunction Indicator Light
This light is part of an onboard diagnostic system
called OBD that monitors engine and automatic
transmission control systems. The light will illu-
minate when the key is in the ON position before engine
start. If the bulb does not come when turning the key
from OFF to ON, have the condition checked promptly.
Certain conditions such as a loose or missing gas cap,
poor fuel quality, etc. may illuminate the light after
UNDERSTANDING YOUR INSTRUMENT PANEL 155
4
Page 295 of 397
MAINTAINING YOUR VEHICLE
CONTENTS
m2.4L Engine...........................298
m3.3L/3.8L Engines......................299
mOnboard Diagnostic System Ð OBD II........300
mEmissions Inspection And Maintenance
Programs............................301
mReplacement Parts......................302
mDealer Service.........................302
mMaintenance Procedures..................303
NEngine Oil..........................303NEngine Oil Filter......................307
NDrive Belts Ð Check Condition And Tension . . 307
NSpark Plugs.........................308
NEngine Air Cleaner Filter................308
NEngine Fuel Filter.....................309
NCatalytic Converter....................309
NMaintenance-Free Battery................311
NAir Conditioner......................312
NPower Steering Ð Fluid Check............314
7
Page 303 of 397
NOTE:Intentional tampering with emissions control
systems can result in civil penalties being assessed
against you.
WARNING!
You can be badly injured working on or around a
motor vehicle. Do only that service work for which
you have the knowledge and the proper equipment.
If you have any doubt about your ability to perform
a service job, take your vehicle to a competent
mechanic.
MAINTENANCE PROCEDURES
The pages that follow contain therequiredmaintenance
services determined by the engineers who designed your
vehicle.
Besides the maintenance items for which there are fixed
maintenance intervals, there are other items that should
operate satisfactorily without periodic maintenance.
However, if a malfunction of these items does occur, it
could adversely affect the engine or vehicle performance.
These items should be inspected if a malfunction is
observed or suspected.
Engine Oil
Checking Oil Level
To assure proper engine lubrication, the engine oil must
be maintained at the correct level. Check the oil level at
regular intervals, such as every fuel stop.
MAINTAINING YOUR VEHICLE 303
7
Page 304 of 397
The best time to check the engine oil level is about 5
minutes after a fully warmed engine is shut off or before
starting the engine after it has sat overnight.
Checking the oil while the vehicle is on level ground will
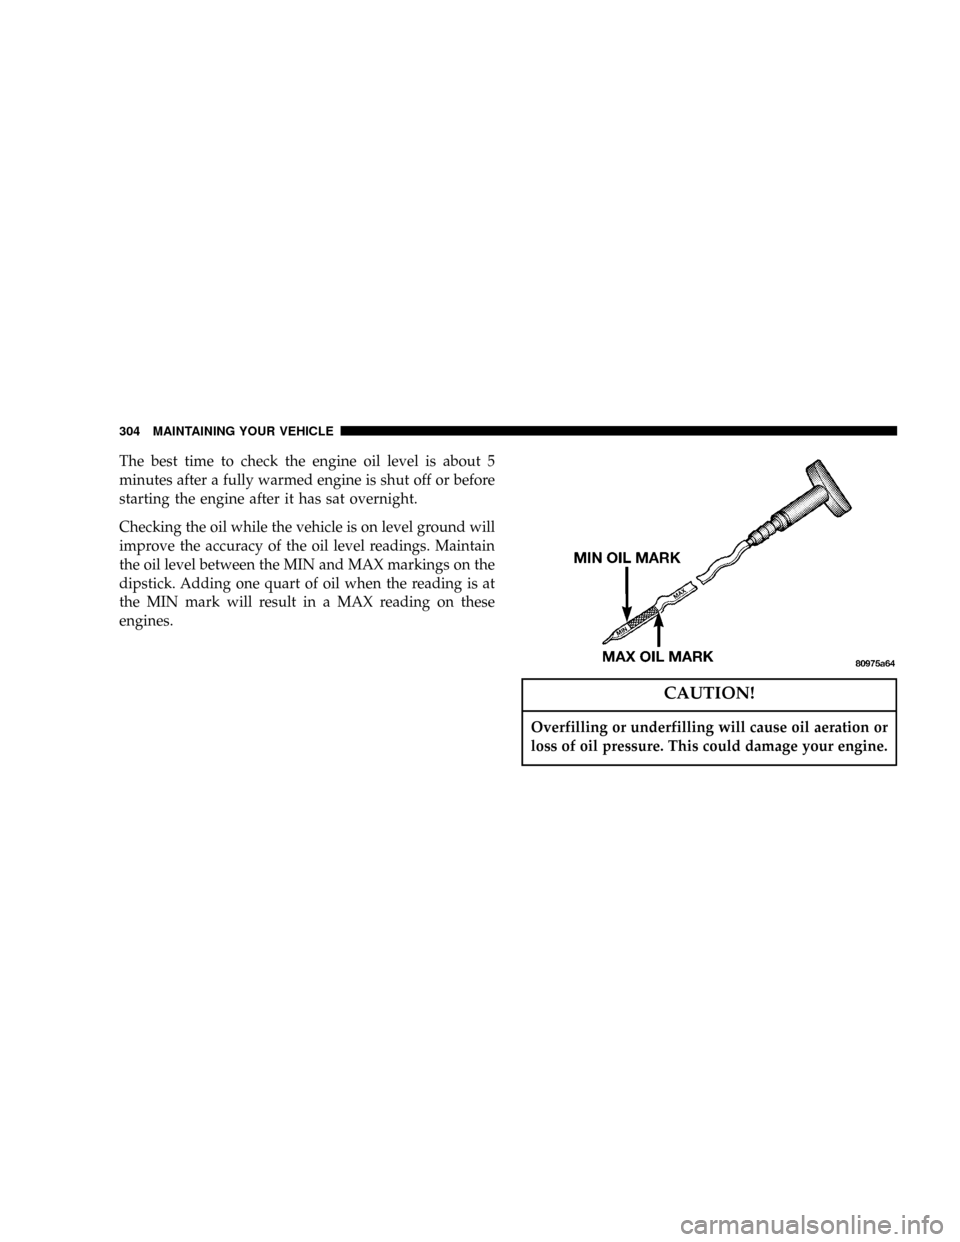
improve the accuracy of the oil level readings. Maintain
the oil level between the MIN and MAX markings on the
dipstick. Adding one quart of oil when the reading is at
the MIN mark will result in a MAX reading on these
engines.
CAUTION!
Overfilling or underfilling will cause oil aeration or
loss of oil pressure. This could damage your engine.
304 MAINTAINING YOUR VEHICLE
Page 305 of 397

Change Engine Oil
Road conditions and your kind of driving affects the
interval at which your oil should be changed. Check the
following list to see if any apply to you.
²Day or night temperatures are below 32ÉF (0ÉC).
²Stop and Go driving.
²Extensive engine idling.
²Driving in dusty conditions.
²Short trips of less than 10 miles (16 km).
²More than 50% of your driving is at sustained high
speeds during hot weather, above 90ÉF (32ÉC).
²Trailer towing.
²Taxi, Police or delivery service (commercial service).
²Off-Road or desert operation.IfANYof these apply to you, then change your engine oil
at every interval shown in schedule ªBº of the ªMainte-
nance Schedulesº section of this manual.
If none of these apply to you, then change your engine oil
at every interval shown on schedule ªAº of the ªMain-
tenance Schedulesº section of this manual
NOTE:Under no circumstances should oil change in-
tervals exceed 6000 miles (10 000 km) or 6 months
whichever comes first.
Engine Oil Selection
For best performance and maximum protection under all
types of operating conditions, the manufacture only
recommends engine oils that are API certified and meet
the requirements of DaimlerChrysler Material Standard
MS-6395. Use Mopar or an equivalent oil meeting the
specification MS-6395.
MAINTAINING YOUR VEHICLE 305
7
Page 307 of 397

Synthetic Engine Oils
There are a number of engine oils being promoted as
either synthetic or semi-synthetic. If you chose to use
such a product, useonlythose oils that meet the Ameri-
can Petroleum Institute (API) and SAE viscosity stan-
dard. Follow the service schedule that describes your
driving type.
Materials Added to Engine Oil
The manufacture strongly recommends against the addi-
tion of any additives (other than leak detection dyes) to
the engine oil. Engine oil is an engineered product and
it's performance may be impaired by supplemental ad-
ditives.
Disposing of Used Engine Oil And Oil Filters
Care should be taken in disposing of used engine oil and
oil filters from your vehicle. Used oil and oil filters,
indiscriminately discarded, can present a problem to the
environment. Contact your dealer, service station, orgovernmental agency for advice on how and where used
oil and oil filters can be safely discarded in your area.
Engine Oil Filter
The engine oil filter should be replaced at every engine
oil change.
Engine Oil Filter Selection
All the manufacturers engines have a full-flow type oil
filter. Use a filter of this type for replacement. The quality
of replacement filters varies considerably. Only high
quality filters should be used to assure most efficient
service. Mopar Engine Oil Filters are a high quality oil
filter and are recommended.
Drive Belts Ð Check Condition and Tension
At the mileage indicated in the maintenance schedule, all
belts should be checked for condition and proper tension.
Improper belt tension can cause belt slippage and failure.
MAINTAINING YOUR VEHICLE 307
7
Page 316 of 397

Windshield Wiper Blades
The rubber edges of the wiper blades and the windshield
should be cleaned periodically with a sponge or soft cloth
and a mild nonabrasive cleaner. This will remove accu-
mulations of salt or road film.
Operation of the wipers on dry glass for long periods
may cause deterioration of the wiper blades. Always use
washer fluid when using the wipers to remove salt or dirt
from a dry windshield.
Avoid using the wiper blades to remove frost or ice from
the windshield. Keep the blade rubber out of contact with
petroleum products such as engine oil, gasoline, etc.
Windshield and Rear Window Washers
The fluid reservoir for the windshield washers and the
rear window washer is shared. It is located in the engine
compartment and should be checked for fluid level at
regular intervals. Fill the reservoir with windshieldwasher solvent (not radiator antifreeze) and operate the
system for a few seconds to flush out the residual water.
The washer fluid reservoir will hold a full gallon of fluid
when the Low Washer Fluid Light illuminates.
316 MAINTAINING YOUR VEHICLE
Page 324 of 397
Insure nylon tubing in these areas has not melted or
collapsed.
Inspect all hose connections such as clamps and cou-
plings to make sure they are secure and no leaks are
present.
NOTE:Often, fluid such as oil, power steering fluid,
and brake fluid are used during assembly plant opera-
tions to facilitate the assembly of hoses to couplings.
Therefore, oil wetness at the hose-coupling area is not
necessarily an indication of leakage. Actual dripping of
hot fluid when systems are under pressure (during
vehicle operation), should be noted before hose is re-
placed based on leakage.
NOTE:Inspection of brake hoses should be performed
whenever the brake system is serviced and every engine
oil change. Inspect hydraulic brake hoses for surface
cracking, scuffing, or worn spots. If there is any evidence
of cracking, scuffing, or worn spots, the hose should bereplaced immediately! Eventual deterioration of the hose
can take place resulting in a possibility of a burst failure.
WARNING!
Worn brake hoses can burst and cause brake failure.
You could have an accident. If you see any signs of
cracking, scuffing, or worn spots, have the brake
hoses replaced immediately.
Master Cylinder Ð ABS Brakes Brake Fluid Level
Check
The fluid level in the master cylinder should be checked
when performing underhood services, or immediately if
the brake system warning light indicates system failure.
Clean the top of the master cylinder area before removing
the cap. Add fluid to bring the level up to the top of the
ªFULLº mark on the side of the master cylinder reservoir.
324 MAINTAINING YOUR VEHICLE
Page 325 of 397
Overfilling of fluid is not recommended because it may
cause leaking in the system.
Add enough fluid to bring the level up to the require-
ments described on the brake fluid reservoir. With disc
brakes, fluid level can be expected to fall as the brake
pads wear. However, low fluid level may be caused by a
leak and a checkup may be needed.
Use only manufacturers recommended brake fluid, refer
to Recommended Fluids, Lubricants and Genuine Parts
for correct fluid type.
WARNING!
Use of brake fluid that may have a lower initial
boiling point or unidentified as to specification, may
result in sudden brake failure during hard pro-
longed braking. You could have an accident.
WARNING!
Overfilling the brake fluid reservoir can result in
spilling brake fluid on hot engine parts and the
brake fluid catching fire.
Use only brake fluid that has been in a tightly closed
container to avoid contamination from foreign matter or
moisture.
CAUTION!
Do not allow petroleum base fluid to contaminate
the brake fluid, all brake seal components could be
damaged causing partial or complete brake failure.
MAINTAINING YOUR VEHICLE 325
7