warning light DODGE CHALLENGER 2010 3.G Owner's Manual
[x] Cancel search | Manufacturer: DODGE, Model Year: 2010, Model line: CHALLENGER, Model: DODGE CHALLENGER 2010 3.GPages: 477, PDF Size: 4.79 MB
Page 170 of 477
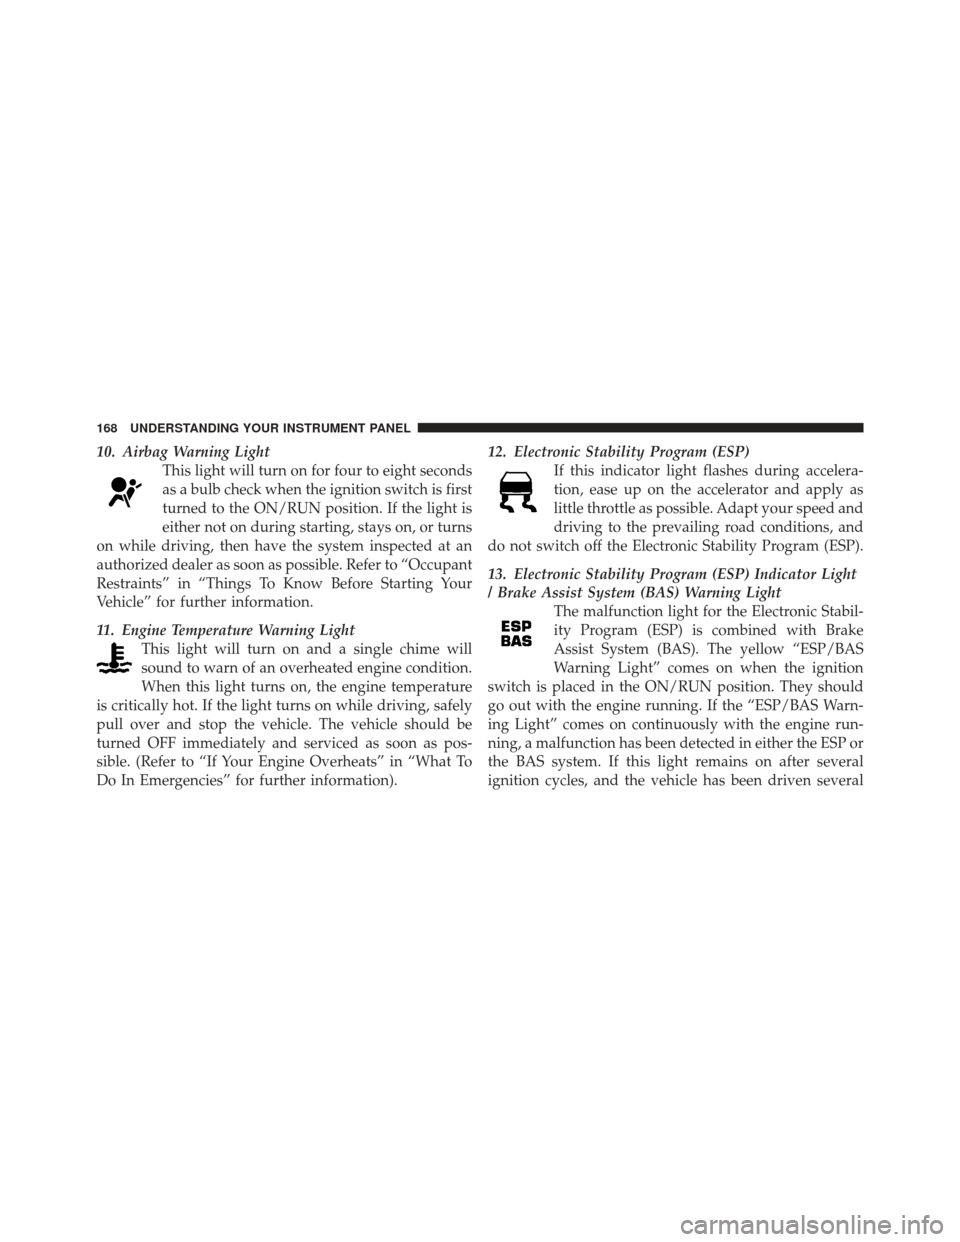
10. Airbag Warning LightThis light will turn on for four to eight seconds
as a bulb check when the ignition switch is first
turned to the ON/RUN position. If the light is
either not on during starting, stays on, or turns
on while driving, then have the system inspected at an
authorized dealer as soon as possible. Refer to “Occupant
Restraints” in “Things To Know Before Starting Your
Vehicle” for further information.
11. Engine Temperature Warning Light This light will turn on and a single chime will
sound to warn of an overheated engine condition.
When this light turns on, the engine temperature
is critically hot. If the light turns on while driving, safely
pull over and stop the vehicle. The vehicle should be
turned OFF immediately and serviced as soon as pos-
sible. (Refer to “If Your Engine Overheats” in “What To
Do In Emergencies” for further information). 12. Electronic Stability Program (ESP)
If this indicator light flashes during accelera-
tion, ease up on the accelerator and apply as
little throttle as possible. Adapt your speed and
driving to the prevailing road conditions, and
do not switch off the Electronic Stability Program (ESP).
13. Electronic Stability Program (ESP) Indicator Light
/ Brake Assist System (BAS) Warning Light The malfunction light for the Electronic Stabil-
ity Program (ESP) is combined with Brake
Assist System (BAS). The yellow “ESP/BAS
Warning Light” comes on when the ignition
switch is placed in the ON/RUN position. They should
go out with the engine running. If the “ESP/BAS Warn-
ing Light” comes on continuously with the engine run-
ning, a malfunction has been detected in either the ESP or
the BAS system. If this light remains on after several
ignition cycles, and the vehicle has been driven several
168 UNDERSTANDING YOUR INSTRUMENT PANEL
Page 171 of 477
miles (kilometers) at speeds greater than 30 mph
(48 km/h), see an authorized dealer as soon as possible.
WARNING!
If the warning light remains on, the system may not
be working and you will not have the benefit of ESP
or BAS. You should adjust your speed and stopping
distance to account for this lack of the feature or you
could be in an accident and be seriously injured. You
should take your vehicle to an authorized dealer.
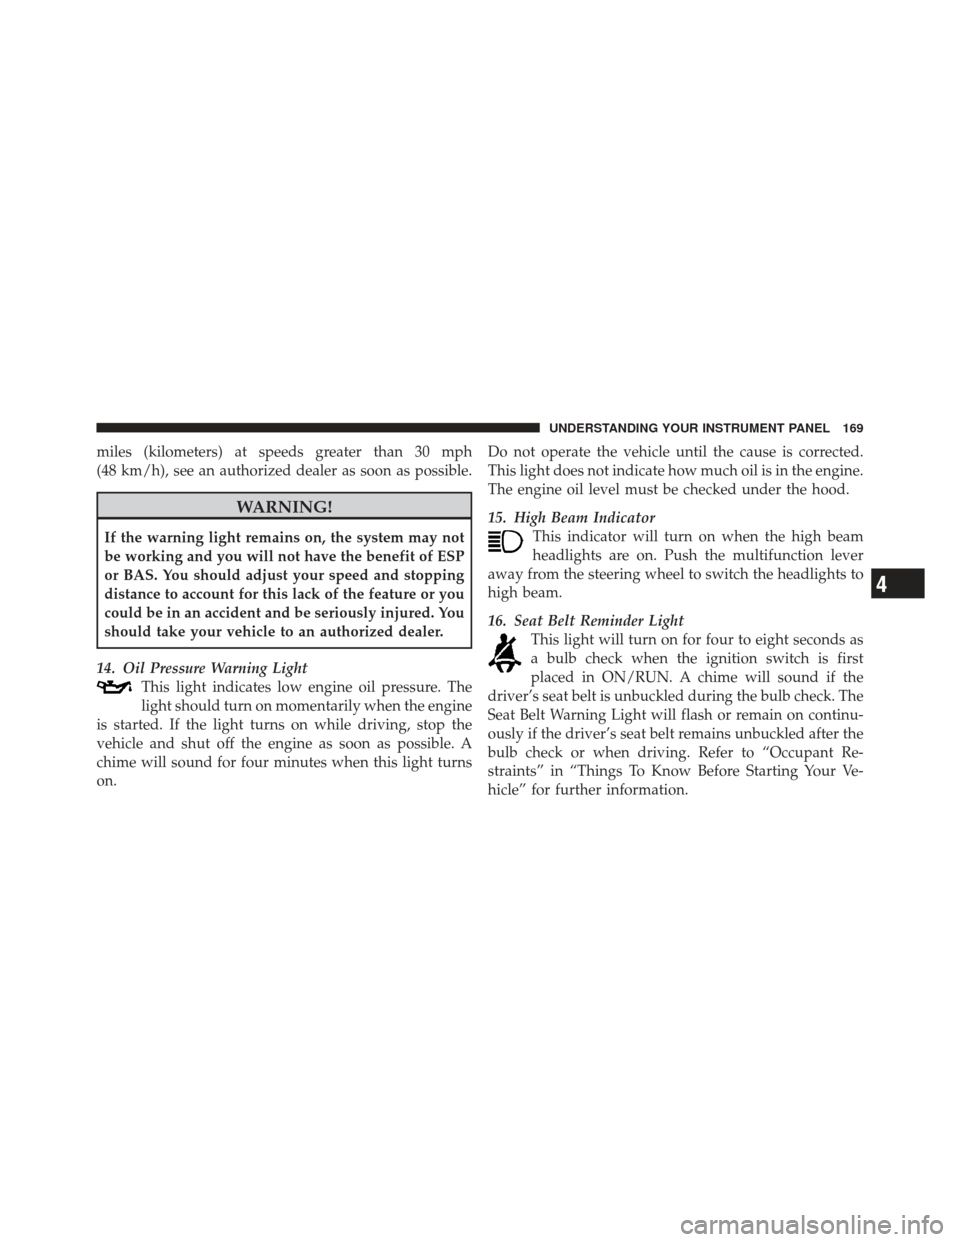
14. Oil Pressure Warning Light This light indicates low engine oil pressure. The
light should turn on momentarily when the engine
is started. If the light turns on while driving, stop the
vehicle and shut off the engine as soon as possible. A
chime will sound for four minutes when this light turns
on. Do not operate the vehicle until the cause is corrected.
This light does not indicate how much oil is in the engine.
The engine oil level must be checked under the hood.
15. High Beam Indicator
This indicator will turn on when the high beam
headlights are on. Push the multifunction lever
away from the steering wheel to switch the headlights to
high beam.
16. Seat Belt Reminder Light This light will turn on for four to eight seconds as
a bulb check when the ignition switch is first
placed in ON/RUN. A chime will sound if the
driver’s seat belt is unbuckled during the bulb check. The
Seat Belt Warning Light will flash or remain on continu-
ously if the driver’s seat belt remains unbuckled after the
bulb check or when driving. Refer to “Occupant Re-
straints” in “Things To Know Before Starting Your Ve-
hicle” for further information.
4
UNDERSTANDING YOUR INSTRUMENT PANEL 169
Page 174 of 477
CHAngE OIL (Base Cluster)
Your vehicle is equipped with an engine oil change
indicator system. The “CHAngE OIL” message will flash
in the instrument cluster odometer for approximately
12 seconds after a single chime has sounded to indicate
the next scheduled oil change interval. The engine oil
change indicator system is duty cycle based, which
means the engine oil change interval may fluctuate
dependent upon your personal driving style.
Unless reset, this message will continue to display each
time you place the ignition switch in the ON/RUN
position. To turn off the message temporarily, press and
release the TRIP ODOMETER button on the instrument
cluster. To reset the oil change indicator system (after
performing the scheduled maintenance) perform the
following procedure:
1. Place the ignition switch in the ON/RUN position (do
not start the engine).2. Fully depress the accelerator pedal, slowly, three times
within 10 seconds.
3. Turn the ignition switch to the OFF position.
NOTE:
If the indicator message illuminates when you
start the engine, the oil change indicator system did not
reset. If necessary, repeat these steps.
20. Brake Warning Light This light monitors various brake functions,
including brake fluid level and parking brake
application. If the brake light turns on, it may
indicate that the parking brake is applied, that
the brake fluid level is low, or that there is a problem with
the anti-lock brake system reservoir.
If the light remains on when the parking brake has been
disengaged, and the fluid level is at the full mark on the
master cylinder reservoir, it indicates a possible brake
172 UNDERSTANDING YOUR INSTRUMENT PANEL
Page 175 of 477
hydraulic system malfunction. In this case, the light will
remain on until the condition has been corrected.
The dual brake system provides a reserve braking capac-
ity in the event of a failure to a portion of the hydraulic
system. A leak in either half of the dual brake system is
indicated by the Brake Warning Light which will turn on
when the brake fluid level in the master cylinder has
dropped below a specified level.
The light will remain on until the cause is corrected.
NOTE:The light may flash momentarily during sharp
cornering maneuvers which change fluid level condi-
tions. The vehicle should have service performed, and
the brake fluid level checked.
If brake failure is indicated, immediate repair is neces-
sary.WARNING!
Driving a vehicle with the brake light on is danger-
ous. Part of the brake system may have failed. It will
take longer to stop the vehicle. You could have a
collision. Have the vehicle checked immediately.
Vehicles equipped with the Anti-Lock Brake System
(ABS), are also equipped with Electronic Brake Force
Distribution (EBD). In the event of an EBD failure, the
Brake Warning Light will turn on along with the ABS
Light. Immediate repair to the ABS system is required.
Operation of the Brake Warning Light can be checked by
turning the ignition switch from the OFF position to the
ON/RUN position. The light should illuminate for ap-
proximately two seconds. The light should then turn off
unless the parking brake is applied or a brake fault is
detected. If the light does not illuminate, have the light
inspected by an authorized dealer.
4
UNDERSTANDING YOUR INSTRUMENT PANEL 173
Page 178 of 477
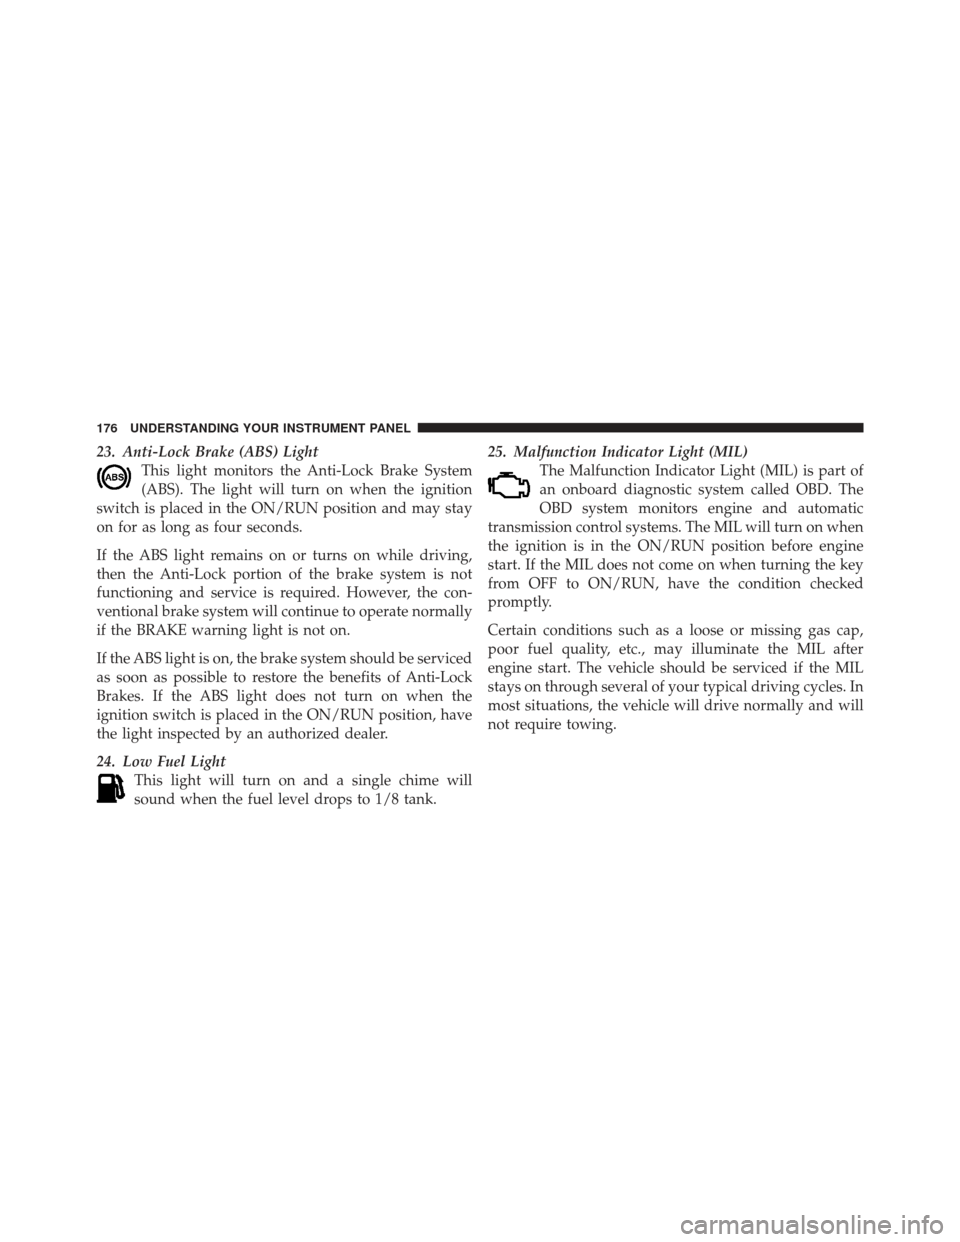
23. Anti-Lock Brake (ABS) LightThis light monitors the Anti-Lock Brake System
(ABS). The light will turn on when the ignition
switch is placed in the ON/RUN position and may stay
on for as long as four seconds.
If the ABS light remains on or turns on while driving,
then the Anti-Lock portion of the brake system is not
functioning and service is required. However, the con-
ventional brake system will continue to operate normally
if the BRAKE warning light is not on.
If the ABS light is on, the brake system should be serviced
as soon as possible to restore the benefits of Anti-Lock
Brakes. If the ABS light does not turn on when the
ignition switch is placed in the ON/RUN position, have
the light inspected by an authorized dealer.
24. Low Fuel Light This light will turn on and a single chime will
sound when the fuel level drops to 1/8 tank. 25. Malfunction Indicator Light (MIL)
The Malfunction Indicator Light (MIL) is part of
an onboard diagnostic system called OBD. The
OBD system monitors engine and automatic
transmission control systems. The MIL will turn on when
the ignition is in the ON/RUN position before engine
start. If the MIL does not come on when turning the key
from OFF to ON/RUN, have the condition checked
promptly.
Certain conditions such as a loose or missing gas cap,
poor fuel quality, etc., may illuminate the MIL after
engine start. The vehicle should be serviced if the MIL
stays on through several of your typical driving cycles. In
most situations, the vehicle will drive normally and will
not require towing.
176 UNDERSTANDING YOUR INSTRUMENT PANEL
Page 179 of 477
CAUTION!
Prolonged driving with the MIL on could cause
damage to the engine control system. It also could
affect fuel economy and drivability. If the MIL is
flashing, severe catalytic converter damage and
power loss will soon occur. Immediate service is
required.
WARNING!
A malfunctioning catalytic converter, as referenced
above, can reach higher temperatures than in normal
operating conditions. This can cause a fire if you
drive slowly or park over flammable substances such
as dry plants or wood or cardboard, etc. This could
result in death or serious injury to the driver, occu-
pants or others.26. Door Ajar Indicator
This light will turn on to indicate that one or more
door may be ajar.
27. Decklid Ajar Indicator This light will turn on to indicate that the
decklid may be ajar.
28. Windshield Washer Fluid Low Indicator This light will turn on to indicate the windshield
washer fluid is low.
4
UNDERSTANDING YOUR INSTRUMENT PANEL 177
Page 182 of 477
Electronic Vehicle Information Center (EVIC)
Displays
When the appropriate conditions exist, the EVIC displays
the following messages.
•Turn Signal On (with a continuous warning chime if
the vehicle is driven more than 1 mile [1.6 km] with
either turn signal on)
•Left Front Turn Signal Light Out (with a single chime)
•Left Rear Turn Signal Light Out (with a single chime)
•Right Front Turn Signal Light Out (with a single
chime)
•Right Rear Turn Signal Light Out (with a single chime)
•Personal Settings Not Available – Vehicle Not in PARK
•Left/Right Door Ajar
•Door(s) Ajar (with a single chime if vehicle is in
motion)
•Trunk Ajar (with a single chime)
•Oil Change Required
•Low Washer Fluid (with a single chime)
•Channel # Transmit
•Channel # Training
•Channel # Trained
•Clearing Channels
•Channels Cleared
•Did Not Train
•Left Front Low Pressure (with a single chime)
•Left Rear Low Pressure (with a single chime)
180 UNDERSTANDING YOUR INSTRUMENT PANEL
Page 273 of 477
WARNING!
•Driving through standing water limits your vehi-
cle’s traction capabilities. Do not exceed 5 mph
(8 km/h) when driving through standing water.
•Driving through standing water limits your vehi-
cle’s braking capabilities, which increases stop-
ping distances. Therefore, after driving through
standing water, drive slowly and lightly press on
the brake pedal several times to dry the brakes.
•Getting water inside your vehicle’s engine can
cause it to lock up and stall out, and leave you
stranded.
•Failure to follow these warnings may result in
injuries that are serious or fatal to you, your
passengers, and others around you.
POWER STEERING
The standard power steering system will give you good
vehicle response and increased ease of maneuverability
in tight spaces. The system will provide mechanical
steering capability if power assist is lost.
If for some reason the power assist is interrupted, it will
still be possible to steer your vehicle. Under these condi-
tions, you will observe a substantial increase in steering
effort, especially at very low vehicle speeds and during
parking maneuvers.
NOTE:
•Increased noise levels at the end of the steering wheel
travel are considered normal and do not indicate that
there is a problem with the power steering system.
•Upon initial start-up in cold weather, the power steer-
ing pump may make noise for a short amount of time.
This is due to the cold, thick fluid in the steering
5
STARTING AND OPERATING 271
Page 275 of 477
If necessary, add fluid to restore to the proper indicated
level. With a clean cloth, wipe any spilled fluid from all
surfaces. Refer to “Fluids, Lubricants, and Genuine
Parts” in “Maintaining Your Vehicle” for further
information.
PARKING BRAKE
Before leaving the vehicle, make sure that the parking
brake is fully applied and place the shift lever in the
PARK or REVERSE (manual transmission only) position.
When the parking brake is applied and the ignition
switch is in the ON position (RUN position with Keyless
Go™), the “Brake Warning Light” in the instrument
cluster will illuminate.
NOTE:
•When the parking brake is applied and the transmis-
sion is placed in gear, the “Brake Warning Light” willflash. If vehicle speed is detected, a chime will sound
to alert the driver. Fully release the parking brake
before attempting to move the vehicle.
•This light only shows that the parking brake is ap-
plied. It does not show the degree of brake application.
When parking on a hill, it is important to turn the front
wheels toward the curb on a downhill grade and away
from the curb on an uphill grade. For vehicles equipped
with an automatic transmission, apply the parking brake
before placing the shift lever in PARK, otherwise the load
on the transmission locking mechanism may make it
difficult to move the shift lever out of PARK. The parking
brake should always be applied whenever the driver is
not in the vehicle.
5
STARTING AND OPERATING 273
Page 277 of 477
WARNING!
•Never use the PARK position as a substitute for
the parking brake. Always apply the parking
brake fully when parked to guard against vehicle
movement and possible injury or damage.
•Never leave children alone in a vehicle. Leaving
unattended children in a vehicle is dangerous for a
number of reasons. A child or others could be
seriously or fatally injured.
•Do not leave the key fob in the ignition switch. A
child could operate power windows, other con-
trols, or move the vehicle.
•Be sure the parking brake is fully disengaged
before driving; failure to do so can lead to brake
failure and a collision.(Continued)
WARNING! (Continued)
•Always fully apply the parking brake when leav-
ing your vehicle, or it may roll and cause damage
or injury. Also be certain to leave the transmission
in PARK. Failure to do so may allow the vehicle to
roll and cause damage or injury.
CAUTION!
If the “Brake Warning Light” remains on with the
parking brake released, a brake system malfunction
is indicated. Have the brake system serviced by an
authorized dealer immediately.5
STARTING AND OPERATING 275