DODGE CHALLENGER 2010 3.G Owner's Manual
Manufacturer: DODGE, Model Year: 2010, Model line: CHALLENGER, Model: DODGE CHALLENGER 2010 3.GPages: 80, PDF Size: 14.2 MB
Page 11 of 80
Express Window Feature
• To remotely lower both front door windows at the same time, press and release theUNLOCK button and then immediately press and hold the UNLOCK button until the
windows lower to the level desired or until they lower completely.
Emergency Key
• Should the battery in the vehicle or the Key Fob transmitter go dead, there is anemergency key located in the Key Fob. To remove the emergency key, slide the button
at the top of the Key Fob sideways with your thumb and then pull the key out with your
other hand.
• The emergency key is also for locking the glove compartment.
KEYLESS GO™
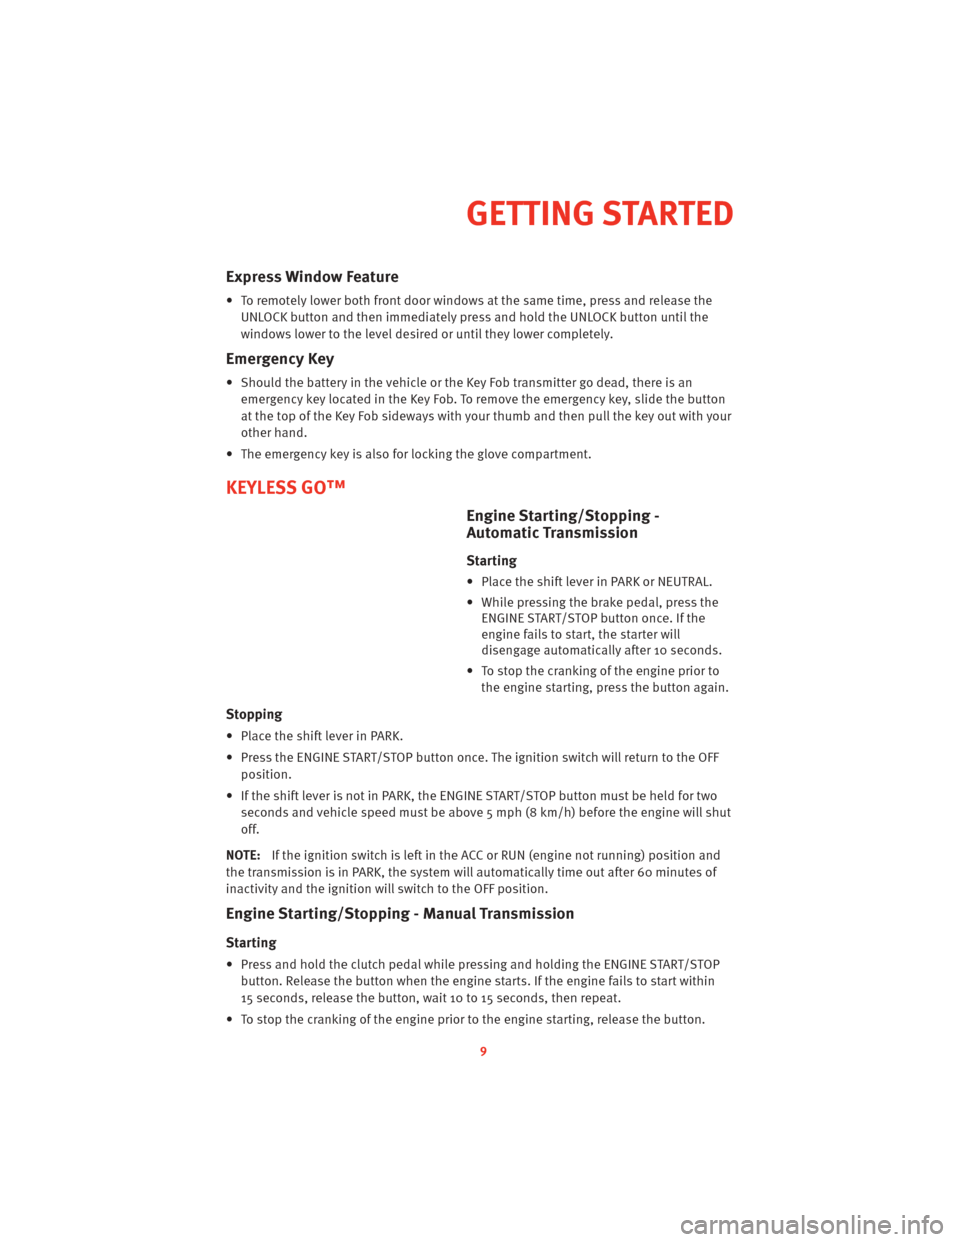
Engine Starting/Stopping -
Automatic Tr ansmission
Starting
• Place the shift lever in PARK or NEUTRAL.
• While pressing the brake pedal, press the
ENGINE START/STOP button once. If the
engine fails to start, the starter will
disengage automatically after 10 seconds.
• To stop the cranking of the engine prior to the engine starting, press the button again.
Stopping
• Place the shift lever in PARK.
• Press the ENGINE START/STOP button once. The ignition switch will return to the OFFposition.
• If the shift lever is not in PARK, the ENGINE START/STOP button must be held for two seconds and vehicle speed must be abov e 5 mph (8 km/h) before the engine will shut
off.
NOTE: If the ignition switch is left in the ACC or RUN (engine not running) position and
the transmission is in PARK, the system will automatically time out after 60 minutes of
inactivity and the ignition will switch to the OFF position.
Engine Starting/St opping - Manual Transmission
Starting
• Press and hold the clutch pedal while pressing and holding the ENGINE START/STOP
button. Release the butt on when the engine starts. If the engine fails to start within
15 seconds, release the button, w ait 10 to 15 seconds, then repeat.
• To stop the cranking of the engine prior to the engine starting, release the button.
9
GETTING STARTED
Page 12 of 80
Stopping
• With the vehicle stopped, place the shift lever in NEUTRAL.
• Press the ENGINE START/STOP button once. The ignition switch will return to the OFFposition.
• If the vehicle speed is above 5 mph (8 km/h), the ENGINE START/STOP button must be held for two seconds befor e the engine will shut off. The ignition switch position will
remain in the ACC position until the vehicle is stopped and the button is pressed twice
to the OFF position.
NOTE: If the ignition switch is left in the ACC position, the system will automatically
time out after 60 minutes of inactivity and the ignition will switch to the OFF position.
Keyless Go™ Functions
NOTE: The following functions are with the driver’s foot OFF the Brake Pedal/Clutch
Pedal (Transmission in PARK or NEUTRAL Position).
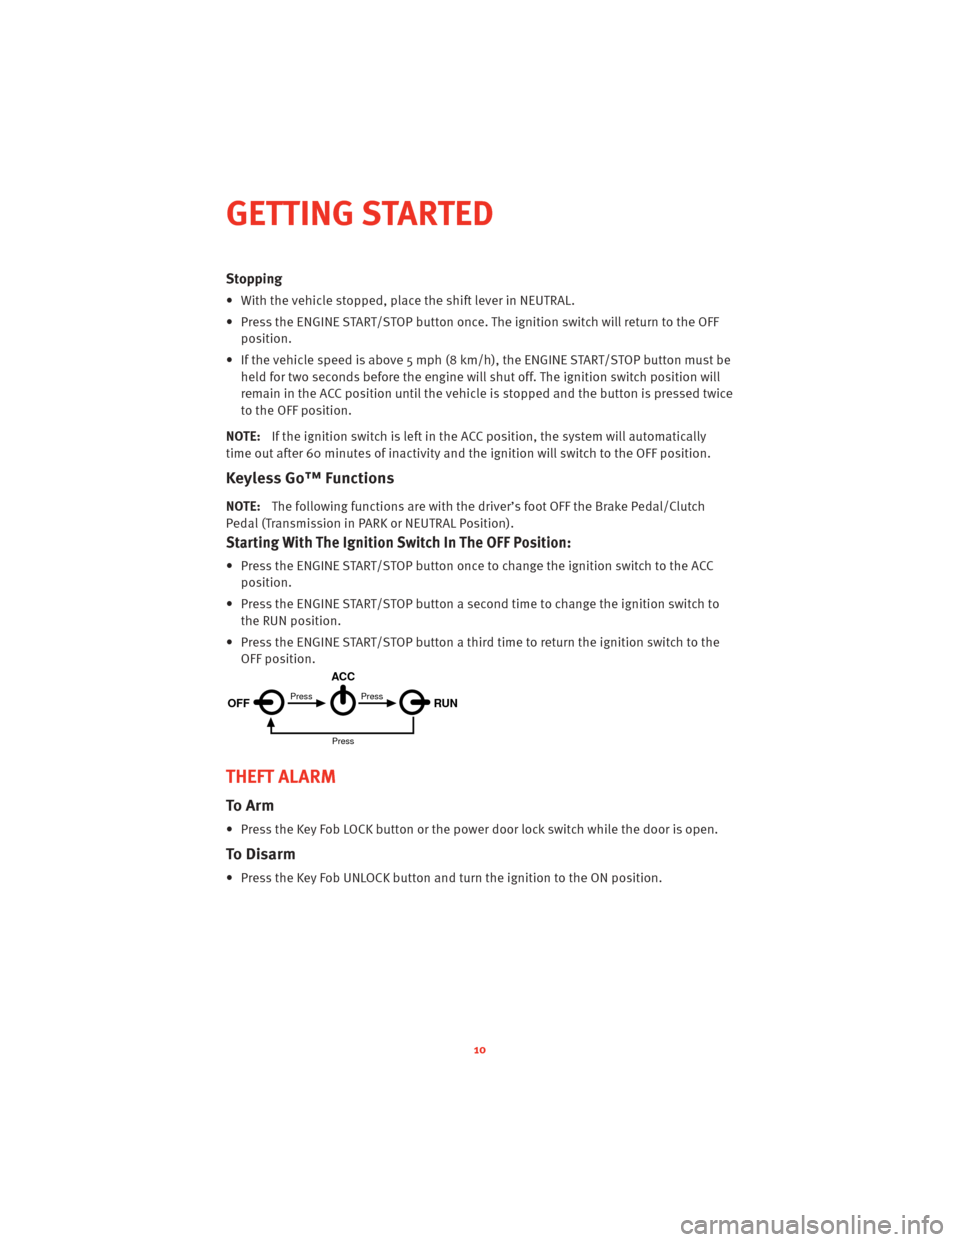
Starting With The Ignition Switch In The OFF Position:
• Press the ENGINE START/STOP button once to change the ignition switch to the ACC position.
• Press the ENGINE START/STOP button a second time to change the ignition switch to the RUN position.
• Press the ENGINE START/STOP button a third time to return the ignition switch to the OFF position.
THEFT ALARM
To Arm
• Press the Key Fob LOCK button or the power door lock switch while the door is open.
To Disarm
• Press the Key Fob UNLOCK button and turn the ignition to the ON position.
OFF RUN
ACCPress
Press
Press
GETTING STARTED
10
Page 13 of 80
SEAT BELT
• Be sure everyone in your vehicle is in a seat and using a seat belt properly.
WARNING!
In a collision, you and your passengerscan suffer much greater injuries if you are not
properly buckled up. You can strike the interior of your vehicle or other passengers, or
you can be thrown out of the vehicle. Always be sure you and others in your vehicle
are buckled up properly.
CHILD RESTRAINTS
• Children 12 years and under should ride properly buckled up in a rear seat, if
available. According to crash statistics, children are safer when properly restrained in
the rear seats rather than in the front.
• Every state in the United States and all Canadian provinces require that small children ride in proper restraint systems. This is the law, and you can be prosecuted for
ignoring it.
WARNING!
• In a collision, an unrestrained child, even a tiny baby, can become a projectileinside the vehicle. The force required to hold even an infant on your lap could
become so great that you could not hold the child, no matter how strong you are.
The child and others could be badly injured. Any child riding in your vehicle should
be in a proper restraint for the child's size.
• Rearward-facing child seats must NEVERbe used in the front seat of a vehicle with a
front passenger airbag. An airbag deployment could cause severe injury or death to
infants in this position.
Installing The LATCH-Compatible Child Restraint System
• Your vehicle's second row passenger seats are equipped with the child restraint
anchorage system called LATCH, which stands for Lower Anchors and Tether for
CHildren. LATCH child restraint anchorage systems are installed at all three rear
seating positions.
• Both rear outboard seating positions and the rear center seating position have lower anchors and top tether anchors.
• Child seats with flexible or fixed rigid attachments can be installed in all rear seating positions. Child seats can be installed using the LATCHsystem in either or both
outboard seating positions or the center po sition, but not all three at the same time. If
a child seat is installed in an outboard seating position using the lower anchors, then
the vehicle seatbelt must be used for the center position.
• Never install LATCH-compatible child seats such that two seats share a common lower
anchorage.
11
GETTING STARTED
Page 14 of 80
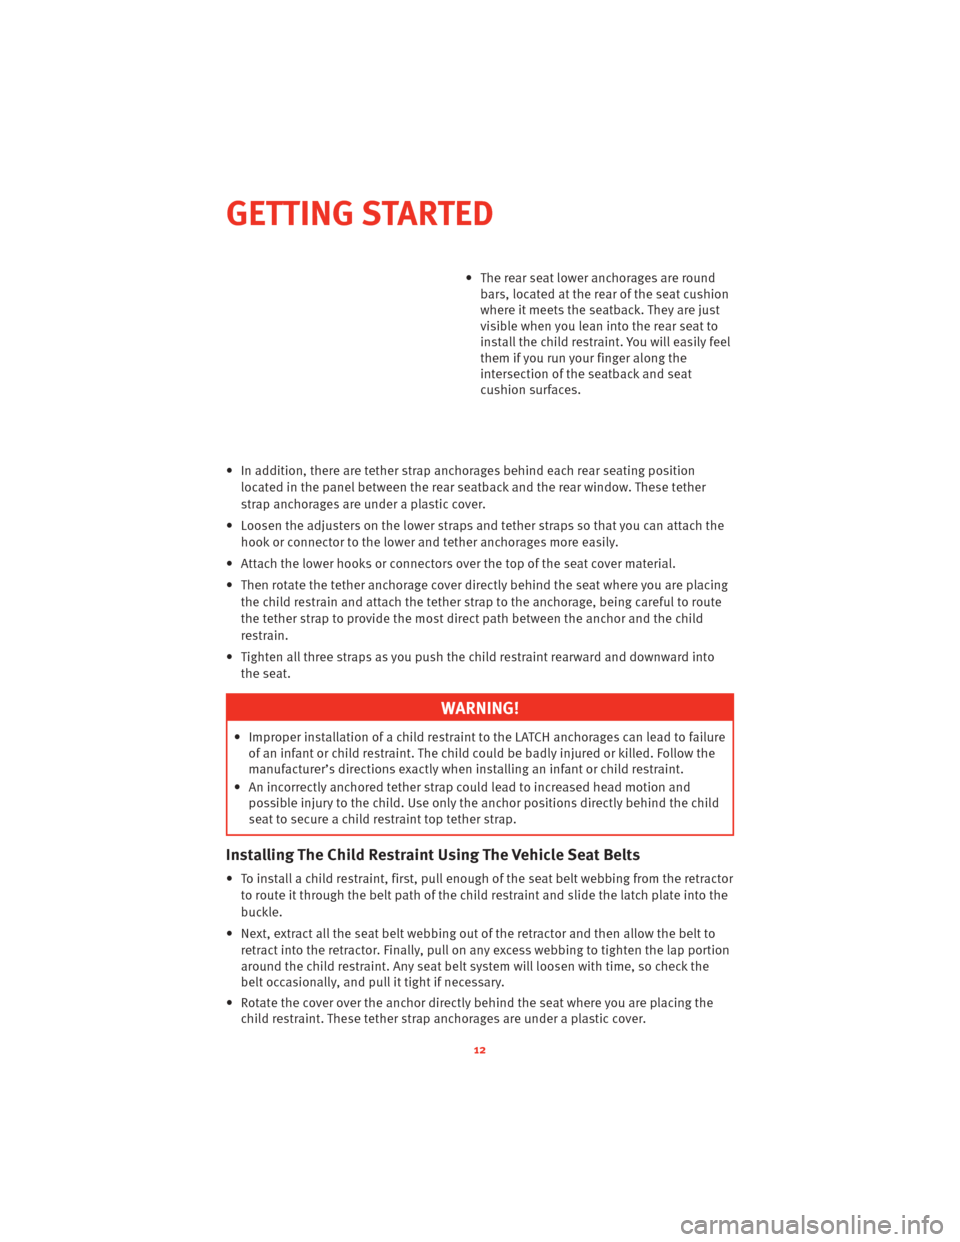
• The rear seat lower anchorages are roundbars, located at the rear of the seat cushion
where it meets the seatback. They are just
visible when you lean into the rear seat to
install the child restr aint. You willeasilyfeel
them if you run your finger along the
intersection of the seatback and seat
cushion surfaces.
• In addition, there are tether strap anchorages behind each rear seating position located in the panel between the rear seat back and the rear window. These tether
strap anchorages are under a plastic cover.
• Loosen the adjusters on the lower straps and tether straps so that you can attach the hook or connector to the lower and tether anchoragesmore easily.
• Attach the lower hooks or connectors over the top of the seat cover material.
• Then rotate the tether anchorage cover directly behind the seat where you are placing the child restrain and attach the tether strap to the anchorage, being careful to route
the tether strap to provide the most direct path between the anchor and the child
restrain.
• Tighten all three straps as you push the child restraint rearward and downward into the seat.
WARNING!
• Improper installation of a child restraint to the LATCH anchorages can lead to failureof an infant or child restraint. The child could be badly injured or killed. Follow the
manufacturer’s directions exactly when installing an infant or child restraint.
• An incorrectly anchored tether strap could lead to increased head motion and possible injury to the child. Use only the anchor positions directly behind the child
seat to secure a child restraint top tether strap.
Installing The Child Restraint Using The Vehicle Seat Belts
• To install a child restraint, first, pull enough of the seat belt webbing from the retractor
to route it through the belt path of the child restraint and slide the latch plate into the
buckle.
• Next, extract all the seat belt webbing out of the retractor and then allow the belt to retract into the retractor. Finally, pull on any excess webbing to tighten the lap portion
around the child restraint. Any seat belt system will loosen with time, so check the
belt occasionally, and pull it tight if necessary.
• Rotate the cover over the anchor directly behind the seat where you are placing the child restraint. These tether strap anchorages are under a plastic cover.
GETTING STARTED
12
Page 15 of 80
• Route the tether strap to provide the most direct path for the strap between the
anchor and the child seat.
• Attach the tether strap hook of the child restraint to the anchor and remove slack in the tether strap according to the child restraint manufacturer’s instructions.
FRONT SEATS
WARNING!
Adjusting a seat while the vehicle is movi ng is dangerous. The sudden movement of
the seat could cause you to lose control. The seat belt might not be properly adjusted,
and you could be injured. Only adjust a seat while the vehicle is parked.
Manual Seat Adjustment
Manual Front Seatback Recline
• Lean forward in the seat and lift the seatback release lever, then lean back to
the desired position and release the lever.
• Lift the lever to return the seatback to an upright position.
Lumbar Support
• Rotate the lumbar adjust lever forward to increase and rearward to decrease the
desired amount of lumbar support.
WARNING!
Do not ride with the seatback reclined so that the seat belt is no longer resting against
your chest. In a collision, you could slide under the seat belt and be seriously or even
fatally injured. Use the recliner only when the vehicle is parked.
13
GETTING STARTED
Page 16 of 80
Passenger Forward/Rearward
• Lift up on the adjusting bar located at thefront of the seat near the floor and release
at the desired position.
Passenger Easy Entry Seats
• For easy access to the rear seat, pull upwardon the easy entry lever, located on the
passenger seatback; the seatback will
dump forward and the seat will slide
forward. You can also temporarily remove
the seat belt from the guide loop on the
seat and allow the seat belt to retract out of
the way.
Power Seats
• The power seat switches are located on theoutboard side of the front seat cushions.
• The seat swit ch, controls forward/backward
and up/down.
• The recline switch controls the angle of the seatback. Press the switch forward or
rearward and the seatback will move in
either direction.
CAUTION!
DO NOT place any article under a power seat or impede its ability to move as it may
cause damage to the seat controls. Seat travel may become limited if movement is
stopped by an obstruction in the seat's path.
GETTING STARTED
14
Page 17 of 80
REAR SEAT
Folding Rear Seatback
• Pull on the loops, located near the outer topof the seatbacks, to fold down either or
both seatbacks. These loops can be tucked
away when not in use.
• When the seatback is raised to the upright position, make sure it is latched by strongly
pulling on the top of the seatback above the
seat loop.
WARNING!
• Be certain that the seatback is securely locked into position. If the seatback is notsecurely locked into position, the seat will not provide the proper stability for child
seats and/or passengers. An improperly latched seat could cause serious injury.
• The cargo area in the rear of the vehicle (with the rear seatbacks in the locked-up or folded-down position) should not be used as a play area by children when the
vehicle is in motion. They could be seriously injured in an accident. Children should
be seated and using the proper restraint system.
HEATED SEATS
Front Heated Seats
• The controls for fr ont heatedseats are
located on the center instrument panel
below the climate controls.
• Press the switch once to select High-level heating. Press the switch a second time to
select Low-level heating. Press the switch a
third time to shut the heating elements Off.
15
GETTING STARTED
Page 18 of 80
WARNING!
• Persons who are unable to feel pain to the skin because of advanced age, chronicillness, diabetes, spinal cord injury, medication, alcohol use, exhaustion or other
physical conditions must exercise care when using the seat heater. It may cause
burns even at low temperatures, especially if used for long periods of time.
• Do not place anything on the seat that insulates against heat, such as a blanket or cushion. This may cause the seat heater to overheat. Sitting in a seat that has been
overheated could cause serious burns due to the increased surface temperature of
the seat.
CAUTION!
Repeated overheating of the seat could damage the heating element and/or degrade
the material of the seat.
TILT / TELESCOPING STEERING COLUMN
• The tilt/telescoping control handle islocated below the steering wheel at the end
of the steering column.
• Pull the lever rearward to unlock the steering column.
• To tilt the steering column, move the steering wheel upward or downward as
desired. To lengthen or shorten the steering
column, pull the steering wheel outward or
push it inward as desired.
• Push forward on the lever to lock the column firmly in place.
WARNING!
Do not adjust the steering wheel while drivin g. The tilt/telescoping adjustment must
be locked while driving. Adjusting the steering wheel while driving or driving without
the tilt/telescoping adjustment locked could cause the driver to lose control of the
vehicle. Failure to follow this warning may result in serious injury or death.
GETTING STARTED
16
Page 19 of 80
PROGRAMMABLE FEATURES
Electronic Vehicle Information Center (EVIC) – If Equipped
• The EVIC can be used to program the following Personal Settings. Press and releasethe MENU button
until Personal Settings displays, then press the SCROLL
button
to scroll through the settings. Press the FUNCTION SELECT buttonto
change the setting.
• Language • Turn Headlamps On With Wipers
• Auto Door Locks •Hill Start Assist
• Auto UNLK On Exit • Key-Off Power Delay
• RKE Unlock • Turn-by-Turn Navigation
• Sound Horn With RKE Lock • Display ECO Message
• Flash Lamp Lock • Display Units of Measure In
• Turn Headlamps On With Remote Key
Unlock • Headlamp Off Delay
Key Fob Programmable Features
• The following features may also be programmed by using the Key Fob transmitter or
the ignition switch and driver's door lock switch.
NOTE: Pressing the LOCK button while you are inside the vehicle will activate the
Vehicle Security Alarm. Opening a door with the Vehicle Security Alarm activated will
cause the alarm to sound. Press the UNLOCK button to deactivate the Vehicle Security
Alarm.
Unlock On First Press
• To unlock either the driver's side, or all doors, on the first press of the UNLOCK button:
• Press and hold the LOCK button for at least 4 seconds, but no longer than10 seconds. Then, press and hold the UNLOCK button while still holding the LOCK
button.
• Release both buttons at the same time.
Auto Unlock Doors On Exit
• To have all of the vehicle doors unlock when any door is opened: • Enter your vehicle and close all the doors.
• Within 15 seconds, cycle the ignition switch between LOCK and ON and then back toLOCK four times, ending up in the LOCK position (do not start the engine).
• Within 30 seconds, press the power door UNLOCK switch to unlock the doors. A single chime will indicate that programming is complete.
17
GETTING STARTED
Page 20 of 80
Auto Door Lock
• To have the doors lock automaticallywhen the vehicle’s speed exceeds 15 mph
(24 km/h):
• The auto door lock feature can be enabled or disabled by your authorized dealer. See your authorized dealer for programming.
Sound Horn With Lock
• To turn the horn chirp on or off when the doors are locked:
• Press the LOCK button for at least 4 seconds, but no longer than 10 seconds. Then,press the PANIC button while still holding the LOCK button.
• Release both buttons at the same time.
Flashing Lights With Lock
• The turn signal lights flashing, when the doors are locked or unlocked, feature can be turned on or off. To turn this feature on or off:
• Press and hold the UNLOCK button for at least 4 seconds, but no longer than 10 seconds. Then, press and hold the LOCK button while still holding the UNLOCK
button.
• Release both buttons at the same time.
GETTING STARTED
18