ECO mode DODGE CHALLENGER 2010 3.G User Guide
[x] Cancel search | Manufacturer: DODGE, Model Year: 2010, Model line: CHALLENGER, Model: DODGE CHALLENGER 2010 3.GPages: 80, PDF Size: 14.2 MB
Page 24 of 80
MANUAL TRANSMISSION 1 TO 4 SKIP SHIFT
• Skip Shift is enabled when vehicle speed is between 19 MPH (30 km/h) and 21 MPH(34 km/h) and the accelerator pedal is at 1/4 throttle or less.
• For optimal fuel economy, under low acceleration conditions, your vehicle will only allow you to shift from first gear to fourth gear. Additionally, the skip shift message
will appear on the Electronic Vehicle Information Center.
• Refer to your Owner's Manual on the DVD for further information.
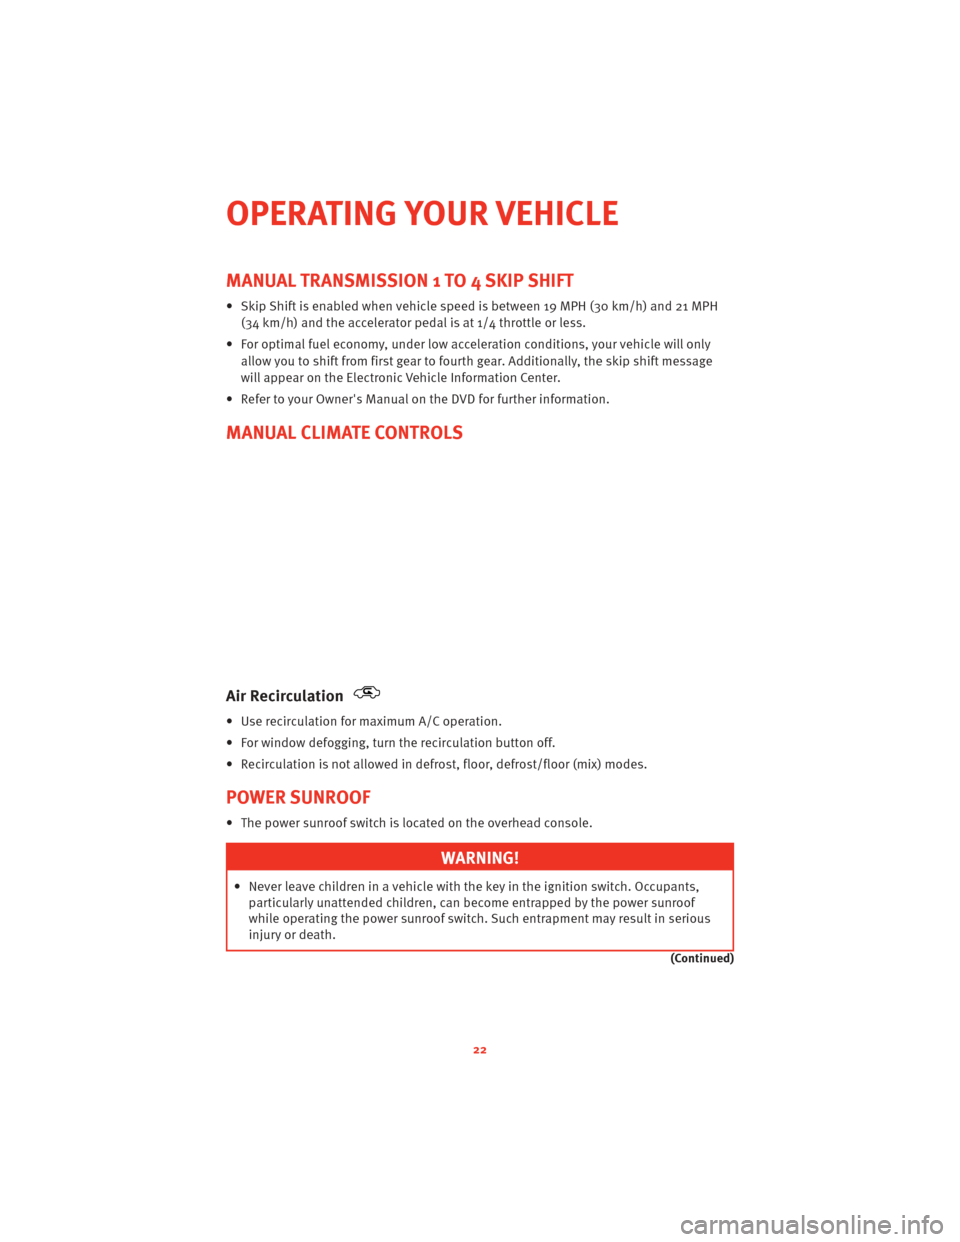
MANUAL CLIMATE CONTROLS
Air Recirculation
• Use recirculation for maximum A/C operation.
• For window defogging, turn the recirculation button off.
• Recirculation is not allowed in defrost, floor, defrost/floor (mix) modes.
POWER SUNROOF
• The power sunroof switch is located on the overhead console.
WARNING!
• Never leave children in a vehicle with the key in the ignition switch. Occupants, particularly unattended children, can become entrapped by the power sunroof
while operating the power sunroof switch. Such entrapment may result in serious
injury or death.
(Continued)
OPERATING YOUR VEHICLE
22
Page 27 of 80
NOTE:Uconnect™ Phone and Voice Command are vehicle options which must be
ordered separately. The butt ons on the radio will only be active if the vehicle has been
equipped with the option.
• The radio sales code is located on the lower right side of the radio faceplate.
• Unless otherwise noted, the information provided on the operation and functionality of the radios in this section is common to all non-touch-screen radios.
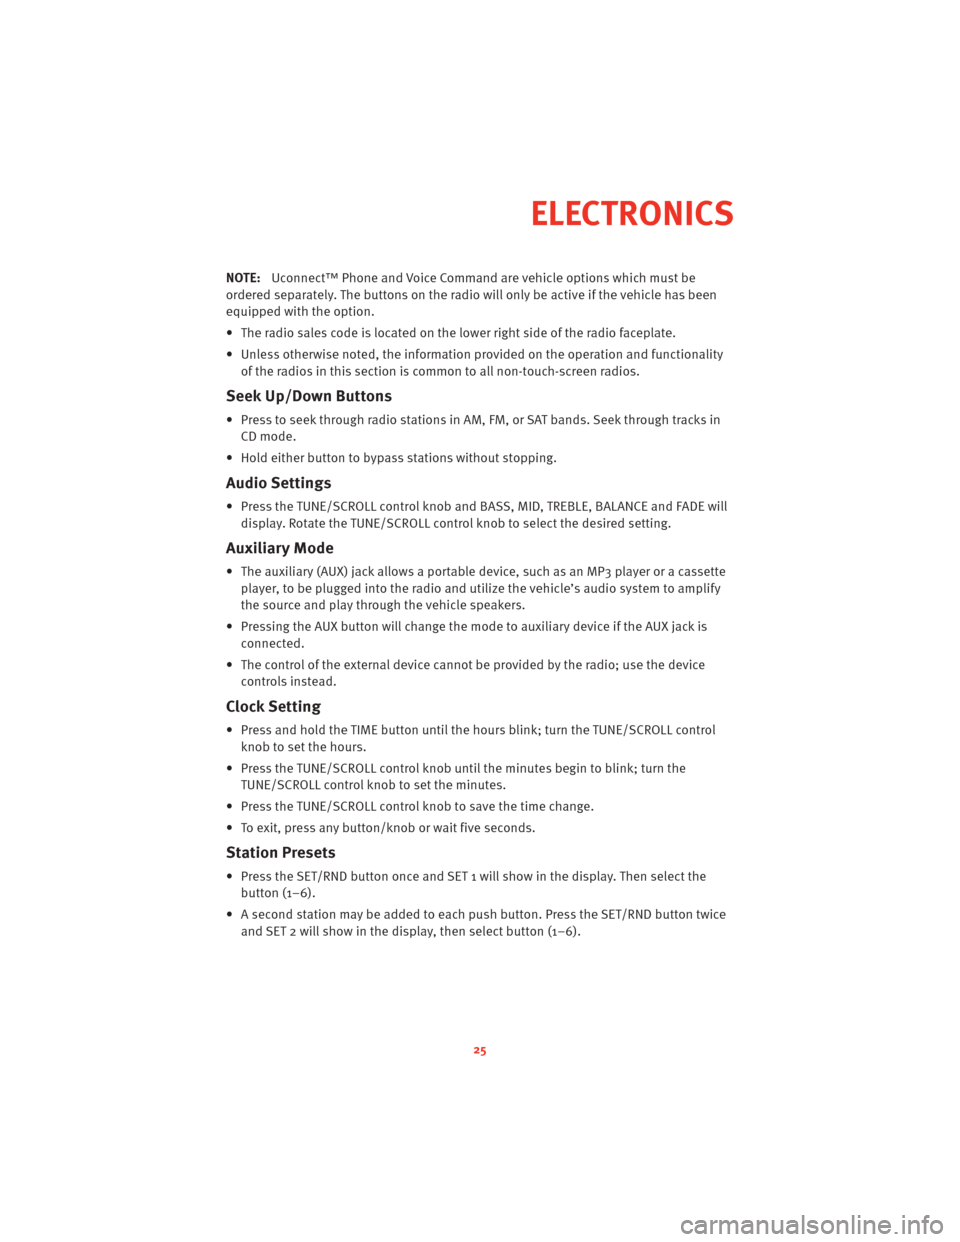
Seek Up/Down Buttons
• Press to seek through radio stations in AM, FM, or SAT bands. Seek through tracks inCD mode.
• Hold either button to bypass stations without stopping.
Audio Settings
• Press the TUNE/SCROLL control knob and BASS, MID, TREBLE, BALANCE and FADE will display. Rotate the TUNE/SCROLL control knob to select the desired setting.
Auxiliary Mode
• The auxiliary (AUX) jack allows a portable device, such as an MP3 player or a cassetteplayer, to be plugged into the radio and uti lize the vehicle’s audio system to amplify
the source and play through the vehicle speakers.
• Pressing the AUX button will change the mode to auxiliary device if the AUX jack is connected.
• The control of the external device cannot be provided by the radio; use the device controls instead.
Clock Setting
• Press and hold the TIME button until the hours blink; turn the TUNE/SCROLL controlknob to set the hours.
• Press the TUNE/SCROLL control knob until the minutes begin to blink; turn the TUNE/SCROLL control knob to set the minutes.
• Press the TUNE/SCROLL control knob to save the time change.
• To exit, press any button/knob or wait five seconds.
Station Presets
• Press the SET/RND button once and SET 1 will show in the display. Then select the button (1–6).
• A second station may be added to each push button. Press the SET/RND button twice and SET 2 will show in the display, then select button (1–6).
25
ELECTRONICS
Page 34 of 80
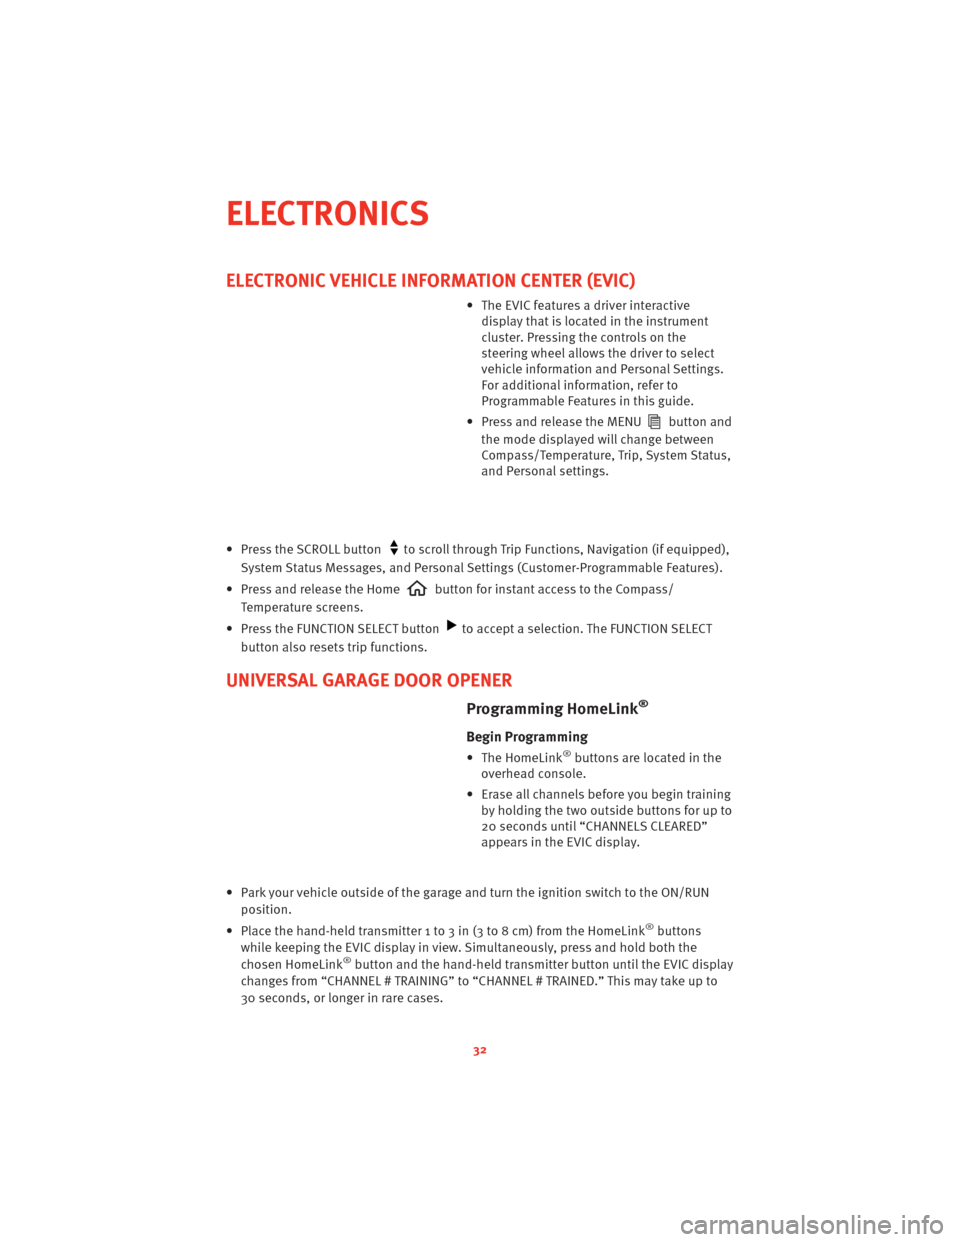
ELECTRONIC VEHICLE INFORMATION CENTER (EVIC)
• The EVIC features a driver interactivedisplay that is located in the instrument
cluster. Pressing the controls on the
steering wheel allows the driver to select
vehicle information and Personal Settings.
For additional information, refer to
Programmable Features in this guide.
• Press and release the MENU
button and
the mode displayed will change between
Compass/Temperature, Trip, System Status,
and Personal settings.
• Press the SCROLL button
to scroll through Trip Functions, Navigation (if equipped),
System Status Messages, and Personal Settings (Customer-Programmable Features).
• Press and release the Home
button for instant access to the Compass/
Temperature screens.
• Press the FUNCTION SELECT button
to accept a selection. The FUNCTION SELECT
button also resets trip functions.
UNIVERSAL GARAGE DOOR OPENER
Programming HomeLink®
Begin Programming
• The HomeLink®buttons are located in the
overhead console.
• Erase all channels before you begin training by holding the two outside buttons for up to
20 seconds until “CHANNELS CLEARED”
appears in the EVIC display.
• Park your vehicle outside of the garage and turn the ignition switch to the ON/RUN position.
• Place the hand-held transmitter 1 to 3 in (3 to 8 cm) from the HomeLink
®buttons
while keeping the EVIC display in view. Simultaneously, press and hold both the
chosen HomeLink
®button and the hand-held transmitter button until the EVIC display
changes from “CHANNEL # TRAINING” to “CHANNEL # TRAINED.” This may take up to
30 seconds, or longer in rare cases.
ELECTRONICS
32
Page 35 of 80
• Press and hold the just-trained HomeLink®button; if the channel has been trained,
the EVIC display will show “CHANNEL # TRANSMIT” and the device should operate.
WARNING!
• Your motorized door or gate will open and close while you are training the universal transceiver. Do not train the transceiver if people or pets are in the path of the door
or gate. Only use this transceiver with a garage door opener that has a “stop and
reverse” feature as required by Federal sa fety standards. This includes most garage
door opener models manufactured after 1982. Do not use a garage door opener
without these safety features. Call toll-free 1–800–355–3515 or, on the Internet, at
www.HomeLink.com for safety inf ormation orassistance.
• Vehicle exhaust contains Carbon Monoxide (CO), a dangerous gas. Do not run your vehicle in the garage while training the transceiver. Exhaust gas can cause serious
injury or death.
NOTE: If you are having difficulty training your HomeLink
®and your garage door was
manufactured after 1995, you may have a rolling code system. Follow the steps below for
programming a rolling code system.
Programming A Rolling Code System
• At the garage door opener motor (in the garage), locate the “learn” or “training” button. This can usually be found where the hanging antenna wire is attached to the
garage door opener motor (it is NOT the button normally used to open and close the
door).
• Firmly press and release the “learn” or “training” button. The name and color of the
button may vary by manufacturer. Within 30 seconds, return to the vehicle and press
the programmed HomeLink
®button twice (holding the button for two seconds each
time). If the device is plugged in and activates, programming is complete.
• If the device does not activate, press the button a third time (for two seconds) to
complete the training.
Using HomeLink®
• To operate, simply press and release the programmed HomeLink®button and the
trained device will operate.
• Refer to your Owner’s Manual on the DVD for further details. If you have any problems programming HomeLink
®, or require assistance, please cal l toll-free 1–800–355–
3515, or on the Internet, at www.HomeLink.com.
POWER OUTLET
• There are two 12 Volt electrical outlets on this vehicle.
• The outlet on the front console has power available only when the ignition is in the ON position. If desired, this outlet can be co nverted by your authorized dealer to provide
power with the ignition switch in the LOCK position.
33
ELECTRONICS
Page 45 of 80
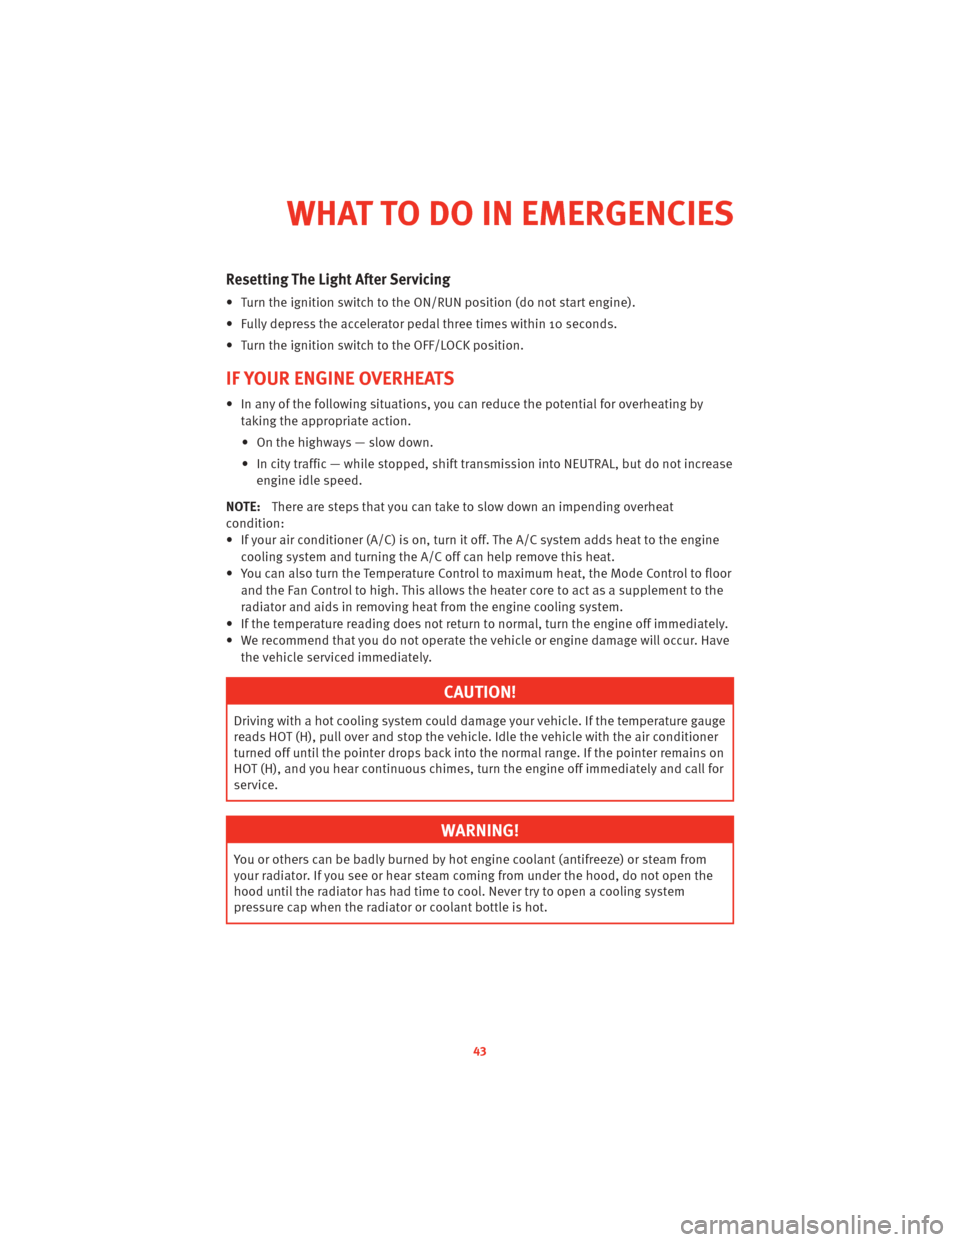
Resetting The Light After Servicing
• Turn the ignition switch to the ON/RUN position (do not start engine).
• Fully depress the accelerator pedal three times within 10 seconds.
• Turn the ignition switch to the OFF/LOCK position.
IF YOUR ENGINE OVERHEATS
• In any of the following situations, you can reduce the potential for overheating by
taking the appropriate action.
• On the highways — slow down.
• In city traffic — while stopped, shift tran smission intoNEUTRAL, but do not increase
engine idle speed.
NOTE: There are steps that you can take to slow down an impending overheat
condition:
• If your air conditioner (A/C) is on, turn it off. The A/C system adds heat to the engine cooling system and turning the A/C off can help remove this heat.
• You can also turn the Temperature Control to maximum heat, the Mode Control to floor and the Fan Control to high. This allows the heater core to act as a supplement to the
radiator and aids in removing heat from the engine cooling system.
• If the temperature reading does not re turn to normal, turn the engine off immediately.
• We recommend that you do not operate the vehicle or engine damage will occur. Have the vehicle serviced immediately.
CAUTION!
Driving with a hot cooling system could dama ge your vehicle. If the temperature gauge
reads HOT (H), pull over and stop the vehicle. Idle the vehicle with the air conditioner
turned off until the pointer drops back into the normal range. If the pointer remains on
HOT (H), and you hear continuous chimes, t urn the engine off immediately and call for
service.
WARNING!
You or others can be badly burned by hot engine coolant (antifreeze) or steam from
your radiator. If you see or hear steam coming from under the hood, do not open the
hood until the radiator has had time to co ol. Never try to open a cooling system
pressure cap when the radiator or coolant bottle is hot.
43
WHAT TO DO IN EMERGENCIES
Page 50 of 80
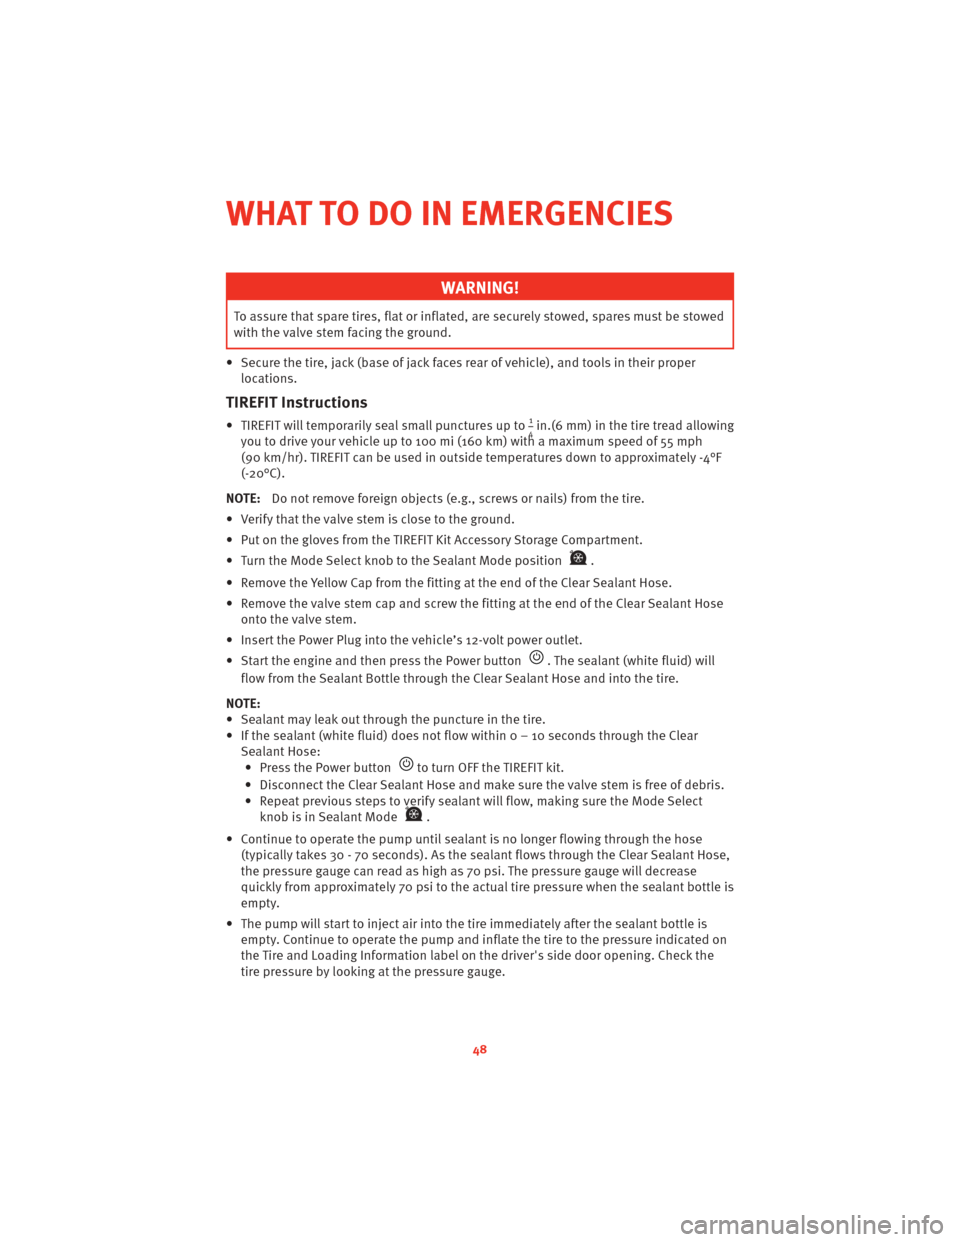
WARNING!
To assure that spare tires, flat or inflated, are securely stowed, spares must be stowed
with the valve stem facing the ground.
• Secure the tire, jack (base of jack fac es rear of vehicle), and tools in their proper
locations.
TIREFIT Instructions
• TIREFIT will temporarily seal small punctures up to14in.(6 mm) in the tire tread allowing
you to drive your vehicle up to 100 mi (160 km) with a maximum speed of 55 mph
(90 km/hr). TIREFIT can be used in outside temperatures down to approximately -4°F
(-20°C).
NOTE: Do not remove foreign objects (e.g., screws or nails) from the tire.
• Verify that the valve stem is close to the ground.
• Put on the gloves from the TIREFIT Kit Accessory Storage Compartment.
• Turn the Mode Select knob to the Sealant Mode position
.
• Remove the Yellow Cap from the fitting at the end of the Clear Sealant Hose.
• Remove the valve stem cap and screw the fitting at the end of the Clear Sealant Hose onto the valve stem.
• Insert the Power Plug into the vehicle’s 12-volt power outlet.
• Start the engine and then press the Power button
. The sealant (white fluid) will
flow from the Sealant Bottle through the Clear Sealant Hose and into the tire.
NOTE:
• Sealant may leak out through the puncture in the tire.
• If the sealant (white fluid) does not flow withi n0–10secondsthrough the Clear
Sealant Hose: • Press the Power button
to turn OFF the TIREFIT kit.
• Disconnect the Clear Sealant Hose and make sure the valve stem is free of debris.
• Repeat previous steps to verify sealant will flow, making sure the Mode Select knob is in Sealant Mode
.
• Continue to operate the pump until seal ant is no longer flowing through the hose
(typically takes 30 - 70 seconds). As the sealant flows through the Clear Sealant Hose,
the pressure gauge can read as high as 70 psi. The pressure gauge will decrease
quickly from approximately 70 psi to the actual tire pressure when the sealant bottle is
empty.
• The pump will start to inject air into the tire immediately after the sealant bottle is
empty. Continue to operate the pump and inflate the tire to the pressure indicated on
the Tire and Loading Information label on the driver's side door opening. Check the
tire pressure by looking at the pressure gauge.
WHAT TO DO IN EMERGENCIES
48
Page 51 of 80
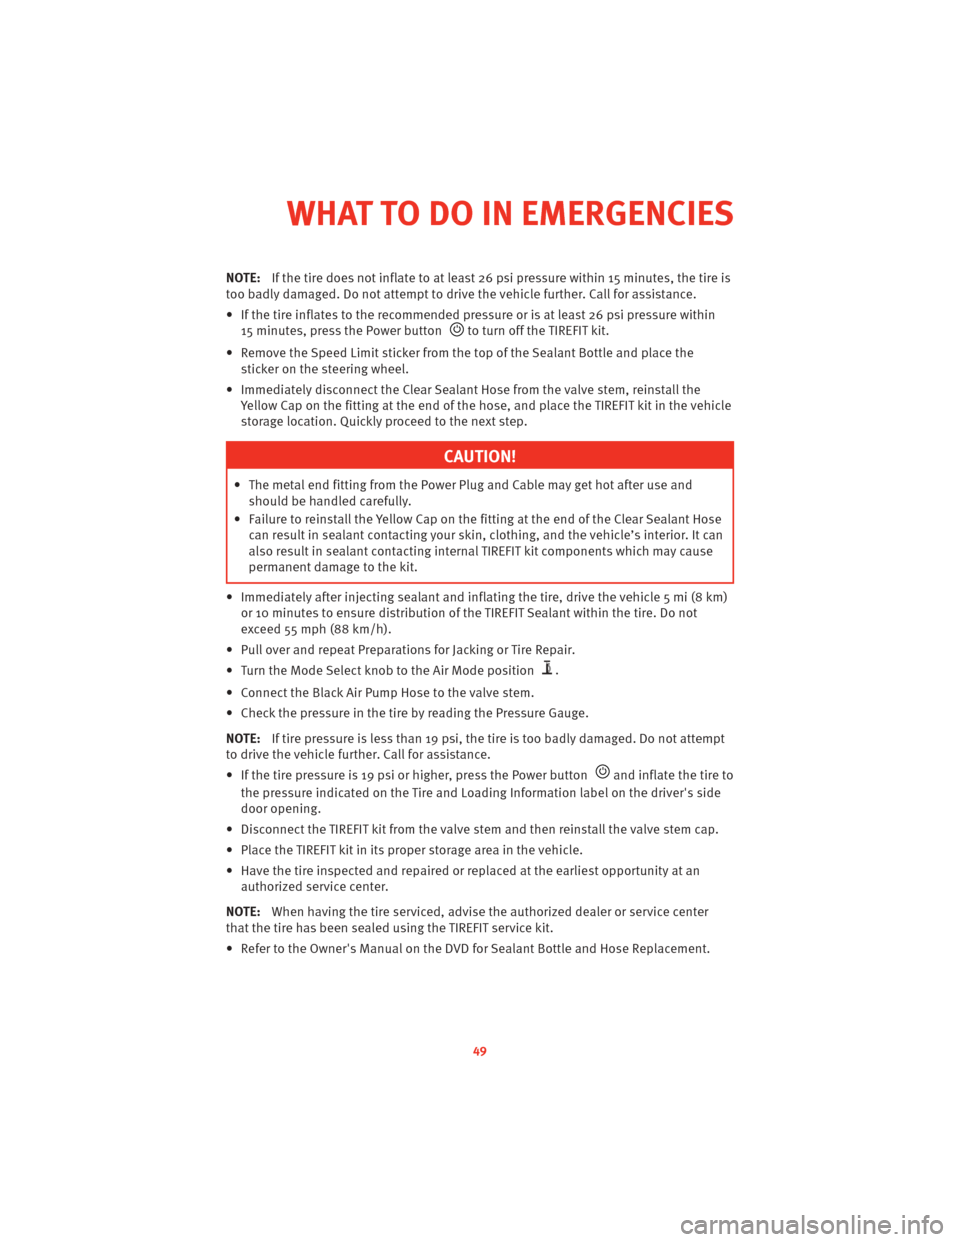
NOTE:If the tire does not inflate to at least 26 psi pressure within 15 minutes, the tire is
too badly damaged. Do not attempt to drive the vehicle further. Call for assistance.
• If the tire inflates to the recommended pressure or is at least 26 psi pressure within 15 minutes, press the Power button
to turn off the TIREFIT kit.
• Remove the Speed Limit sticker from the top of the Sealant Bottle and place the sticker on the steering wheel.
• Immediately disconnect the Clear Sealant Ho se from the valve stem, reinstall the
Yellow Cap on the fitting at the end of the hose, and place the TIREFIT kit in the vehicle
storage location. Quickly proceed to the next step.
CAUTION!
• The metal end fitting from the Power Plug and Cable may get hot after use and should be handled carefully.
• Failure to reinstall the Yellow Cap on the fitting at the end of the Clear Sealant Hose can result in sealant contacting your skin, clothing, and the vehicle’s interior. It can
also result in sealant contacting internal TIREFIT kit components which may cause
permanent damage to the kit.
• Immediately after injecting sealant and infl ating the tire, drive the vehicle 5 mi (8 km)
or 10 minutes to ensure distribution of the TIREFIT Sealant within the tire. Do not
exceed 55 mph (88 km/h).
• Pull over and repeat Preparations for Jacking or Tire Repair.
• Turn the Mode Select knob to the Air Mode position
.
• Connect the Black Air Pump Hose to the valve stem.
• Check the pressure in the tire by reading the Pressure Gauge.
NOTE: If tire pressure is less than 19 psi, the tire is too badly damaged. Do not attempt
to drive the vehicle fur ther. Call forassistance.
• If the tire pressure is 19 psi or higher, press the Power button
and inflate the tire to
the pressure indicated on the Tire and L oading Information label on the driver's side
door opening.
• Disconnect the TIREFIT kit from the valve stem and then reinstall the valve stem cap.
• Place the TIREFIT kit in its proper storage area in the vehicle.
• Have the tire inspected and repaired or replaced at the earliest opportunity at an authorized service center.
NOTE: When having the tire serviced, advise the authorized dealer or service center
that the tire has been sealed using the TIREFIT service kit.
• Refer to the Owner's Manual on the DVD for Sealant Bottle and Hose Replacement.
49
WHAT TO DO IN EMERGENCIES
Page 56 of 80
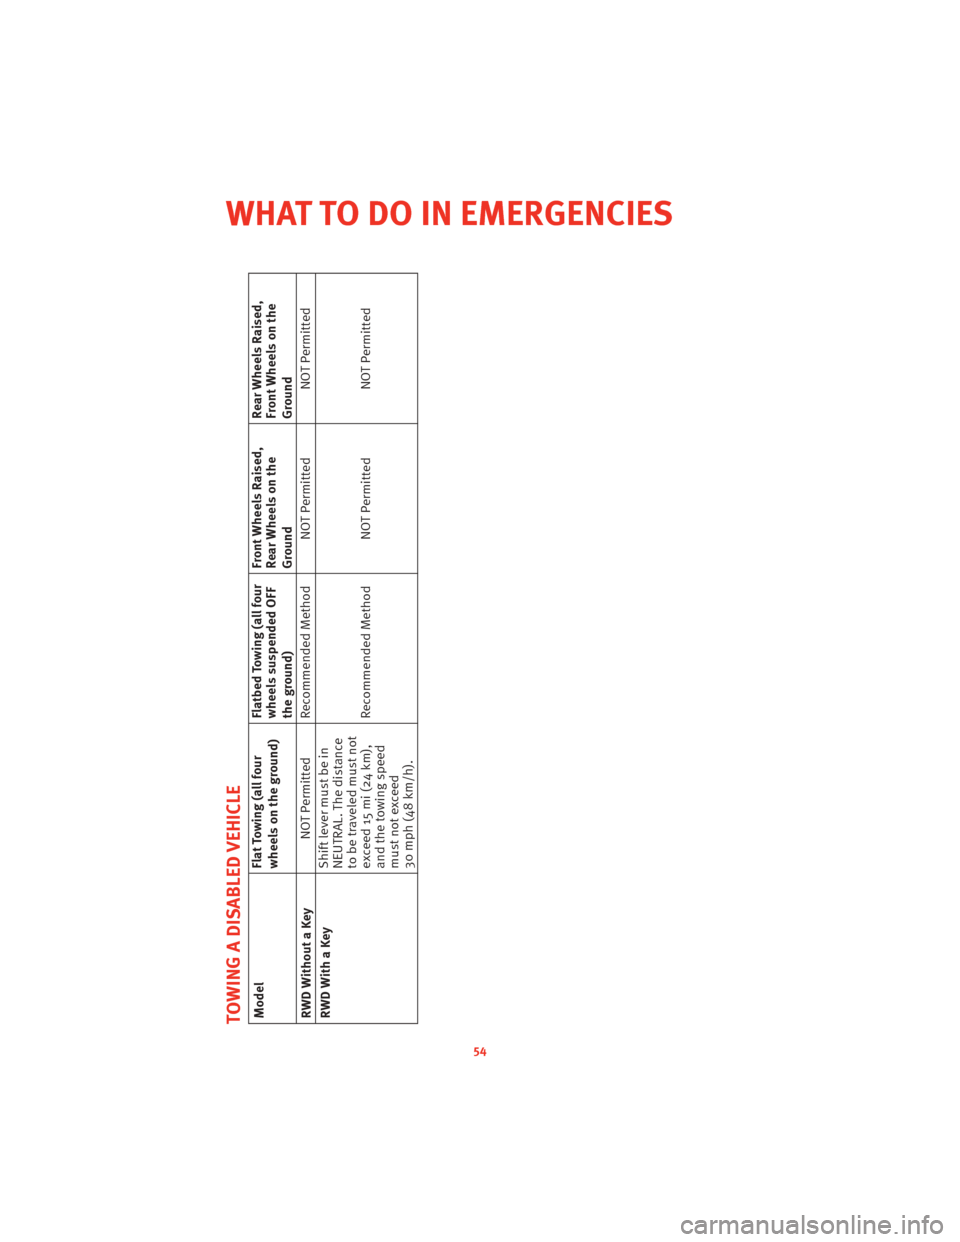
TOWING A DISABLED VEHICLEModelFlat Towing (all four
wheels on the ground)Flatbed Towing (all four
wheels suspended OFF
the ground)Front Wheels Raised,
Rear Wheels on the
GroundRear Wheels Raised,
Front Wheels on the
Ground
RWD Without a Key NOT Permitted Recommended Method NOT Permitted
NOT Permitted
RWD With a Key Shift lever must be in
NEUTRAL. The distance
to be traveled must not
exceed 15 mi (24 km),
and the towing speed
must not exceed
30 mph (48 km/h).Recommended Method NOT Permitted
NOT Permitted
54
WHAT TO DO IN EMERGENCIES
Page 74 of 80
• Click on the "For Owners" tab, select"Owner/Service Manuals", then
select your desired model year and
vehicle from the drop down lists.
REPORTING SAFETY DEFECTS
IN THE 50 UNITED STATES
AND WASHINGTON, D.C.
• If you believe that your vehicle has adefect that could cause a crash or
cause injury or death, you should
immediately inform the National
Highway Traffic Safety Administration
(NHTSA) in addition to notifying the
manufacturer.
• If NHTSA receives similar complaints, it may open an investigation, and if it
finds that a safety defect exists in a
group of vehicles, it may order a recall
and remedy campaign. However,
NHTSA cannot become involved in
individual problems between you,
your authorized dealer, and the
manufacturer.
• To contact NHTSA, you may either call the Auto Safety Hotline toll free at
1–888–327–4236
(TTY: 1–800–424– 9153), or go to
http://www.safercar.gov; or write to:
Administrator, NHTSA, 1200 New
Jersey Avenue, SE., West Building,
Washington, D.C. 20590. You can also
obtain other information about motor
vehicle safety from
http://www.safercar.gov.
In Canada
• If you believe that your vehicle has asafety defect, you should contact the
Customer Service Department
immediately. Canadian customers
who wish to report a safety defect to
the Canadian government should
write to: Transport Canada, Motor
Vehicle Defect Investigations and
Recalls, 2780 Sheffield Road, Ottawa,
Ontario K1B 3V9.
TIRE WARRANTY
Tire Limited Warranty And
Adjustment Policy
• When a tire is removed from servicedue to a covered warranty condition
under a tire manufacturer’s “Limited
Warranty Program”, you may be
eligible for a free tire replacement or a
comparable new tire on a “prorated
basis”.
• Certain conditions, such as irregular wear or tire dam age due to road
hazards, collision, improper inflation,
intentional alteration, and misuse,
are excluded from the Limited
Warranty Program. The Limited
Warranty Program expires when your
tires either wear to a specified tread
depth, and/or after a period of time
from the date of purchase, as stated
in the Tire Warranty on the DVD.
NOTE: Refer to the Tire Warranty on
the DVD for specific information relating
to the manufacturer's limited warranty
for the tires in stalledon your vehicle. If
you have any questions regarding the
limited tire warranty coverage, contact
your local authorized dealer or your
local authorized tire dealer.
CONSUMER ASSISTANCE
72