warning light DODGE CHALLENGER 2010 3.G User Guide
[x] Cancel search | Manufacturer: DODGE, Model Year: 2010, Model line: CHALLENGER, Model: DODGE CHALLENGER 2010 3.GPages: 80, PDF Size: 14.2 MB
Page 3 of 80
INTRODUCTION/WELCOME
WELCOME FROM CHRYSLER
GROUPLLC................. 2
CONTROLS AT A GLANCE
DRIVERCOCKPIT .............. 4
INSTRUMENT CLUSTER..........6
GETTING STARTED
KEYFOB...................8
KEYLESSGO™ ............... 9
THEFTALARM................10
SEATBELT .................11
CHILDRESTRAINTS.............11
FRONTSEATS................13
REARSEAT .................15
HEATEDSEATS...............15
TILT / TELESCOPING STEERING COLUMN . 16
PROGRAMMABLEFEATURES .......17
OPERATING YOUR VEHICLE
TURN SIGNAL/WIPER/WASHER/HIGH
BEAMLEVER ................19
HEADLIGHTSWITCH ........... 20
SPEED CONTROL LEVER..........21
MANUAL TRAN SMISSION 1 TO 4 SKIP
SHIFT ................... 22
MANUAL CLIMATE CONTROLS ...... 22
POWERSUNROOF ............ 22
WINDBUFFETING..............23
ELECTRONICS
NON-TOUCH-SCREEN RADIOS ...... 24
TOUCH-SCREENRADIOS......... 26
REMOTE AUDIO CONTROLS ........31
UNIVERSAL CONSUMER INTERFACE ....31
ELECTRONIC VEHICLE INFORMATION
CENTER(EVIC) ...............32
UNIVERSAL GARAGE DOOR OPENER . . .32
POWEROUTLET ..............33
UCONNECT™ PHONE ...........34
VOICECOMMAND ............ 36
UTILITY
TRAILER TOWING WEIGHTS (MAXIMUM
TRAILERWEIGHTRATINGS) ........37 RECREATIONAL TOWING (BEHIND
MOTORHOME, ETC.)
........... 38
BRAKE/TRANSMISSION INTERLOCK
MANUAL OVERRIDE ........... 38
WHAT TO DO IN EMERGENCIES
24 HOUR TOWINGASSISTANCE
-U.S.ONLY................ 40
INSTRUMENT CLUSTER WARNING
LIGHTS .................. 40
IF YOUR ENGINE OVERHEATS .......43
JACKING, TIRE CHANGING AND
TIREFIT TIRE REPAIR ............44
JUMP-STARTING ..............51
TOWINGADISABLEDVEHICLE.......54
FREEINGASTUCKVEHICLE ........55
EVENT DATA RECORDER (EDR) ......56
MAINTAINING YOUR VEHICLE
OPENING THE HOOD............58
ENGINECOMPARTMENT..........59
FLUIDS AND CAPACITIES ......... 62
MAINTENANCECHART.......... 64
FUSES................... 66
TIREPRESSURES............. 69
WHEELANDWHEELTRIMCARE ......70
EXTERIOR BULBS ..............70
CONSUMER ASSISTANCE
CHRYSLER GROUP LLC CUSTOMER
CENTER...................71
CHRYSLER CANADA INC. CUSTOMER
CENTER...................71
ASSISTANCE FOR THE HEARING
IMPAIRED..................71
PUBLICATIONS ORDERING .........71
REPORTING SAFETY DEFECTS IN THE
50 UNITED STATES AND
WASHINGTON,D.C. ............72
TIREWARRANTY ..............72
MOPAR ACCESSORIES
MOPAR®ACCESSORIES ..........75
TABLE OF CONTENTS
Page 8 of 80
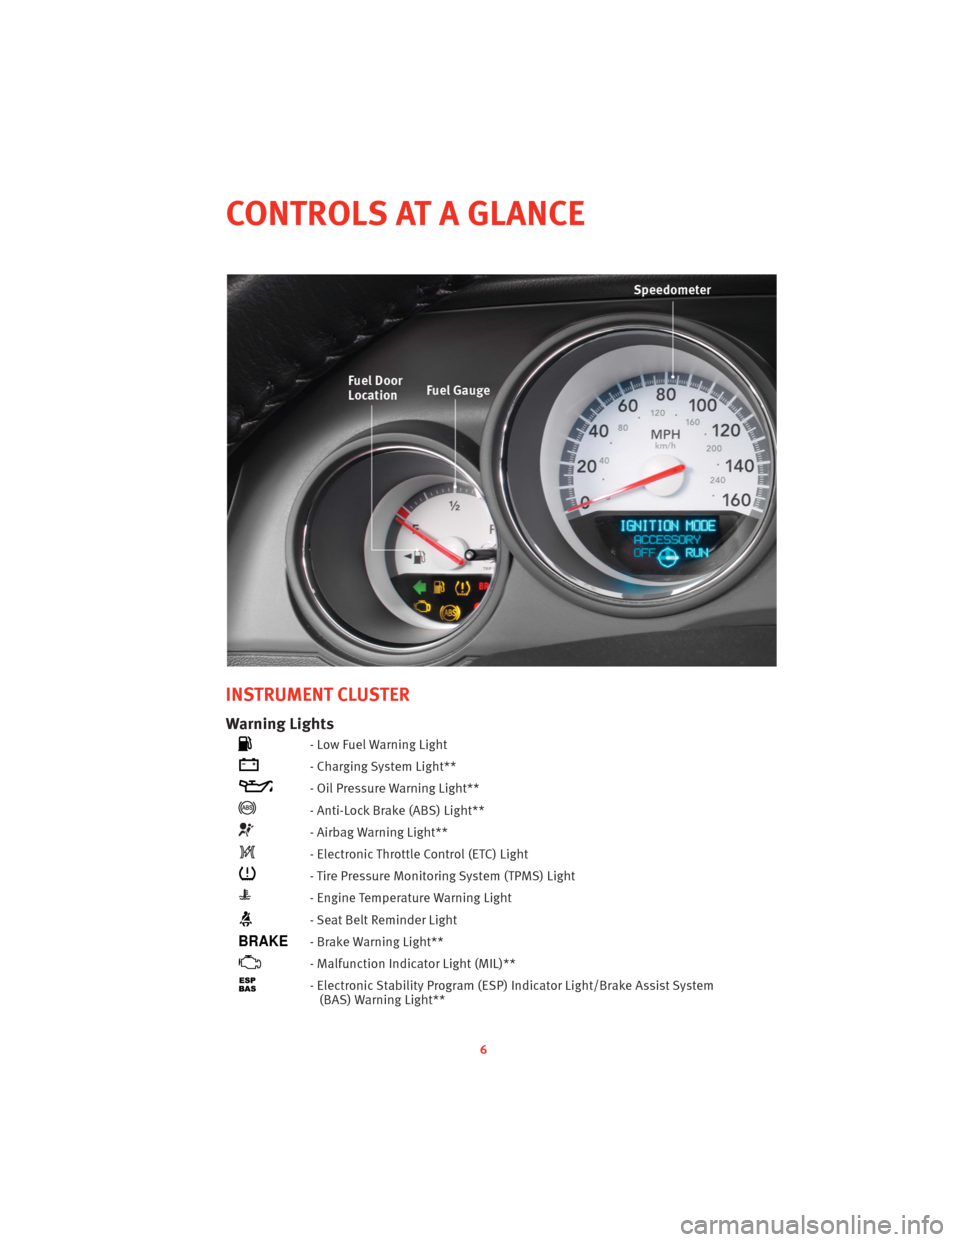
INSTRUMENT CLUSTER
Warning Lights
- Low Fuel Warning Light
- Charging System Light**
- Oil Pressure Warning Light**
- Anti-Lock Brake (ABS) Light**
- Airbag Warning Light**
- Electronic Throttle Control (ETC) Light
- Tire Pressure Monitoring System (TPMS) Light
- Engine Temperature Warning Light
- Seat Belt Reminder Light
BRAKE- Brake Warning Light**
- Malfunction Indicator Light (MIL)**
- Electronic Stability Program (ESP) IndicatorLight/Brake Assist System
(BAS) Warning Light**
6
CONTROLS AT A GLANCE
Page 42 of 80
24 HOUR TOWING ASSISTANCE - U.S. ONLY
• Dial toll-free 1-800-521-2779 or 1-800-363-4869 for Canadian residents.
• Provide your name, vehicle identification number and license plate number.
• Provide your location, including telephone number, from which you are calling.
• Briefly describe the nature of the problem and answer a few simple questions.
• You will be given the name of the service provider and an estimated time of arrival. Ifyou feel you are in an “unsafe situation”, please let us know. With your consent, we
will contact local police or safety authorities.
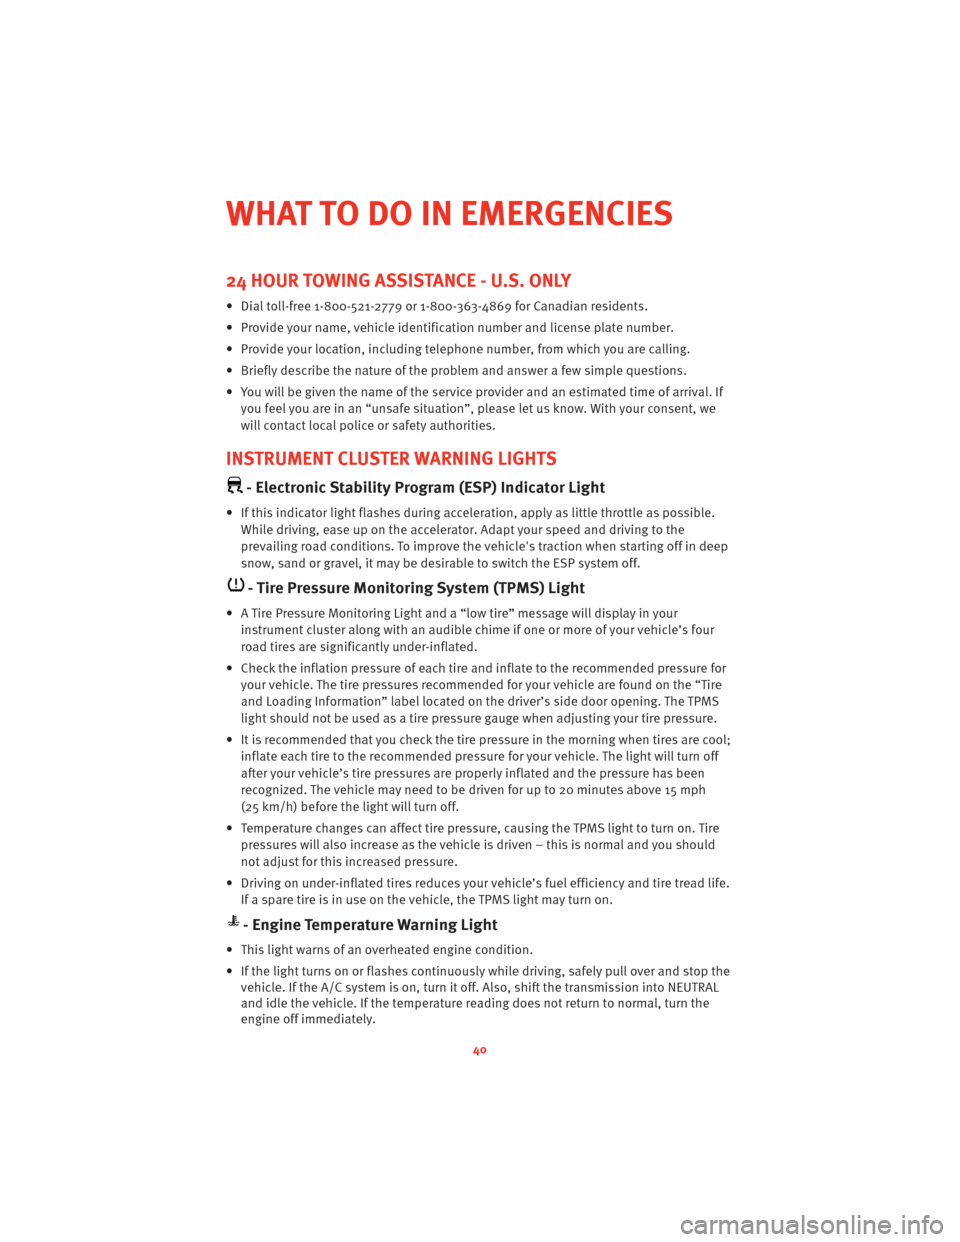
INSTRUMENT CLUSTER WARNING LIGHTS
- Electronic Stability Program (ESP) Indicator Light
• If this indicator light flashes during acceleration, apply as little throttle as possible.While driving, ease up on the accelerator. Adapt your speed and driving to the
prevailing road conditions. To improve the vehicle's traction when starting off in deep
snow, sand or gravel, it may be desirable to switch the ESP system off.
- Tire Pressure Monitoring System (TPMS) Light
• A Tire Pressure Monitoring Light and a “low tire” message will display in your instrument cluster along with an audible chime if one or more of your vehicle’s four
road tires are significantly under-inflated.
• Check the inflation pressure of each tire and inflate to the recommended pressure for your vehicle. The tire pressures recommended for your vehicle are found on the “Tire
and Loading Information” label located on the driver’s side door opening. The TPMS
light should not be used as a tire pressure gauge when adjusting your tire pressure.
• It is recommended that you check the tire pressure in the morning when tires are cool; inflate each tire to the recommended pressure for your vehicle. The light will turn off
after your vehicle’s tire pressures are properly inflated and the pressure has been
recognized. The vehicle may need to be driven for up to 20 minutes above 15 mph
(25 km/h) before the light will turn off.
• Temperature changes can affect tire pressure, causing the TPMS light to turn on. Tire pressures will also increase as the vehicle is driven – this is normal and you should
not adjust for this in creased pressure.
• Driving on under-inflated tires reduces your vehicle’s fuel efficiency and tire tread life.
If a spare tire is in use on the vehicle, the TPMS light may turn on.
- Engine Temperature Warning Light
• This light warns of an overheated engine condition.
• If the light turns on or flashes continuously while driving, safely pull over and stop the vehicle. If the A/C system is on, turn it off. Also, shift the transmissioninto NEUTRAL
and idle the vehicle. If the temperature r eading does not return to normal, turn the
engine off immediately.
WHAT TO DO IN EMERGENCIES
40
Page 43 of 80
• We recommend that you do not operate the vehicle or engine damage will occur. Havethe vehicle serviced immediately.
WARNING!
A hot engine cooling system is dangero us. You or others could be badly burned by
steam or boiling coolant. You may want to call an authorized dealership for service if
your vehicle overheats.
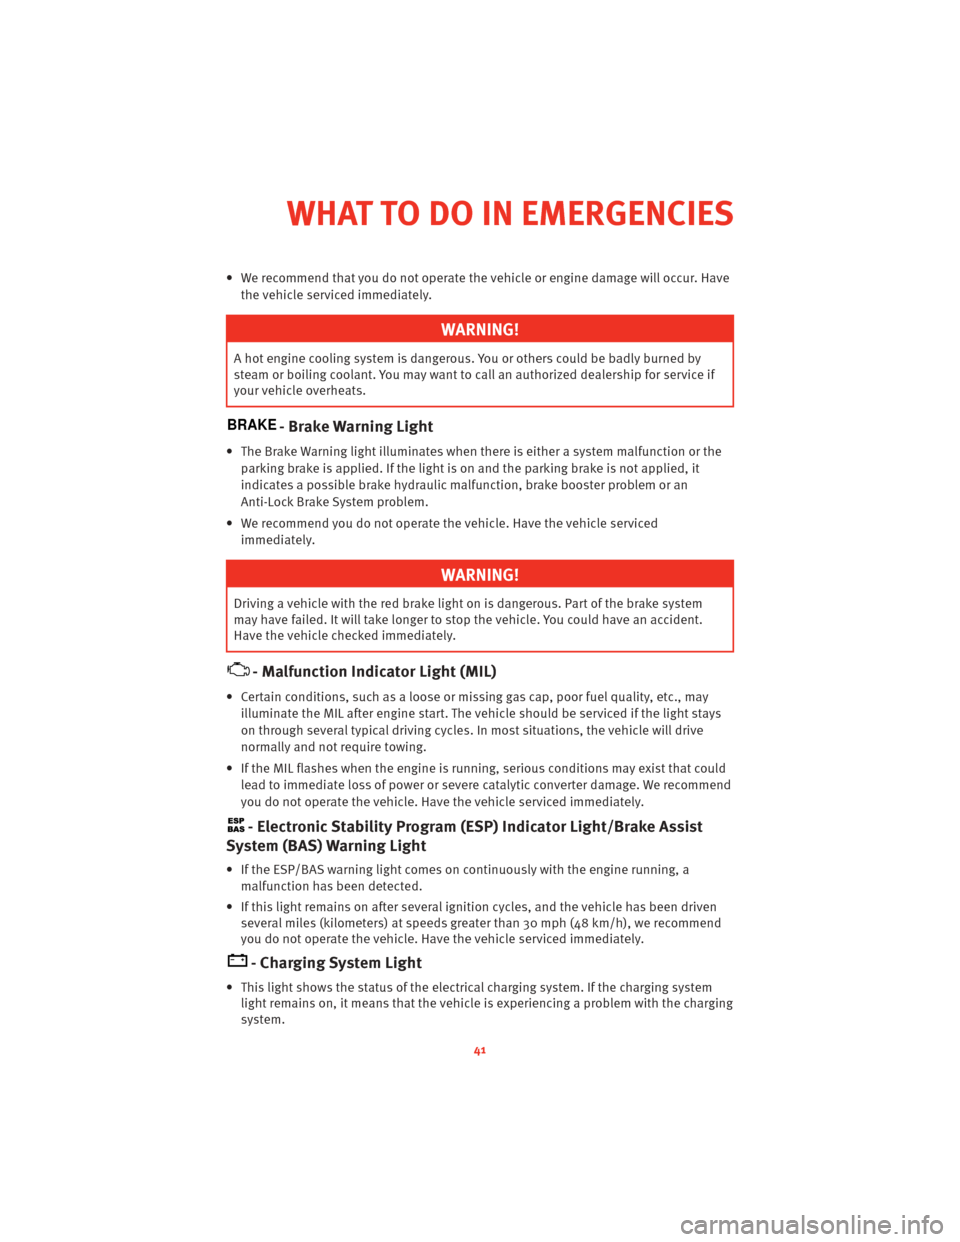
BRAKE- Brake Warning Light
• The Brake Warning light illuminates when there is either a system malfunction or the
parking brake is applied. If the light is on and the parking brake is not applied, it
indicates a possible brake hydraulic malfunction, brake booster problem or an
Anti-Lock Brake System problem.
• We recommend you do not operate the vehicle. Have the vehicle serviced immediately.
WARNING!
Driving a vehicle with the red brake light on is dangerous. Part of the brake system
may have failed. It will take longer to stop the vehicle. You could have an accident.
Have the vehicle checked immediately.
- Malfunction Indicator Light (MIL)
• Certain conditions, such as a loose or m issing gas cap,poor fuel quality, etc., may
illuminate the MIL after engine start. The vehicle should be serviced if the light stays
on through several typical driving cycles. In most situations, the vehicle will drive
normally and not require towing.
• If the MIL flashes when the engine is running, serious conditions may exist that could lead to immediate loss of power or severe catalytic converter damage. We recommend
you do not operate the vehicle. Hav e the vehicle serviced immediately.
- Electronic StabilityProgram (ESP) Indicator Light/Brake Assist
System (BAS) Warning Light
• If the ESP/BAS warning light comes on continuously with the engine running, a
malfunction has been detected.
• If this light remains on after several ignition cycles, and the vehicle has been driven several miles (kilometers) at speeds g reater than 30 mph (48 km/h), we recommend
you do not operate the vehicle. Hav e the vehicle serviced immediately.
- Charging System Light
• This light shows the status of the electrical ch arging system. If the charging system
light remains on, it means that the vehicle is experiencing a problem with the charging
system.
41
WHAT TO DO IN EMERGENCIES
Page 44 of 80
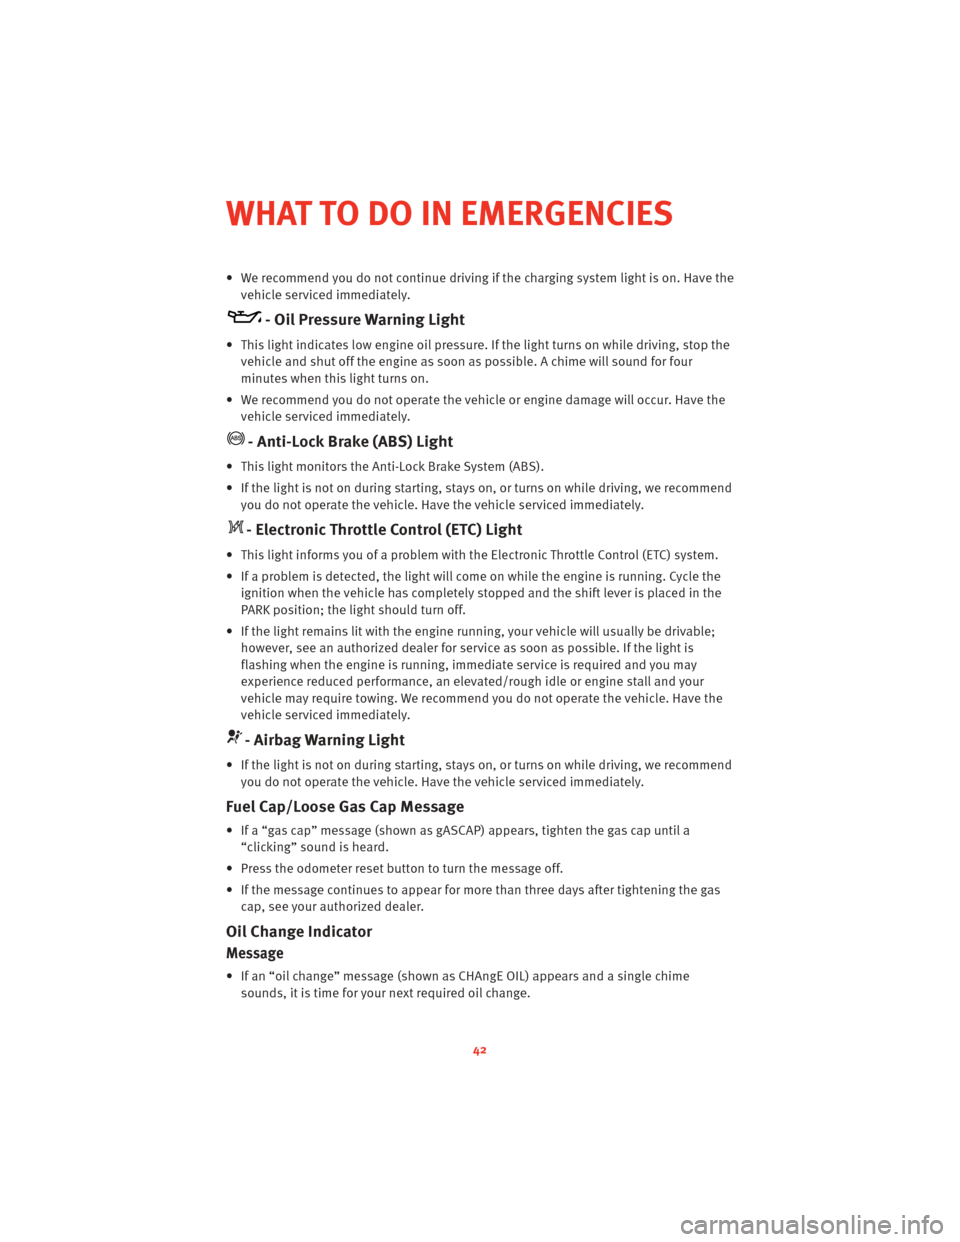
• We recommend you do not continue driving if the charging system light is on. Have thevehicle serviced immediately.
- Oil Pressure Warning Light
• This light indicates low engine oil pressure. If the light turns on while driving, stop thevehicle and shut off the engine as soon as possible. A chime will sound for four
minutes when this light turns on.
• We recommend you do not operate the vehicle or engine damage will occur. Have the vehicle serviced immediately.
- Anti-Lock Brake (ABS) Light
• This light monitors the Anti-Lock Brake System (ABS).
• If the light is not on during starting, stays on, or turns on while driving, we recommendyou do not operate the vehicle. Hav e the vehicle serviced immediately.
- Electronic Throttle Control (ETC) Light
• This light informs you of a problem with the Electronic Throttle Control (ETC) system.
• If a problem is detected, the light will come on while the engine is running. Cycle the
ignition when the vehicle has completely stopped and the shift lever is placed in the
PARK position; the light should turn off.
• If the light remains lit with the engine running, your vehicle will usually be drivable; however, see an authorized dealer for service as soon as possible. If the light is
flashing when the engine is running, immedi ate service is required and you may
experience reduced performance, an elevat ed/rough idle or engine stall and your
vehicle may require towing. We recommend you do not operate the vehicle. Have the
vehicle serviced immediately.
- Airbag Warning Light
• If the light is not on during starting, stays on, or turns on while driving, we recommend you do not operate the vehicle. Hav e the vehicle serviced immediately.
Fuel Cap/Loose Gas Cap Message
• If a “gas cap” message (shown as gASCAP) appears, tighten the gas cap until a
“clicking” sound is heard.
• Press the odometer reset button to turn the message off.
• If the message continues to appear for mor e than three days after tightening the gas
cap, see your authorized dealer.
Oil Change Indicator
Message
• If an “oil change” message (shown as CHAngE OIL) appears and a single chime
sounds, it is time for your next required oil change.
WHAT TO DO IN EMERGENCIES
42
Page 45 of 80
Resetting The Light After Servicing
• Turn the ignition switch to the ON/RUN position (do not start engine).
• Fully depress the accelerator pedal three times within 10 seconds.
• Turn the ignition switch to the OFF/LOCK position.
IF YOUR ENGINE OVERHEATS
• In any of the following situations, you can reduce the potential for overheating by
taking the appropriate action.
• On the highways — slow down.
• In city traffic — while stopped, shift tran smission intoNEUTRAL, but do not increase
engine idle speed.
NOTE: There are steps that you can take to slow down an impending overheat
condition:
• If your air conditioner (A/C) is on, turn it off. The A/C system adds heat to the engine cooling system and turning the A/C off can help remove this heat.
• You can also turn the Temperature Control to maximum heat, the Mode Control to floor and the Fan Control to high. This allows the heater core to act as a supplement to the
radiator and aids in removing heat from the engine cooling system.
• If the temperature reading does not re turn to normal, turn the engine off immediately.
• We recommend that you do not operate the vehicle or engine damage will occur. Have the vehicle serviced immediately.
CAUTION!
Driving with a hot cooling system could dama ge your vehicle. If the temperature gauge
reads HOT (H), pull over and stop the vehicle. Idle the vehicle with the air conditioner
turned off until the pointer drops back into the normal range. If the pointer remains on
HOT (H), and you hear continuous chimes, t urn the engine off immediately and call for
service.
WARNING!
You or others can be badly burned by hot engine coolant (antifreeze) or steam from
your radiator. If you see or hear steam coming from under the hood, do not open the
hood until the radiator has had time to co ol. Never try to open a cooling system
pressure cap when the radiator or coolant bottle is hot.
43
WHAT TO DO IN EMERGENCIES
Page 49 of 80
• Place the jack underneath the lift area that is closest to the flat tire. Turn the jackscrew clockwise to firmly engage the jack saddle with the lift area of the sill flange.
• Raise the vehicle by turning the jack screw clockwise. Raise the vehicle only until the tire just clears the surface and enough clearance is obtained to install the spare tire.
WARNING!
Raising the vehicle higher than necessary can make the vehicle less stable and cause
an accident. It could slip off the jack and hurt someone near it. Raise the vehicle only
enough to remove the tire.
• Remove the lug nuts, wheel cover (if equipped) and wheel.
• Position the spare wheel/tire on the vehicle and install the lug nuts with the cone-shaped end toward the wheel. Do NOT attempt to install a center cap or wheel
cover on the compact spare. Lightly tighten the lug nuts. To avoid the risk of forcing
the vehicle off the jack, do not tighten the nuts fully until the vehicle has been
lowered.
• Lower the vehicle by turning the jack screw to the left, and remove the jack and wheel blocks.
• Finish tightening the lug nuts. Push do wn on the wrench while tightening for
increased leverage. Alternate nuts until each one has been tightened twice. The
correct wheel nut tightness is 100 ft lbs (135 N•m). If in doubt about the correct
tightness, have them checked with a tor que wrench by your authorized dealer or at a
service station.
47
WHAT TO DO IN EMERGENCIES
Page 59 of 80
Data parameters that are recorded:
• Diagnostic trouble code(s) and warning light status for electronically-controlled safety
systems, including the airbag system
• Vehicle speed
• Engine RPM
• Brake switch status
• Pedal position
• And other parameters depending on vehicle configuration
57
WHAT TO DO IN EMERGENCIES
Page 71 of 80
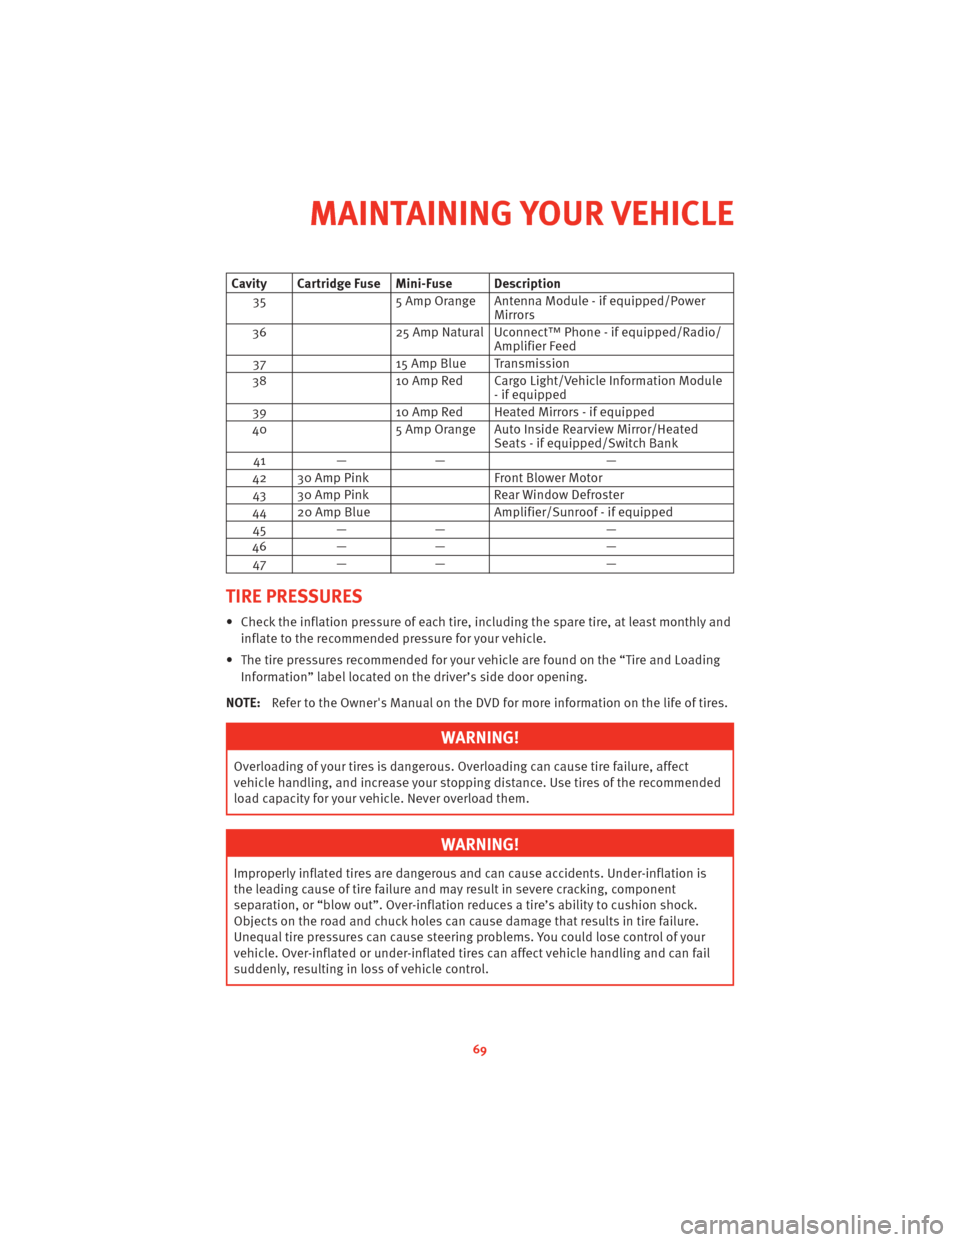
Cavity Cartridge Fuse Mini-Fuse Description35 5 Amp Orange Antenna Module - if equipped/Power
Mirrors
36 25 Amp Natural Uconnect™ Phone - if equipped/Radio/
Amplifier Feed
37 15 Amp Blue Transmission
38 10 Amp Red Cargo Light/Vehicle Information Module
- if equipped
39 10 Amp Red Heated Mirrors - if equipped
40 5 Amp Orange Auto Inside Rearview Mirror/Heated
Seats - if equipped/Switch Bank
41 — — —
42 30 Amp Pink Front Blower Motor
43 30 Amp Pink Rear Window Defroster
44 20 Amp Blue Amplifier/Sunroof - if equipped
45 — — —
46 — — —
47 — — —
TIRE PRESSURES
• Check the inflation pressure of each tire, including the spare tire, at least monthly and
inflate to the recommended pressure for your vehicle.
• The tire pressures recommended for your vehicle are found on the “Tire and Loading Information” label located on the driver’s side door opening.
NOTE: Refer to the Owner's Manual on the DVD for more information on the life of tires.
WARNING!
Overloading of your tires is dangerous. Ov erloading can causetire failure, affect
vehicle handling, and increase your stopping distance. Use tires of the recommended
load capacity for your vehicle. Never overload them.
WARNING!
Improperly inflated tires are dangerous and can cause accidents. Under-inflation is
the leading cause of tire failure and may result in severe cracking, component
separation, or “blow out”. Over-inflation r educes a tire’s ability to cushion shock.
Objects on the road and chuck holes can cause damage that results in tire failure.
Unequal tire pressures can cause steering problems. You could lose control of your
vehicle. Over-inflated or under-inflated ti res can affect vehicle handling and can fail
suddenly, resulting in loss of vehicle control.
69
MAINTAINING YOUR VEHICLE
Page 76 of 80
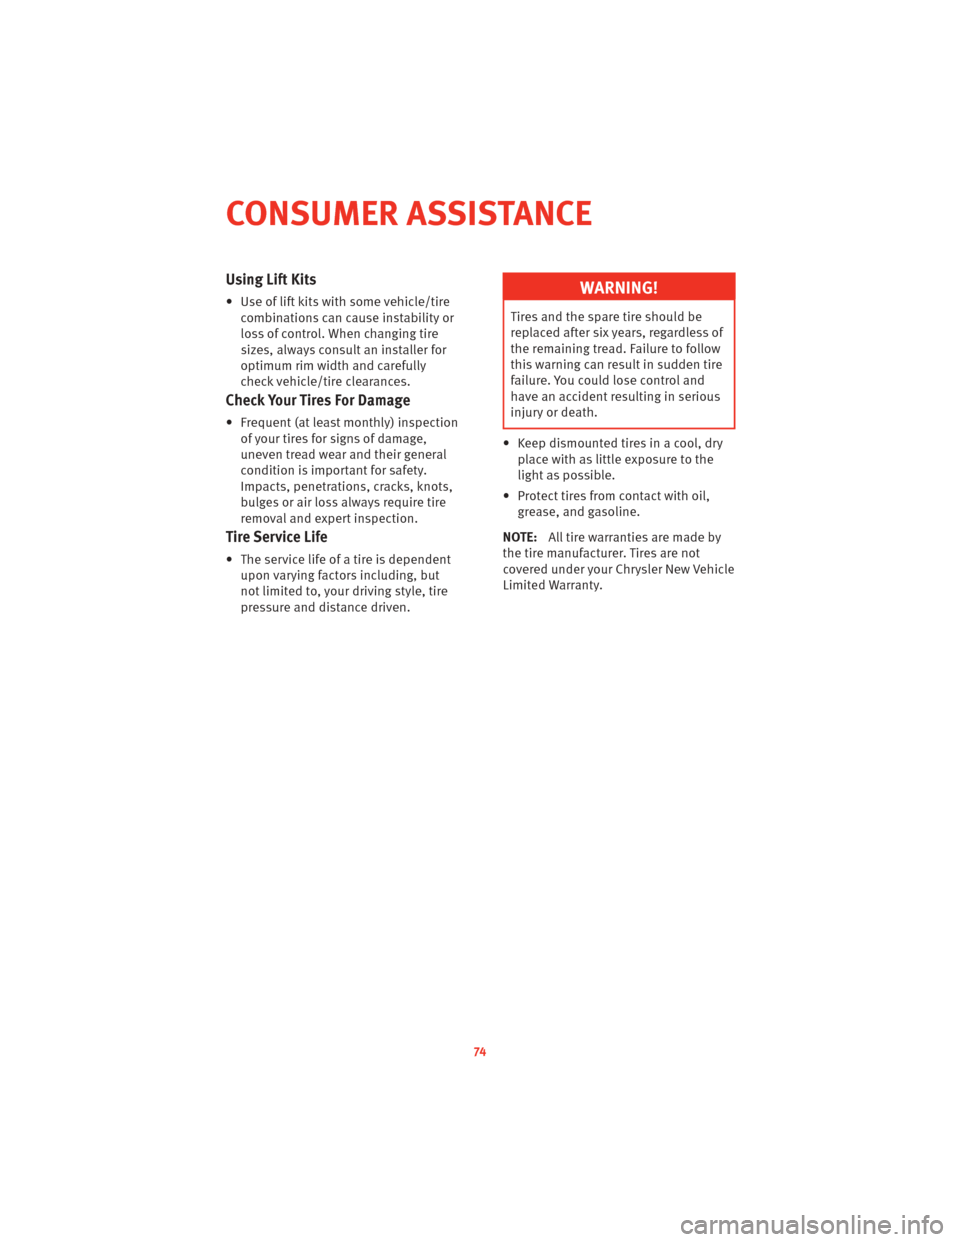
Using Lift Kits
• Use of lift kits with some vehicle/tirecombinations can cause instability or
loss of control. When changing tire
sizes, always consult an installer for
optimum rim width and carefully
check vehicle/tire clearances.
Check Your Tires For Damage
• Frequent (at least monthly) inspectionof your tires for signs of damage,
uneven tread wear and their general
condition is important for safety.
Impacts, penetrations, cracks, knots,
bulges or air loss always require tire
removal and expert inspection.
Tire Service Life
• The service life of a tire is dependentupon varying factors including, but
not limited to, your driving style, tire
pressure and distance driven.
WARNING!
Tires and the spare tire should be
replaced after six ye ars, regardless of
the remaining tread. Failure to follow
this warning can result in sudden tire
failure. You could lose control and
have an accident resulting in serious
injury or death.
• Keep dismounted tires in a cool, dry place with as little exposure to the
light as possible.
• Protect tires from contact with oil, grease, and gasoline.
NOTE: All tire warranties are made by
the tire manufacturer. Tires are not
covered under your Chrysler New Vehicle
Limited Warranty.
CONSUMER ASSISTANCE
74