heating DODGE CHALLENGER 2013 3.G Owners Manual
[x] Cancel search | Manufacturer: DODGE, Model Year: 2013, Model line: CHALLENGER, Model: DODGE CHALLENGER 2013 3.GPages: 543, PDF Size: 3.04 MB
Page 100 of 543
WARNING!(Continued)
•If you are required to drive with the trunk/liftgate
open, make sure that all windows are closed and
the climate control BLOWER switch is set at high
speed. DO NOT use the recirculation mode.
• If it is necessary to sit in a parked vehicle with the
engine running, adjust your heating or cooling
controls to force outside air into the vehicle. Set the
blower at high speed.
The best protection against carbon monoxide entry into
the vehicle body is a properly maintained engine exhaust
system.
Whenever a change is noticed in the sound of the exhaust
system, when exhaust fumes can be detected inside the
vehicle, or when the underside or rear of the vehicle is
damaged, have a competent mechanic inspect the com-
plete exhaust system and adjacent body areas for broken,
damaged, deteriorated, or mispositioned parts. Open seams or loose connections could permit exhaust fumes
to seep into the passenger compartment. In addition,
inspect the exhaust system each time the vehicle is raised
for lubrication or oil change. Replace as required.
Safety Checks You Should Make Inside The
Vehicle
Seat Belts
Inspect the belt system periodically, checking for cuts,
frays, and loose parts. Damaged parts must be replaced
immediately. Do not disassemble or modify the system.
Front seat belt assemblies must be replaced after a
collision. Rear seat belt assemblies must be replaced after
a collision if they have been damaged (i.e., bent retractor,
torn webbing, etc.). If there is any question regarding belt
or retractor condition, replace the belt.
98 THINGS TO KNOW BEFORE STARTING YOUR VEHICLE
Page 156 of 543
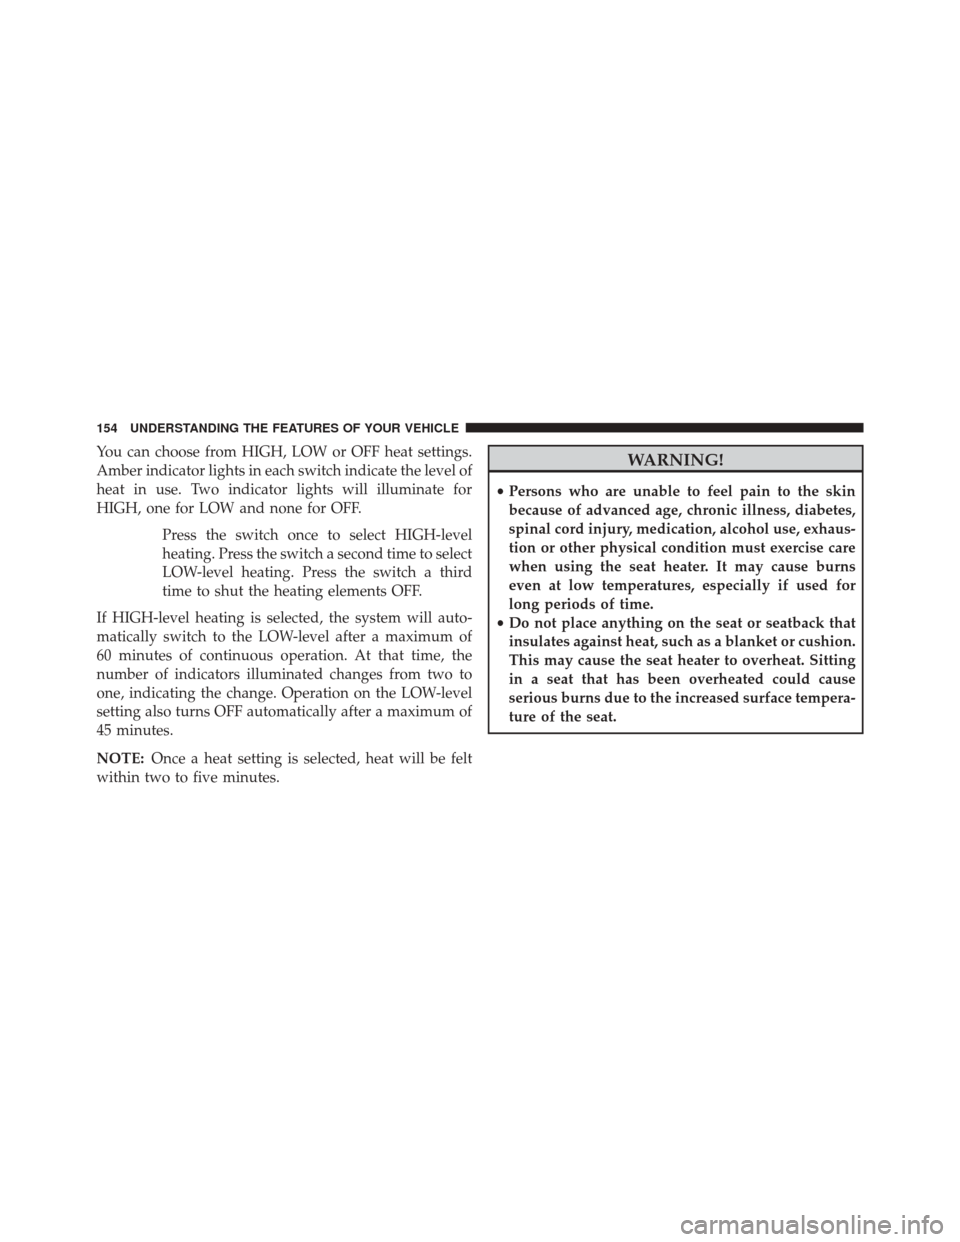
You can choose from HIGH, LOW or OFF heat settings.
Amber indicator lights in each switch indicate the level of
heat in use. Two indicator lights will illuminate for
HIGH, one for LOW and none for OFF.Press the switch once to select HIGH-level
heating. Press the switch a second time to select
LOW-level heating. Press the switch a third
time to shut the heating elements OFF.
If HIGH-level heating is selected, the system will auto-
matically switch to the LOW-level after a maximum of
60 minutes of continuous operation. At that time, the
number of indicators illuminated changes from two to
one, indicating the change. Operation on the LOW-level
setting also turns OFF automatically after a maximum of
45 minutes.
NOTE: Once a heat setting is selected, heat will be felt
within two to five minutes.WARNING!
• Persons who are unable to feel pain to the skin
because of advanced age, chronic illness, diabetes,
spinal cord injury, medication, alcohol use, exhaus-
tion or other physical condition must exercise care
when using the seat heater. It may cause burns
even at low temperatures, especially if used for
long periods of time.
• Do not place anything on the seat or seatback that
insulates against heat, such as a blanket or cushion.
This may cause the seat heater to overheat. Sitting
in a seat that has been overheated could cause
serious burns due to the increased surface tempera-
ture of the seat.
154 UNDERSTANDING THE FEATURES OF YOUR VEHICLE
Page 192 of 543
Reprogramming A Single HomeLink® Button
To reprogram a channel that has been previously trained,
follow these steps:
1. Cycle the ignition to the ON/RUN position.
2. Press and hold the desired HomeLink® button untilthe indicator light begins to flash after 20 seconds. Do
not release the button.
3. Without releasing the button proceed with “Program-
ming A Non-Rolling Code” Step 2 and follow all
remaining steps.
Canadian/Gate Operator Programming
For programming transmitters in Canada/United States
that require the transmitter signals to “time-out” after
several seconds of transmission. Canadian radio frequency laws require transmitter sig-
nals to time-out (or quit) after several seconds of trans-
mission – which may not be long enough for HomeLink®
to pick up the signal during programming. Similar to this
Canadian law, some U.S. gate operators are designed to
time-out in the same manner.
It may be helpful to unplug the device during the cycling
process to prevent possible overheating of the garage
door or gate motor.
1. Turn the ignition switch to the ON/RUN position.
2. Place the hand-held transmitter 1 to 3 inches (3 to
8 cm) away from the HomeLink® button you wish to
program.
3. Simultaneously press and hold both the Homelink® button while you press and release (“cycle”), your
hand-held transmitter every two seconds.
190 UNDERSTANDING THE FEATURES OF YOUR VEHICLE
Page 207 of 543
REAR WINDOW FEATURES
Rear Window Defroster
The rear window defroster button is located on
the climate control (Mode) knob. Press this button
to turn on the rear window defroster and the heated
outside mirrors (if equipped). An indicator in the button
will illuminate when the rear window defroster is on. The
rear window defroster automatically turns off after ap-
proximately 10 minutes. For an additional five minutes of
operation, press the button a second time.
NOTE: To prevent excessive battery drain, use the rear
window defroster only when the engine is operating.
CAUTION!
Failure to follow these cautions can cause damage to
the heating elements:
• Use care when washing the inside of the rear
window. Do not use abrasive window cleaners on
the interior surface of the window. Use a soft cloth
and a mild washing solution, wiping parallel to the
heating elements. Labels can be peeled off after
soaking with warm water.
• Do not use scrapers, sharp instruments, or abrasive
window cleaners on the interior surface of the
window.
• Keep all objects a safe distance from the window.
3
UNDERSTANDING THE FEATURES OF YOUR VEHICLE 205
Page 217 of 543
NOTE:
•A continuous chime will sound if the vehicle is driven
more than 1 mile (1.6 km) with either turn signal on.
• Check for an inoperative outside light bulb if either
indicator flashes at a rapid rate.
10. Air Bag Warning Light
This light will turn on for four to eight seconds
as a bulb check when the ignition switch is first
turned to the ON/RUN position. If the light is
either not on during starting, stays on, or turns
on while driving, have the system inspected at an autho-
rized dealer as soon as possible. Refer to “Occupant
Restraints” in “Things To Know Before Starting Your
Vehicle” for further information. 11. Engine Temperature Warning Light
This light will turn on and a single chime will
sound to warn of an overheated engine condition.
When this light turns on, the engine temperature is
critically hot. Further overheating will cause a continu-
ous chime will sound for 4 minutes or until the engine is
allowed to cool. If the light turns on while driving, safely
pull over and stop the vehicle. The vehicle should be
turned OFF immediately and serviced as soon as pos-
sible. (Refer to “If Your Engine Overheats” in “What To
Do In Emergencies” for further information).
4
UNDERSTANDING YOUR INSTRUMENT PANEL 215
Page 283 of 543
Automatic Operation
Operation of the system is quite simple.
Turn the Mode Control knob (right knob) and the Blower
Control knob (left knob) to AUTO.
NOTE:The AUTO position performs best for front seat
occupants only.
Dial in the temperature you would
like the system to maintain by rotating
the Temperature Control knob (center
knob). Once the comfort level is se-
lected, the system will maintain that
level automatically using the heating
system. Should the desired comfort
level require air conditioning, the system will automati-
cally make the adjustment. You will experience the greatest efficiency by simply
allowing the system to function automatically. Selecting
the “O” (OFF) position on the blower control stops the
system completely and closes the outside air intake.
The recommended setting for maximum comfort for the
average person is 72°F (22°C); however, this may vary.
NOTE:
•
The temperature setting can be adjusted at anytime
without affecting automatic operation.
• Pressing the Air Conditioning Control button while in
AUTO mode will cause the LED in the control button
to flash three times and then turn off. This indicates
that the system is in AUTO mode and requesting the
air conditioning is not necessary.
4
UNDERSTANDING YOUR INSTRUMENT PANEL 281
Page 288 of 543
Operating Tips
NOTE:Refer to the chart at the end of this section for
suggested control settings for various weather condi-
tions.
Summer Operation
The engine cooling system in air-conditioned vehicles
must be protected with a high-quality antifreeze coolant
to provide proper corrosion protection and to protect
against engine overheating. A solution of 50% OAT
(Organic Additive Technology) coolant that meets the
requirements of Chrysler Material Standard MS-12106
and 50% water is recommended. Refer to “Maintenance
Procedures” in “Maintaining Your Vehicle” for proper
coolant selection.
Winter Operation
Use of the air Recirculation Mode during winter months
is not recommended because it may cause window
fogging.
Vacation Storage
Anytime you store your vehicle, or keep it out of service
(i.e., vacation) for two weeks or more, run the air
conditioning system at idle for about five minutes in the
fresh air and high blower settings. This will ensure
adequate system lubrication to minimize the possibility
of compressor damage when the system is started again.
Window Fogging
Interior fogging on the windshield can be quickly re-
moved by turning the mode selector to Defrost. The
Defrost/Floor mode can be used to maintain a clear
286 UNDERSTANDING YOUR INSTRUMENT PANEL
Page 289 of 543
windshield and provide sufficient heating. If side win-
dow fogging becomes a problem, increase blower speed.
Vehicle windows tend to fog on the inside in mild but
rainy or humid weather.
NOTE:Recirculate without A/C should not be used for
long periods as fogging may occur.
Side Window Demisters
A side window demister outlet is located at each end of
the instrument panel. These non-adjustable outlets direct
air toward the side windows when the system is in the
FLOOR, MIX, or DEFROST mode. The air is directed at
the area of the windows through which you view the
outside mirrors.
Outside Air Intake
Make sure the air intake, located directly in front of the
windshield, is free of obstructions such as leaves. Leaves
collected in the air intake may reduce airflow, and if they
enter the plenum, they could plug the water drains. In
winter months, make sure the air intake is clear of ice,
slush, and snow.
A/C Air Filter
The A/C Filter prevents most dust and pollen from
entering the cabin. The filter acts on air coming from
outside the vehicle and recirculated air within the pas-
senger compartment. Refer to “Maintenance Procedures”
in “Maintaining Your Vehicle” for A/C Air Filter service
information or see your authorized dealer for service.
Refer to “Maintenance Schedules” for filter service inter-
vals.
4
UNDERSTANDING YOUR INSTRUMENT PANEL 287
Page 356 of 543
WARNING!
Overloading of your tires is dangerous. Overloading
can cause tire failure, affect vehicle handling, and
increase your stopping distance. Use tires of the
recommended load capacity for your vehicle. Never
overload them.
TIRES — GENERAL INFORMATION
Tire Pressure
Proper tire inflation pressure is essential to the safe and
satisfactory operation of your vehicle. Three primary
areas are affected by improper tire pressure:
Safety
WARNING!
•Improperly inflated tires are dangerous and can
cause collisions.
• Under-inflation increases tire flexing and can re-
sult in over-heating and tire failure.
• Over-inflation reduces a tire’s ability to cushion
shock. Objects on the road and chuckholes can
cause damage that result in tire failure.
• Over-inflated or under-inflated tires can affect ve-
hicle handling and can fail suddenly, resulting in
loss of vehicle control.
• Unequal tire pressures can cause steering prob-
lems. You could lose control of your vehicle.
(Continued)
354 STARTING AND OPERATING
Page 403 of 543
fluid and filter as specified for “police, taxi, fleet, or
frequent trailer towing.” Refer to the “Maintenance Sched-
ule” for the proper maintenance intervals.
Electronic Speed Control – If Equipped
•Do not use in hilly terrain or with heavy loads.
• When using the speed control, if you experience speed
drops greater than 10 mph (16 km/h), disengage until
you can get back to cruising speed.
• Use speed control in flat terrain and with light loads to
maximize fuel efficiency.
AutoStick®
• When using the AutoStick® shift control, select the
highest gear that allows for adequate performance and
avoids frequent downshifts. For example, choose “4” if
the desired speed can be maintained. Choose “3” or
“2” if needed to maintain the desired speed. •
To prevent excess heat generation, avoid continuous
driving at high RPM. Reduce vehicle speed as neces-
sary to avoid extended driving at high RPM. Return to
a higher gear or vehicle speed when grade and road
conditions allow.
Cooling System
To reduce potential for engine and transmission over-
heating, take the following actions:
City Driving
When stopped for short periods, shift the transmission
into NEUTRAL and increase engine idle speed.
Highway Driving
Reduce speed.
Air Conditioning
Turn off temporarily.
5
STARTING AND OPERATING 401