steering wheel DODGE CHALLENGER 2014 3.G Owners Manual
[x] Cancel search | Manufacturer: DODGE, Model Year: 2014, Model line: CHALLENGER, Model: DODGE CHALLENGER 2014 3.GPages: 539, PDF Size: 3.49 MB
Page 45 of 539
open or partially open positions. This is a normal occur-
rence and can be minimized. If the buffeting occurs with
one window open, then open the other window to
minimize the buffeting. If the buffeting occurs with the
sunroof open, then adjust the sunroof opening to mini-
mize the buffeting.
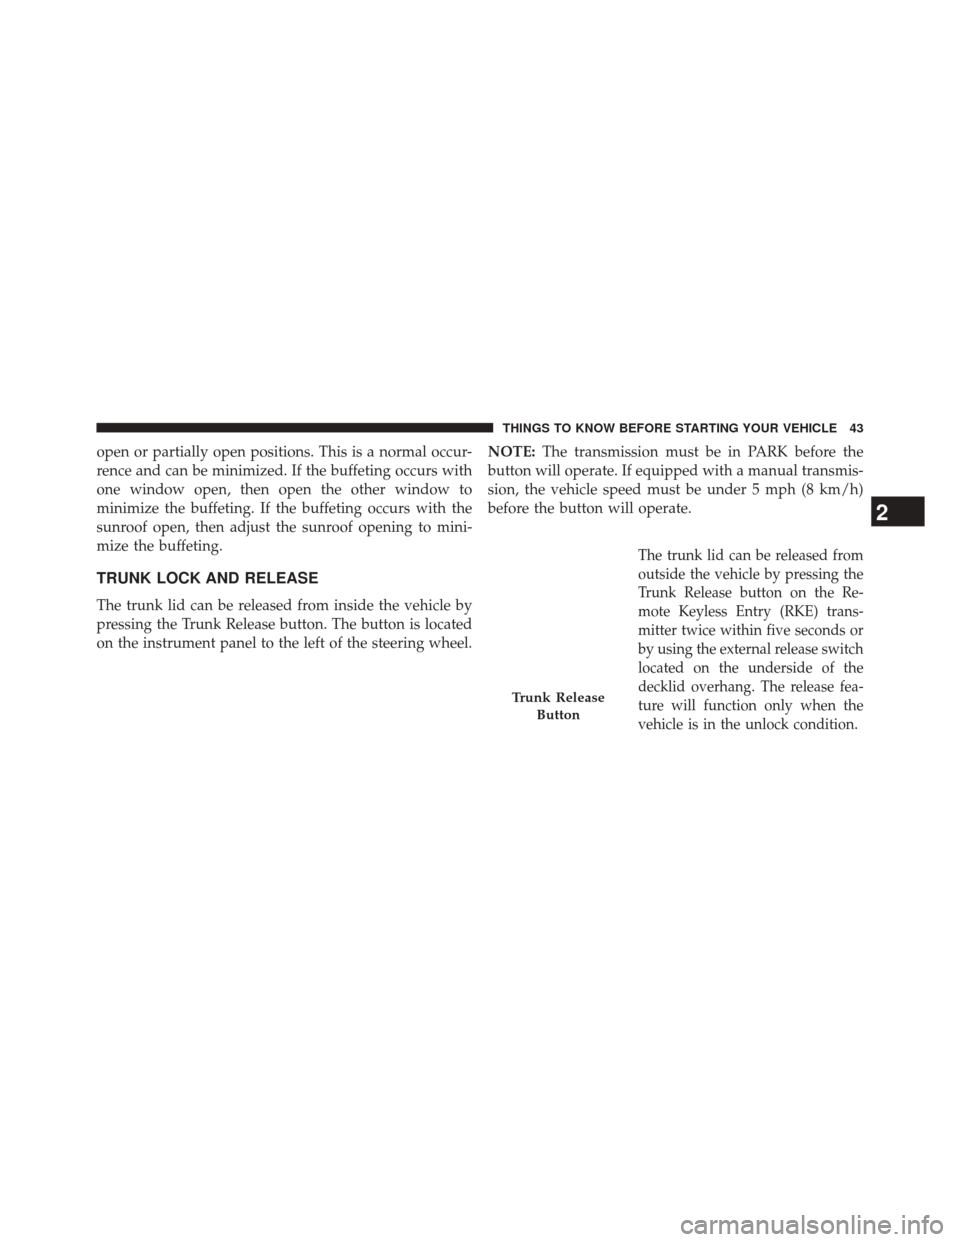
TRUNK LOCK AND RELEASE
The trunk lid can be released from inside the vehicle by
pressing the Trunk Release button. The button is located
on the instrument panel to the left of the steering wheel.NOTE:
The transmission must be in PARK before the
button will operate. If equipped with a manual transmis-
sion, the vehicle speed must be under 5 mph (8 km/h)
before the button will operate.
The trunk lid can be released from
outside the vehicle by pressing the
Trunk Release button on the Re-
mote Keyless Entry (RKE) trans-
mitter twice within five seconds or
by using the external release switch
located on the underside of the
decklid overhang. The release fea-
ture will function only when the
vehicle is in the unlock condition.
Trunk Release
Button
2
THINGS TO KNOW BEFORE STARTING YOUR VEHICLE 43
Page 47 of 539
OCCUPANT RESTRAINTS
Some of the most important safety features in your
vehicle are the restraint systems:
•Three-point lap and shoulder belts for the driver and
all passengers •
Advanced Front Air Bags for driver and front passen-
ger
• Supplemental Side Air Bag Inflatable Curtains (SABIC)
for the driver and passengers seated next to a window
• Supplemental Seat-Mounted Side Air Bags (SAB) for
the driver and front outboard passenger
• An energy-absorbing steering column and steering
wheel
• Knee bolsters/blockers for front seat occupants
• Front seat belts incorporate pretensioners that may
enhance occupant protection by managing occupant
energy during an impact event
• All seat belt systems (except the driver ’s) include
Automatic Locking Retractors (ALRs), which lock the
seat belt webbing into position by extending the belt
Trunk Emergency Internal Release
2
THINGS TO KNOW BEFORE STARTING YOUR VEHICLE 45
Page 50 of 539
WARNING!(Continued)
•Being too close to the steering wheel or instrument
panel during Advanced Front Air Bag deployment
could cause serious injury, including death. Air
bags need room to inflate. Sit back, comfortably
extending your arms to reach the steering wheel or
instrument panel.
• Supplemental Side Air Bag Inflatable Curtain
(SABIC) and Seat-Mounted Side Air Bags (SAB)
also need room to inflate. Do not lean against the
door or window. Sit upright in the center of the
seat.
(Continued)
WARNING! (Continued)
•In a collision, you and your passengers can suffer
much greater injuries if you are not properly buck-
led up. You can strike the interior of your vehicle or
other passengers, or you can be thrown out of the
vehicle. Always be sure you and others in your
vehicle are buckled up properly.
• Being too close to the Supplemental Side Air Bag
Inflatable Curtain (SABIC) and/or Seat-Mounted
Side Air Bag (SAB) during deployment could cause
you to be severely injured or killed.
Buckle up even though you are an excellent driver, even
on short trips. Someone on the road may be a poor driver
and cause a collision that includes you. This can happen
far away from home or on your own street.
Research has shown that seat belts save lives, and they
can reduce the seriousness of injuries in a collision. Some
48 THINGS TO KNOW BEFORE STARTING YOUR VEHICLE
Page 60 of 539
Keep the belt low so that it does not come across the
abdomen. That way the strong bones of the hips will take
the force if there is a collision.
Seat Belt Extender
If a seat belt is too short even when fully extended and
when the adjustable upper shoulder belt anchorage (if
equipped) is in its lowest position, your authorized
dealer can provide you with a seat belt extender. This
extender should be used only if the existing belt is not
long enough. When it is not required, remove the ex-
tender and store it.
WARNING!
Using a seat belt extender when not needed can
increase the risk of injury in a collision. Only use
when the seat belt is not long enough when it is worn
(Continued)
WARNING!(Continued)
low and snug and in the recommended seating posi-
tions. Remove and store the extender when not
needed.
Supplemental Restraint System (SRS) — Air Bags
This vehicle has Advanced Front Air Bags for both the
driver and front passenger as a supplement to the seat
belt restraint systems. The driver’s Advanced Front Air
Bag is mounted in the center of the steering wheel. The
passenger’s Advanced Front Air Bag is mounted in the
instrument panel, above the glove compartment. The
words SRS AIRBAG are embossed on the air bag covers.
58 THINGS TO KNOW BEFORE STARTING YOUR VEHICLE
Page 62 of 539
This vehicle may be equipped with Supplemental Side
Air Bag Inflatable Curtains (SABIC) to protect the driver,
front, and rear passengers sitting next to a window. The
SABIC air bags are located above the side windows and
their covers are labeled: SRS AIRBAG.
NOTE:
•Air Bag covers may not be obvious in the interior trim,
but they will open during air bag deployment.
• After any collision, the vehicle should be taken to an
authorized dealer immediately.
Air Bag System Components
Your vehicle may be equipped with the following air bag
system components:
• Occupant Restraint Controller (ORC)
• Air Bag Warning Light •
Steering Wheel and Column
• Instrument Panel
• Knee Impact Bolsters
• Driver Advanced Front Air Bag
• Passenger Advanced Front Air Bag
• Supplemental Seat-Mounted Side Air Bags (SAB)
• Supplemental Side Air Bag Inflatable Curtains (SABIC)
• Front and Side Impact Sensors
• Front Seat Belt Pretensioners, Seat Belt Buckle Switch,
and Seat Track Position Sensors
Advanced Front Air Bag Features
The Advanced Front Air Bag system has multistage
driver and front passenger air bags. This system provides
output appropriate to the severity and type of collision as
60 THINGS TO KNOW BEFORE STARTING YOUR VEHICLE
Page 69 of 539
WARNING!
Ignoring the Air Bag Warning Light in your instru-
ment panel could mean you won’t have the air bags
to protect you in a collision. If the light does not come
on as a bulb check when the ignition is first turned
on, stays on after you start the vehicle, or if it comes
on as you drive, have an authorized dealer service the
air bag system immediately.
Driver And Passenger Advanced Front Air Bag
Inflator Units
The Driver and Passenger Advanced Front Air Bag
Inflator Units are located in the center of the steering
wheel and on the right side of the instrument panel.
When the ORC detects a collision requiring the Ad-
vanced Front Air Bags, it signals the inflator units. A large
quantity of non-toxic gas is generated to inflate the
Advanced Front Air Bags. Different air bag inflation ratesare possible, based on several factors, including the
collision type and severity. The steering wheel hub trim
cover and the upper right side of the instrument panel
separate and fold out of the way as the air bags inflate to
their full size. The air bags fully inflate in about 50 to 70
milliseconds. This is about half of the time it takes to
blink your eyes. The air bags then quickly deflate while
helping to restrain the driver and front passenger.
The Advanced Front Air Bag gas is vented through the
vent holes in the sides of the air bag. In this way, the air
bags do not interfere with your control of the vehicle.
2
THINGS TO KNOW BEFORE STARTING YOUR VEHICLE 67
Page 73 of 539
Maintaining Your Air Bag System
WARNING!
•Modifications to any part of the air bag system
could cause it to fail when you need it. You could
be injured if the air bag system is not there to
protect you. Do not modify the components or
wiring, including adding any kind of badges or
stickers to the steering wheel hub trim cover or the
upper right side of the instrument panel. Do not
modify the front bumper, vehicle body structure, or
add aftermarket side steps or running boards.
• It is dangerous to try to repair any part of the air
bag system yourself. Be sure to tell anyone who
works on your vehicle that it has an air bag system.
(Continued)
WARNING! (Continued)
•Do not attempt to modify any part of your air bag
system. The air bag may inflate accidentally or may
not function properly if modifications are made.
Take your vehicle to an authorized dealer for any
air bag system service. If your seat, including your
trim cover and cushion, needs to be serviced in any
way (including removal or loosening/tightening of
seat attachment bolts), take the vehicle to your
authorized dealer. Only manufacturer approved
seat accessories may be used. If it is necessary to
modify the air bag system for persons with dis-
abilities, contact your authorized dealer.
2
THINGS TO KNOW BEFORE STARTING YOUR VEHICLE 71
Page 103 of 539
WARNING!(Continued)
•Always make sure that objects cannot fall into the
driver footwell while the vehicle is moving. Ob-
jects can become trapped under the brake pedal
and accelerator pedal causing a loss of vehicle
control.
• If required, mounting posts must be properly in-
stalled, if not equipped from the factory.
Failure to properly follow floor mat installation or
mounting can cause interference with the brake
pedal and accelerator pedal operation causing loss of
control of the vehicle.
Periodic Safety Checks You Should Make Outside
The Vehicle
Tires
Examine tires for excessive tread wear and uneven wear
patterns. Check for stones, nails, glass, or other objects lodged in the tread or sidewall. Inspect the tread for cuts
and cracks. Inspect sidewalls for cuts, cracks and bulges.
Check the wheel nuts for tightness. Check the tires
(including spare) for proper cold inflation pressure.
Lights
Have someone observe the operation of brake lights and
exterior lights while you work the controls. Check turn
signal and high beam indicator lights on the instrument
panel.
Door Latches
Check for positive closing, latching, and locking.
Fluid Leaks
Check area under vehicle after overnight parking for fuel,
engine coolant, oil, or other fluid leaks. Also, if gasoline
fumes are detected or if fuel, power steering fluid (if
equipped), or brake fluid leaks are suspected, the cause
should be located and corrected immediately.
2
THINGS TO KNOW BEFORE STARTING YOUR VEHICLE 101
Page 116 of 539
Uconnect® Phone allows you to transfer calls between
the system and your mobile phone as you enter or exit
your vehicle and enables you to mute the system’s
microphone for private conversation.
The Uconnect® Phone is driven through your
Bluetooth® “Hands-Free Profile” mobile phone.
Uconnect® features Bluetooth® technology - the global
standard that enables different electronic devices to con-
nect to each other without wires or a docking station, so
Uconnect® Phone works no matter where you stow your
mobile phone (be it your purse, pocket, or briefcase), as
long as your phone is turned on and has been paired to
the vehicle’s Uconnect® Phone. The Uconnect® Phone
allows up to seven mobile phones to be linked to the
system. Only one linked (or paired) mobile phone can be
used with the system at a time. The system is available in
English, Spanish, or French languages.WARNING!
Any voice commanded system should be used only
in safe driving conditions following all applicable
laws, including laws regarding phone use. Your at-
tention should be focused on safely operating the
vehicle. Failure to do so may result in a collision
causing serious injury or death.
Uconnect® Phone Button The radio or steering wheel controls (if
equipped) will contain the two control buttons
(Uconnect® Phone
button and Voice Com-
mand
button) that will enable you to
access the system. When you press the button you will
hear the word Uconnect® followed by a BEEP. The beep
is your signal to give a command.
114 UNDERSTANDING THE FEATURES OF YOUR VEHICLE
Page 117 of 539
Voice Command ButtonActual button location may vary with the ra-
dio. The individual buttons are described in the
“Operation” section.
The Uconnect® Phone can be used with any Hands-Free
Profile certified Bluetooth® mobile phone. See the
Uconnect® website for supported phones. Refer to your
mobile service provider or the phone manufacturer for
details.
The Uconnect® Phone is fully integrated with the vehi-
cle’s audio system. The volume of the Uconnect® Phone
can be adjusted either from the radio volume control
knob or from the steering wheel radio control (right
switch), if so equipped.
The radio display will be used for visual prompts from
the Uconnect® Phone such as “CELL” or caller ID on
certain radios.Operation
Voice commands can be used to operate the Uconnect®
Phone and to navigate through the Uconnect® Phone
menu structure. Voice commands are required after most
Uconnect® Phone prompts. You will be prompted for a
specific command and then guided through the available
options.
• Prior to giving a voice command, one must wait for the
beep, which follows the “Ready” prompt or another
prompt.
• For certain operations, compound commands can be
used. For example, instead of saying “Setup” and then
“Pair a Device,” the following compound command
can be said: “Pair a Bluetooth® Device.”
• For each feature explanation in this section, only the
compound form of the voice command is given. You
can also break the commands into parts and say each
3
UNDERSTANDING THE FEATURES OF YOUR VEHICLE 115