reset DODGE CHALLENGER 2014 3.G User Guide
[x] Cancel search | Manufacturer: DODGE, Model Year: 2014, Model line: CHALLENGER, Model: DODGE CHALLENGER 2014 3.GPages: 148, PDF Size: 3.71 MB
Page 39 of 148
Radio Operation
Seek Up/Down Buttons
• Press to seek through radio stations in AM or FM bands.
• Hold either button to bypass stations without stopping.
Store Radio Presets
• Press the SET/RND or SET (depending on the radio) button once and SET 1 will show in thedisplay. Then select a preset button (1–6).
• A second station may be added to each push button. Press the SET/RND or SET (depending on the radio) button twice and SET 2 will show in the display. Then select a
preset button (1–6).
CD/DISC Operation
Seek Up/Down Buttons
• Press to seek through CD tracks.
• Hold either button to bypass tracks without stopping.
SET/RND Or RND (Depending On Radio) Button (Random Play)
• Press this button while the CD is playing to activate Random Play.
• This feature plays the selections on the CD in random order to provide an interestingchange of pace.
Audio Jack Operation
The AUX/Audio Jack provides a means to connect a portable audio device, such as an MP3
player or an iPod®, to the vehicle’s sound system. This requires the use of a 3.5 mm stereo
audio patch cable.
• Pressing the AUX button will change the mode to auxiliary device if the Audio Jack isconnected, allowing the music from your portable device to play through the vehicle's
speakers.
The functions of the portable device are controlled using the device buttons, not the
buttons on the radio. However, the volume may be controlled using the radio or portable
device.
ELECTRONICS
37
Page 41 of 148
Equalizer, Balance And Fade
1. Press the TUNE/SCROLL control knob and “BASS” will display.
2. Rotate the TUNE/SCROLL control knob to select the desired setting.
3. Continue pressing the TUNE/SCROLL control knob to display and set “MID RANGE,”“TREBLE,” “BALANCE” and “FADE.”
Radio Operation
Seek Up/Down Buttons
• Press to seek through radio stations in AM, FM, or SAT bands.
• Hold either button to bypass stations without stopping.
Store Radio Presets
• Press the SET/RND or SET (depending on the radio) button once and SET 1 will show in thedisplay. Then select a preset button (1–6).
• A second station may be added to each push button. Press the SET/RND or SET (depending on the radio) button twice and SET 2 will show in the display. Then select a
preset button (1–6).
Music Type
NOTE:
The Music Type function only operates when in FM mode.
• Press the MUSIC TYPE button to activate this mode. Press the MUSIC TYPE button again or turn the TUNE/SCROLL control knob to select the desired music type (Adult Hits,
Country, Jazz, Oldies, Rock, etc.).
• When a music type is chosen and the Music type is displayed, press either SEEK button and the radio will only search for stations with the selected music type.
SETUP Button
• Pressing the SETUP button allows you to select between items that are available in that particular mode.
• Turn the TUNE/SCROLL control knob to scroll through the entries. Push the AUDIO/ SELECT button to select an entry and make changes.
ELECTRONICS
39
Page 44 of 148
Equalizer, Balance And Fade
Audio Control Menu
• Press the “AUDIO” hard-key on the rightside of the radio.
• Use either the arrow soft-keys or the cross-hair on the screen to change Bal-
ance and Fade. The “CENTER” soft-key
resets the settings.
• Touch the “Equalizer” soft-key and use either the arrow soft-keys or the sliders on
the screen to adjust BASS, MID, and/or
TREBLE.
Display Settings
• Press the “MENU” hard-key and touch the “Display Settings” soft-key to access the
Display Settings menu.
• Select the “Daytime Colors” soft-key to switch to manual daytime mode and to
adjust the brightness of the display using
daytime colors.
• Select the “Nighttime Colors” soft-key to switch to manual nighttime mode and to
adjust the brightness of the display using nighttime colors.
• Select the “Auto Color Mode” soft-key to switch to automatic daytime/nighttime mode and to control the brightness of the display using the dimmer switch of the vehicle.
• Touch the “EXIT” soft-key to save your settings.
ELECTRONICS
42
Page 45 of 148
Radio Operation
• To access Radio Mode, touch the “RADIO” hard-key on the left side of the faceplate, thentouch the “AM,” “FM” or “SAT” soft-key at the top of the screen to select the band.
Seek Up/Seek Down
• Press the “Seek Up” or “Seek Down” soft-keys to seek through radio stations in AM, FM, or SAT bands. Hold either Seek to bypass stations without stopping.
Store Radio Presets
• Select the radio band by touching either the “AM,” “FM,” or “SAT” soft-key.
• Find the station to store by either pressing the “Seek Up” or “Seek Down” soft-keys, touching the “SCAN” soft-key, or by using the “DIRECT TUNE” soft-key.
• Once the station is found, touch and hold one of the “PRESET” soft-keys in the list to the right, until the preset key flashes and the station text on the soft-key changes.
NOTE:
If the Presets are not visible on the right side of the screen, press the “Presets” soft-key.
ELECTRONICS
43
Page 54 of 148
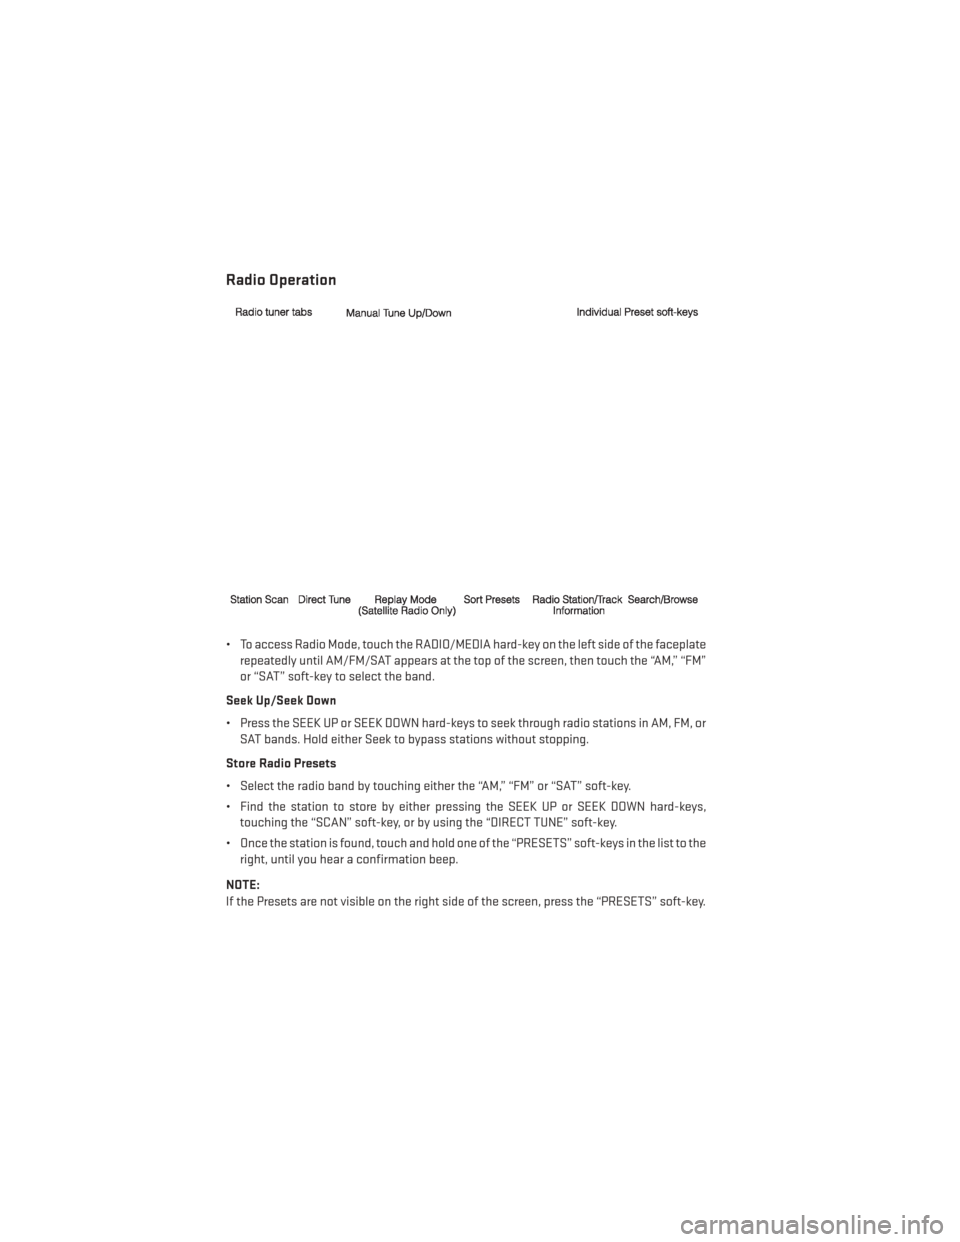
Radio Operation
• To access Radio Mode, touch the RADIO/MEDIA hard-key on the left side of the faceplaterepeatedly until AM/FM/SAT appears at the top of the screen, then touch the “AM,” “FM”
or “SAT” soft-key to select the band.
Seek Up/Seek Down
• Press the SEEK UP or SEEK DOWN hard-keys to seek through radio stations in AM, FM, or SAT bands. Hold either Seek to bypass stations without stopping.
Store Radio Presets
• Select the radio band by touching either the “AM,” “FM” or “SAT” soft-key.
• Find the station to store by either pressing the SEEK UP or SEEK DOWN hard-keys, touching the “SCAN” soft-key, or by using the “DIRECT TUNE” soft-key.
• Once the station is found, touch and hold one of the “PRESETS” soft-keys in the list to the right, until you hear a confirmation beep.
NOTE:
If the Presets are not visible on the right side of the screen, press the “PRESETS” soft-key.
ELECTRONICS
52
Page 67 of 148
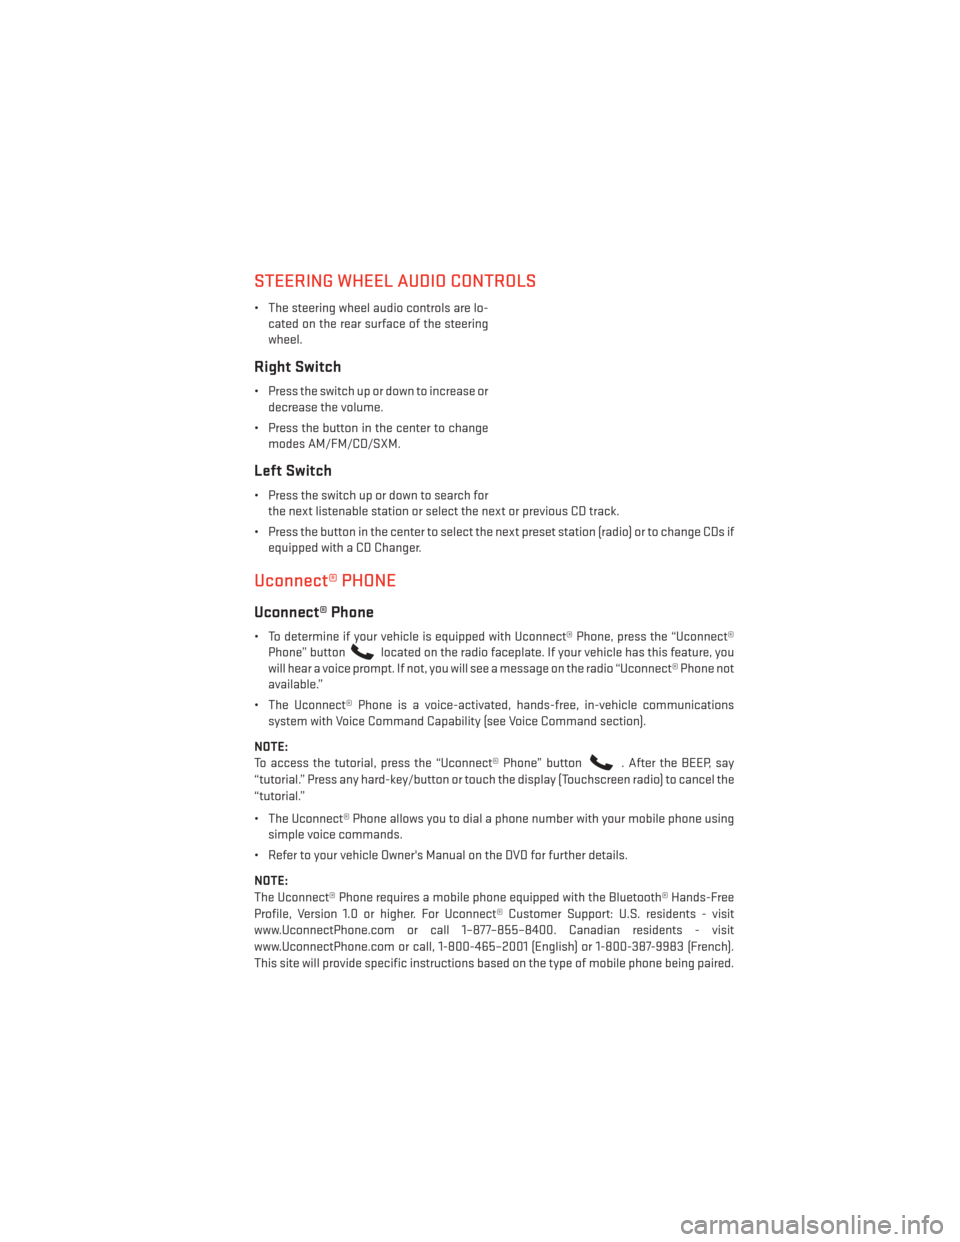
STEERING WHEEL AUDIO CONTROLS
• The steering wheel audio controls are lo-cated on the rear surface of the steering
wheel.
Right Switch
• Press the switch up or down to increase ordecrease the volume.
• Press the button in the center to change modes AM/FM/CD/SXM.
Left Switch
• Press the switch up or down to search forthe next listenable station or select the next or previous CD track.
• Press the button in the center to select the next preset station (radio) or to change CDs if equipped with a CD Changer.
Uconnect® PHONE
Uconnect® Phone
• To determine if your vehicle is equipped with Uconnect® Phone, press the “Uconnect®Phone” button
located on the radio faceplate. If your vehicle has this feature, you
will hear a voice prompt. If not, you will see a message on the radio “Uconnect® Phone not
available.”
• The Uconnect® Phone is a voice-activated, hands-free, in-vehicle communications system with Voice Command Capability (see Voice Command section).
NOTE:
To access the tutorial, press the “Uconnect® Phone” button
. After the BEEP, say
“tutorial.” Press any hard-key/button or touch the display (Touchscreen radio) to cancel the
“tutorial.”
• The Uconnect® Phone allows you to dial a phone number with your mobile phone using simple voice commands.
• Refer to your vehicle Owner's Manual on the DVD for further details.
NOTE:
The Uconnect® Phone requires a mobile phone equipped with the Bluetooth® Hands-Free
Profile, Version 1.0 or higher. For Uconnect® Customer Support: U.S. residents - visit
www.UconnectPhone.com or call 1–877–855–8400. Canadian residents - visit
www.UconnectPhone.com or call, 1-800-465–2001 (English) or 1-800-387-9983 (French).
This site will provide specific instructions based on the type of mobile phone being paired.
ELECTRONICS
65
Page 74 of 148
• When connected to this feature:• The iPod® can be controlled using the radio buttons to Play, Browse, and List the iPod®or external devices contents.
• The iPod® battery charges when plugged into the USB port (if supported by the specific audio device).
• Compatible iPod® devices may also be controllable using voice commands. Refer to the Owner's Manual on the DVD for details.
NOTE:
The USB port supports certain Mini, Classic, Nano, Touch, and iPhone® devices. The USB
port also supports playing music from compatible external USB Mass Storage Class
memory devices. For supported audio file formats, refer to the USB Port section in the
Owner's Manual on the DVD. Refer to www.UconnectPhone.com for a list of tested iPod®s.
Some iPod® software versions may not fully support the USB port features. Please visit
Apple’s website for iPod® software updates.
WARNING!
Do not plug in or remove the iPod® or external device while driving. Failure to follow this
warning could result in a collision.
ELECTRONIC VEHICLE INFORMATION CENTER (EVIC)
• The EVIC features a driver interactive dis- play that is located in the instrument
cluster. Pressing the controls on the left
side of the steering wheel allows the
driver to select vehicle information and
Personal Settings. For additional infor-
mation, refer to Programmable Features
in this guide.
• Press and release the MENU
button to
access the main menu, or to return to the
main menu from the sub menus.
• Press and release the UP
button to
scroll upward through the main menus
and sub menus.
• Press and release the DOWN
button
to scroll downward through the main
menus and sub menus.
• Press and release the SELECT
button for access to main menus, sub menus or to
select a personal setting in the setup menu. Press and hold the SELECT button for two
seconds to reset features.
1 — EVIC Controls
ELECTRONICS
72
Page 84 of 148
SRT PERFORMANCE FEATURES
Electronic Vehicle Information Center (EVIC)
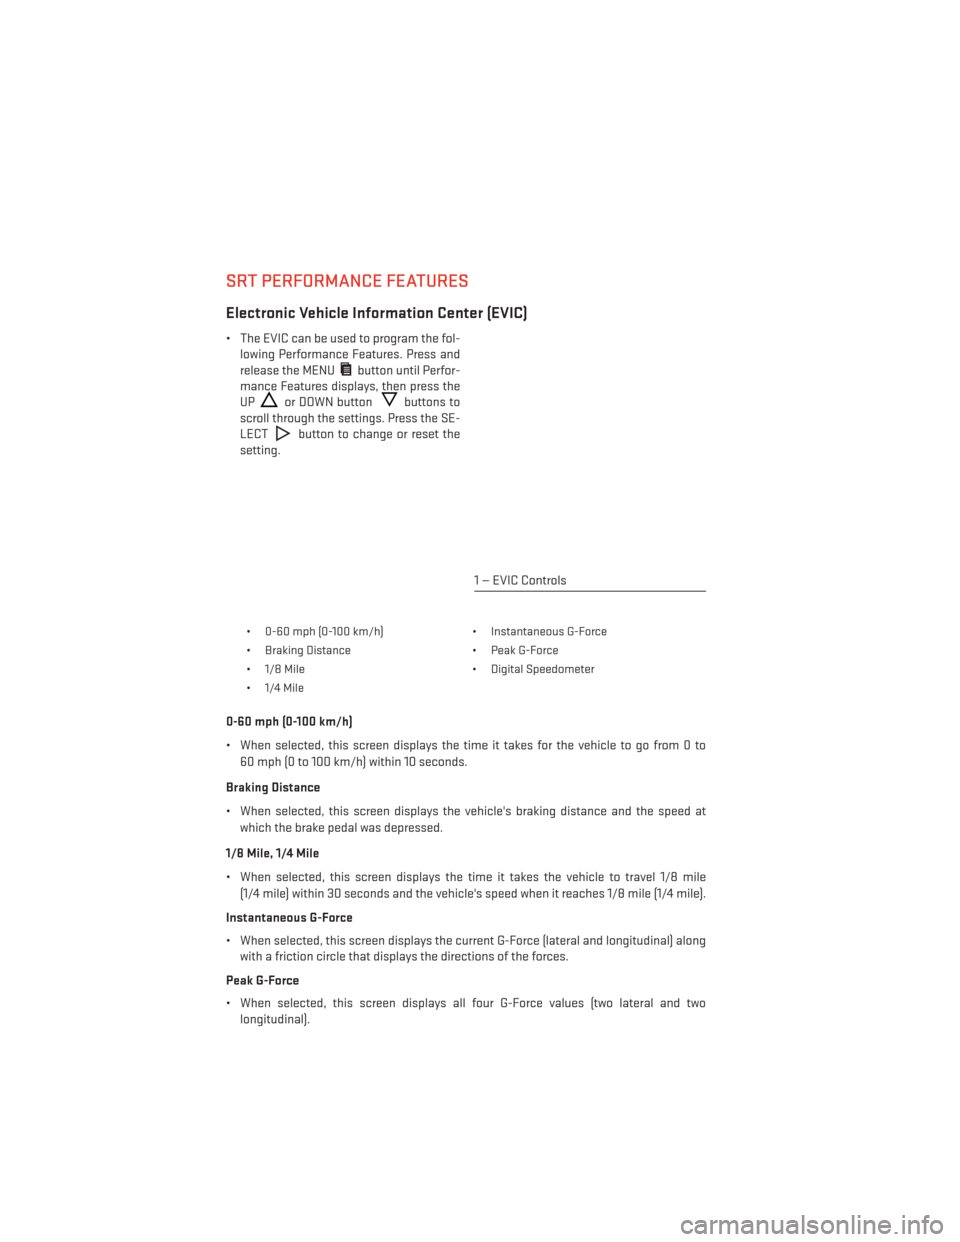
• The EVIC can be used to program the fol-lowing Performance Features. Press and
release the MENU
button until Perfor-
mance Features displays, then press the
UP
or DOWN buttonbuttons to
scroll through the settings. Press the SE-
LECT
button to change or reset the
setting.
• 0-60 mph (0-100 km/h) • Instantaneous G-Force
• Braking Distance • Peak G-Force
• 1/8 Mile • Digital Speedometer
• 1/4 Mile
0-60 mph (0-100 km/h)
• When selected, this screen displays the time it takes for the vehicle to go from 0 to 60 mph (0 to 100 km/h) within 10 seconds.
Braking Distance
• When selected, this screen displays the vehicle's braking distance and the speed at which the brake pedal was depressed.
1/8 Mile, 1/4 Mile
• When selected, this screen displays the time it takes the vehicle to travel 1/8 mile (1/4 mile) within 30 seconds and the vehicle's speed when it reaches 1/8 mile (1/4 mile).
Instantaneous G-Force
• When selected, this screen displays the current G-Force (lateral and longitudinal) along with a friction circle that displays the directions of the forces.
Peak G-Force
• When selected, this screen displays all four G-Force values (two lateral and two longitudinal).
1 — EVIC Controls
SRT
82
Page 89 of 148
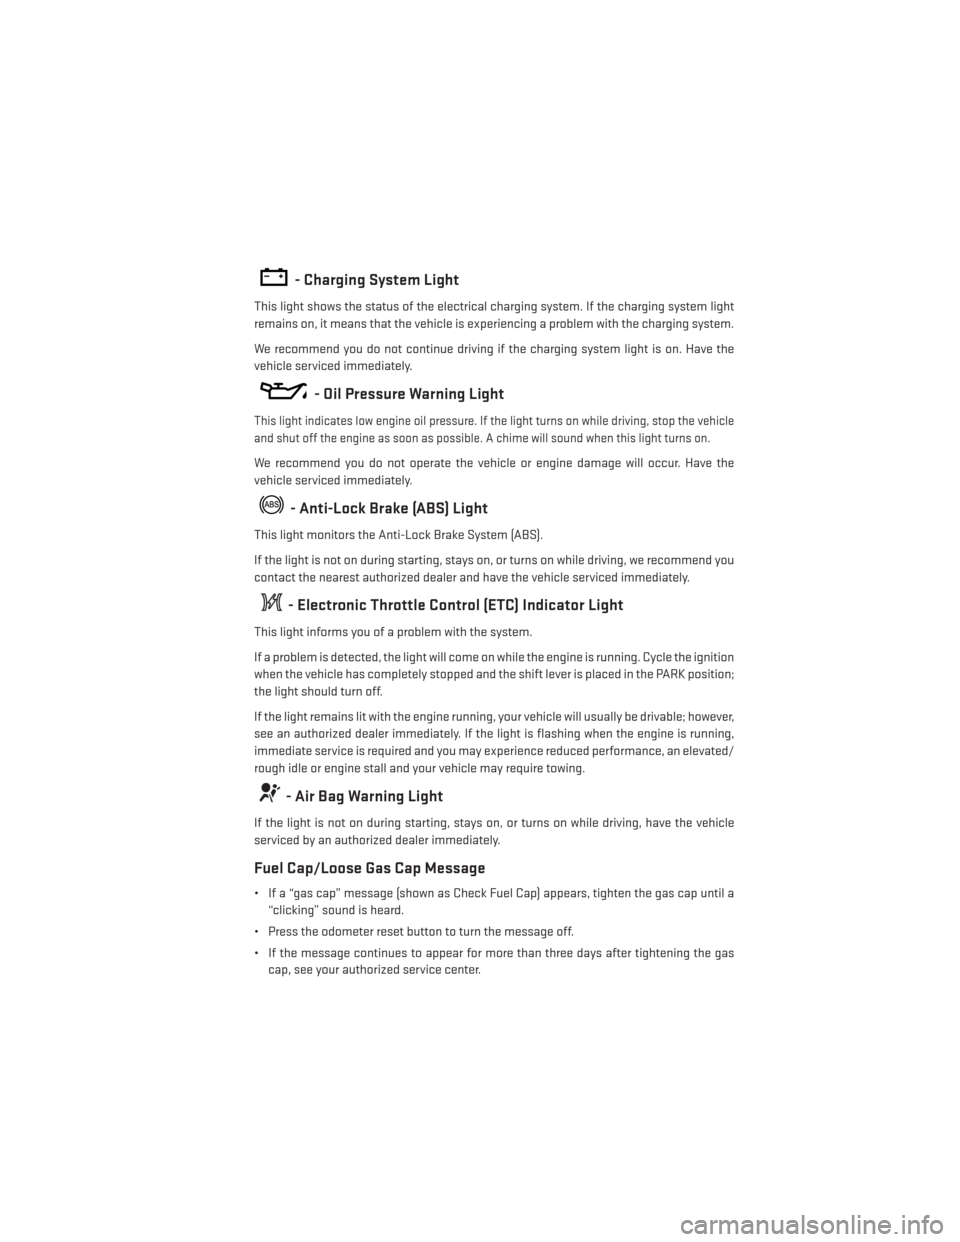
- Charging System Light
This light shows the status of the electrical charging system. If the charging system light
remains on, it means that the vehicle is experiencing a problem with the charging system.
We recommend you do not continue driving if the charging system light is on. Have the
vehicle serviced immediately.
- Oil Pressure Warning Light
This light indicates low engine oil pressure. If the light turns on while driving, stop the vehicle
and shut off the engine as soon as possible. A chime will sound when this light turns on.
We recommend you do not operate the vehicle or engine damage will occur. Have the
vehicle serviced immediately.
- Anti-Lock Brake (ABS) Light
This light monitors the Anti-Lock Brake System (ABS).
If the light is not on during starting, stays on, or turns on while driving, we recommend you
contact the nearest authorized dealer and have the vehicle serviced immediately.
- Electronic Throttle Control (ETC) Indicator Light
This light informs you of a problem with the system.
If a problem is detected, the light will come on while the engine is running. Cycle the ignition
when the vehicle has completely stopped and the shift lever is placed in the PARK position;
the light should turn off.
If the light remains lit with the engine running, your vehicle will usually be drivable; however,
see an authorized dealer immediately. If the light is flashing when the engine is running,
immediate service is required and you may experience reduced performance, an elevated/
rough idle or engine stall and your vehicle may require towing.
- Air Bag Warning Light
If the light is not on during starting, stays on, or turns on while driving, have the vehicle
serviced by an authorized dealer immediately.
Fuel Cap/Loose Gas Cap Message
• If a “gas cap” message (shown as Check Fuel Cap) appears, tighten the gas cap until a“clicking” sound is heard.
• Press the odometer reset button to turn the message off.
• If the message continues to appear for more than three days after tightening the gas cap, see your authorized service center.
WHAT TO DO IN EMERGENCIES
87
Page 90 of 148
Oil Life Reset
Your vehicle is equipped with an engine oil change indicator system. The “Oil Change Due”
message will flash in the EVIC display for approximately 10 seconds after a single chime
has sounded, to indicate the next scheduled oil change interval. The engine oil change
indicator system is duty cycle based, which means the engine oil change interval may
fluctuate, dependent upon your personal driving style.
Vehicles Equipped With Passive Entry
• Without pushing the brake pedal, push the ENGINE START/STOP button and cycle theignition to the ON/RUN position (Do not start the engine.)
• Push and release the DOWN
arrow button to scroll downward through the main menu
to “Vehicle Info”.
• Push and release the RIGHT
arrow button to access the ”Oil Life” screen.
• Push and hold the RIGHT
arrow button for one second to access the ”Oil Life Reset”
screen.
• Push and hold the DOWN
arrow button until the screen shows 100% oil life.
• Push and release the Uparrow button to exit the EVIC screen.
Vehicles Not Equipped With Passive Entry
• Without pushing the brake pedal, cycle the ignition to the ON/RUN position (Do not start the engine.)
• Push and release the DOWN
arrow button to scroll downward through the main menu
to “Vehicle Info”.
• Push and release the RIGHT
arrow button to access the ”Oil Life” screen.
• Push and hold the RIGHT
arrow button for one second to access the ”Oil Life Reset”
screen.
• Push and hold the DOWN
arrow button until the screen shows 100% oil life.
• Push and release the Uparrow button to exit the EVIC screen.
NOTE:
If the indicator message illuminates when you start the vehicle, the oil change indicator
system did not reset. If necessary, repeat this procedure.
Resetting The Light After Servicing
Vehicles Equipped With Keyless Enter-N-Go™
• Without pressing the brake pedal, push the ENGINE START/STOP button and cycle the ignition to the ON/RUN position (do not start the engine.)
• Fully depress the accelerator pedal, slowly, three times within 10 seconds.
• Without pressing the brake pedal, push the ENGINE START/STOP button once to return the ignition to the OFF/LOCK position.
WHAT TO DO IN EMERGENCIES
88