check oil DODGE CHALLENGER 2015 3.G Owners Manual
[x] Cancel search | Manufacturer: DODGE, Model Year: 2015, Model line: CHALLENGER, Model: DODGE CHALLENGER 2015 3.GPages: 603, PDF Size: 14.97 MB
Page 93 of 603
While cruising, brief full-throttle acceleration within the
limits of local traffic laws contributes to a good break-in.
However, wide-open throttle acceleration in low gear can
be detrimental and should be avoided.
The engine oil, transmission fluid, and axle lubricant
installed at the factory is high-quality and energy-
conserving. Oil, fluid, and lubricant changes should be
consistent with anticipated climate and conditions under
which vehicle operations will occur. For the recom-
mended viscosity and quality grades, refer to “Mainte-
nance Procedures” in “Maintaining Your Vehicle”.
CAUTION!
Never use Non-Detergent Oil or Straight Mineral Oil
in the engine or damage may result.
NOTE:A new engine may consume some oil during its
first few thousand miles (kilometers) of operation. This
should be considered a normal part of the break-in and
not interpreted as an indication of difficulty. Please check
your oil level with the engine oil indicator often during
the break in period. Add oil as required.
For vehicles equipped with the 6.4L use the following
engine break-in recommendations:
Despite modern technology and World Class manufac-
turing methods, the moving parts of the vehicle must still
wear in with each other. This wearing in occurs mainly
during the first 500 miles (805 km) and continues through
the first oil change interval.
2
THINGS TO KNOW BEFORE STARTING YOUR VEHICLE 91
Page 95 of 603
For the first 1500 mi (2414 km):
•Do not participate in track events, sport driving
schools, or similar activities during the first 1500 mi
(2414 km).
NOTE:Check engine oil with every refueling and add if
necessary. Oil and fuel consumption may be higher
through the first oil change interval.
SAFETY TIPS
Transporting Passengers
NEVER TRANSPORT PASSENGERS IN THE CARGO
AREA.
WARNING!
•Do not leave children or animals inside parked
vehicles in hot weather. Interior heat build-up may
cause serious injury or death.
•It is extremely dangerous to ride in a cargo area,
inside or outside of a vehicle. In a collision, people
riding in these areas are more likely to be seriously
injured or killed.
•Do not allow people to ride in any area of your
vehicle that is not equipped with seats and seat
belts.
•Be sure everyone in your vehicle is in a seat and
using a seat belt properly.
2
THINGS TO KNOW BEFORE STARTING YOUR VEHICLE 93
Page 99 of 603
Periodic Safety Checks You Should Make Outside
The Vehicle
Tires
Examine tires for excessive tread wear and uneven wear
patterns. Check for stones, nails, glass, or other objects
lodged in the tread or sidewall. Inspect the tread for cuts
and cracks. Inspect sidewalls for cuts, cracks and bulges.
Check the wheel nuts for tightness. Check the tires
(including spare) for proper cold inflation pressure.
Lights
Have someone observe the operation of brake lights and
exterior lights while you work the controls. Check turn
signal and high beam indicator lights on the instrument
panel.
Door Latches
Check for positive closing, latching, and locking.
Fluid Leaks
Check area under vehicle after overnight parking for fuel,
engine coolant, oil, or other fluid leaks. Also, if gasoline
fumes are detected or if fuel, power steering fluid (if
equipped), or brake fluid leaks are suspected, the cause
should be located and corrected immediately.
2
THINGS TO KNOW BEFORE STARTING YOUR VEHICLE 97
Page 232 of 603
The gauge pointer will likely indicate a higher tempera-
ture when driving in hot weather, up mountain grades,
or when towing a trailer. It should not be allowed to
exceed the upper limits of the normal operating range.
CAUTION!
Driving with a hot engine cooling system could
damage your vehicle. If the temperature gauge reads
“H,” pull over and stop the vehicle. Idle the vehicle
with the air conditioner turned off until the pointer
drops back into the normal range. If the pointer
remains on the “H,” and you hear a chime, turn the
engine OFF immediately and call for service.
WARNING!
A hot engine cooling system is dangerous. You or
others could be badly burned by steam or boiling
(Continued)
WARNING!(Continued)
coolant. You may want to call a service center if your
vehicle overheats. If you decide to look under the
hood yourself, refer to “Maintaining Your Vehicle”
and follow the warnings under the Cooling System
Pressure Cap paragraph.
17. Tire Pressure Monitoring Telltale Light
Each tire, including the spare (if provided),
should be checked monthly when cold and
inflated to the inflation pressure recommended
by the vehicle manufacturer on the vehicle
placard or tire inflation pressure label. (If your vehicle
has tires of a different size than the size indicated on the
vehicle placard or tire inflation pressure label, you should
determine the proper tire inflation pressure for those
tires.)
230 UNDERSTANDING YOUR INSTRUMENT PANEL
Page 377 of 603
CAUTION!
•Always check the depth of the standing water
before driving through it. Never drive through
standing water that is deeper than the bottom of
the tire rims mounted on the vehicle.
•Determine the condition of the road or the path
that is under water and if there are any obstacles in
the way before driving through the standing water.
•Do not exceed 5 mph (8 km/h) when driving
through standing water. This will minimize wave
effects.
(Continued)
CAUTION!(Continued)
•Driving through standing water may cause damage
to your vehicle’s drivetrain components. Always
inspect your vehicle’s fluids (i.e., engine oil, trans-
mission, axle, etc.) for signs of contamination (i.e.,
fluid that is milky or foamy in appearance) after
driving through standing water. Do not continue to
operate the vehicle if any fluid appears contami-
nated, as this may result in further damage. Such
damage is not covered by the New Vehicle Limited
Warranty.
•Getting water inside your vehicle’s engine can
cause it to lock up and stall out, and cause serious
internal damage to the engine. Such damage is not
covered by the New Vehicle Limited Warranty.
5
STARTING AND OPERATING 375
Page 462 of 603
4. Remove the cap from the valve stem and then screw
the fitting at the end of the Sealant Hose (6) onto the
valve stem.
5. Uncoil the Power Plug (8) and insert the plug into the
vehicle’s 12 Volt power outlet.
NOTE:Do not remove foreign objects (e.g., screws or
nails) from the tire.
(C) Injecting Tire Service Kit Sealant Into The
Deflated Tire:
•Always start the engine before turning ON the Tire
Service Kit.
NOTE:Manual transmission vehicles must have the
parking brake engaged and the shift lever in NEUTRAL.
•After pressing the Power Button (4), the sealant (white
fluid) will flow from the Sealant Bottle (1) through the
Sealant Hose (6) and into the tire.
NOTE:Sealant may leak out through the puncture in the
tire.
If the sealant (white fluid) does not flow within0–10
seconds through the Sealant Hose (6):
1. Press the Power Button (4) to turn Off the Tire Service
Kit. Disconnect the Sealant Hose (6) from the valve
stem. Make sure the valve stem is free of debris.
Reconnect the Sealant Hose (6) to the valve stem.
Check that the Mode Select Knob (5) is in the Sealant
Mode position and not Air Mode. Press the Power
Button (4) to turn On the Tire Service Kit.
2. Connect the Power Plug (8) to a different 12 Volt
power outlet in your vehicle or another vehicle, if
available. Make sure the engine is running before
turning ON the Tire Service Kit.
3. The Sealant Bottle (1) may be empty due to previous
use. Call for assistance.
460 WHAT TO DO IN EMERGENCIES
Page 465 of 603
(E) After Driving:
Pull over to a safe location. Refer to “Whenever You Stop
to Use Tire Service Kit” before continuing.
1. Push in the Mode Select Knob (5) and turn to the Air
Mode position.
2. Uncoil the power plug and insert the plug into the
vehicle’s 12 Volt power outlet.
3. Uncoil the Air Pump Hose (7) (black in color) and
screw the fitting at the end of hose (7) onto the valve
stem.
4. Check the pressure in the tire by reading the Pressure
Gauge (3).
If tire pressure is less than 19 psi (1.3 Bar):
The tire is too badly damaged. Do not attempt to drive
the vehicle further. Call for assistance.
If the tire pressure is 19 psi (1.3 Bar) or higher:
1. Press the Power Button (4) to turn on Tire Service Kit
and inflate the tire to the pressure indicated on the tire
and loading information label on the driver-side door
opening.
NOTE:If the tire becomes over-inflated, press the Defla-
tion Button to reduce the tire pressure to the recom-
mended inflation pressure before continuing.
2. Disconnect the Tire Service Kit from the valve stem,
reinstall the cap on the valve stem and unplug from 12
Volt outlet.
3. Place the Tire Service Kit in its proper storage area in
the vehicle.
4. Have the tire inspected and repaired or replaced at the
earliest opportunity at an authorized dealer or tire
service center.
6
WHAT TO DO IN EMERGENCIES 463
Page 467 of 603
WHEEL AND TIRE TORQUE SPECIFICATIONS
Proper lug nut/bolt torque is very important to ensure
that the wheel is properly mounted to the vehicle. Any
time a wheel has been removed and reinstalled on the
vehicle the lug nuts/bolts should be torqued using a
properly calibrated torque wrench.
Torque Specifications
Lug Nut/Bolt Torque **Lug Nut/
Bolt Size
Lug Nut/
Bolt Socket
Size
130 Ft-Lbs (176 N·m) M14 x 1.50 22 mm
**Use only Chrysler recommended lug nuts/bolts and
clean or remove any dirt or oil before tightening.
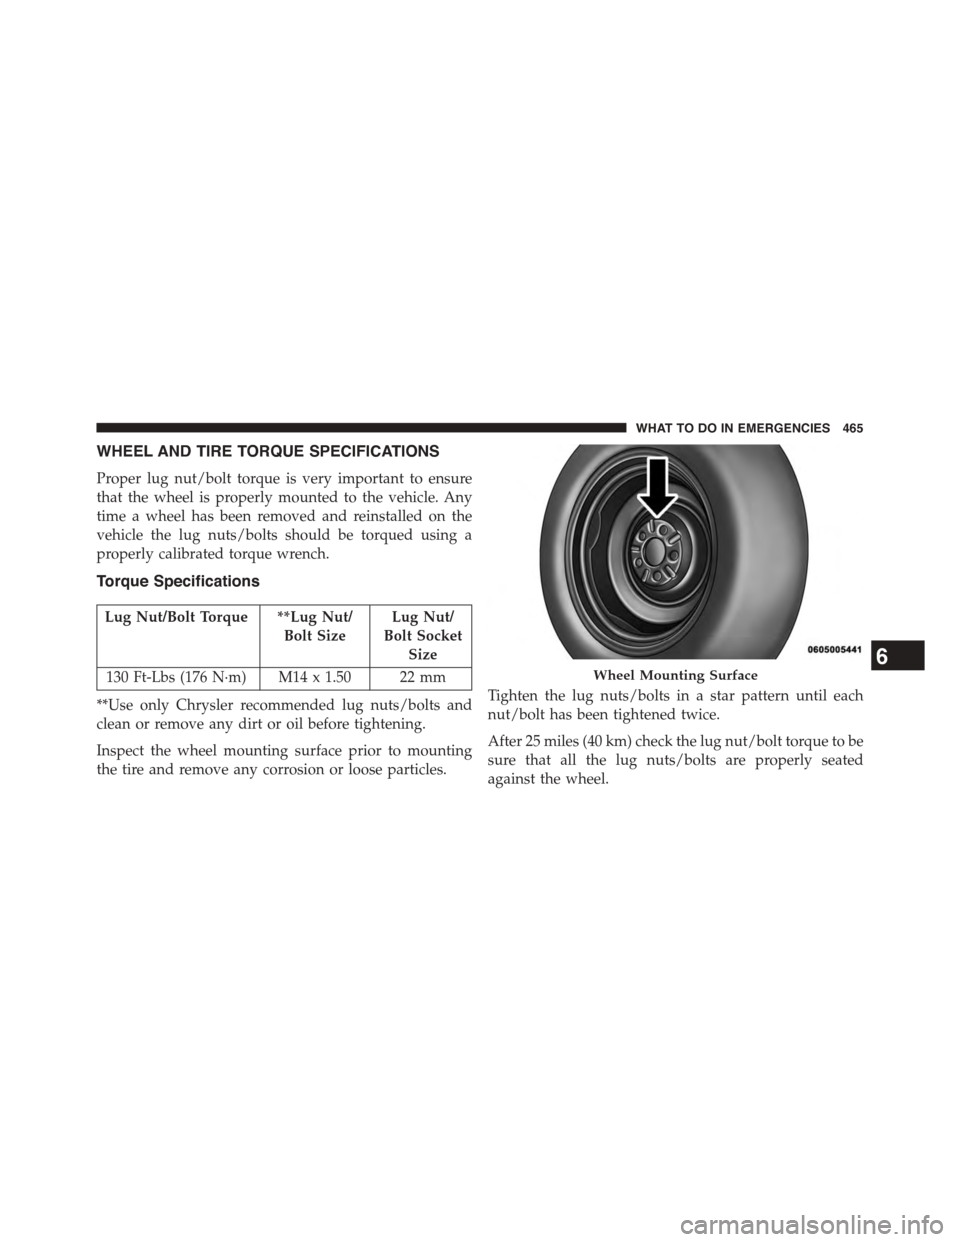
Inspect the wheel mounting surface prior to mounting
the tire and remove any corrosion or loose particles.
Tighten the lug nuts/bolts in a star pattern until each
nut/bolt has been tightened twice.
After 25 miles (40 km) check the lug nut/bolt torque to be
sure that all the lug nuts/bolts are properly seated
against the wheel.
Wheel Mounting Surface6
WHAT TO DO IN EMERGENCIES 465
Page 498 of 603
CAUTION!(Continued)
•Your vehicle has been built with improved fluids
that protect the performance and durability of your
vehicle and also allow extended maintenance inter-
vals. Do not use chemical flushes in these compo-
nents as the chemicals can damage your engine,
transmission, power steering or air conditioning.
Such damage is not covered by the New Vehicle
Limited Warranty. If a flush is needed because of
component malfunction, use only the specified
fluid for the flushing procedure.
Engine Oil
Checking Oil Level — 3.6L Engine
To assure proper engine lubrication, the engine oil must
be maintained at the correct level. Check the oil level at
regular intervals, such as every fuel stop. The best time to
check the engine oil level is about five minutes after a
fully warmed engine is shut off.
Checking the oil while the vehicle is on level ground will
improve the accuracy of the oil level readings. Maintain
the oil level between the MIN and MAX markings on the
dipstick. Adding 1.0 qt (1.0 L) of oil when the reading is
at the MIN mark will result in a MAX reading on these
engines.
CAUTION!
Overfilling or underfilling will cause oil aeration or
loss of oil pressure. This could damage your engine.
Checking Oil Level — 5.7L and 6.4L Engine
To assure proper engine lubrication, the engine oil must
be maintained at the correct level. Check the oil level at
496 MAINTAINING YOUR VEHICLE
Page 499 of 603
regular intervals, such as every fuel stop. The best time to
check the engine oil level is about five minutes after a
fully warmed engine is shut off.
Checking the oil while the vehicle is on level ground will
improve the accuracy of the oil level readings. Maintain
the oil level in the “SAFE” range. Adding 1.0 qt (1.0 L) of
oil when the reading is at the bottom of the “SAFE” range
will result in an oil level at the top of the “SAFE” range
on these engines.
CAUTION!
Overfilling or underfilling will cause oil aeration or
loss of oil pressure. This could damage your engine.
Change Engine Oil — 3.6L and 5.7L Engine
The oil change indicator system will remind you that it is
time to take your vehicle in for scheduled maintenance.
Refer to the “Maintenance Schedule” for further informa-
tion.
NOTE: Under no circumstances should oil change in-
tervals exceed 10,000 miles (16,000 km) or twelve
months, whichever occurs first.
Change Engine Oil — 6.4L Engine
The oil change indicator system will remind you that it is
time to take your vehicle in for scheduled maintenance.
Refer to “Maintenance Schedule” for further information.
NOTE: Under no circumstances should oil change in-
tervals exceed 6,000 miles (10 000 km) or six months,
whichever occurs first.
7
MAINTAINING YOUR VEHICLE 497