fuel DODGE CHALLENGER 2017 3.G Owners Manual
[x] Cancel search | Manufacturer: DODGE, Model Year: 2017, Model line: CHALLENGER, Model: DODGE CHALLENGER 2017 3.GPages: 506, PDF Size: 4.44 MB
Page 23 of 506
WARNING!
•Do not start or run an engine in a closed garage or
confined area. Exhaust gas contains Carbon Monox-
ide (CO) which is odorless and colorless. Carbon
Monoxide is poisonous and can cause serious injury
or death when inhaled.
• Keep key fobs away from children. Operation of the
Remote Start System, windows, door locks or other
controls could cause serious injury or death.
Remote Start Abort Message
The following messages will display in the instrument
cluster if the vehicle fails to remote start or exits remote
start prematurely:
• Remote Start Aborted — Door Open
• Remote Start Aborted — Hood Open
• Remote Start Aborted — Trunk Open
• Remote Start Aborted — Fuel Low
• Remote Start Disabled — Start Vehicle To Reset
The instrument cluster message stays active until the
ignition is placed in the ON/RUN position.
To Enter Remote Start Mode
Push and release the Remote Start button on the key fob
twice within five seconds. The vehicle doors will lock, the
parking lights will flash, and horn will chirp twice (if
programmed). Then, the engine will start and the vehicle
will remain in the Remote Start mode for a 15-minute cycle.
NOTE:
• If an engine fault is present, the vehicle will start and
then shut down 10 seconds later.
• The park lamps will turn on and remain on during
Remote Start mode.
• For security, power window and power sunroof opera-
tion (if equipped) are disabled when the vehicle is in the
Remote Start mode.
• The engine can be started two consecutive times with
the key fob. However, the ignition must be activated by
pushing the keyless ignition button twice (or the ignition
must be placed in the ON/RUN position) before you can
repeat the start sequence for a third cycle.
2
THINGS TO KNOW BEFORE STARTING YOUR VEHICLE 21
Page 24 of 506
To Exit Remote Start Mode Without Driving The
Vehicle
Push and release the Remote Start button one time or allow
the engine to run for the entire 15-minute cycle.
NOTE:To avoid unintentional shut downs, the system will
disable the one time push of the Remote Start button for
two seconds after receiving a valid Remote Start request.
To Exit Remote Start Mode And Drive The Vehicle
Before the end of 15-minute cycle, push and release the
unlock button on the key fob to unlock the doors, or unlock
the vehicle using Passive Entry via the door handles, and
disarm the vehicle security alarm (if equipped). Then, prior
to the end of the 15-minute cycle, push and release the
keyless ignition button.
NOTE: In vehicles equipped with the Keyless Enter-N-Go
— Ignition feature, the message “Remote Start Active -
Push Start Button” will display. This message will clear
once the START button is pushed.
Cancel Remote Start
Remote Starting will also cancel if any of the following
occur:
• The engine stalls or engine speed exceeds 2500 rpm. •
Any engine warning lights come on.
• Low Fuel Light turns on.
• The hood is opened.
• The hazard switch is pushed.
• The gear selector is moved out of PARK.
• The brake pedal is pushed.
General Information
The following regulatory statement applies to all Radio
Frequency (RF) devices equipped in this vehicle:
This device complies with Part 15 of the FCC Rules and
with Industry Canada license-exempt RSS standard(s).
Operation is subject to the following two conditions:
1. This device may not cause harmful interference, and
2. This device must accept any interference received, in-
cluding interference that may cause undesired opera-
tion.
NOTE: Changes or modifications not expressly approved
by the party responsible for compliance could void the
user ’s authority to operate the equipment.
22 THINGS TO KNOW BEFORE STARTING YOUR VEHICLE
Page 54 of 506
irritation, move to fresh air. If the irritation continues,
see your doctor. If these particles settle on your clothing,
follow the garment manufacturer ’s instructions for
cleaning.
Do not drive your vehicle after the air bags have deployed.
If you are involved in another collision, the air bags will
not be in place to protect you.
WARNING!
Deployed air bags and seat belt pretensioners cannot
protect you in another collision. Have the air bags, seat
belt pretensioners, and the seat belt retractor assem-
blies replaced by an authorized dealer immediately.
Also, have the Occupant Restraint Controller System
serviced as well.
NOTE:
• Air bag covers may not be obvious in the interior trim,
but they will open during air bag deployment.
• After any collision, the vehicle should be taken to an
authorized dealer immediately.
Enhanced Accident Response System
In the event of an impact, if the communication network
remains intact, and the power remains intact, depending
on the nature of the event, the ORC will determine whether
to have the Enhanced Accident Response System perform
the following functions:
• Cut off fuel to the engine.
• Flash hazard lights as long as the battery has power or
until the hazard light button is pressed. The hazard
lights can be deactivated by pressing the hazard light
button.
• Turn on the interior lights, which remain on as long as
the battery has power.
• Unlock the power door locks.
Enhanced Accident Response System Reset
Procedure
In order to reset the Enhanced Accident Response System
functions after an event, the ignition switch must be
changed from ignition START or ON/RUN to ignition OFF.
Carefully check the vehicle for fuel leaks in the engine
compartment and on the ground near the engine compart-
ment and fuel tank before resetting the system and starting
the engine.
52 THINGS TO KNOW BEFORE STARTING YOUR VEHICLE
Page 72 of 506
It is recommended for the operator to observe the follow-
ing driving behaviors during the new vehicle break-in
period:
0 to 100 miles (0 to 161 km):
•Do not allow the engine to operate at idle for an
extended period of time.
• Press the accelerator pedal slowly and not more than
halfway to avoid rapid acceleration.
• Avoid aggressive braking.
• Drive with the engine speed less than 3,500 RPM.
• Maintain vehicle speed below 55 mph (88 km/h) and
observe local speed limits.
100 to 300 miles (161 to 483 km):
• Press the accelerator pedal slowly and not more than
halfway to avoid rapid acceleration in lower gears (1st to
3rd gears).
• Avoid aggressive braking.
• Drive with the engine speed less than 5,000 RPM.
• Maintain vehicle speed below 70 mph (112 km/h) and
observe local speed limits. 300 to 500 miles (483 to 805 km):
•
Exercise the full engine rpm range, shifting manually
(paddles or gear shift) at higher rpms when possible.
• Do not perform sustained operation with the accelerator
pedal at wide open throttle.
• Maintain vehicle speed below 85 mph (136 km/h) and
observe local speed limits.
For the first 1500 miles (2414 km):
• Do not participate in track events, sport driving schools,
or similar activities during the first 1500 miles (2414 km).
NOTE: Check engine oil with every refueling and add if
necessary. Oil and fuel consumption may be higher
through the first oil change interval.
SAFETY TIPS
Transporting Passengers
NOTE: Never transport passengers in the cargo area.
70 THINGS TO KNOW BEFORE STARTING YOUR VEHICLE
Page 76 of 506
WARNING!(Continued)
•If the vehicle carpet has been removed and re-
installed, always properly attach carpet to the floor
and check the floor mat fasteners are secure to the
vehicle carpet. Fully depress each pedal to check for
interference with the accelerator, brake, or clutch
pedals then re-install the floor mats.
• It is recommended to only use mild soap and water
to clean your floor mats. After cleaning, always check
your floor mat has been properly installed and is
secured to your vehicle using the floor mat fasteners
by lightly pulling mat.
Periodic Safety Checks You Should Make Outside
The Vehicle
Tires
Examine tires for excessive tread wear and uneven wear
patterns. Check for stones, nails, glass, or other objects
lodged in the tread or sidewall. Inspect the tread for cuts
and cracks. Inspect sidewalls for cuts, cracks, and bulges.
Check the wheel nuts for tightness. Check the tires (includ-
ing spare) for proper cold inflation pressure.
Lights
Have someone observe the operation of brake lights and
exterior lights while you work the controls. Check turn
signal and high beam indicator lights on the instrument
panel.
Door Latches
Check for proper closing, latching, and locking.
Fluid Leaks
Check area under vehicle after overnight parking for fuel,
engine coolant, oil, or other fluid leaks. Also, if gasoline
fumes are detected or if fuel, power steering fluid (if
equipped), or brake fluid leaks are suspected. The cause
should be located and corrected immediately.
74 THINGS TO KNOW BEFORE STARTING YOUR VEHICLE
Page 175 of 506
Instrument Cluster Descriptions
1. Tachometer•Indicates the engine speed in revolutions per minute
(RPM x 1000).
2. Instrument Cluster Display •When the appropriate conditions exist, this display
shows the instrument cluster display messages. Refer
to “Instrument Cluster Display” in “Understanding
Your Instrument Panel” for further information.
3. Speedometer •Indicates vehicle speed.
4. Fuel Gauge •The pointer shows the level of fuel in the fuel tank
when the Keyless Push Button Ignition is in the
ON/RUN position.
•
The fuel pump symbol points to the side of the
vehicle where the fuel door is located.
5. Temperature Gauge
•The temperature gauge shows engine coolant tem-
perature. Any reading within the normal range indi-
cates that the engine cooling system is operating
satisfactorily. •
The gauge pointer will likely indicate a higher tem-
perature when driving in hot weather, up mountain
grades, or when towing a trailer. It should not be
allowed to exceed the upper limits of the normal
operating range.
WARNING!
A hot engine cooling system is dangerous. You or
others could be badly burned by steam or boiling
coolant. You may want to call an authorized dealer for
service if your vehicle overheats. If you decide to look
under the hood yourself, see “Maintaining Your Ve-
hicle”. Follow the warnings under the Cooling System
Pressure Cap paragraph.
CAUTION!
Driving with a hot engine cooling system could dam-
age your vehicle. If the temperature gauge reads “H”
pull over and stop the vehicle. Idle the vehicle with the
air conditioner turned off until the pointer drops back
into the normal range. If the pointer remains on the
“H”, turn the engine off immediately and call an
authorized dealer for service.
4
UNDERSTANDING YOUR INSTRUMENT PANEL 173
Page 185 of 506
Speed Limit Warning Light — If Equipped
Red TelltaleLight What It Means
Speed Limit Warning Light
If the vehicle speed is greater than or equal to 75 mph (120 km/h), the Speed Warning telltale
will display in the instrument cluster display, and a chime will sound with a pop up warning
message.
Yellow Telltale Indicator Lights
Engine Check/Malfunction Indicator Light (MIL)
Yellow Telltale
Light What It Means
Engine Check/Malfunction Indicator Light (MIL)
The Engine Check/Malfunction Indicator Light (MIL) is a part of an Onboard Diagnostic System
called OBD II that monitors engine and automatic transmission control systems. The light will
illuminate when the ignition is in the ON/RUN position before engine start. If the bulb does not
come on when turning the key from OFF to ON/RUN, have the condition checked promptly.
Certain conditions, such as a loose or missing gas cap, poor quality fuel, etc., may illuminate the
light after engine start. The vehicle should be serviced if the light stays on through several typical
driving styles. In most situations, the vehicle will drive normally and will not require towing.
When the engine is running, the MIL may flash to alert serious conditions that could lead to im-
mediate loss of power or severe catalytic converter damage. The vehicle should be serviced as
soon as possible if this occurs.
4
UNDERSTANDING YOUR INSTRUMENT PANEL 183
Page 186 of 506
WARNING!
A malfunctioning catalytic converter, as referenced
above, can reach higher temperatures than in normal
operating conditions. This can cause a fire if you drive
slowly or park over flammable substances such as dry
plants, wood, cardboard, etc. This could result in death
or serious injury to the driver, occupants or others.
CAUTION!
Prolonged driving with the Malfunction Indicator
Light (MIL) on could cause damage to the engine
control system. It also could affect fuel economy and
driveability. If the MIL is flashing, severe catalytic
converter damage and power loss will soon occur.
Immediate service is required.
184 UNDERSTANDING YOUR INSTRUMENT PANEL
Page 189 of 506
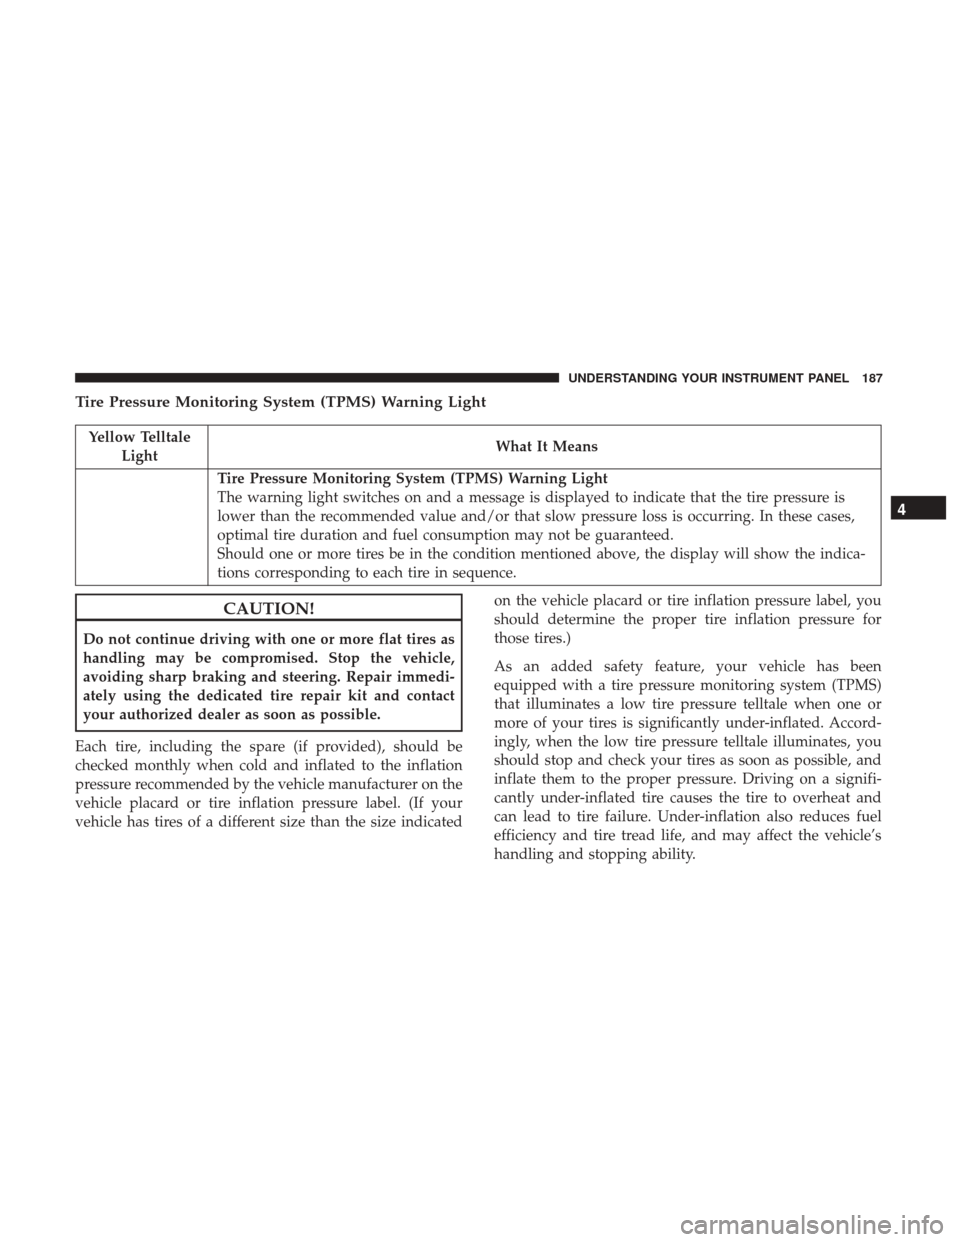
Tire Pressure Monitoring System (TPMS) Warning Light
Yellow TelltaleLight What It Means
Tire Pressure Monitoring System (TPMS) Warning Light
The warning light switches on and a message is displayed to indicate that the tire pressure is
lower than the recommended value and/or that slow pressure loss is occurring. In these cases,
optimal tire duration and fuel consumption may not be guaranteed.
Should one or more tires be in the condition mentioned above, the display will show the indica-
tions corresponding to each tire in sequence.
CAUTION!
Do not continue driving with one or more flat tires as
handling may be compromised. Stop the vehicle,
avoiding sharp braking and steering. Repair immedi-
ately using the dedicated tire repair kit and contact
your authorized dealer as soon as possible.
Each tire, including the spare (if provided), should be
checked monthly when cold and inflated to the inflation
pressure recommended by the vehicle manufacturer on the
vehicle placard or tire inflation pressure label. (If your
vehicle has tires of a different size than the size indicated on the vehicle placard or tire inflation pressure label, you
should determine the proper tire inflation pressure for
those tires.)
As an added safety feature, your vehicle has been
equipped with a tire pressure monitoring system (TPMS)
that illuminates a low tire pressure telltale when one or
more of your tires is significantly under-inflated. Accord-
ingly, when the low tire pressure telltale illuminates, you
should stop and check your tires as soon as possible, and
inflate them to the proper pressure. Driving on a signifi-
cantly under-inflated tire causes the tire to overheat and
can lead to tire failure. Under-inflation also reduces fuel
efficiency and tire tread life, and may affect the vehicle’s
handling and stopping ability.
4
UNDERSTANDING YOUR INSTRUMENT PANEL 187
Page 191 of 506
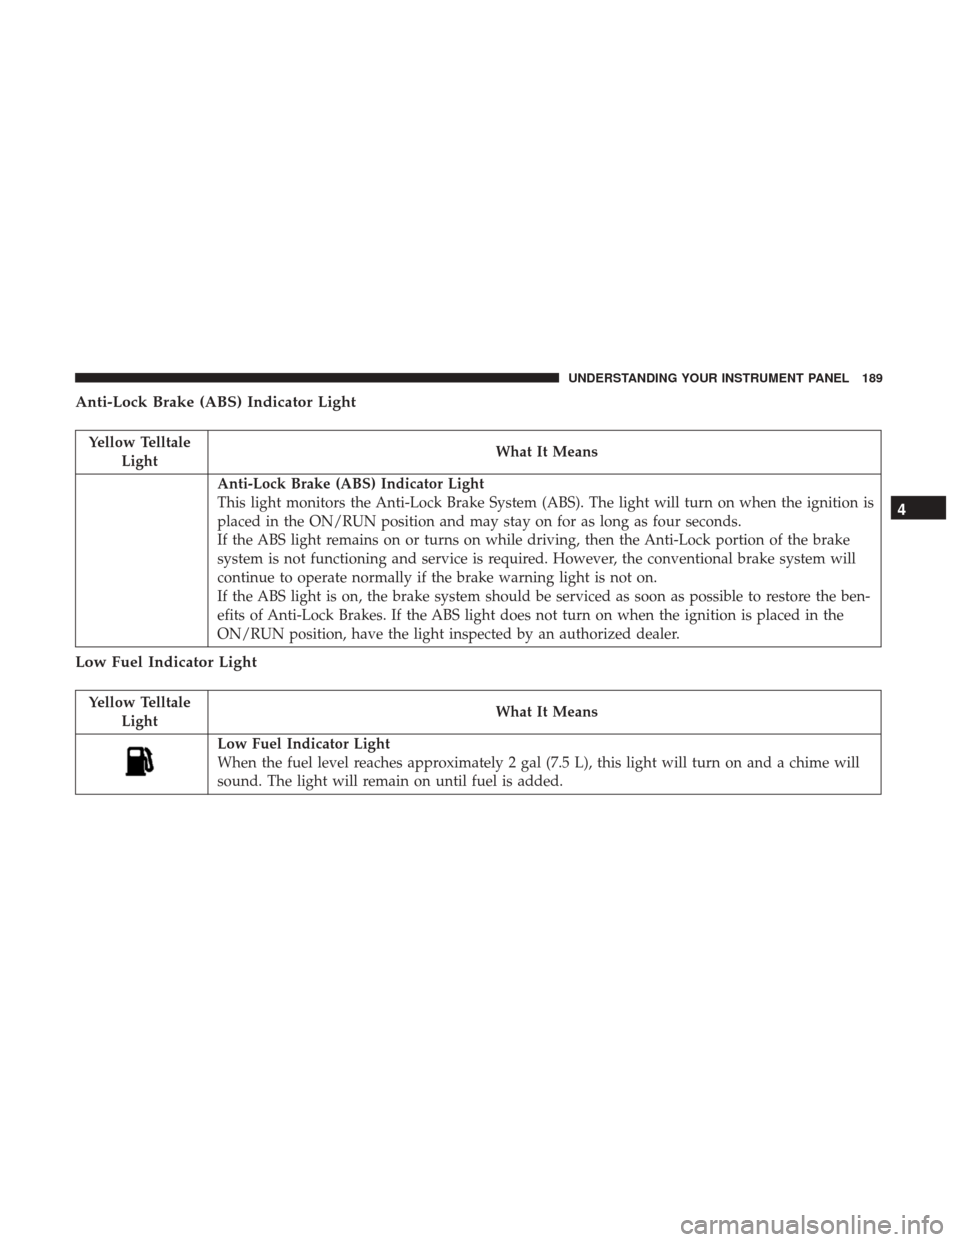
Anti-Lock Brake (ABS) Indicator Light
Yellow TelltaleLight What It Means
Anti-Lock Brake (ABS) Indicator Light
This light monitors the Anti-Lock Brake System (ABS). The light will turn on when the ignition is
placed in the ON/RUN position and may stay on for as long as four seconds.
If the ABS light remains on or turns on while driving, then the Anti-Lock portion of the brake
system is not functioning and service is required. However, the conventional brake system will
continue to operate normally if the brake warning light is not on.
If the ABS light is on, the brake system should be serviced as soon as possible to restore the ben-
efits of Anti-Lock Brakes. If the ABS light does not turn on when the ignition is placed in the
ON/RUN position, have the light inspected by an authorized dealer.
Low Fuel Indicator Light
Yellow Telltale
Light What It Means
Low Fuel Indicator Light
When the fuel level reaches approximately 2 gal (7.5 L), this light will turn on and a chime will
sound. The light will remain on until fuel is added.
4
UNDERSTANDING YOUR INSTRUMENT PANEL 189