recommended oil DODGE CHALLENGER 2021 Owners Manual
[x] Cancel search | Manufacturer: DODGE, Model Year: 2021, Model line: CHALLENGER, Model: DODGE CHALLENGER 2021Pages: 328, PDF Size: 15 MB
Page 64 of 328
62GETTING TO KNOW YOUR INSTRUMENT PANEL
INSTRUMENT CLUSTER DESCRIPTIONS
1. Tachometer
Indicates the engine speed in revolutions
per minute (RPM x 1000).
2. Instrument Cluster Display
When the appropriate conditions exist, this
display shows the instrument cluster
display messages Ú page 62.
3. Speedometer
Indicates vehicle speed.
4. Temperature Gauge
The temperature gauge shows engine
coolant temperature. Any reading within the
normal range indicates that the engine
cooling system is operating satisfactorily.
The gauge pointer will likely indicate a
higher temperature when driving in hot
weather, up mountain grades, or when
towing a trailer. It should not be allowed to
exceed the upper limits of the normal oper -
ating range. 5. Fuel Gauge
The pointer shows the level of fuel in the
fuel tank when the Keyless Push Button
Ignition is in the ON/RUN position.
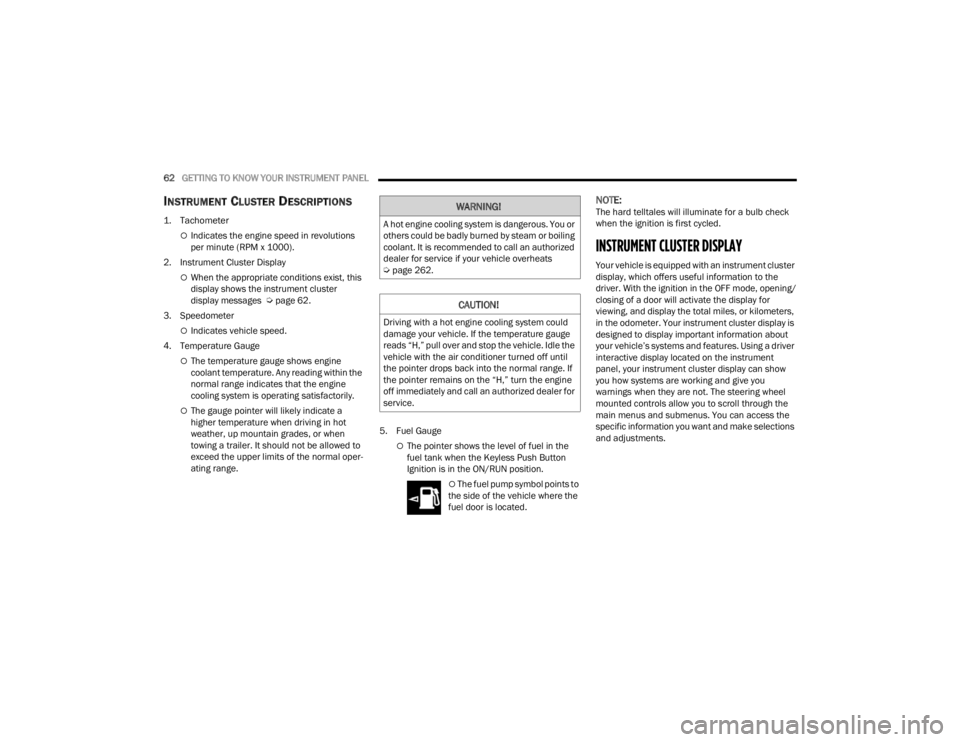
The fuel pump symbol points to
the side of the vehicle where the
fuel door is located.
NOTE:The hard telltales will illuminate for a bulb check
when the ignition is first cycled.
INSTRUMENT CLUSTER DISPLAY
Your vehicle is equipped with an instrument cluster
display, which offers useful information to the
driver. With the ignition in the OFF mode, opening/
closing of a door will activate the display for
viewing, and display the total miles, or kilometers,
in the odometer. Your instrument cluster display is
designed to display important information about
your vehicle’s systems and features. Using a driver
interactive display located on the instrument
panel, your instrument cluster display can show
you how systems are working and give you
warnings when they are not. The steering wheel
mounted controls allow you to scroll through the
main menus and submenus. You can access the
specific information you want and make selections
and adjustments.
WARNING!
A hot engine cooling system is dangerous. You or
others could be badly burned by steam or boiling
coolant. It is recommended to call an authorized
dealer for service if your vehicle overheats
Ú page 262.
CAUTION!
Driving with a hot engine cooling system could
damage your vehicle. If the temperature gauge
reads “H,” pull over and stop the vehicle. Idle the
vehicle with the air conditioner turned off until
the pointer drops back into the normal range. If
the pointer remains on the “H,” turn the engine
off immediately and call an authorized dealer for
service.
21_LA_OM_EN_USC_t.book Page 62
Page 67 of 328
GETTING TO KNOW YOUR INSTRUMENT PANEL65
Speedometer
Push and release the up or down arrow
button until the speedometer menu is displayed in
the instrument cluster display. Push and release
the OK button to toggle units (km/h or mph) of the
speedometer.
Vehicle Info
Push and release the up or down arrow
button until the “Vehicle Info” menu is displayed in
the instrument cluster display. Push and release
the right or left arrow button to scroll
through the submenus items of “Vehicle Info.”
Follow the directional prompts to access or reset
any of the following “Vehicle Info” submenu items:
Tire Pressure Monitor
If tire pressure is OK for all tires, a vehicle ICON is
displayed with tire pressure values in each corner
of the ICON.
If one or more tires have low pressure, “Inflate Tire
To XX” is displayed with the vehicle ICON and the
tire pressure values in each corner of the ICON with
the pressure value of the low tire are displayed in
a different color than the other tire pressure value.
If the Tire Pressure system requires service,
“Service Tire Pressure System” is displayed.
Tire PSI is an information only function and cannot
be reset Ú page 189. Coolant Temp
Displays the actual coolant temperature.
Trans Temp
Displays the actual transmission temperature.
Oil Temp
Displays the actual oil temperature.
Oil Pressure
Displays the actual oil pressure.
Oil Life
To reset the Oil Life, you must hold the OK button.
The “Hold OK to Reset” instruction will be
displayed at all times, but the following conditions
will need to be met in order to reset Oil Life:
The vehicle must be off
The ignition must be in the ON/RUN position
If the conditions are met, holding the OK button will
reset the gauge and the numeric display will return
to 100%.
If the conditions are not met, a pop-up message
will display for 5 seconds, describing the required
conditions, and then the Oil Life screen will
reappear. Battery Voltage
Displays the actual battery voltage.
All Wheel Drive (AWD) Status — If Equipped
Displays the status of the All - Wheel Drive
system.
Performance Features
Push and release the up or down arrow
button until the Performance menu is displayed in
the instrument cluster display. Push the right
or left arrow button to enter the submenus.
WARNING!
Measurement of vehicle statistics with the
Performance Features is intended for
off-highway or track use only and should not be
done on any public roadways. It is recommended
that these features be used in a controlled
environment and within the limits of the law. The
capabilities of the vehicle as measured by the
performance pages must never be exploited in a
reckless or dangerous manner, which can
jeopardize the user’s safety or the safety of
others. Only a safe, attentive, and skillful driver
can prevent accidents.
3
21_LA_OM_EN_USC_t.book Page 65
Page 84 of 328
82STARTING AND OPERATING
ENGINE BREAK-IN RECOMMENDATIONS —
3.6L & 5.7L
A long break-in period is not required for the
drivetrain (engine, transmission, clutch, and rear
axle) in your new vehicle.
Drive moderately during the first 300 miles
(500 km). After the initial 60 miles (100 km),
speeds up to 50 or 55 mph (80 or 90 km/h) are
desirable.
While cruising, brief full-throttle acceleration within
the limits of local traffic laws contributes to a good
break-in. However, wide-open throttle acceleration
in low gear can be detrimental and should be
avoided.
The engine oil, transmission fluid, and axle
lubricant installed at the factory are high-quality
and energy-conserving. Oil, fluid, and lubricant
changes should be consistent with anticipated
climate and conditions under which vehicle
operations will occur. For the recommended
viscosity and quality grades Ú page 306.
NOTE:A new engine may consume some oil during its first
few thousand miles (kilometers) of operation. This
should be considered a normal part of the break-in
and not interpreted as an indication of difficulty.
Please check your oil level with the engine oil indi -
cator often during the break in period. Add oil as
required.
PARKING BRAKE
Before leaving the vehicle, make sure that the
parking brake is fully applied and place the gear
selector in the PARK or REVERSE (manual
transmission only) position.
When the parking brake is applied and the ignition
switch is in the ON/RUN position, the Brake
Warning Light in the instrument cluster will
illuminate.
NOTE:
When the parking brake is applied and the
transmission is placed in gear, the Brake
Warning Light will flash. If vehicle speed is
detected, a chime will sound to alert the driver.
Fully release the parking brake before
attempting to move the vehicle.
This light only shows that the parking brake is
applied. It does not show the degree of brake
application. When parking on a hill, it is important to turn the
front wheels toward the curb on a downhill grade
and away from the curb on an uphill grade. For
vehicles equipped with an automatic transmission,
apply the parking brake before placing the gear
selector in PARK, otherwise the load on the
transmission locking mechanism may make it
difficult to move the gear selector out of PARK. The
parking brake should always be applied whenever
the driver is not in the vehicle.
Manual Transmission — If Equipped
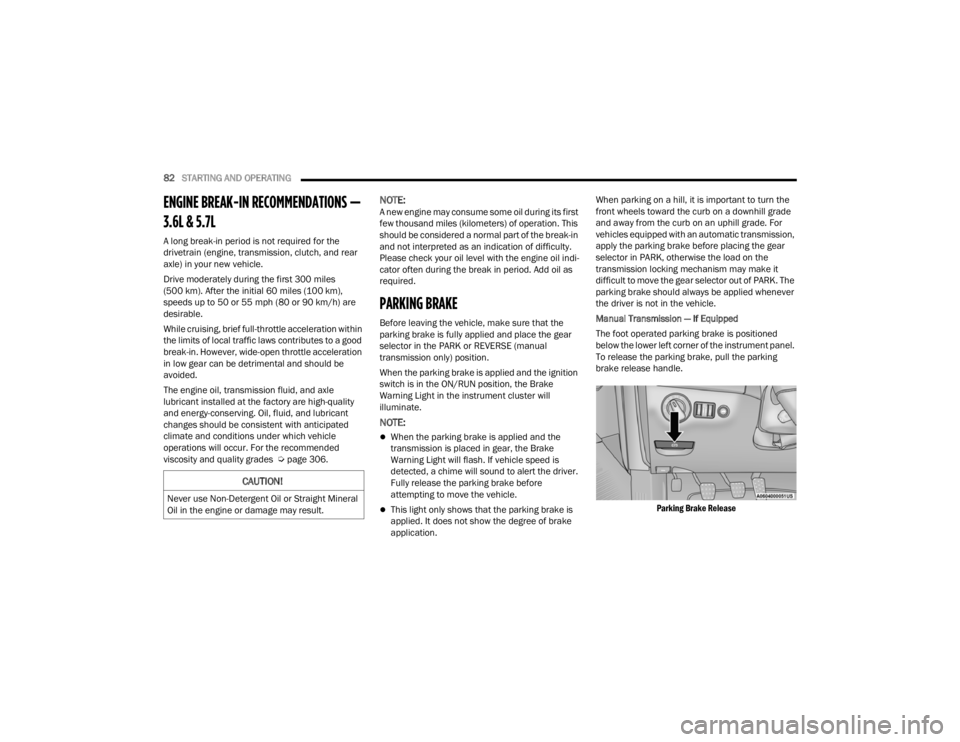
The foot operated parking brake is positioned
below the lower left corner of the instrument panel.
To release the parking brake, pull the parking
brake release handle.
Parking Brake Release
CAUTION!
Never use Non-Detergent Oil or Straight Mineral
Oil in the engine or damage may result.
21_LA_OM_EN_USC_t.book Page 82
Page 257 of 328
SERVICING AND MAINTENANCE255
NOTE:Intentional tampering with emissions control
systems may void your warranty and could result in
civil penalties being assessed against you.
ENGINE OIL
Engine Oil Selection — 3.6L And 5.7L
Engine
For best performance and maximum protection
under all types of operating conditions, the
manufacturer only recommends engine oils that
are API Certified and meet the requirements of the
manufacturer Material Standard MS-6395.
NOTE:Hemi engines (5.7L) at times can tick right after
startup and then quiet down after approximately
30 seconds. This is normal and will not harm the
engine. This characteristic can be caused by short
drive cycles: for example, if the vehicle is started
then shut off after driving a short distance. Upon
restarting, you may experience a ticking sound. Other causes could be if the vehicle is unused for
an extended period of time, incorrect oil, extended
oil changes or extended idling. If the engine
continues to tick or if the Malfunction Indicator
Light (MIL) comes on, see the nearest authorized
dealer.
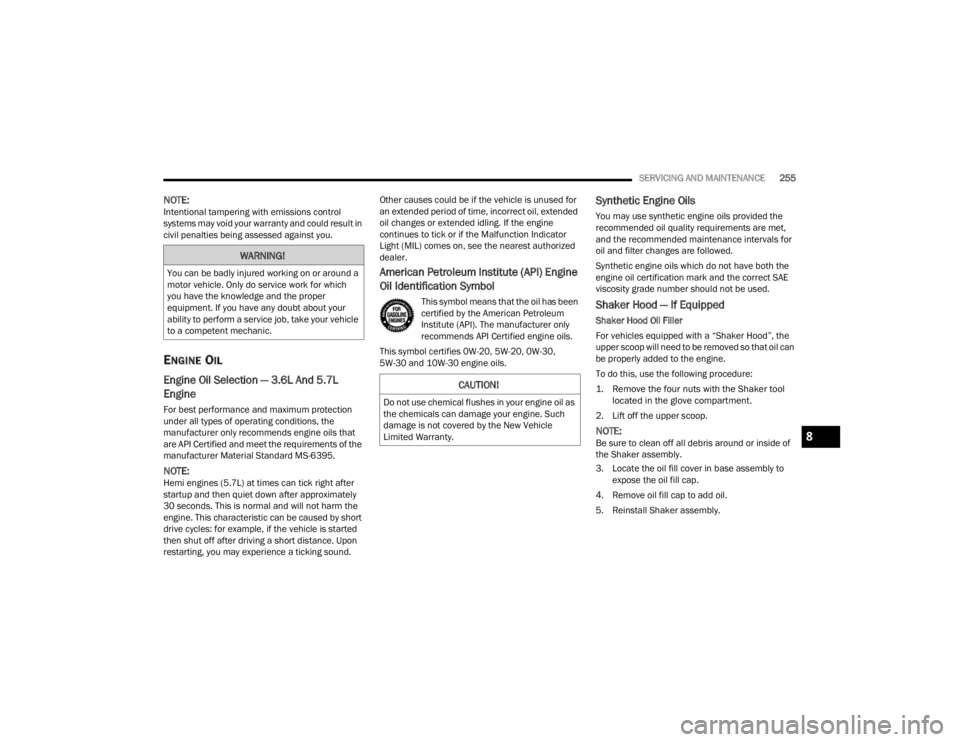
American Petroleum Institute (API) Engine
Oil Identification Symbol
This symbol means that the oil has been
certified by the American Petroleum
Institute (API). The manufacturer only
recommends API Certified engine oils.
This symbol certifies 0W-20, 5W-20, 0W-30,
5W-30 and 10W-30 engine oils.
Synthetic Engine Oils
You may use synthetic engine oils provided the
recommended oil quality requirements are met,
and the recommended maintenance intervals for
oil and filter changes are followed.
Synthetic engine oils which do not have both the
engine oil certification mark and the correct SAE
viscosity grade number should not be used.
Shaker Hood — If Equipped
Shaker Hood Oil Filler
For vehicles equipped with a “Shaker Hood”, the
upper scoop will need to be removed so that oil can
be properly added to the engine.
To do this, use the following procedure:
1. Remove the four nuts with the Shaker tool located in the glove compartment.
2. Lift off the upper scoop.
NOTE:Be sure to clean off all debris around or inside of
the Shaker assembly.
3. Locate the oil fill cover in base assembly to expose the oil fill cap.
4. Remove oil fill cap to add oil.
5. Reinstall Shaker assembly.
WARNING!
You can be badly injured working on or around a
motor vehicle. Only do service work for which
you have the knowledge and the proper
equipment. If you have any doubt about your
ability to perform a service job, take your vehicle
to a competent mechanic.
CAUTION!
Do not use chemical flushes in your engine oil as
the chemicals can damage your engine. Such
damage is not covered by the New Vehicle
Limited Warranty.
8
21_LA_OM_EN_USC_t.book Page 255
Page 259 of 328

SERVICING AND MAINTENANCE257
T/A Air Filter Maintenance — If Equipped
Clean Engine Air Filter
The scheduled air filter cleaning interval is
30,000 miles (48,280 km), or if in a dusty
environment the engine air filter should be
checked periodically to ensure optimal air flow.
Cleaning your engine air filter with the
recommended Mopar® Performance Air Filter
Service Kit is not required if you can still see any
part the wire screen on the entire air filter
regardless of how dirty it may appear. When any
part of the wire screen is no longer visible on the air
filter, that is an indication it is time to clean the air
filter.
1. Spray the air filter with the recommended
Mopar® air filter cleaner and let sit for at
least 10 minutes to loosen dirt, before
rinsing.
NOTE:Never use strong detergents, high pressure, or
gasoline on air filter.
2. Rinse the air filter with cool low-pressure water applied from the inside (clean side) out in
order to flush the dirt out of the filter. Continue
to rinse the filter until all traces of the cleaner
have been removed.
NOTE:It may be necessary to repeat steps 1 and 2 if the
air filter is not completely clean.
3. After rinsing the air filter, gently shake off the excess water and allow air filter to dry
naturally. Do not apply oil until air filter is
completely dry.
NOTE:Do not use forced air pressure as it may damage
the filtering capabilities of the filter’s microfibers
and also void its warranty.
4. Using the Mopar® Performance Air Filter Service Kit, spray oil evenly along the crown of
each filter pleat holding the nozzle about
3 inches (76 mm) away from the air filter. One
spray per 2 square inches (1,290 square mm)
of air filter. With one complete coat of oil, let it
wick (saturate) for about 20 minutes, and if
required touch up any light areas on either
side of the filter.
AIR CONDITIONER MAINTENANCE
For best possible performance, your air conditioner
should be checked and serviced by an authorized
dealer at the start of each warm season. This
service should include cleaning of the condenser
fins and a performance test. Drive belt tension
should also be checked at this time.
WARNING!
Use only refrigerants and compressor lubri -
cants approved by the manufacturer for your
air conditioning system. Some unapproved
refrigerants are flammable and can explode,
injuring you. Other unapproved refrigerants or
lubricants can cause the system to fail,
requiring costly repairs. Refer to Warranty
Information Book, for further warranty infor -
mation.
The air conditioning system contains refrig -
erant under high pressure. To avoid risk of
personal injury or damage to the system,
adding refrigerant or any repair requiring lines
to be disconnected should be done by an
experienced technician.
CAUTION!
Do not use chemical flushes in your air
conditioning system as the chemicals can
damage your air conditioning components. Such
damage is not covered by the New Vehicle
Limited Warranty.8
21_LA_OM_EN_USC_t.book Page 257
Page 267 of 328
SERVICING AND MAINTENANCE265
(Continued)
Make sure that the coolant expansion bottle
overflow hoses are not kinked or obstructed.
Keep the front of the radiator clean. If your
vehicle is equipped with air conditioning, keep
the front of the condenser clean.
Do not change the thermostat for Summer or
Winter operation. If replacement is ever neces -
sary, install ONLY the correct type thermostat.
Other designs may result in unsatisfactory
engine cooling performance, poor gas mileage,
and increased emissions.
BRAKE SYSTEM
In order to ensure brake system performance, all
brake system components should be inspected
periodically Ú page 247.
Fluid Level Check — Brake Master Cylinder
Check the fluid level in the master cylinder
immediately if the Brake System Warning Light
indicates system failure.
Check the fluid level in the master cylinder when
performing underhood services.
Clean the top of the master cylinder area before
removing the cap. Add fluid to bring the level up to
the top of the “FULL” mark on the side of the
master cylinder reservoir.
Overfilling of fluid is not recommended because it
may cause leaking in the system.
Add enough fluid to bring the level up to the
requirements described on the brake fluid
reservoir. With disc brakes, fluid level can be
expected to fall as the brake pads wear. However,
low fluid level may be caused by a leak and a
checkup may be needed.
Use only brake fluid that has been recommended
by the manufacturer, and has been kept in a tightly
closed container to avoid contamination from
foreign matter or moisture Ú page 306.
WARNING!
Riding the brakes can lead to brake failure and
possibly a collision. Driving with your foot resting
or riding on the brake pedal can result in
abnormally high brake temperatures, excessive
lining wear, and possible brake damage. You
would not have your full braking capacity in an
emergency.
WARNING!
Use only manufacturer's recommended brake
fluid Úpage 306. Using the wrong type of
brake fluid can severely damage your brake
system and/or impair its performance. The
proper type of brake fluid for your vehicle is
also identified on the original factory installed
hydraulic master cylinder reservoir.
To avoid contamination from foreign matter or
moisture, use only new brake fluid or fluid that
has been in a tightly closed container. Keep
the master cylinder reservoir cap secured at
all times. Brake fluid in a open container
absorbs moisture from the air resulting in a
lower boiling point. This may cause it to boil
unexpectedly during hard or prolonged
braking, resulting in sudden brake failure. This
could result in a collision.
Overfilling the brake fluid reservoir can result
in spilling brake fluid on hot engine parts,
causing the brake fluid to catch fire. Brake
fluid can also damage painted and vinyl
surfaces, care should be taken to avoid its
contact with these surfaces.8
21_LA_OM_EN_USC_t.book Page 265
Page 293 of 328
SERVICING AND MAINTENANCE291
NOTE:Wheel valve stem must be replaced as well when
installing new tires due to wear and tear in existing
tires.
Keep dismounted tires in a cool, dry place with as
little exposure to light as possible. Protect tires
from contact with oil, grease, and gasoline.
Replacement Tires
The tires on your new vehicle provide a balance of
many characteristics. They should be inspected
regularly for wear and correct cold tire inflation
pressures. The manufacturer strongly
recommends that you use tires equivalent to the
originals in size, quality and performance when
replacement is needed Úpage 290. Refer to the
Tire and Loading Information placard or the
Vehicle Certification Label for the size designation
of your tire. The Load Index and Speed Symbol for
your tire will be found on the original equipment
tire sidewall.
See the Tire Sizing Chart example found in the “Tire
Safety Information” section of this manual for
more information relating to the Load Index and
Speed Symbol of a tire Ú page 279.
It is recommended to replace the two front tires or
two rear tires as a pair. Replacing just one tire can
seriously affect your vehicle’s handling. If you ever
replace a wheel, make sure that the wheel’s
specifications match those of the original wheels. It is recommended you contact an authorized tire
dealer or original equipment dealer with any
questions you may have on tire specifications or
capability. Failure to use equivalent replacement
tires may adversely affect the safety, handling, and
ride of your vehicle.
TIRE TYPES
All Season Tires — If Equipped
All Season tires provide traction for all seasons
(Spring, Summer, Autumn, and Winter). Traction
levels may vary between different all season tires.
All season tires can be identified by the M+S, M&S,
M/S or MS designation on the tire sidewall. Use all
season tires only in sets of four; failure to do so
may adversely affect the safety and handling of
your vehicle.
Summer Or Three Season Tires —
If Equipped
Summer tires provide traction in both wet and dry
conditions, and are not intended to be driven in
snow or on ice. If your vehicle is equipped with
Summer tires, be aware these tires are not
designed for Winter or cold driving conditions.
Install Winter tires on your vehicle when ambient
temperatures are less than 40°F (5°C) or if roads
are covered with ice or snow. For more
information, contact an authorized dealer.
WARNING!
Do not use a tire, wheel size, load rating, or
speed rating other than that specified for your
vehicle. Some combinations of unapproved
tires and wheels may change suspension
dimensions and performance characteristics,
resulting in changes to steering, handling, and
braking of your vehicle. This can cause unpre
-
dictable handling and stress to steering and
suspension components. You could lose
control and have a collision resulting in
serious injury or death. Use only the tire and
wheel sizes with load ratings approved for
your vehicle.
Never use a tire with a smaller load index or
capacity, other than what was originally
equipped on your vehicle. Using a tire with a
smaller load index could result in tire over -
loading and failure. You could lose control and
have a collision.
Failure to equip your vehicle with tires having
adequate speed capability can result in
sudden tire failure and loss of vehicle control.
CAUTION!
Replacing original tires with tires of a different
size may result in false speedometer and
odometer readings.
8
21_LA_OM_EN_USC_t.book Page 291
Page 302 of 328

300SERVICING AND MAINTENANCE
Cleaning Plastic Instrument Cluster
Lenses
The lenses in front of the instruments in this
vehicle are molded in clear plastic. When cleaning
the lenses, care must be taken to avoid scratching
the plastic.
Clean with a wet soft cloth. A mild soap solution
may be used, but do not use high alcohol content
or abrasive cleaners. If soap is used, wipe clean
with a clean damp cloth. Dry with a soft cloth.
LEATHER SURFACES
Mopar® Total Clean is specifically recommended
for leather upholstery.
Your leather upholstery can be best preserved by
regular cleaning with a damp soft cloth. Small
particles of dirt can act as an abrasive and damage
the leather upholstery and should be removed
promptly with a damp cloth. Stubborn soils can be
removed easily with a soft cloth and Mopar® Total
Clean. Care should be taken to avoid soaking your
leather upholstery with any liquid. Please do not
use polishes, oils, cleaning fluids, solvents,
detergents, or ammonia-based cleaners to clean
your leather upholstery.
NOTE:If equipped with light colored leather, it tends to
show any foreign material, dirt, and fabric dye
transfer more so than darker colors. The leather is
designed for easy cleaning, and the manufacturer
recommends Mopar® total care leather cleaner
applied on a cloth to clean the leather seats as
needed.
GLASS SURFACES
All glass surfaces should be cleaned on a regular
basis with Mopar® Glass Cleaner, or any
commercial household-type glass cleaner. Never
use an abrasive type cleaner. Use caution when
cleaning the inside rear window equipped with
electric defrosters or windows equipped with radio
antennas. Do not use scrapers or other sharp
instruments that may scratch the elements.
When cleaning the rear view mirror, spray cleaner
on the towel or cloth that you are using. Do not
spray cleaner directly on the mirror.
CAUTION!
Do not use Alcohol and Alcohol-based and/or
Ketone based cleaning products to clean leather
upholstery, as damage to the upholstery may
result.
21_LA_OM_EN_USC_t.book Page 300
Page 303 of 328
301
TECHNICAL SPECIFICATIONS
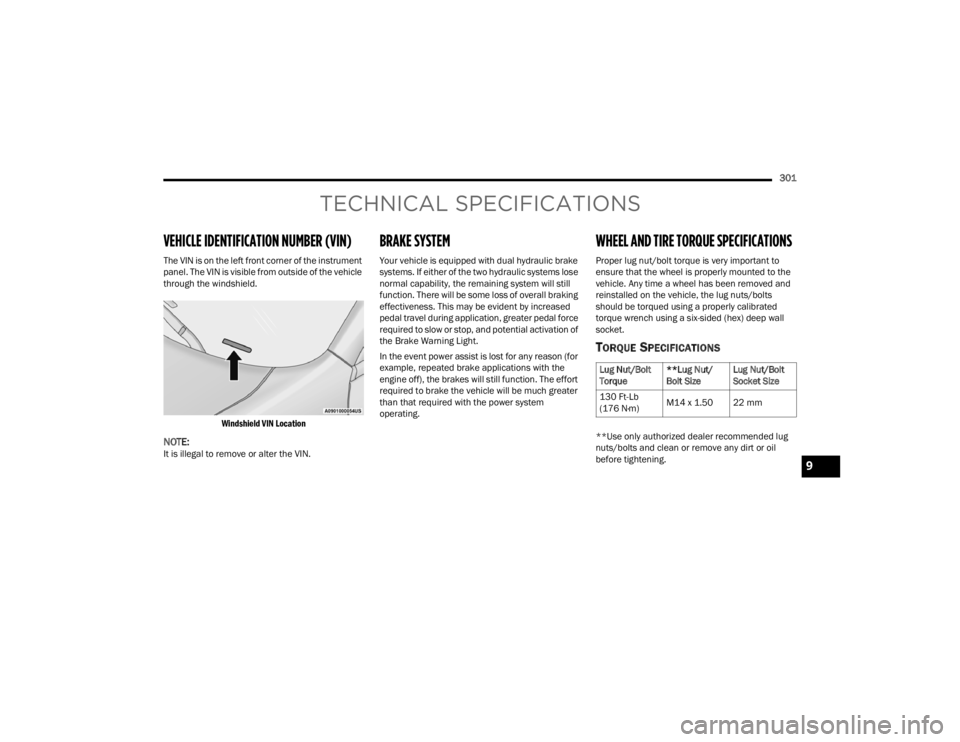
VEHICLE IDENTIFICATION NUMBER (VIN)
The VIN is on the left front corner of the instrument
panel. The VIN is visible from outside of the vehicle
through the windshield.
Windshield VIN Location
NOTE:It is illegal to remove or alter the VIN.
BRAKE SYSTEM
Your vehicle is equipped with dual hydraulic brake
systems. If either of the two hydraulic systems lose
normal capability, the remaining system will still
function. There will be some loss of overall braking
effectiveness. This may be evident by increased
pedal travel during application, greater pedal force
required to slow or stop, and potential activation of
the Brake Warning Light.
In the event power assist is lost for any reason (for
example, repeated brake applications with the
engine off), the brakes will still function. The effort
required to brake the vehicle will be much greater
than that required with the power system
operating.
WHEEL AND TIRE TORQUE SPECIFICATIONS
Proper lug nut/bolt torque is very important to
ensure that the wheel is properly mounted to the
vehicle. Any time a wheel has been removed and
reinstalled on the vehicle, the lug nuts/bolts
should be torqued using a properly calibrated
torque wrench using a six-sided (hex) deep wall
socket.
TORQUE SPECIFICATIONS
**Use only authorized dealer recommended lug
nuts/bolts and clean or remove any dirt or oil
before tightening.
Lug Nut/Bolt
Torque **Lug Nut/
Bolt SizeLug Nut/Bolt
Socket Size
130 Ft-Lb
(176 N·m) M14 x 1.50 22 mm
9
21_LA_OM_EN_USC_t.book Page 301
Page 308 of 328
306TECHNICAL SPECIFICATIONS
ENGINE FLUIDS AND LUBRICANTS
Component Fluid, Lubricant, or Genuine Part
Engine Coolant We recommend you use Mopar® Antifreeze/Coolant 10 Year/150,000 Mile
(240,000 km) Formula OAT (Organic Additive Technology).
Engine Oil – 3.6L/5.7L Engine We recommend you use API Certified SAE 5W-20 Engine Oil, meeting the
requirements of the manufacturer Material Standard MS-6395 such as
Mopar® SAE 5W-20, Pennzoil SAE 5W-20, and Pennzoil gold 5W-20
semi-synthetic oil. Refer to your engine oil filler cap for correct SAE grade.
Engine Oil Filter We recommend you use a Mopar® Engine Oil Filter. If a Mopar® Engine Oil
Filter is unavailable only use filters that meet or exceed SAE/USCAR-36 Filter
Performance Requirements.
Fuel Selection – 3.6L Engine 87 Octane (R+M)/2 Method, 0-15% ethanol.
Fuel Selection – 5.7L Engine With Automatic Transmission
89 Octane recommended – 87 Octane acceptable (R+M)/2 Method, 0-15% ethanol.
Fuel Selection – 5.7L Engine With Manual Transmission 91 Octane or higher (R+M)/2 Method, 0-15% ethanol.
CAUTION!
Mixing of engine coolant (antifreeze) other than specified Organic Additive Technology (OAT) engine coolant (antifreeze), may result in engine damage and
may decrease corrosion protection. Organic Additive Technology (OAT) engine coolant is different and should not be mixed with Hybrid Organic Additive Tech -
nology (HOAT) engine coolant (antifreeze) or any “globally compatible” coolant (antifreeze). If a non-OAT engine coolant (antifreeze) is introduced into the
cooling system in an emergency, the cooling system will need to be drained, flushed, and refilled with fresh OAT coolant (conforming to MS.90032), by an
authorized dealer as soon as possible.
Do not use water alone or alcohol-based engine coolant (antifreeze) products. Do not use additional rust inhibitors or antirust products, as they may not be
compatible with the radiator engine coolant and may plug the radiator.
This vehicle has not been designed for use with propylene glycol-based engine coolant (antifreeze). Use of propylene glycol-based engine coolant (antifreeze)
is not recommended.
21_LA_OM_EN_USC_t.book Page 306