clock DODGE CHALLENGER SRT 2010 3.G Owner's Manual
[x] Cancel search | Manufacturer: DODGE, Model Year: 2010, Model line: CHALLENGER SRT, Model: DODGE CHALLENGER SRT 2010 3.GPages: 436, PDF Size: 8.59 MB
Page 240 of 436
Do notpress the accelerator. Use the Fob with Integrated
Key to briefly turn the ignition switch to the START
position and release it as soon as the starter engages. The
starter motor will continue to run, and it will disengage
automatically when the engine is running. If the engine
fails to start, the starter will disengage automatically in
10 seconds. If this occurs, turn the ignition switch to the
LOCK position, wait 10 to 15 seconds, then repeat the
“Normal Starting” procedure.
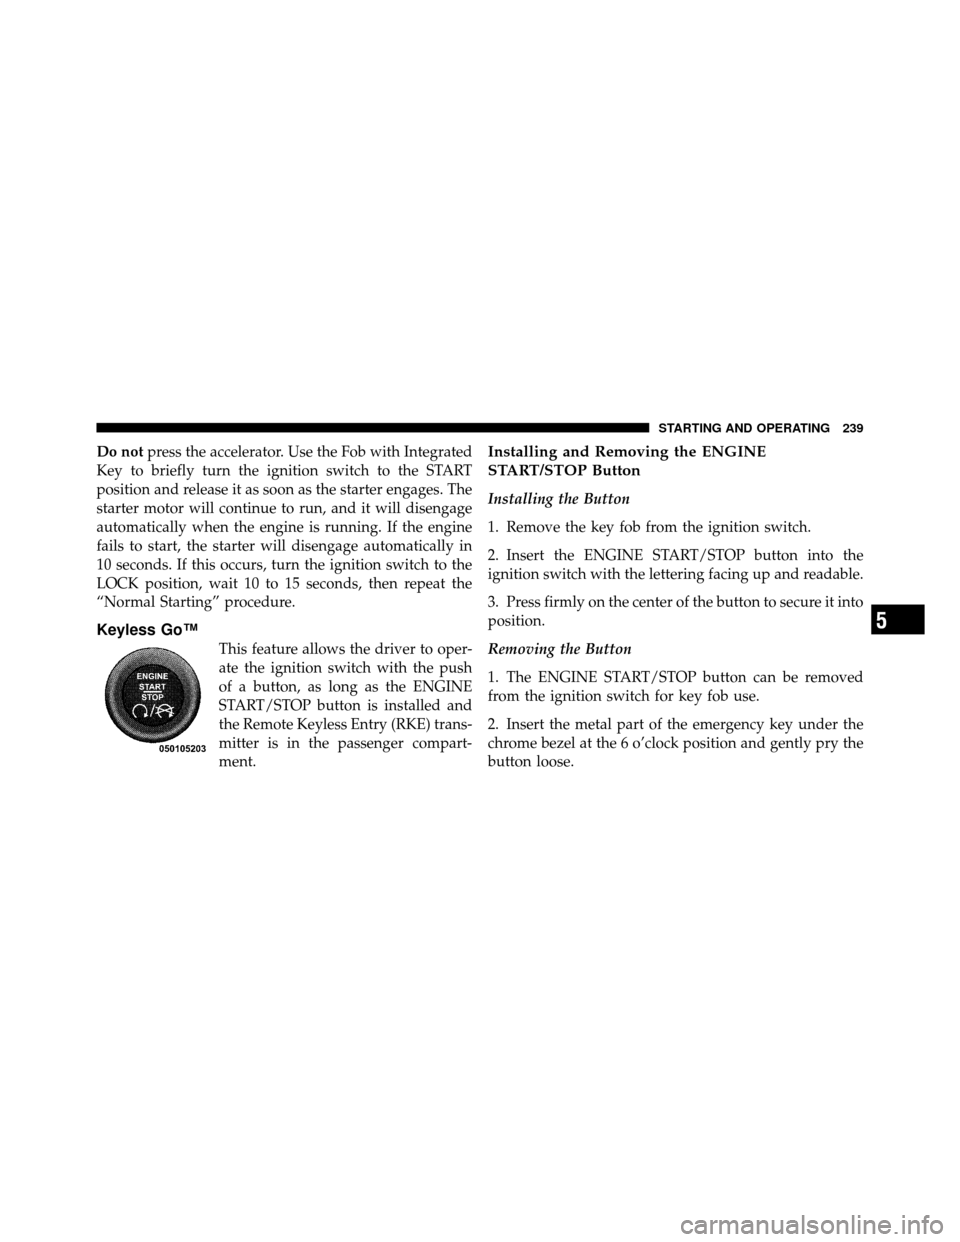
Keyless Go™
This feature allows the driver to oper-
ate the ignition switch with the push
of a button, as long as the ENGINE
START/STOP button is installed and
the Remote Keyless Entry (RKE) trans-
mitter is in the passenger compart-
ment.
Installing and Removing the ENGINE
START/STOP Button
Installing the Button
1. Remove the key fob from the ignition switch.
2. Insert the ENGINE START/STOP button into the
ignition switch with the lettering facing up and readable.
3. Press firmly on the center of the button to secure it into
position.
Removing the Button
1. The ENGINE START/STOP button can be removed
from the ignition switch for key fob use.
2. Insert the metal part of the emergency key under the
chrome bezel at the 6 o’clock position and gently pry the
button loose.
5
STARTING AND OPERATING 239
Page 379 of 436
Front/Rear Side Marker Lamp
1. Remove the front/rear side marker. Use a fiber stick or
similar tool to gently pry the lamp on the outboard side
to disengage the clip.
NOTE:
•If a screwdriver is used, make sure a soft material is
placed between the vehicle body and tool so not to
scratch the paint.
2. Rotate the bulb’s socket counterclockwise, and remove
the bulb and socket assembly from the housing.
3. Pull the bulb out of the socket and insert the replace-
ment bulb.
4. Install the bulb and socket assembly into the housing,
and rotate the socket clockwise to lock it in place.
5. Reinstall the front/rear side marker.
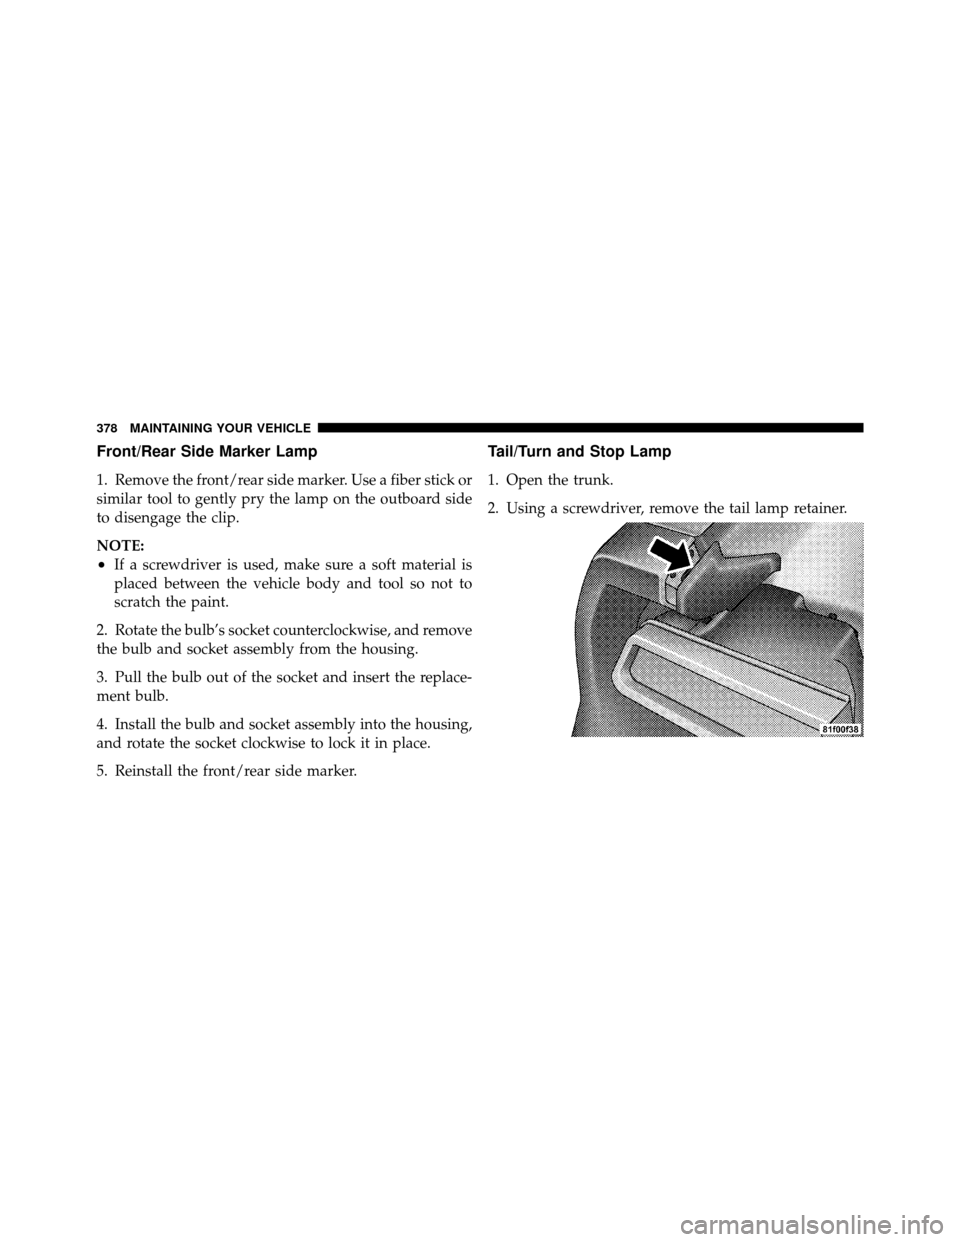
Tail/Turn and Stop Lamp
1. Open the trunk.
2. Using a screwdriver, remove the tail lamp retainer.
378 MAINTAINING YOUR VEHICLE
Page 381 of 436
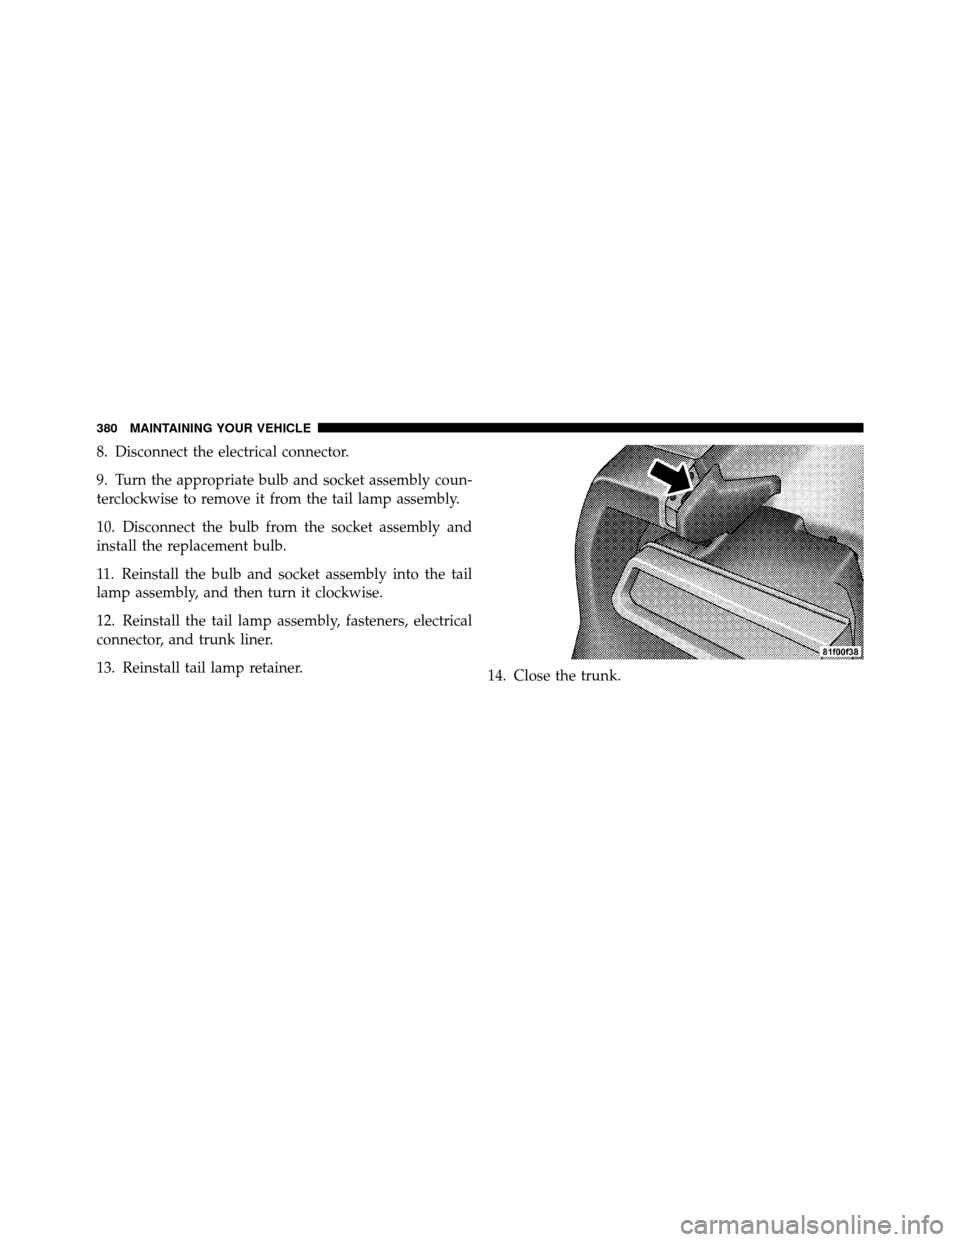
8. Disconnect the electrical connector.
9. Turn the appropriate bulb and socket assembly coun-
terclockwise to remove it from the tail lamp assembly.
10. Disconnect the bulb from the socket assembly and
install the replacement bulb.
11. Reinstall the bulb and socket assembly into the tail
lamp assembly, and then turn it clockwise.
12. Reinstall the tail lamp assembly, fasteners, electrical
connector, and trunk liner.
13. Reinstall tail lamp retainer.14. Close the trunk.
380 MAINTAINING YOUR VEHICLE
Page 419 of 436
Bulbs, Light.......................... 72,376
Calibration, Compass ..................... 180
Capacities, Fluid ........................ 382
Caps, Filler Fuel ............................... 308
Oil (Engine) .......................... 344
Power Steering ........................ 263
Radiator (Coolant Pressure) ............... 356
Car Washes ............................ 364
Carbon Monoxide Warning ...............70,307
Cargo (Vehicle Loading) ................... 310
Cellular Phone .......................... 81
Center High Mounted Stop Light ............ 381
Certification Label ....................... 310
Chains, Tire ............................ 295
Chart, Tire Sizing ........................ 281
Check Engine Light
(Malfunction Indicator Light) ............... 340Checking Your Vehicle For Safety
............. 69
Checks, Safety ........................... 69
Child Restraint .................... 59,61,64,66
Child Restraint Tether Anchors .............63,64
Clean Air Gasoline ....................... 304
Cleaning Wheels ............................. 366
Windshield Wiper Blades ................ 349
Clock ........................ 186,188,191,200
Cold Weather Operation ................... 242
Compact Disc (CD) Maintenance ............. 223
Compass .............................. 180
Compass Calibration ..................... 180
Compass Variance ....................... 181
Computer, Trip/Travel .................... 173
Connector UCI ................................ 211
Universal Consumer Interface (UCI) ......... 211
Console .............................. 150
418 INDEX
Page 431 of 436
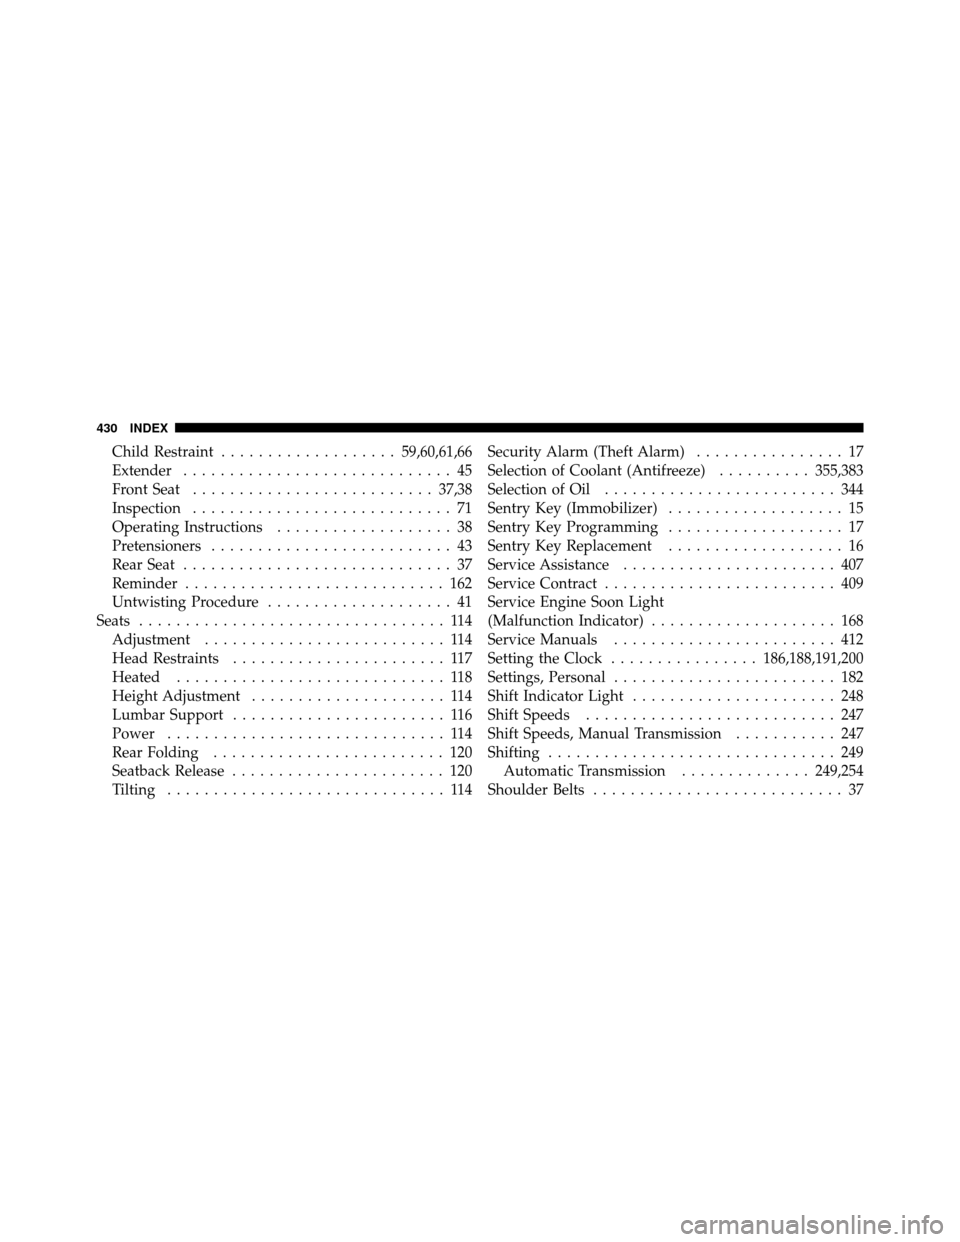
Child Restraint................... 59,60,61,66
Extender ............................. 45
Front Seat .......................... 37,38
Inspection ............................ 71
Operating Instructions ................... 38
Pretensioners .......................... 43
Rear Seat ............................. 37
Reminder ............................ 162
Untwisting Procedure .................... 41
Seats ................................. 114
Adjustment .......................... 114
Head Restraints ....................... 117
Heated ............................. 118
Height Adjustment ..................... 114
Lumbar Support ....................... 116
Power .............................. 114
Rear Folding ......................... 120
Seatback Release ....................... 120
Tilting .............................. 114 Security Alarm (Theft Alarm)
................ 17
Selection of Coolant (Antifreeze) ..........355,383
Selection of Oil ......................... 344
Sentry Key (Immobilizer) ................... 15
Sentry Key Programming ................... 17
Sentry Key Replacement ................... 16
Service Assistance ....................... 407
Service Contract ......................... 409
Service Engine Soon Light
(Malfunction Indicator) .................... 168
Service Manuals ........................ 412
Setting the Clock ................ 186,188,191,200
Settings, Personal ........................ 182
Shift Indicator Light ...................... 248
Shift Speeds ........................... 247
Shift Speeds, Manual Transmission ........... 247
Shifting ............................... 249
Automatic Transmission ..............249,254
Shoulder Belts ........................... 37
430 INDEX