window DODGE CHALLENGER SRT 2011 3.G Owner's Manual
[x] Cancel search | Manufacturer: DODGE, Model Year: 2011, Model line: CHALLENGER SRT, Model: DODGE CHALLENGER SRT 2011 3.GPages: 460, PDF Size: 3.44 MB
Page 94 of 460
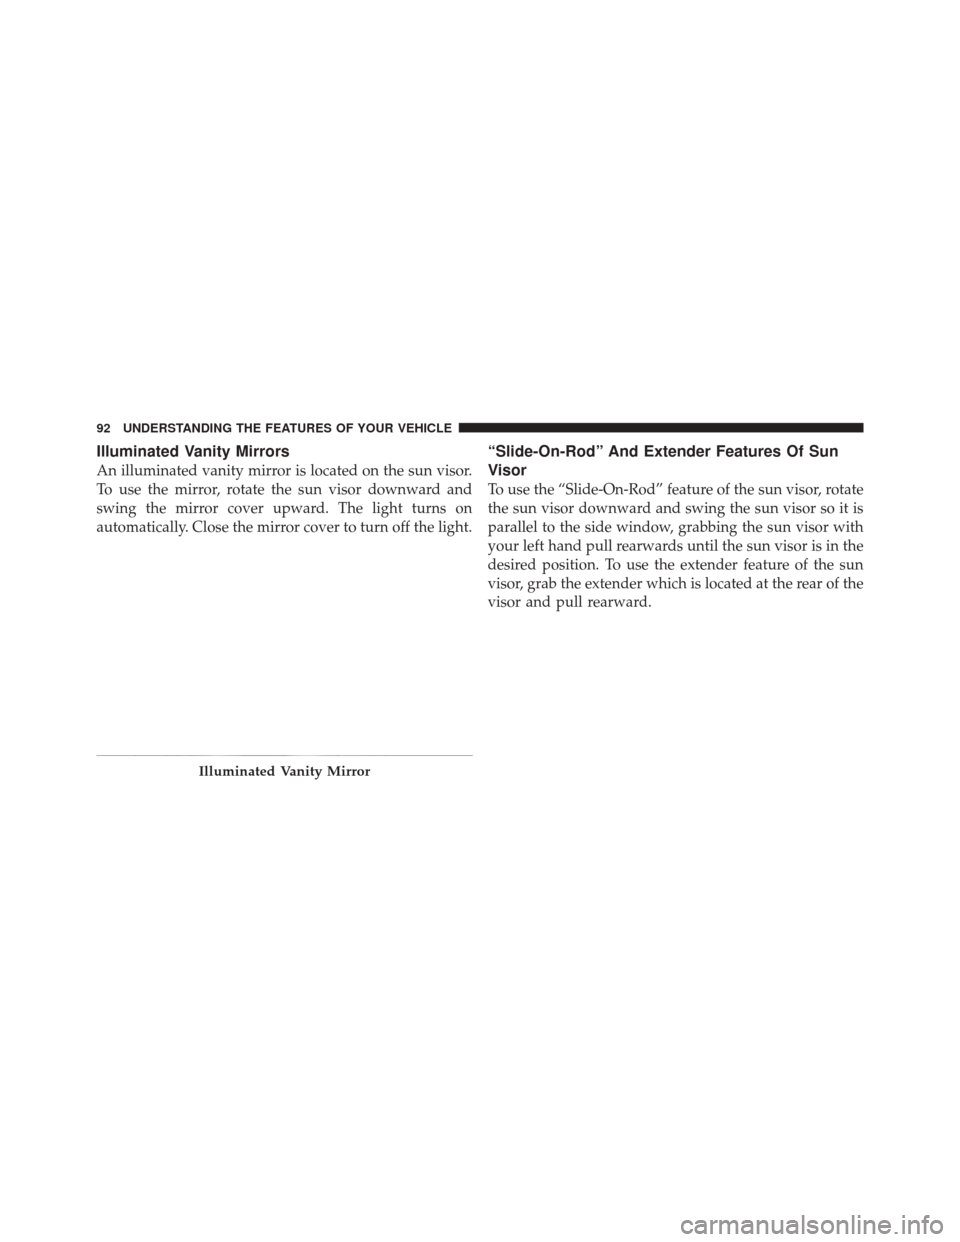
Illuminated Vanity Mirrors
An illuminated vanity mirror is located on the sun visor.
To use the mirror, rotate the sun visor downward and
swing the mirror cover upward. The light turns on
automatically. Close the mirror cover to turn off the light.
“Slide-On-Rod” And Extender Features Of Sun
Visor
To use the “Slide-On-Rod” feature of the sun visor, rotate
the sun visor downward and swing the sun visor so it is
parallel to the side window, grabbing the sun visor with
your left hand pull rearwards until the sun visor is in the
desired position. To use the extender feature of the sun
visor, grab the extender which is located at the rear of the
visor and pull rearward.
Illuminated Vanity Mirror
92 UNDERSTANDING THE FEATURES OF YOUR VEHICLE
Page 114 of 460
•You can also press thebutton at any time while
the list is being played, and then choose the phone you
wish to delete.
Things You Should Know About Your Uconnect™
Phone
Uconnect™ Phone Tutorial
To hear a brief tutorial of the system features, press the
button and say “Uconnect™ Tutorial.”
Voice Training
For users experiencing difficulty with the system recogniz-
ing their voice commands or numbers, the Uconnect™
Phone Voice Training feature may be used. To enter this
training mode, follow one of the two following procedures:
From outside the Uconnect™ Phone mode (e.g., from
radio mode):
•Press and hold thebutton for five seconds until
the session begins, or,
•Press thebutton and say the “Voice Training,
System Training, or Start Voice Training” command.
You can either press the Uconnect™ Phone button to
restore the factory setting or repeat the words and
phrases when prompted by the Uconnect™ Phone. For
best results, the Voice Training session should be com-
pleted when the vehicle is parked with the engine
running, all windows closed, and the blower fan
switched off.
This procedure may be repeated with a new user. The
system will adapt to the last trained voice only.
Reset
•
press thebutton.
•After the “Ready” prompt, and the following beep, say
“Setup”, then “Reset”.
112 UNDERSTANDING THE FEATURES OF YOUR VEHICLE
Page 115 of 460
This will delete all phone pairing, phone book entries,
and other settings in all language modes. The System will
prompt you before resetting to factory settings.
Voice Command
•
For best performance, adjust the rearview mirror to
provide at least12in (1 cm) gap between the overhead
console (if equipped) and the mirror.
•Always wait for the beep before speaking.
•Speak normally, without pausing, just as you would
speak to a person sitting a few feet/meters away from
you.
•Make sure that no one other than you is speaking
during a Voice Command period.
•Performance is maximized under:
•low-to-medium blower setting,
•low-to-medium vehicle speed,
•low road noise,
•smooth road surface,
•fully closed windows,
•dry weather condition.
•Even though the system is designed for users speaking
in North American English, French, and Spanish ac-
cents, the system may not always work for some.
•When navigating through an automated system such
as voice mail, or when sending a page, at the end of
speaking the digit string, make sure to say “Send”.
•Storing names in the phonebook when the vehicle is
not in motion is recommended.
•It is not recommended to store similar sounding
names in the Uconnect™ Phonebook.
3
UNDERSTANDING THE FEATURES OF YOUR VEHICLE 113
Page 116 of 460
•Phonebook (Downloaded and Uconnect™ Phone Lo-
cal) name recognition rate is optimized when the
entries are not similar.
•Numbers must be spoken in single digits. “800” must
be spoken “eight-zero-zero” not “eight hundred”.
•You can say “O” (letter “O”) for “0” (zero).
•Even though international dialing for most number
combinations is supported, some shortcut dialing
number combinations may not be supported.
•In a convertible vehicle, system performance may be
compromised with the convertible top down.
Far End Audio Performance
•
Audio quality is maximized under:
•low-to-medium blower setting,
•low-to-medium vehicle speed,
•low road noise,
•smooth road surface,
•fully closed windows,
•dry weather conditions, and
•operation from the driver’s seat.
•Performance, such as audio clarity, echo, and loudness
to a large degree rely on the phone and network, and
not the Uconnect™ Phone.
•Echo at the phone far end can sometimes be reduced
by lowering the in-vehicle audio volume.
•In a convertible vehicle, system performance may be
compromised with the convertible top down.
114 UNDERSTANDING THE FEATURES OF YOUR VEHICLE
Page 130 of 460
Voice Training
For users experiencing difficulty with the system recog-
nizing their voice commands or numbers the Uconnect™
Voice “Voice Training” feature may be used.
1. Press the Voice Command
button, say “System
Setup” and once you are in that menu then say “Voice
Training.” This will train your own voice to the system
and will improve recognition.
2. Repeat the words and phrases when prompted by
Uconnect™ Voice. For best results, the “Voice Training”
session should be completed when the vehicle is parked,
engine running, all windows closed, and the blower fan
switched off. This procedure may be repeated with a new
user. The system will adapt to the last trained voice only.
SEATS
Seats are a part of the Occupant Restraint System of the
vehicle.
WARNING!
•It is dangerous to ride in a cargo area, inside or
outside of a vehicle. In a collision, people riding in
these areas are more likely to be seriously injured
or killed.
•Do not allow people to ride in any area of your
vehicle that is not equipped with seats and seat
belts. In a collision, people riding in these areas
are more likely to be seriously injured or killed.
•Be sure everyone in your vehicle is in a seat and
using a seat belt properly.
Power Seats
The power seat switches are located on the outboard side
of the front seat cushions. The power seat switches are
used to control the position of the seat.
128 UNDERSTANDING THE FEATURES OF YOUR VEHICLE
Page 163 of 460
and will occur regardless of sunroof position. During
Express Vent operation, any movement of the switch will
stop the sunroof.
Sunshade Operation
The sunshade can be opened manually. However, the
sunshade will open automatically as the sunroof opens.
NOTE:The sunshade cannot be closed if the sunroof is
open.
Wind Buffeting
Wind buffeting can be described as the perception of
pressure on the ears or a helicopter-type sound in the
ears. Your vehicle may exhibit wind buffeting with the
windows down, or the sunroof (if equipped) is in certain
open or partially open positions. This is a normal occur-
rence and can be minimized. If the buffeting occurs with
the rear windows open, open the front and rear windows
together to minimize the buffeting. If the buffeting occurs with the sunroof open, adjust the sunroof opening to
minimize the buffeting or open any window.
Sunroof Maintenance
Use only a nonabrasive cleaner and a soft cloth to clean
the glass panel.
Ignition Off Operation
The power sunroof switches remain active for up to
approximately ten minutes after the ignition switch has
been turned OFF. Opening either front door will cancel
this feature.
ELECTRICAL POWER OUTLETS
There are two 12 Volt (13 Amp) electrical power outlets
on this vehicle. Both of the outlets are protected by a fuse.
The front 12 Volt power outlet has power available only
when the ignition is placed in the ACC or RUN position.
This power outlet will also operate a conventional cigar
lighter unit. If desired, the front power outlet can be
3
UNDERSTANDING THE FEATURES OF YOUR VEHICLE 161
Page 170 of 460
WARNING!
Do not operate this vehicle with a console compart-
ment lid in the open position. Cellular phones, music
players, and other handheld electronic devices
should be stowed while driving. Use of these devices
while driving can cause an accident due to distrac-
tion, resulting in death or injury.
REAR WINDOW FEATURES
Rear Window Defroster
The rear window defroster button is located on the
climate control (Mode) knob. Press this button to
turn on the rear window defroster and the heated outside
mirrors (if equipped). An indicator in the button will
illuminate when the rear window defroster is on. The
rear window defroster automatically turns off after ap-
proximately 10 minutes. For an additional five minutes of
operation, press the button a second time. NOTE:
To prevent excessive battery drain, use the rear
window defroster only when the engine is operating.
CAUTION!
Failure to follow these cautions can cause damage to
the heating elements:
•Use care when washing the inside of the rear
window. Do not use abrasive window cleaners on
the interior surface of the window. Use a soft cloth
and a mild washing solution, wiping parallel to
the heating elements. Labels can be peeled off
after soaking with warm water.
•Do not use scrapers, sharp instruments, or abra-
sive window cleaners on the interior surface of the
window.
•Keep all objects a safe distance from the window.
168 UNDERSTANDING THE FEATURES OF YOUR VEHICLE
Page 193 of 460
a second time within three seconds of resetting the
currently-displayed function (>Reset ALL will display
during this three-second window).
Performance Features
WARNING!
Measurement of vehicle statistics with the Perfor-
mance Features is intended for off-highway or off-
road use only and should not be done on any public
roadways. It is recommended that these features be
used in a controlled environment and within the
limits of the law. The capabilities of the vehicle as
measured by the performance pages must never be
exploited in a reckless or dangerous manner, which
can jeopardize the user ’s safety or the safety of
others. Only a safe, attentive, and skillful driver can
prevent accidents.The Performance Features include the following:
•0-60 mph (0-100 km/h)
•Braking Distance
•1/8 Mile
•1/4 Mile
•Instantaneous G-Force
•Peak G-Force
•Digital Speedometer
To access, press and release either the UP or DOWN
arrow button until “Performance Features” appears in
the EVIC, then press and release the SELECT button.
Press the UP or DOWN button to cycle through the
features. Press the SELECT button to select a feature.
4
UNDERSTANDING YOUR INSTRUMENT PANEL 191
Page 202 of 460
NOTE:Turning the headlights on during the daytime
causes the instrument panel lights to dim. To increase the
brightness, refer to “Lights” in “Understanding The
Features Of Your Vehicle.”
Delay Turning Headlights Off
When this feature is selected, the driver can choose to
have the headlights remain on for 0, 30, 60, or 90 seconds
when exiting the vehicle. To make your selection, press
and release the SELECT button until “0,” “30,” “60,” or
“90” appears.
Hill Start Assist (HSA) — If Equipped
When on is selected, the HSA system is active. Refer to
“Electronic Brake Control System” in “Starting And
Operating” for system function and operating informa-
tion. To make your selection, press and release the
SELECT button until “ON” or “OFF” appears.
Turn Headlights On with Remote Key Unlock
When this feature is selected, the headlights will activate
and remain on for up to 90 seconds when the doors are
unlocked with the RKE transmitter. To make your selec-
tion, press and release the SELECT button until “OFF,”
“30 sec.,” “60 sec.,” or “90 sec.” appears.
Delay Power Off to Accessories Until Exit
When this feature is selected, the power window
switches, radio, Uconnect™ phone (if equipped), power
sunroof (if equipped), and ignition-powered power out-
lets will remain active for up to 60 minutes after the
ignition switch is turned OFF. Opening either front
vehicle door will cancel this feature. To make your
selection, press and release the SELECT button until
“Off,” “45 sec.,” “5 min.,” “10 min.,” “30 min.,” or “60
min.” appears.
200 UNDERSTANDING YOUR INSTRUMENT PANEL
Page 206 of 460
Push the rotary TUNE/SCROLL control knob a second
time and MID will display. Turn the TUNE/SCROLL
control knob to the right or left to increase or decrease the
mid-range tones.
Push the rotary TUNE/SCROLL control knob a third
time and TREBLE will display. Turn the TUNE/SCROLL
control knob to the right or left to increase or decrease the
treble tones.
Push the rotary TUNE/SCROLL control knob a fourth
time and BALANCE will display. Turn the TUNE/
SCROLL control knob to the right or left to adjust the
sound level from the right or left side speakers.
Push the rotary TUNE/SCROLL control knob a fifth time
and FADE will display. Turn the TUNE/SCROLL control
knob to the left or right to adjust the sound level between
the front and rear speakers.
Push the rotary TUNE/SCROLL control knob again to
exit setting tone, balance, and fade.AM/FM Button
Press the buttons to select either AM or FM mode.
SET/RND Button — To Set the Pushbutton
Memory
When you are receiving a station that you wish to
commit to pushbutton memory, press the SET/RND
button. The symbol SET 1 will now show in the display
window. Select the button (1 to 6) you wish to lock onto
this station and press and release that button. If a button
is not selected within five seconds after pressing the
SET/RND button, the station will continue to play but
will not be stored into pushbutton memory.
You may add a second station to each pushbutton by
repeating the above procedure with this exception: Press
the SET/RND button twice and SET 2 will show in the
display window. Each button can be set for SET 1 and
SET 2 in both AM and FM. This allows a total of 12 AM
204 UNDERSTANDING YOUR INSTRUMENT PANEL