instrument panel DODGE CHARGER 2010 7.G Owners Manual
[x] Cancel search | Manufacturer: DODGE, Model Year: 2010, Model line: CHARGER, Model: DODGE CHARGER 2010 7.GPages: 484, PDF Size: 11.72 MB
Page 2 of 484
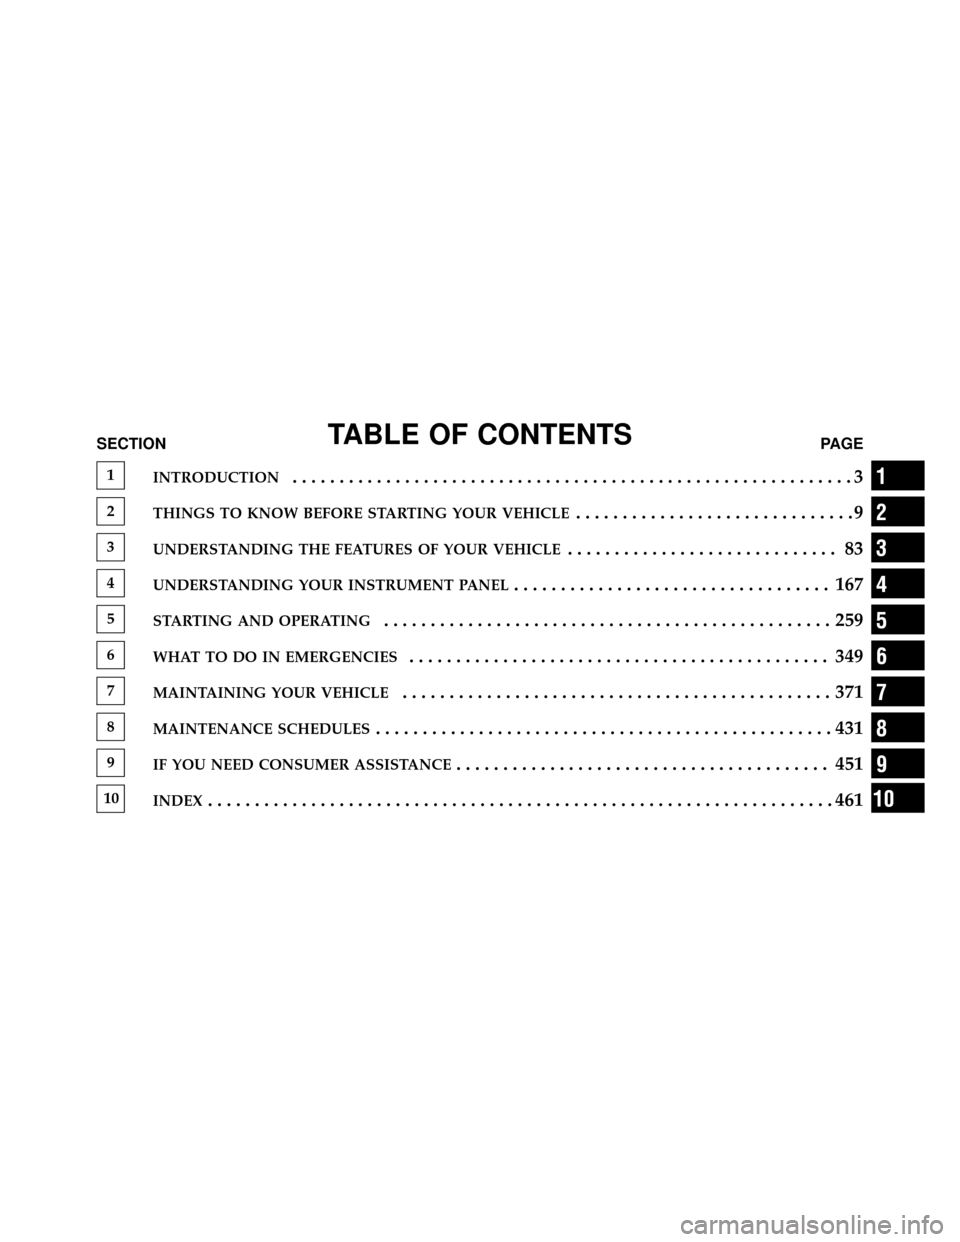
TABLE OF CONTENTSSECTIONPAGE
1INTRODUCTION............................................................3
2THINGS TO KNOW BEFORE STARTING YOUR VEHICLE..............................9
3UNDERSTANDING THE FEATURES OF YOUR VEHICLE............................. 83
4UNDERSTANDING YOUR INSTRUMENT PANEL.................................. 167
5STARTING AND OPERATING................................................259
6WHAT TO DO IN EMERGENCIES............................................. 349
7MAINTAINING YOUR VEHICLE..............................................371
8MAINTENANCE SCHEDULES.................................................431
9IF YOU NEED CONSUMER ASSISTANCE........................................ 451
10INDEX...................................................................461
1
2
3
4
5
6
7
8
9
10
Page 7 of 484
WARNINGS AND CAUTIONS
This Owner’s Manual containsWARNINGSagainst op-
erating procedures that could result in an accident or
bodily injury. It also contains CAUTIONSagainst proce-
dures that could result in damage to your vehicle. If you
do not read this entire manual, you may miss important
information. Observe all Warnings and Cautions.
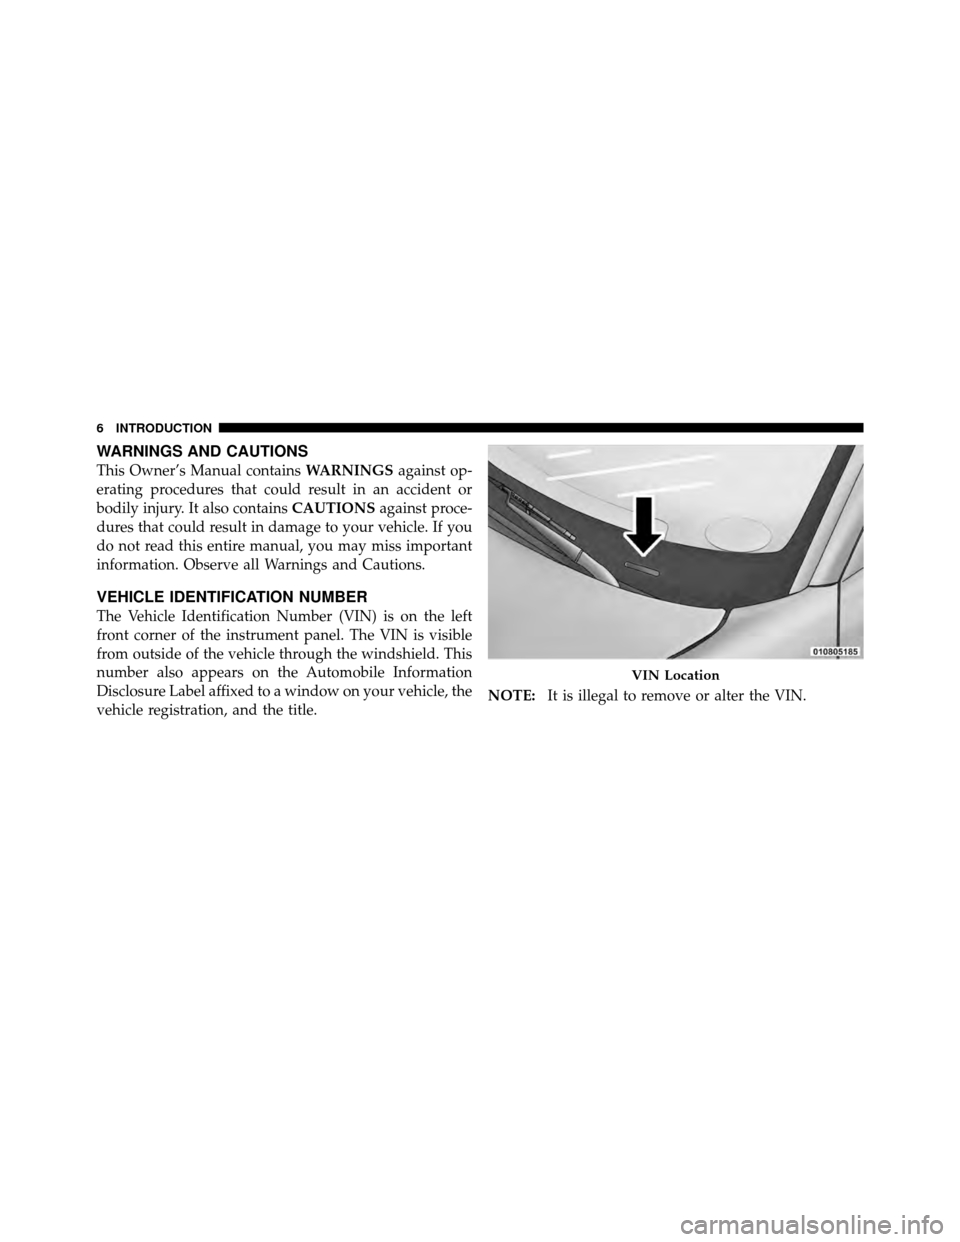
VEHICLE IDENTIFICATION NUMBER
The Vehicle Identification Number (VIN) is on the left
front corner of the instrument panel. The VIN is visible
from outside of the vehicle through the windshield. This
number also appears on the Automobile Information
Disclosure Label affixed to a window on your vehicle, the
vehicle registration, and the title. NOTE:
It is illegal to remove or alter the VIN.
VIN Location
6 INTRODUCTION
Page 22 of 484
Remote Key Unlock, Driver Door/All Doors 1st
Press
This feature lets you program the system to unlock either
the driver’s door or all doors on the first press of the
UNLOCK button on the RKE transmitter. To change the
current setting, proceed as follows:
•For vehicles equipped with the Electronic Vehicle
Information Center (EVIC), refer to “Electronic Vehicle
Information Center (EVIC)/Personal Settings
(Customer-Programmable Features)” in “Understand-
ing Your Instrument Panel” for further information.
•For vehicles not equipped with the EVIC, perform the
following procedure:
1. Press and hold the LOCK button on a programmed
RKE transmitter for at least 4 seconds, but no longer than
10 seconds. Then, press and hold the UNLOCK button
while still holding the LOCK button. 2. Release both buttons at the same time.
3. Test the feature while outside of the vehicle by press-
ing the LOCK/UNLOCK buttons on the RKE transmitter
with the ignition switch in the LOCK position and the
Key Fob removed.
4. Repeat these steps if you want to return this feature to
its previous setting.
NOTE:
Pressing the LOCK button on the RKE transmit-
ter while you are inside the vehicle will activate the
security alarm. Opening a door with the Vehicle Security
Alarm activated will cause the alarm to sound. Press the
UNLOCK button to deactivate the security alarm.
2
THINGS TO KNOW BEFORE STARTING YOUR VEHICLE 21
Page 24 of 484
Information Center (EVIC — If Equipped)/Personal Set-
tings (Customer-Programmable Features)” in “Under-
standing Your Instrument Panel” for further information.
To Lock the Doors
Press and release the LOCK button on the RKE transmit-
ter to lock all doors. The turn signal lights will flash and
the horn will chirp to acknowledge the signal.
Sound Horn with Remote Key Lock
This feature will cause the horn to chirp when the doors
are locked with the RKE transmitter. This feature can be
turned on or turned off. To change the current setting,
proceed as follows:
•For vehicles equipped with the EVIC, refer to “Elec-
tronic Vehicle Information Center (EVIC) — If
Equipped/Personal Settings (Customer-
Programmable Features)” in “Understanding Your In-
strument Panel” for further information.
•For vehicles not equipped with the EVIC, perform the
following procedure:
1. Press the LOCK button on a programmed RKE trans-
mitter for at least 4 seconds, but no longer than 10 sec-
onds. Then, press the PANIC button while still holding
the LOCK button.
2. Release both buttons at the same time.
3. Test the feature while outside of the vehicle by press-
ing the LOCK button on the RKE transmitter with the
ignition switch in the LOCK position and the Key Fob
removed.
4. Repeat these steps if you want to return this feature to
its previous setting.
NOTE: Pressing the LOCK button on the RKE transmit-
ter while you are in the vehicle will activate the security
2
THINGS TO KNOW BEFORE STARTING YOUR VEHICLE 23
Page 32 of 484
Automatic Door Locks Programming
The Automatic Door Locks feature can be enabled or
disabled as follows:
•For vehicles equipped with the Electronic Vehicle
Information Center (EVIC), refer to “Electronic Vehicle
Information Center (EVIC) — If Equipped/Personal
Settings (Customer-Programmable Features)” in “Un-
derstanding Your Instrument Panel” for further infor-
mation.
•For vehicles not equipped with the EVIC, perform the
following procedure:
1. Close all doors and place the Key Fob in the ignition
switch.
2. Cycle the ignition switch between LOCK and ON and
then back to LOCK four times ending up in the LOCK
position (do not start the engine).
3. Press the power door LOCK switch to lock the doors. 4. A single chime will indicate the completion of the
programming.
5. Cycle the ignition after performing steps one to four
for the feature to be enabled or disabled.
6. Repeat these steps if you want to return this feature to
its previous setting.
NOTE:
Use the Automatic Door Locks feature in accor-
dance with local laws.Automatic Unlock Doors on Exit
The doors will unlock automatically on vehicles with
power door locks if:
1. The Automatic Unlock Doors On Exit feature is en-
abled.
2. The transmission was in gear and the vehicle speed
returned to 0 mph (0 km/h).
3. The transmission is in NEUTRAL or PARK.
2
THINGS TO KNOW BEFORE STARTING YOUR VEHICLE 31
Page 37 of 484
NOTE:
•For vehicles not equipped with the Electronic Vehicle
Information Center (EVIC), the power window
switches will remain active for 10 minutes after the
ignition switch is turned to the OFF position. Opening
either front door will cancel this feature.
•For vehicles equipped with the EVIC, the power
window switches will remain active for up to 60 min-
utes after the ignition switch is turned to the OFF
position. Opening either front door will cancel this
feature. The time is programmable. Refer to “Elec-
tronic Vehicle Information Center (EVIC)/Personal
Settings (Customer-Programmable Features)” in “Un-
derstanding Your Instrument Panel” for further
information.
WARNING!
Never leave children in a vehicle with the key in the
ignition switch. Occupants, particularly unattended
children, can become entrapped by the windows
while operating the power window switches. Such
entrapment may result in serious injury or death.
AUTO-Down Feature
The driver door power window switch and some model
passenger door power window switches have an AUTO-
down feature. Press the window switch to the second
detent, release, and the window will go down automati-
cally.
36 THINGS TO KNOW BEFORE STARTING YOUR VEHICLE
Page 40 of 484
1. Pull the window switch up to close window com-
pletely and continue to hold the switch up for an
additional two seconds after the window is closed.
Wind Buffeting
Wind buffeting can be described as the perception of
pressure on the ears or a helicopter-type sound in the
ears. Your vehicle may exhibit wind buffeting with the
windows down, or the sunroof (if equipped) in certain
open or partially open positions. This is a normal occur-
rence and can be minimized. If the buffeting occurs with
the rear windows open, then open the front and rear
windows together to minimize the buffeting. If the
buffeting occurs with the sunroof open, then adjust the
sunroof opening to minimize the buffeting.
TRUNK LOCK AND RELEASE
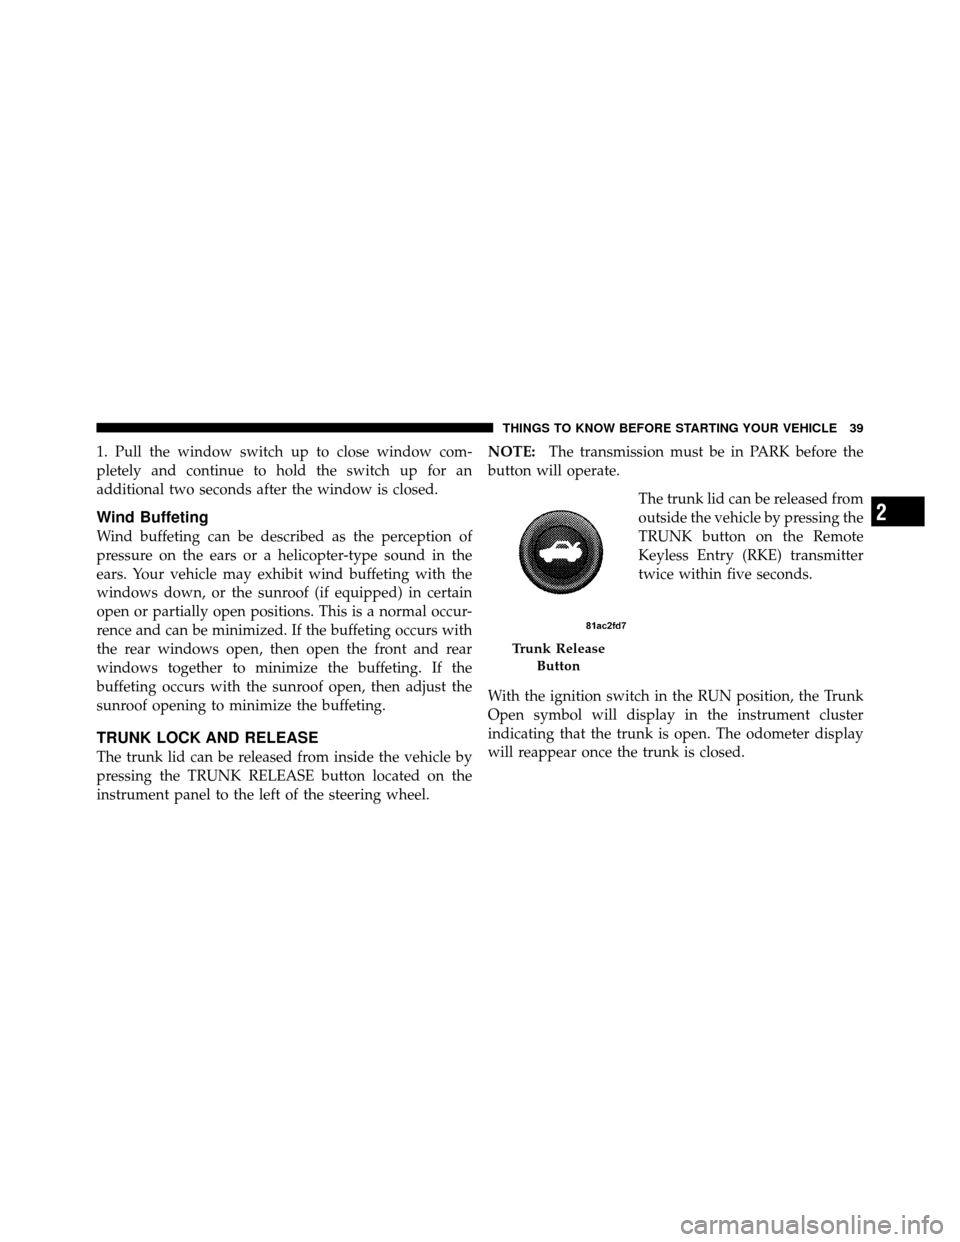
The trunk lid can be released from inside the vehicle by
pressing the TRUNK RELEASE button located on the
instrument panel to the left of the steering wheel.NOTE:
The transmission must be in PARK before the
button will operate.
The trunk lid can be released from
outside the vehicle by pressing the
TRUNK button on the Remote
Keyless Entry (RKE) transmitter
twice within five seconds.
With the ignition switch in the RUN position, the Trunk
Open symbol will display in the instrument cluster
indicating that the trunk is open. The odometer display
will reappear once the trunk is closed.
Trunk Release Button
2
THINGS TO KNOW BEFORE STARTING YOUR VEHICLE 39
Page 53 of 484
WARNING!
Using a seat belt extender when not needed can
increase the risk of injury in a collision. Only use
when the seat belt is not long enough when it is worn
low and snug and in the recommended seating posi-
tions. Remove and store the extender when not
needed.
Supplemental Restraint System (SRS) - Airbags
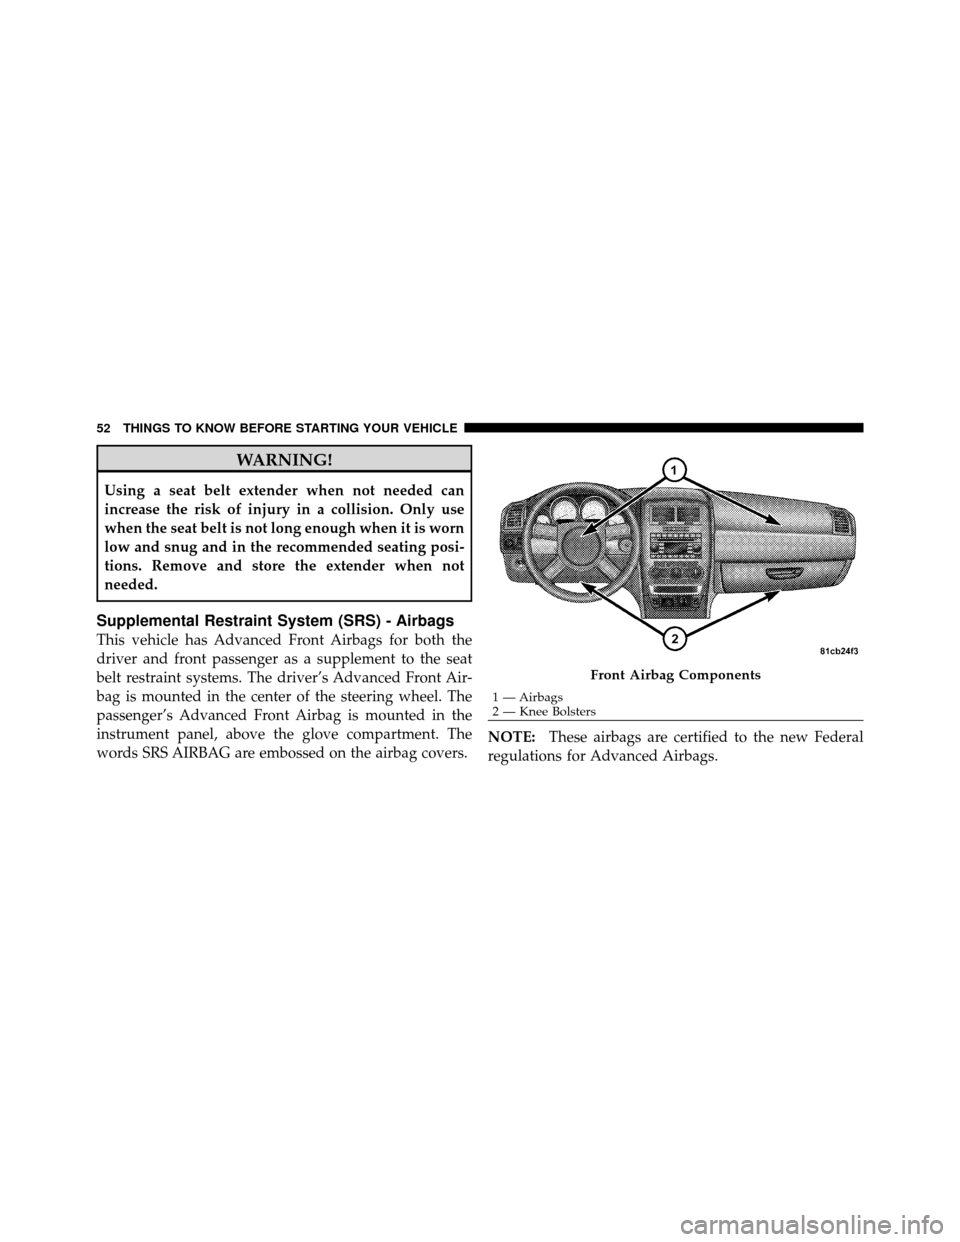
This vehicle has Advanced Front Airbags for both the
driver and front passenger as a supplement to the seat
belt restraint systems. The driver’s Advanced Front Air-
bag is mounted in the center of the steering wheel. The
passenger’s Advanced Front Airbag is mounted in the
instrument panel, above the glove compartment. The
words SRS AIRBAG are embossed on the airbag covers.NOTE:
These airbags are certified to the new Federal
regulations for Advanced Airbags.
Front Airbag Components
1 — Airbags
2 — Knee Bolsters
52 THINGS TO KNOW BEFORE STARTING YOUR VEHICLE
Page 54 of 484
The Advanced Front Airbags have a multistage inflator
design. This allows the airbag to have different rates of
inflation based on the severity and type of collision.
This vehicle may be equipped with driver and/or front
passenger seat track position sensors that may adjust the
inflation rate of the Advanced Front Airbags based upon
seat position.
This vehicle may be equipped with a driver and/or front
passenger seat belt buckle switch that detects whether
the driver or front passenger seat belt is fastened. The
seat belt buckle switch may adjust the inflation rate of the
Advanced Front Airbags.
This vehicle may also be equipped with Supplemental
Side Airbag Inflatable Curtains (SABIC) to protect the
driver, front, and rear passengers sitting next to a win-
dow. If the vehicle is equipped with SABIC airbags, they
are located above the side windows and their covers are
also labeled: SRS AIRBAG.NOTE:
•Airbag covers may not be obvious in the interior trim;
but they will open during airbag deployment.
•After any collision, the vehicle should be taken to an
authorized dealer immediately.
Airbag System Components
Your vehicle may be equipped with the following airbag
system components:
•Occupant Restraint Controller (ORC)
•Airbag Warning Light
•Steering Wheel and Column
•Instrument Panel
•Knee Impact Bolster
•Driver Advanced Front Airbag
•Passenger Advanced Front Airbag
2
THINGS TO KNOW BEFORE STARTING YOUR VEHICLE 53
Page 55 of 484
•Supplemental Side Airbag Inflatable Curtains (SABIC)
•Front and Side Impact Sensors
•Front Seat Belt Pretensioners, Seat Belt Buckle Switch,
and Seat Track Position Sensors
Advanced Front Airbag Features
The Advanced Front Airbag system has multistage driver
and front passenger airbags. This system provides output
appropriate to the severity and type of collision as
determined by the Occupant Restraint Controller (ORC),
which may receive information from the front impact
sensors.
The first stage inflator is triggered immediately during an
impact that requires airbag deployment. The timing of
the second stage determines whether the output force is
low, medium, or high. If a low output is sufficient to meet
the need, the remaining gas in the inflator is expended.
WARNING!
•No objects should be placed over or near the airbag
on the instrument panel, because any such objects
could cause harm if the vehicle is in a collision
severe enough to cause the airbag to inflate.
•Do not put anything on or around the airbag
covers or attempt to open them manually. You may
damage the airbags and you could be injured
because the airbags may no longer be functional.
The protective covers for the airbag cushions are
designed to open only when the airbags are inflat-
ing.
•Do not drill, cut or tamper with the knee bolster in
any way.
•Do not mount any accessories to the knee bolster
such as alarm lights, stereos, citizen band radios,
etc.
54 THINGS TO KNOW BEFORE STARTING YOUR VEHICLE