odometer DODGE CHARGER 2013 7.G User Guide
[x] Cancel search | Manufacturer: DODGE, Model Year: 2013, Model line: CHARGER, Model: DODGE CHARGER 2013 7.GPages: 132, PDF Size: 4.77 MB
Page 27 of 132

High Beam Operation
•
Push the lever forward to activate the high beams. Pull the lever toward you for flash to pass.
NOTE:
For safe driving, turn off the high beams when oncoming traffic is present to prevent headlight
glare and as a courtesy to other motorists.
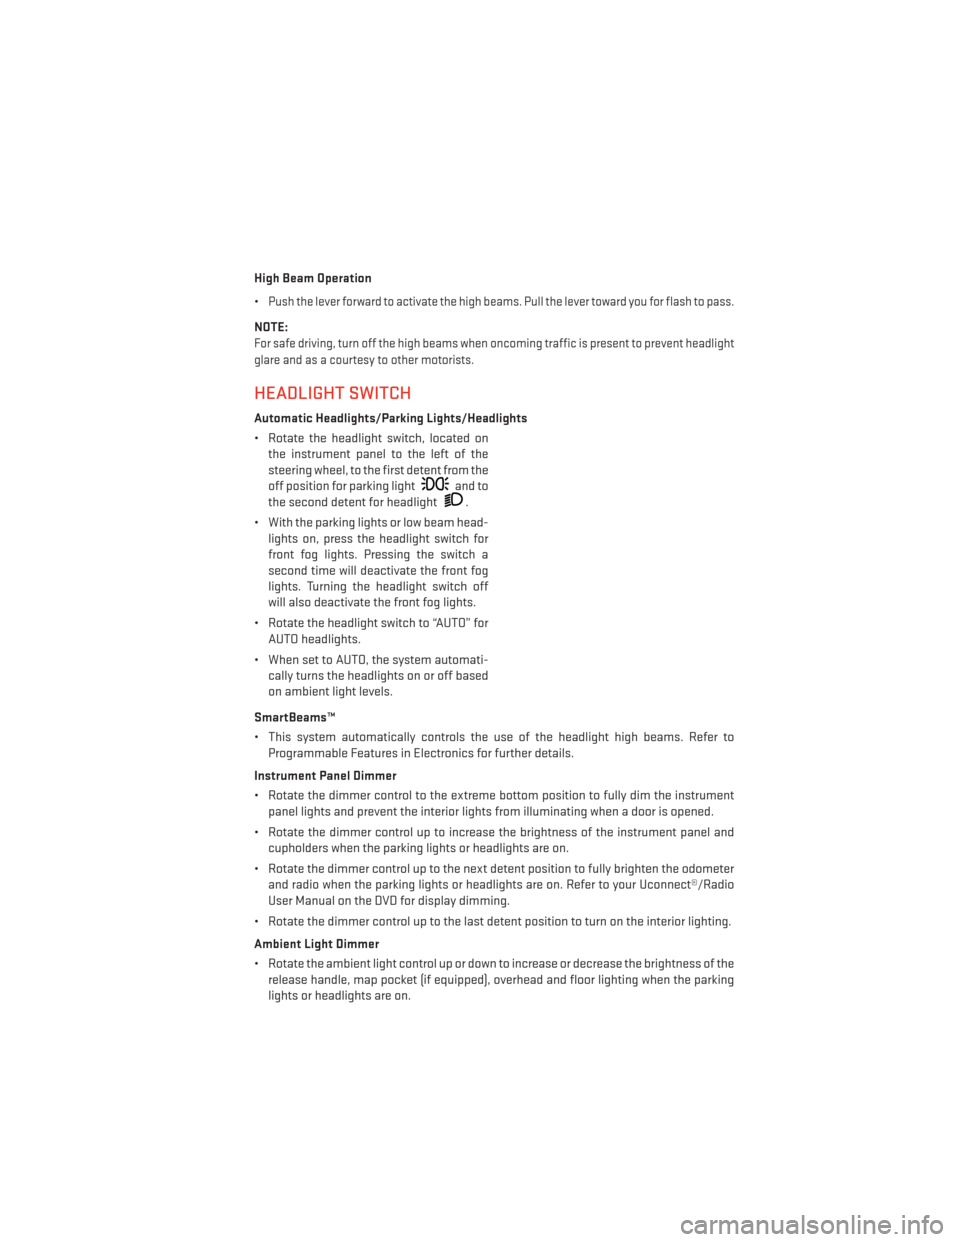
HEADLIGHT SWITCH
Automatic Headlights/Parking Lights/Headlights
• Rotate the headlight switch, located onthe instrument panel to the left of the
steering wheel, to the first detent from the
off position for parking light
and to
the second detent for headlight
.
• With the parking lights or low beam head- lights on, press the headlight switch for
front fog lights. Pressing the switch a
second time will deactivate the front fog
lights. Turning the headlight switch off
will also deactivate the front fog lights.
• Rotate the headlight switch to “AUTO” for AUTO headlights.
• When set to AUTO, the system automati- cally turns the headlights on or off based
on ambient light levels.
SmartBeams™
• This system automatically controls the use of the headlight high beams. Refer to Programmable Features in Electronics for further details.
Instrument Panel Dimmer
• Rotate the dimmer control to the extreme bottom position to fully dim the instrument panel lights and prevent the interior lights from illuminating when a door is opened.
• Rotate the dimmer control up to increase the brightness of the instrument panel and cupholders when the parking lights or headlights are on.
• Rotate the dimmer control up to the next detent position to fully brighten the odometer and radio when the parking lights or headlights are on. Refer to your Uconnect®/Radio
User Manual on the DVD for display dimming.
• Rotate the dimmer control up to the last detent position to turn on the interior lighting.
Ambient Light Dimmer
• Rotate the ambient light control up or down to increase or decrease the brightness of the release handle, map pocket (if equipped), overhead and floor lighting when the parking
lights or headlights are on.
OPERATING YOUR VEHICLE
25
Page 110 of 132

MAINTENANCE SCHEDULE
Your vehicle is equipped with an automatic oil change indicator system. The oil change
indicator system will remind you that it is time to take your vehicle in for scheduled
maintenance.
Based on engine operation conditions, the oil change indicator message will illuminate.
This means that service is required for your vehicle. Operating conditions such as frequent
short-trips, trailer tow, extremely hot or cold ambient temperatures, and E85 fuel usage
will influence when the “Change Oil” or “Oil Change Required” message is displayed.
Severe Operating Conditions can cause the change oil message to illuminate as early as
3,500 miles (5,600 km) since last reset. Have your vehicle serviced as soon as possible,
within the next 500 miles (805 km).
On Electronic Vehicle Information Center (EVIC) equipped vehicles, “Oil Change Required”
will be displayed in the EVIC and a single chime will sound, indicating that an oil change is
necessary.
On Non-EVIC equipped vehicles, “Change Oil” will flash in the instrument cluster odometer
and a single chime will sound, indicating that an oil change is necessary.
Your authorized dealer will reset the oil change indicator message after completing the
scheduled oil change. If a scheduled oil change is performed by someone other than your
authorized dealer, the message can be reset by referring to the steps described under
“Electronic Vehicle Information Center (EVIC)/Oil Change Required” in “Understanding Your
Instrument Panel” or under “Instrument Cluster Description/Odometer/Trip Odometer” in
“Understanding Your Instrument Panel” for further information.
NOTE:
Under no circumstances should oil change intervals exceed 10,000 miles (16,000 km) or
twelve months, whichever comes first.
Once A Month Or Before A Long Trip:
• Check engine oil level
• Check windshield washer fluid level
• Check the tire inflation pressures and look for unusual wear or damage
• Check the fluid levels of the coolant reservoir, brake master cylinder, power steering andtransmission as needed
• Check function of all interior and exterior lights
MAINTAINING YOUR VEHICLE
108
Page 114 of 132

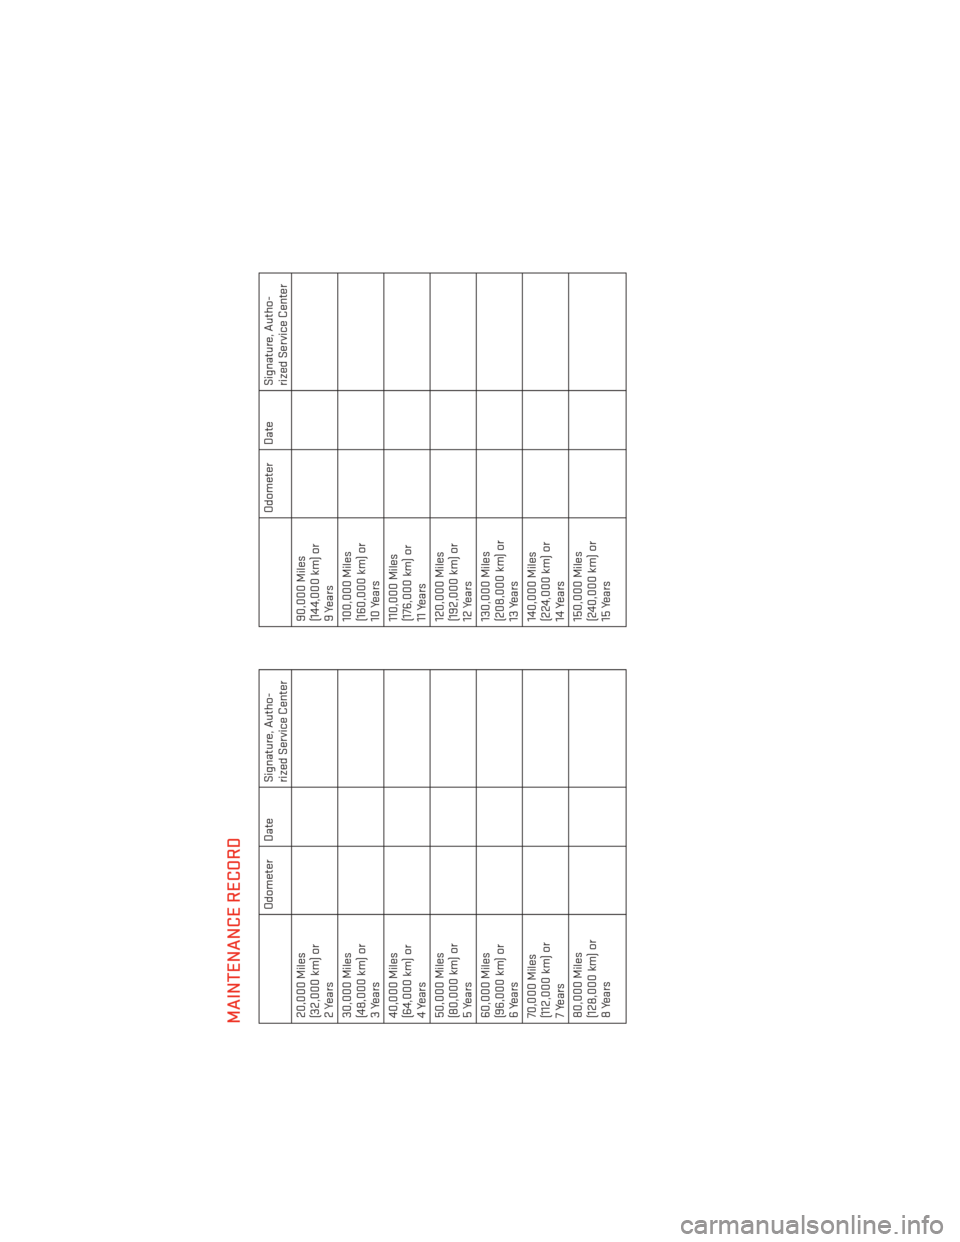
MAINTENANCE RECORD
Odometer Date Signature, Autho-rized Service Center
20,000 Miles
(32,000 km) or
2Years
30,000 Miles
(48,000 km) or
3Years
40,000 Miles
(64,000 km) or
4 Years
50,000 Miles
(80,000 km) or
5Years
60,000 Miles
(96,000 km) or
6 Years
70,000 Miles
(112,000 km) or
7 Years
80,000 Miles
(128,000 km) or
8Years
Odometer Date Signature, Autho- rized Service Center
90,000 Miles
(144,000 km) or
9 Years
100,000 Miles
(160,000 km) or
10 Years
110,000 Miles
(176,000 km) or
11 Years
120,000 Miles
(192,000 km) or
12 Years
130,000 Miles
(208,000 km) or
13 Years
140,000 Miles
(224,000 km) or
14 Years
150,000 Miles
(240,000 km) or
15 Years
MAINTAINING YOUR VEHICLE
112
Page 116 of 132

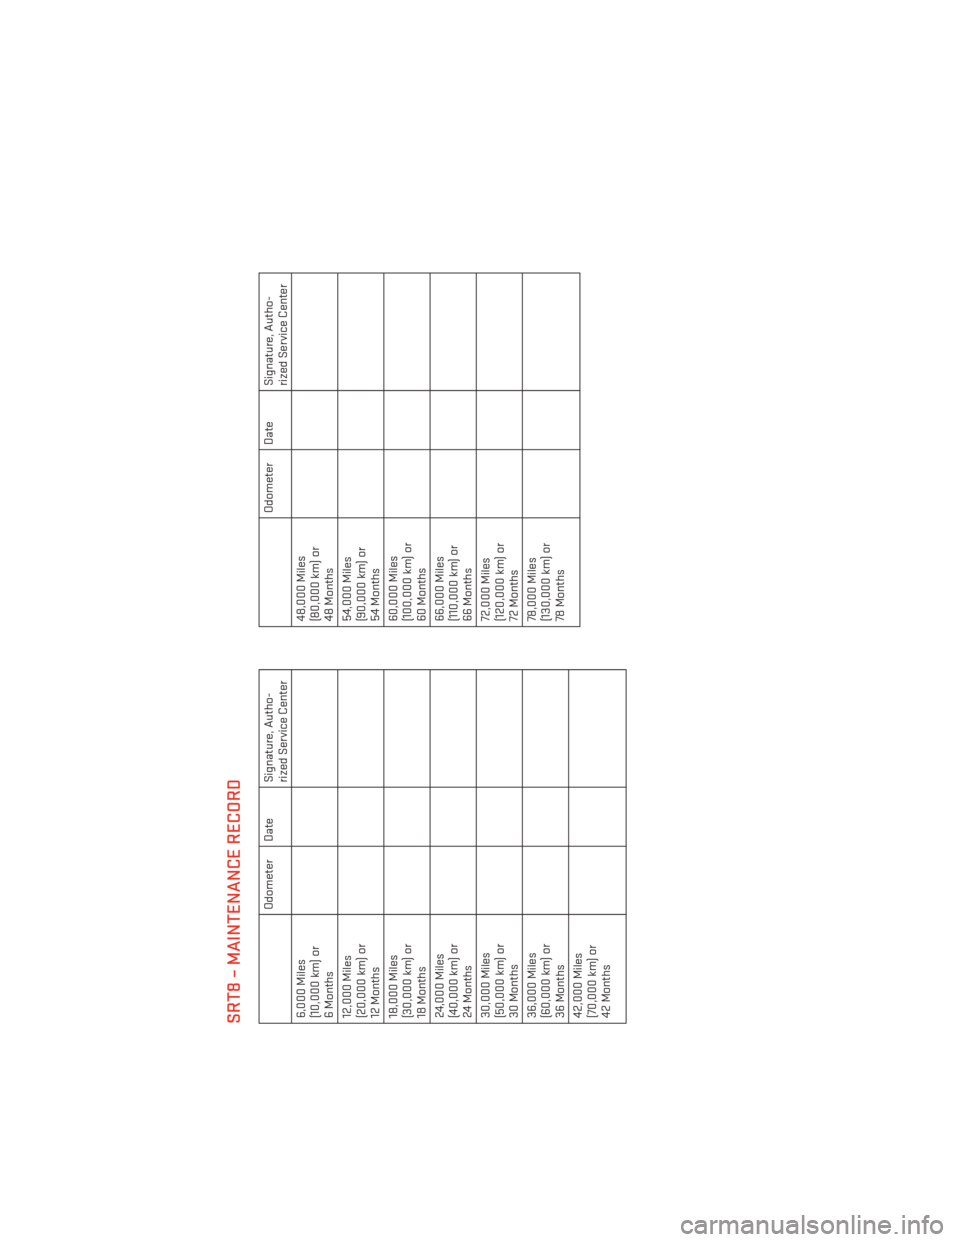
SRT8 – MAINTENANCE RECORD
Odometer Date Signature, Autho-rized Service Center
6,000 Miles
(10,000 km) or
6 Months
12,000 Miles
(20,000 km) or
12 Months
18,000 Miles
(30,000 km) or
18 Months
24,000 Miles
(40,000 km) or
24 Months
30,000 Miles
(50,000 km) or
30 Months
36,000 Miles
(60,000 km) or
36 Months
42,000 Miles
(70,000 km) or
42 Months
Odometer Date Signature, Autho- rized Service Center
48,000 Miles
(80,000 km) or
48 Months
54,000 Miles
(90,000 km) or
54 Months
60,000 Miles
(100,000 km) or
60 Months
66,000 Miles
(110,000 km) or
66 Months
72,000 Miles
(120,000 km) or
72 Months
78,000 Miles
(130,000 km) or
78 Months
MAINTAINING YOUR VEHICLE
114