DODGE CHARGER 2015 7.G Owners Manual
Manufacturer: DODGE, Model Year: 2015, Model line: CHARGER, Model: DODGE CHARGER 2015 7.GPages: 638, PDF Size: 16.56 MB
Page 271 of 638
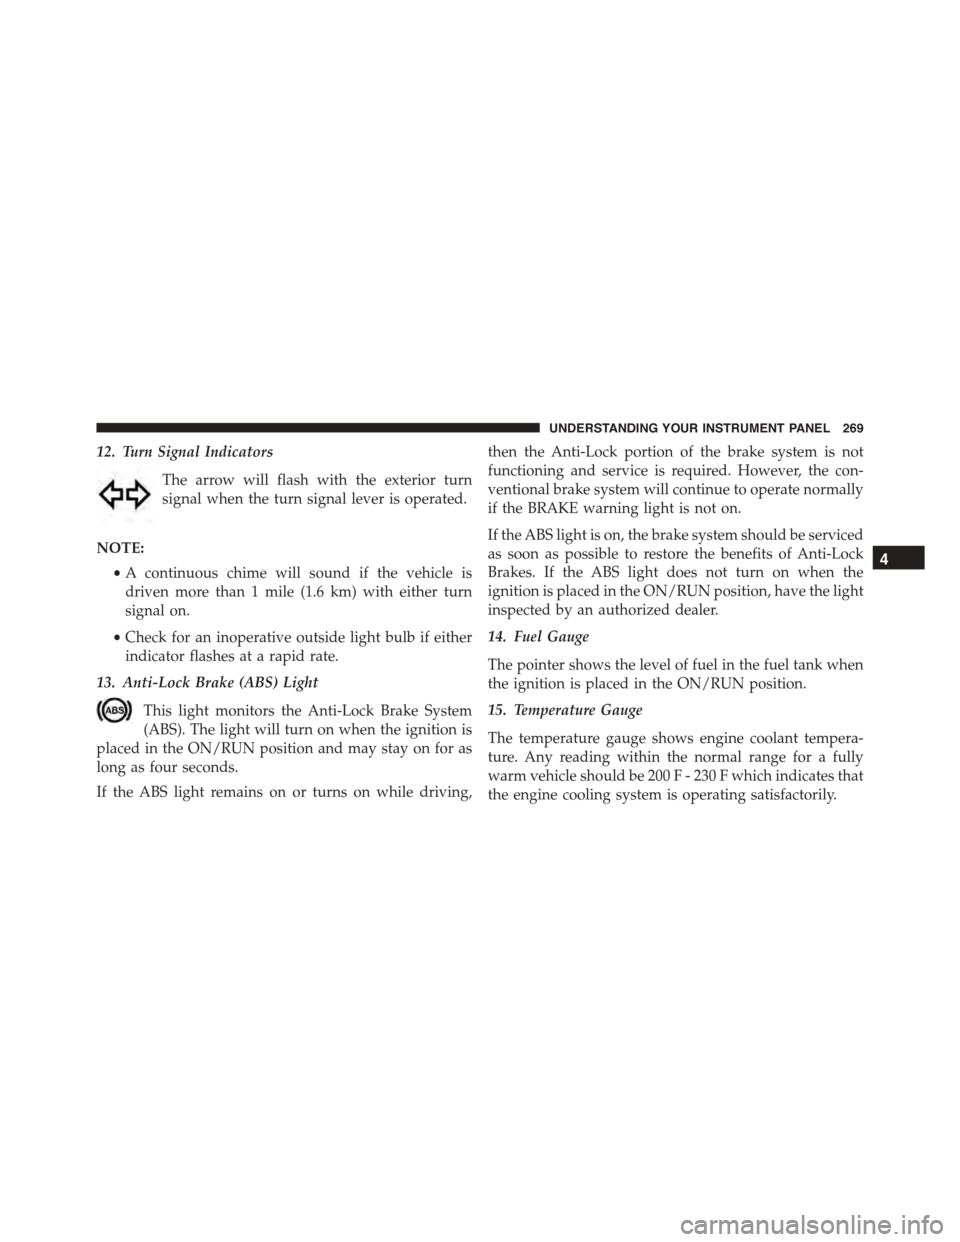
12. Turn Signal Indicators
The arrow will flash with the exterior turn
signal when the turn signal lever is operated.
NOTE:
•A continuous chime will sound if the vehicle is
driven more than 1 mile (1.6 km) with either turn
signal on.
•Check for an inoperative outside light bulb if either
indicator flashes at a rapid rate.
13. Anti-Lock Brake (ABS) Light
This light monitors the Anti-Lock Brake System
(ABS). The light will turn on when the ignition is
placed in the ON/RUN position and may stay on for as
long as four seconds.
If the ABS light remains on or turns on while driving,
then the Anti-Lock portion of the brake system is not
functioning and service is required. However, the con-
ventional brake system will continue to operate normally
if the BRAKE warning light is not on.
If the ABS light is on, the brake system should be serviced
as soon as possible to restore the benefits of Anti-Lock
Brakes. If the ABS light does not turn on when the
ignition is placed in the ON/RUN position, have the light
inspected by an authorized dealer.
14. Fuel Gauge
The pointer shows the level of fuel in the fuel tank when
the ignition is placed in the ON/RUN position.
15. Temperature Gauge
The temperature gauge shows engine coolant tempera-
ture. Any reading within the normal range for a fully
warm vehicle should be 200 F - 230 F which indicates that
the engine cooling system is operating satisfactorily.
4
UNDERSTANDING YOUR INSTRUMENT PANEL 269
Page 272 of 638
The gauge pointer will likely indicate a higher tempera-
ture when driving in hot weather, up mountain grades,
or when towing a trailer. It should not be allowed to
exceed the upper limits of the normal operating range.
CAUTION!
Driving with a hot engine cooling system could
damage your vehicle. If the temperature gauge reads
“H,” pull over and stop the vehicle. Idle the vehicle
with the air conditioner turned off until the pointer
drops back into the normal range. If the pointer
remains on the “H,” and you hear a chime, turn the
engine OFF immediately and call for service.
WARNING!
A hot engine cooling system is dangerous. You or
others could be badly burned by steam or boiling
coolant. You may want to call a service center if your
vehicle overheats. If you decide to look under the
hood yourself, refer to “Maintaining Your Vehicle”
and follow the warnings under the Cooling System
Pressure Cap paragraph.
16. Seat Belt Reminder Light
This light will turn on for four to eight seconds as
a bulb check when the ignition is first placed in
ON/RUN position. A chime will sound if the
driver’s seat belt is unbuckled during the bulb check. The
Seat Belt Warning Light will flash or remain on continu-
ously if the driver’s seat belt remains unbuckled after the
270 UNDERSTANDING YOUR INSTRUMENT PANEL
Page 273 of 638
bulb check or when driving. Refer to “Occupant Re-
straints” in “Things To Know Before Starting Your Ve-
hicle” for further information.
17. Vehicle Security Light — If Equipped
This light will flash at a fast rate for approxi-
mately 15 seconds when the vehicle security
alarm is arming, and then will flash slowly
until the vehicle is disarmed.
18. Malfunction Indicator Light (MIL)
The Malfunction Indicator Light (MIL) is part of
an onboard diagnostic system called OBD. The
OBD system monitors engine and automatic
transmission control systems. The MIL will turn on when
the ignition is in the ON/RUN position before engine
start. If the MIL does not come on when turning the key
from OFF to ON/RUN, have the condition checked
promptly.
Certain conditions, such as a loose or missing gas cap,
poor fuel quality, etc., may illuminate the MIL after
engine start. The vehicle should be serviced if the MIL
stays on through several of your typical driving cycles. In
most situations, the vehicle will drive normally and will
not require towing.
CAUTION!
Prolonged driving with the Malfunction Indicator
Light (MIL) on could cause damage to the engine
control system. It also could affect fuel economy and
driveability. If the MIL is flashing, severe catalytic
converter damage and power loss will soon occur.
Immediate service is required.
4
UNDERSTANDING YOUR INSTRUMENT PANEL 271
Page 274 of 638
WARNING!
A malfunctioning catalytic converter, as referenced
above, can reach higher temperatures than in normal
operating conditions. This can cause a fire if you
drive slowly or park over flammable substances such
as dry plants, wood, cardboard, etc. This could result
in death or serious injury to the driver, occupants or
others.
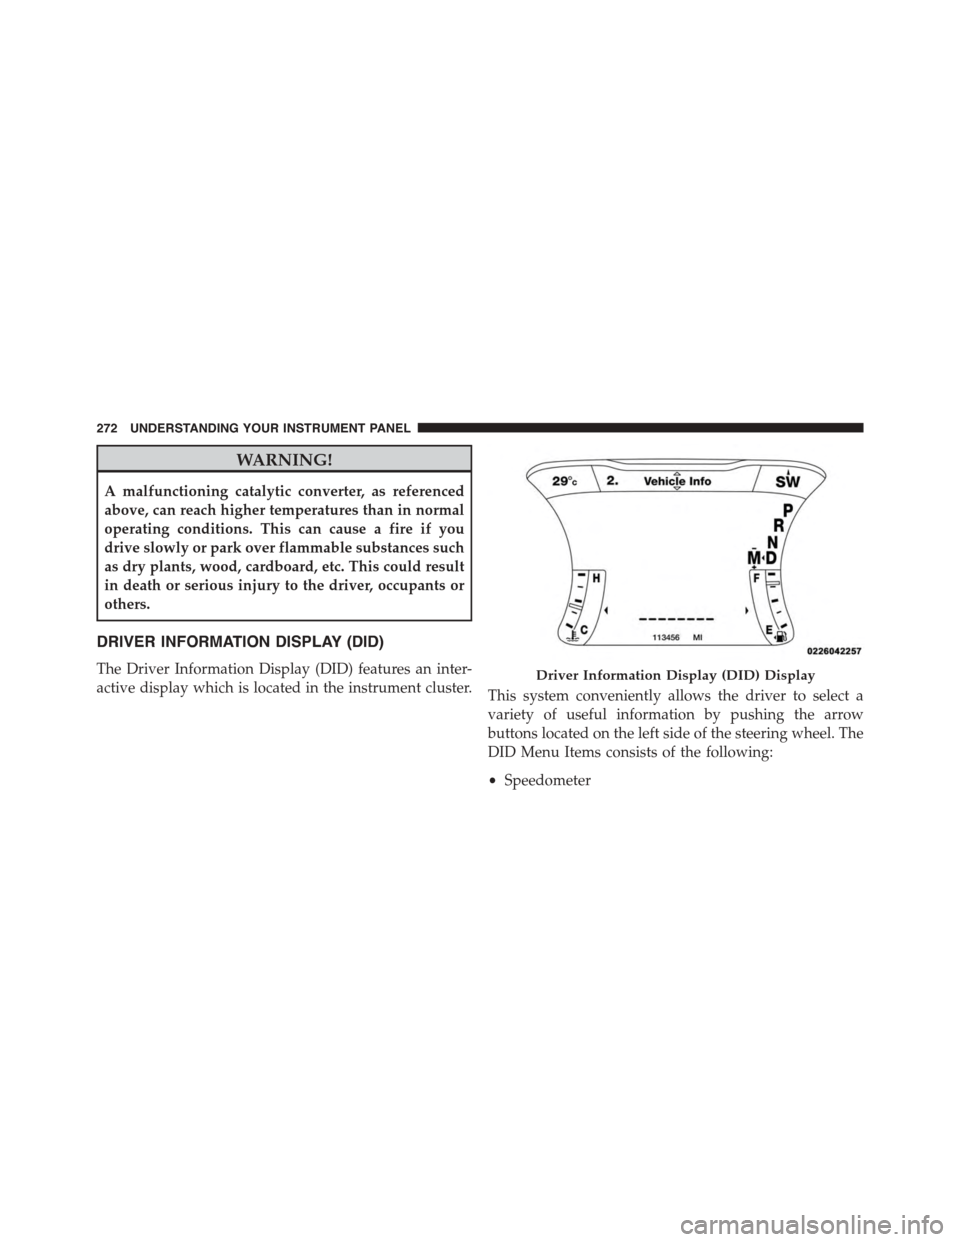
DRIVER INFORMATION DISPLAY (DID)
The Driver Information Display (DID) features an inter-
active display which is located in the instrument cluster.This system conveniently allows the driver to select a
variety of useful information by pushing the arrow
buttons located on the left side of the steering wheel. The
DID Menu Items consists of the following:
•Speedometer
Driver Information Display (DID) Display
272 UNDERSTANDING YOUR INSTRUMENT PANEL
Page 275 of 638
•Vehicle Info
•Performance
•Driver Assist — If Equipped
•Fuel Economy
•Trip
•Audio
•Messages
•Screen Setup
•Speed Warning — If Equipped
•Diagnostics — If Equipped
•Performance Shift Indicator (PSI) — If Equipped
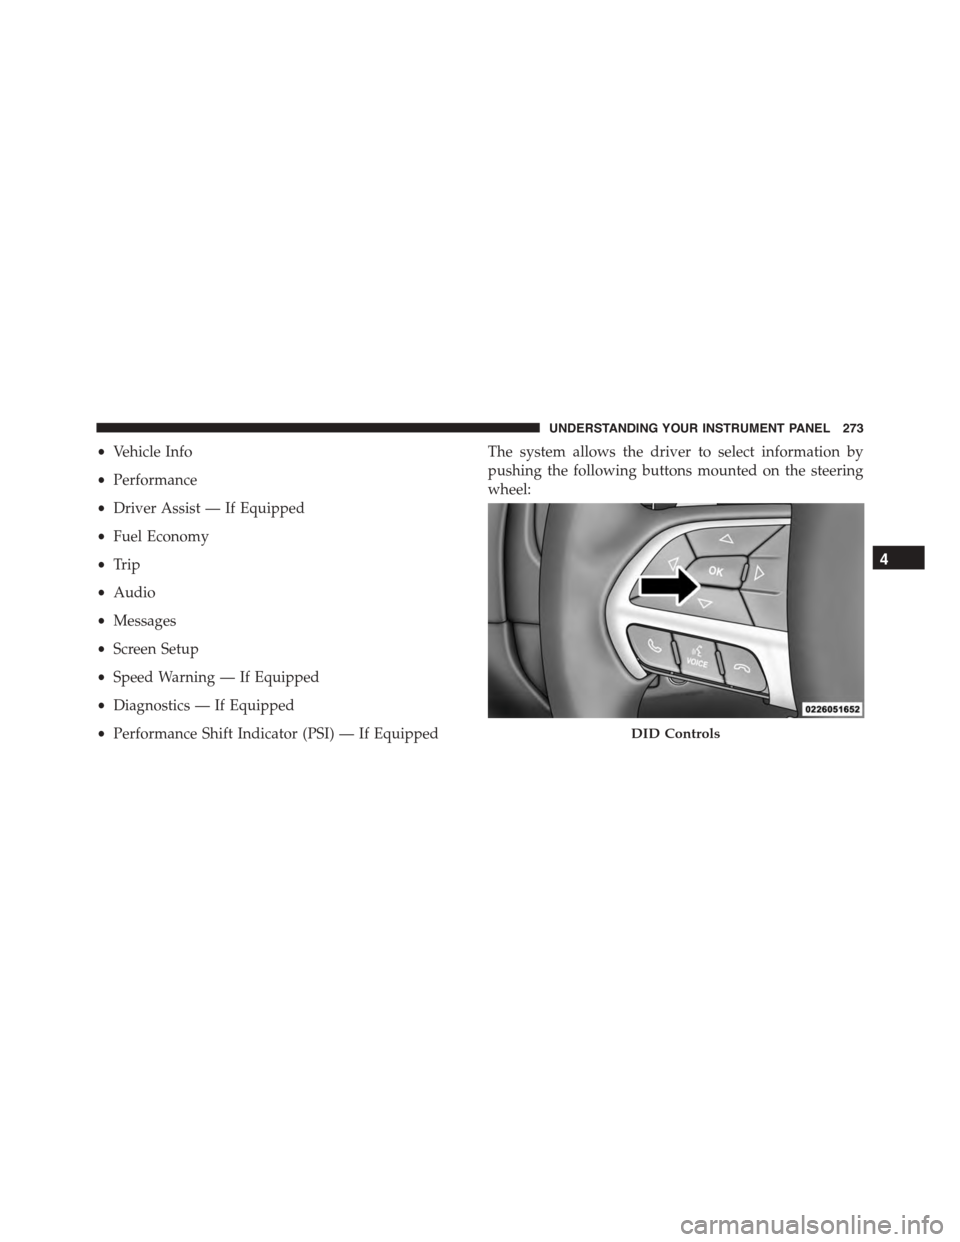
The system allows the driver to select information by
pushing the following buttons mounted on the steering
wheel:
DID Controls
4
UNDERSTANDING YOUR INSTRUMENT PANEL 273
Page 276 of 638
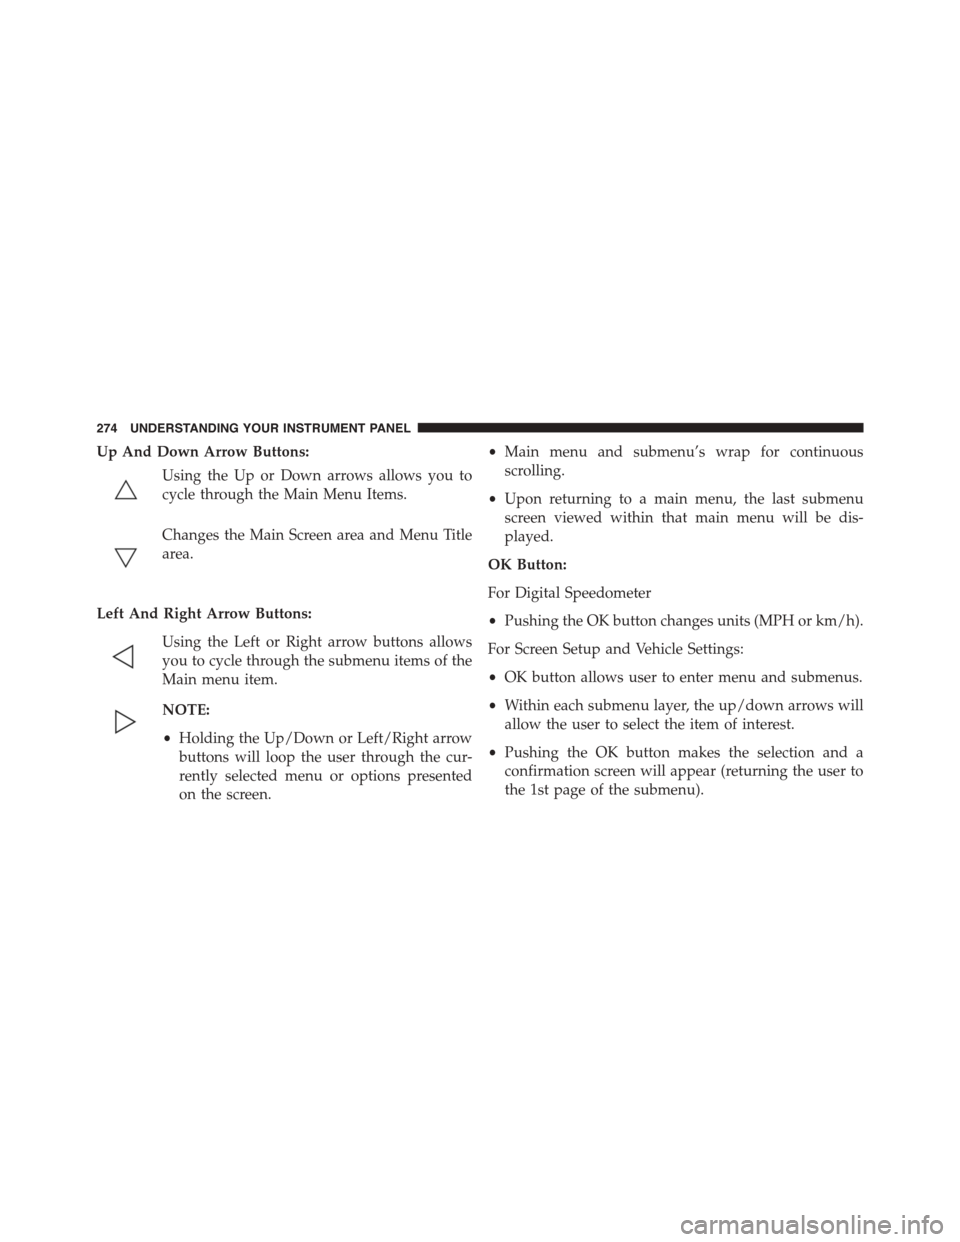
Up And Down Arrow Buttons:
Using the Up or Down arrows allows you to
cycle through the Main Menu Items.
Changes the Main Screen area and Menu Title
area.
Left And Right Arrow Buttons:
Using the Left or Right arrow buttons allows
you to cycle through the submenu items of the
Main menu item.
NOTE:
•Holding the Up/Down or Left/Right arrow
buttons will loop the user through the cur-
rently selected menu or options presented
on the screen.
•Main menu and submenu’s wrap for continuous
scrolling.
•Upon returning to a main menu, the last submenu
screen viewed within that main menu will be dis-
played.
OK Button:
For Digital Speedometer
•Pushing the OK button changes units (MPH or km/h).
For Screen Setup and Vehicle Settings:
•OK button allows user to enter menu and submenus.
•Within each submenu layer, the up/down arrows will
allow the user to select the item of interest.
•Pushing the OK button makes the selection and a
confirmation screen will appear (returning the user to
the 1st page of the submenu).
274 UNDERSTANDING YOUR INSTRUMENT PANEL
Page 277 of 638
•Pushing the left arrow button will exit each submenu
layer and return to the main menu.
For the Trip and Fuel Economy menus (and new Perfor-
mance Timers):
•Information is reset by pushing and holding the OK
button.
Engine Oil Life Reset
Oil Change Required
Your vehicle is equipped with an engine oil change
indicator system. The “Oil Change Required” message
will display in the DID for five seconds after a single
chime has sounded, to indicate the next scheduled oil
change interval. The engine oil change indicator system
is duty cycle based, which means the engine oil change
interval may fluctuate, dependent upon your personal
driving style.
Unless reset, this message will continue to display each
time you place the ignition in the ON/RUN position. To
turn off the message temporarily, push and release the
OK button. To reset the oil change indicator system (after
performing the scheduled maintenance), refer to the
following procedure.
Vehicles Equipped With Keyless Enter-N-Go™
1. Without pushing the brake pedal, push the ENGINE
START/STOP button and place the ignition to the
ON/RUN position (do not start the engine).
2. Fully push the accelerator pedal, slowly, three times
within 10 seconds.
3. Without pushing the brake pedal, push the ENGINE
START/STOP button once to return the ignition to the
OFF/LOCK position.
4
UNDERSTANDING YOUR INSTRUMENT PANEL 275
Page 278 of 638
NOTE:If the indicator message illuminates when you
start the vehicle, the oil change indicator system did not
reset. If necessary, repeat this procedure.
Secondary Method Of Navigating To The Oil Life
Screen In The DID And Holding Ok
Your vehicle is equipped with an engine oil change
indicator system. The “Oil Change Required” message
will flash in the DID display for approximately 10
seconds after a single chime has sounded to indicate the
next scheduled oil change interval. The engine oil change
indicator system is duty cycle based, which means the
engine oil change interval may fluctuate, dependent
upon your personal driving style.
Use the steering wheel DID controls for the following
procedure(s):
1. Without pushing the brake pedal, place the ignition in
the ON/RUN position (do not start the engine).
2. Push and release theDOWNarrow button to scroll
downward through the main menu to “Vehicle Info.”
3. Push and release theRIGHTarrow button to access
the ”Oil Life” screen.
4. Push and hold theOKbutton until the “Oil Life”
screen displays.
5. Push and release theDOWNarrow button to select “
Ye s,” then push and release theOKbutton to select
reset of the Oil Life.
6. Push and release theUparrow button to exit the
submenu screen.
NOTE:If the indicator message illuminates when you
start the vehicle, the oil change indicator system did not
reset. If necessary, repeat this procedure.
276 UNDERSTANDING YOUR INSTRUMENT PANEL
Page 279 of 638
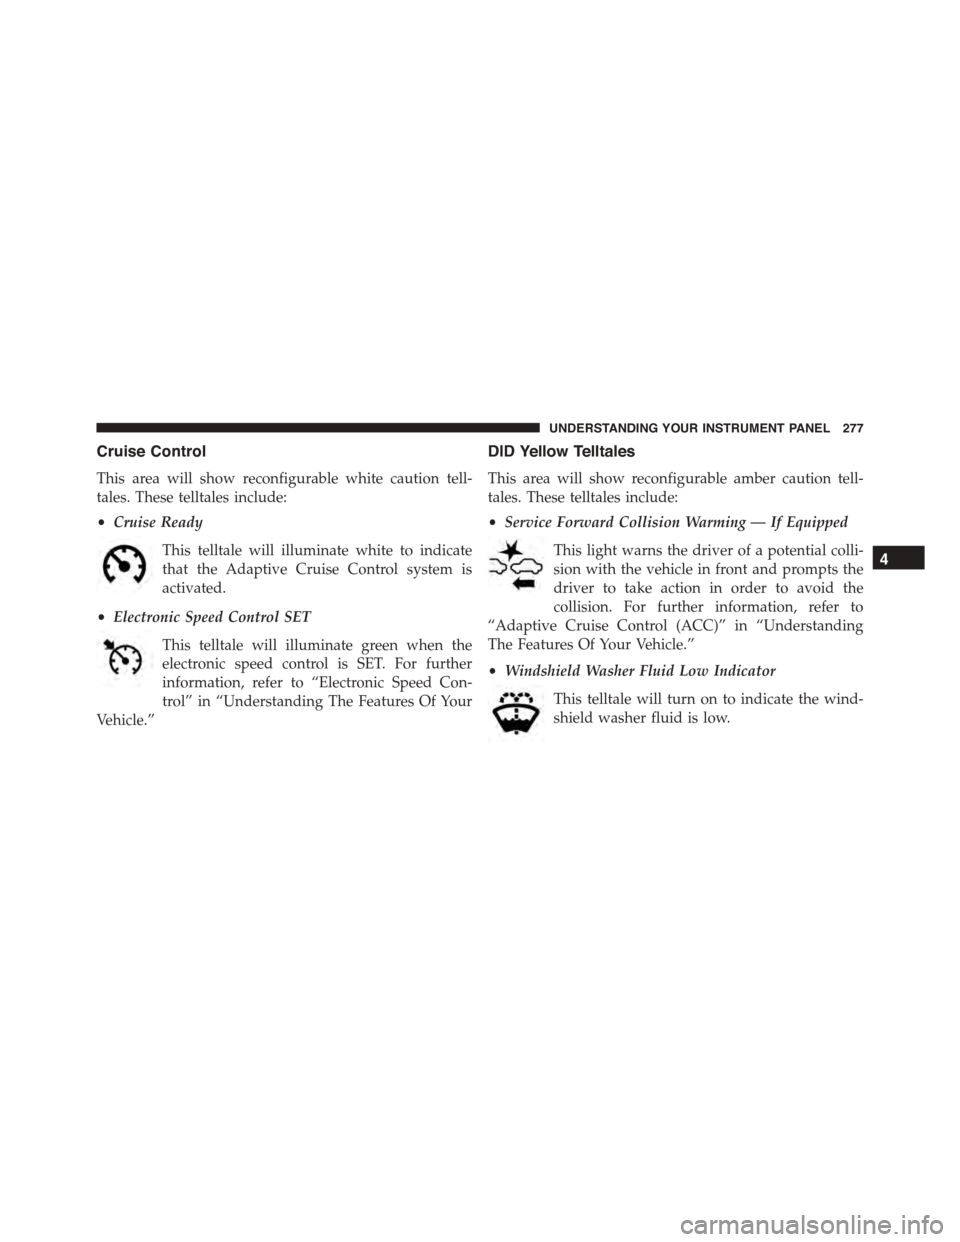
Cruise Control
This area will show reconfigurable white caution tell-
tales. These telltales include:
•Cruise Ready
This telltale will illuminate white to indicate
that the Adaptive Cruise Control system is
activated.
•Electronic Speed Control SET
This telltale will illuminate green when the
electronic speed control is SET. For further
information, refer to “Electronic Speed Con-
trol” in “Understanding The Features Of Your
Vehicle.”
DID Yellow Telltales
This area will show reconfigurable amber caution tell-
tales. These telltales include:
•Service Forward Collision Warming — If Equipped
This light warns the driver of a potential colli-
sion with the vehicle in front and prompts the
driver to take action in order to avoid the
collision. For further information, refer to
“Adaptive Cruise Control (ACC)” in “Understanding
The Features Of Your Vehicle.”
•Windshield Washer Fluid Low Indicator
This telltale will turn on to indicate the wind-
shield washer fluid is low.
4
UNDERSTANDING YOUR INSTRUMENT PANEL 277
Page 280 of 638
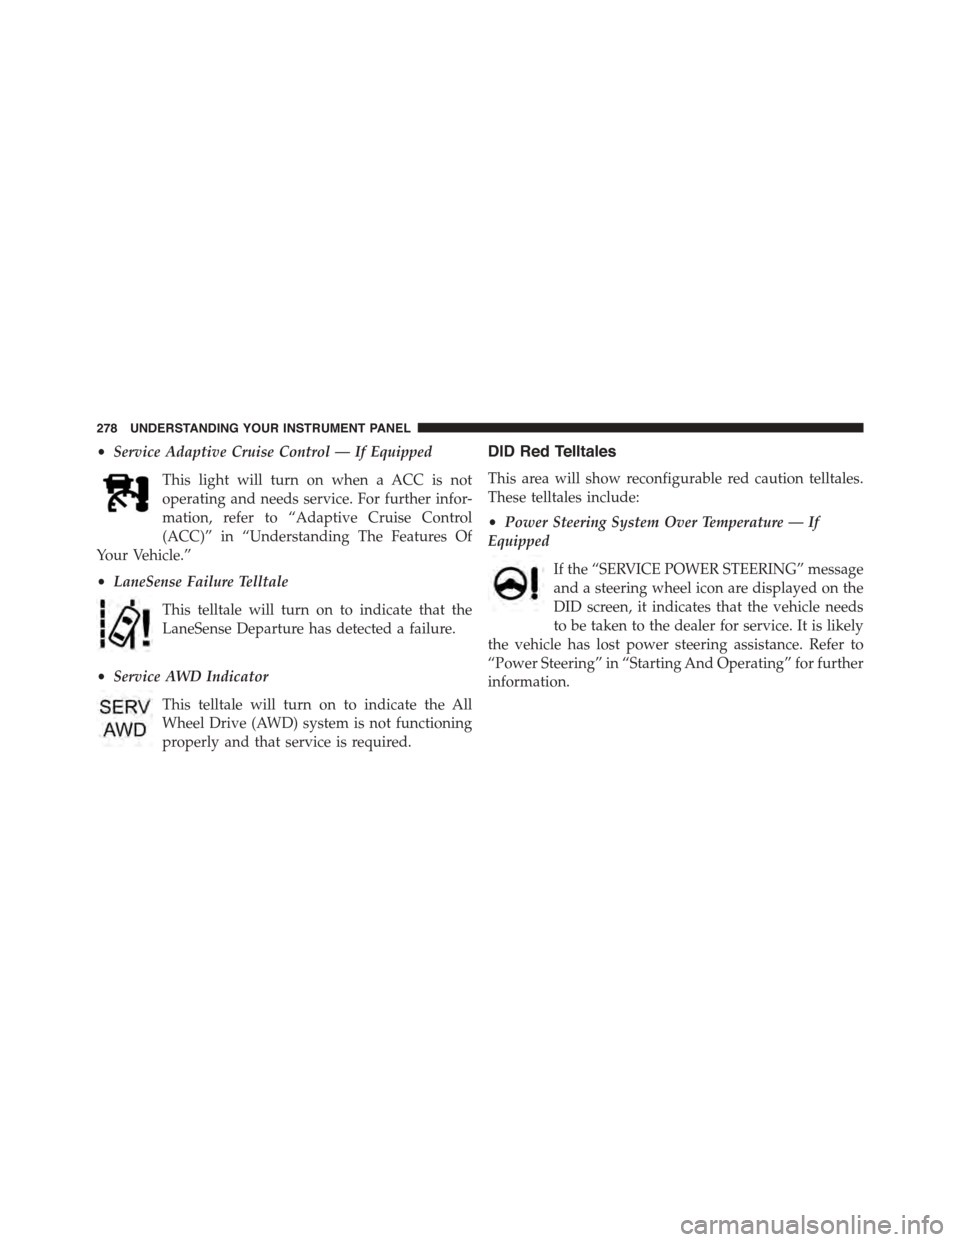
•Service Adaptive Cruise Control — If Equipped
This light will turn on when a ACC is not
operating and needs service. For further infor-
mation, refer to “Adaptive Cruise Control
(ACC)” in “Understanding The Features Of
Your Vehicle.”
•LaneSense Failure Telltale
This telltale will turn on to indicate that the
LaneSense Departure has detected a failure.
•Service AWD Indicator
This telltale will turn on to indicate the All
Wheel Drive (AWD) system is not functioning
properly and that service is required.
DID Red Telltales
This area will show reconfigurable red caution telltales.
These telltales include:
•Power Steering System Over Temperature — If
Equipped
If the “SERVICE POWER STEERING” message
and a steering wheel icon are displayed on the
DID screen, it indicates that the vehicle needs
to be taken to the dealer for service. It is likely
the vehicle has lost power steering assistance. Refer to
“Power Steering” in “Starting And Operating” for further
information.
278 UNDERSTANDING YOUR INSTRUMENT PANEL