interior lights DODGE CHARGER 2015 7.G Owners Manual
[x] Cancel search | Manufacturer: DODGE, Model Year: 2015, Model line: CHARGER, Model: DODGE CHARGER 2015 7.GPages: 638, PDF Size: 16.56 MB
Page 22 of 638
•Place the vehicle ignition system in the OFF position.
•Push the Keyless Enter-N-Go™ START/STOP button
(requires at least one valid Key Fob in the vehicle).
NOTE:
•The driver’s door key cylinder and the trunk button on
the RKE transmitter cannot arm or disarm the Vehicle
Security Alarm.
•When the Vehicle Security Alarm is armed, the interior
power door lock switches will not unlock the doors.
The Vehicle Security Alarm is designed to protect your
vehicle. However, you can create conditions where the
system will give you a false alarm. If one of the previ-
ously described arming sequences has occurred, the
Vehicle Security Alarm will arm regardless of whether
you are in the vehicle or not. If you remain in the vehicle
and open a door, the alarm will sound. If this occurs,
disarm the Vehicle Security Alarm.
If the Vehicle Security Alarm is armed and the battery
becomes disconnected, the Vehicle Security Alarm will
remain armed when the battery is reconnected; the
exterior lights will flash, the horn will sound. If this
occurs, disarm the Vehicle Security Alarm.
Security System Manual Override
The Vehicle Security Alarm will not arm if you lock the
doors using the manual door lock plunger.
ILLUMINATED ENTRY — IF EQUIPPED
The courtesy lights will turn on when you use the
Remote Keyless Entry (RKE) transmitter to unlock the
doors or open any door.
This feature also turns on the approach lighting in the
outside mirrors (if equipped).
20 THINGS TO KNOW BEFORE STARTING YOUR VEHICLE
Page 25 of 638
If the vehicle is equipped with Passive Entry, refer to
“Keyless Enter-N-Go™” under “Things To Know Before
Starting Your Vehicle” for further information.
Sound Horn With Lock
This feature will cause the horn to chirp when the doors
are locked with the RKE transmitter. This feature can be
turned on or turned off. To change the current setting,
refer to “Uconnect® Settings” in “Understanding Your
Instrument Panel” for further information.
To Unlatch The Trunk
Push the TRUNK button on the RKE transmitter two
times within five seconds to unlatch the trunk.
If the vehicle is equipped with Passive Entry, refer to
“Keyless Enter-N-Go™” under “Things To Know Before
Starting Your Vehicle” for further information.
Using The Panic Alarm
To turn the Panic Alarm feature on or off, push and hold
the PANIC button on the RKE transmitter for at least one
second and release. When the Panic Alarm is activated,
the turn signals will flash, the horn will pulse on and off,
and the interior lights will turn on.
The Panic Alarm will stay on for three minutes unless
you turn it off by either pushing the PANIC button a
second time or drive the vehicle at a speed of 15 MPH
(24 km/h) or greater.
NOTE:
•The interior lights will turn off if you place the ignition
in the ACC or ON/RUN position while the Panic
Alarm is activated. However, the exterior lights and
horn will remain on.
2
THINGS TO KNOW BEFORE STARTING YOUR VEHICLE 23
Page 72 of 638
continues, see your doctor. If these particles settle on
your clothing, follow the garment manufacturer ’s in-
structions for cleaning.
Do not drive your vehicle after the air bags have de-
ployed. If you are involved in another collision, the air
bags will not be in place to protect you.
WARNING!
Deployed air bags and seat belt pretensioners cannot
protect you in another collision. Have the air bags,
seat belt pretensioners, and the seat belt retractor
assemblies replaced by an authorized dealer imme-
diately. Also, have the Occupant Restraint Controller
System serviced as well.
NOTE:
•Air bag covers may not be obvious in the interior trim,
but they will open during air bag deployment.
•After any collision, the vehicle should be taken to an
authorized dealer immediately.
Enhanced Accident Response System
In the event of an impact, if the communication network
remains intact, and the power remains intact, depending
on the nature of the event, the ORC will determine
whether to have the Enhanced Accident Response Sys-
tem perform the following functions:
•Cut off fuel to the engine.
•Flash hazard lights as long as the battery has power or
until the ignition is placed in the “OFF” position.
•Turn on the interior lights, which remain on as long as
the battery has power or until the ignition is placed in
the “OFF” position.
•Unlock the doors automatically.
70 THINGS TO KNOW BEFORE STARTING YOUR VEHICLE
Page 107 of 638
▫Multifunction Lever...................157
▫Turn Signals.........................158
▫Lane Change Assist...................158
▫High/Low Beam Switch................158
▫Flash-To-Pass........................158
▫Front Map/Reading Lights — If Equipped . . .159
▫Courtesy Lights.......................160
▫Ambient Light — If Equipped............160
▫Interior Lights.......................161
!WINDSHIELD WIPERS AND WASHERS......163
▫Intermittent Wiper System...............163
▫Wiper Operation......................163
▫Windshield Washers...................164
▫Heated Windshield Washer Nozzles........165
▫Mist Feature.........................165
▫Headlights On With Wipers (Available With
Automatic Headlights Only).............166
▫Rain Sensing Wipers — If Equipped........166
!TILT/TELESCOPING STEERING COLUMN . . .168
!POWER TILT/TELESCOPING STEERING
COLUMN — IF EQUIPPED...............169
!HEATED STEERING WHEEL — IF EQUIPPED . .170
!ADJUSTABLE PEDALS — IF EQUIPPED......172
!ELECTRONIC SPEED CONTROL —
IF EQUIPPED.........................174
▫To Activate..........................175
▫To Set A Desired Speed.................175
3
UNDERSTANDING THE FEATURES OF YOUR VEHICLE 105
Page 163 of 638
Interior Lights
The interior lights come on when a door is opened.
To protect the battery, the interior lights will turn off
automatically 10 minutes after the ignition is moved to
the LOCK position. This will occur if the interior lights
were switched on manually or are on because a door is
open. This includes the glove box light and the trunk
light. To restore interior light operation, either place the
ignition in the ON/RUN position or cycle the light
switch.
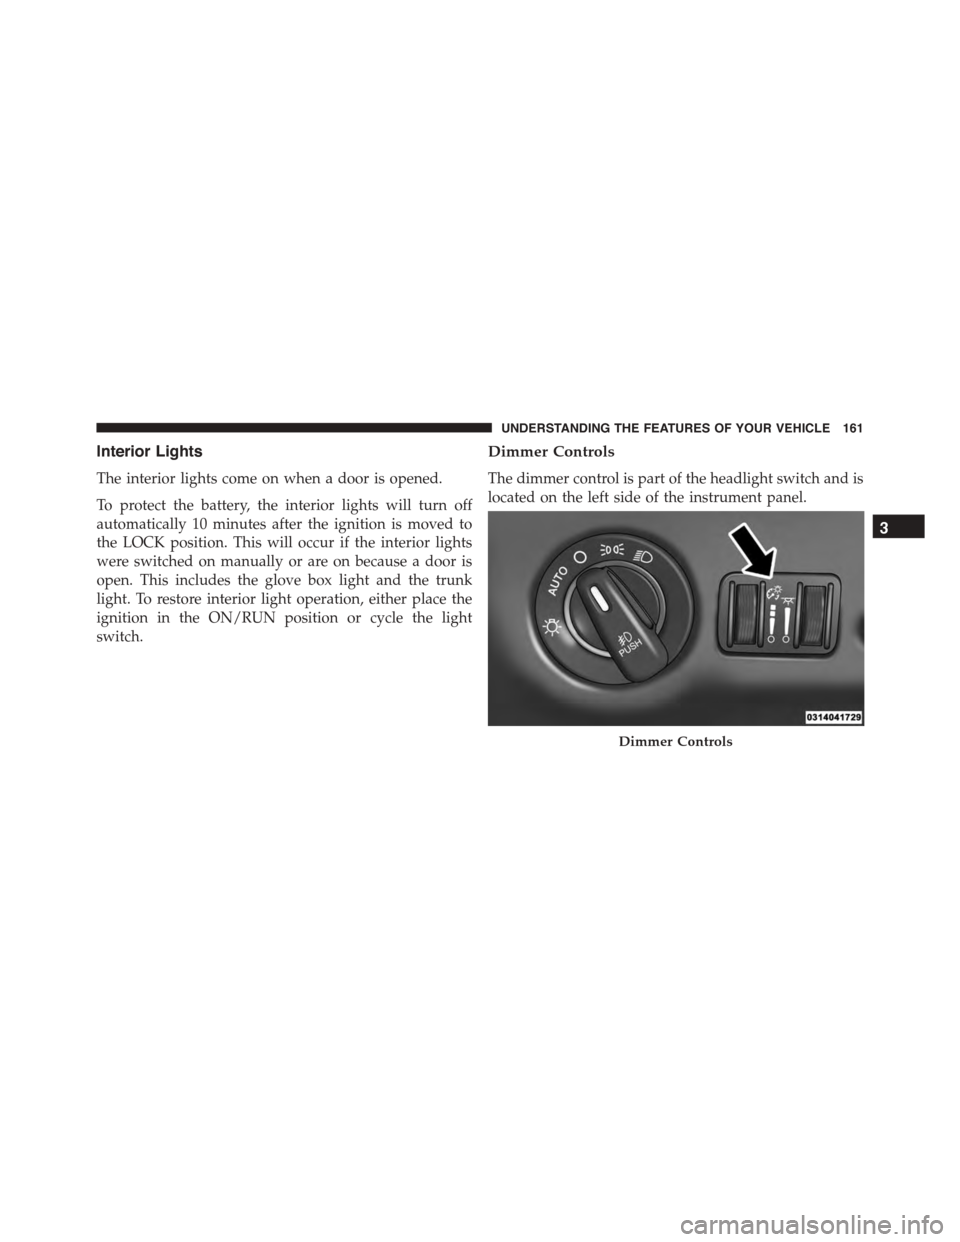
Dimmer Controls
The dimmer control is part of the headlight switch and is
located on the left side of the instrument panel.
Dimmer Controls
3
UNDERSTANDING THE FEATURES OF YOUR VEHICLE 161
Page 164 of 638
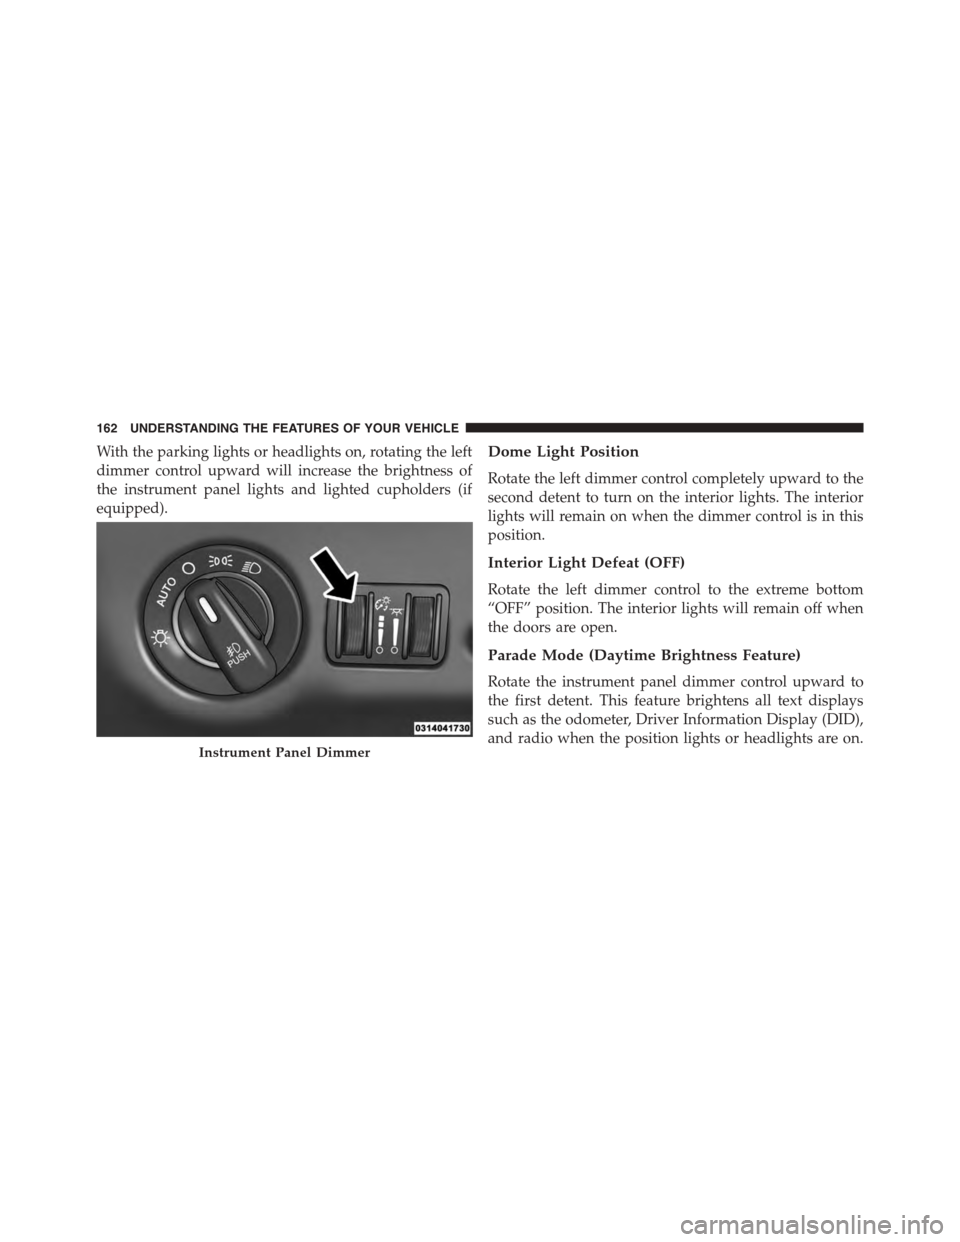
With the parking lights or headlights on, rotating the left
dimmer control upward will increase the brightness of
the instrument panel lights and lighted cupholders (if
equipped).
Dome Light Position
Rotate the left dimmer control completely upward to the
second detent to turn on the interior lights. The interior
lights will remain on when the dimmer control is in this
position.
Interior Light Defeat (OFF)
Rotate the left dimmer control to the extreme bottom
“OFF” position. The interior lights will remain off when
the doors are open.
Parade Mode (Daytime Brightness Feature)
Rotate the instrument panel dimmer control upward to
the first detent. This feature brightens all text displays
such as the odometer, Driver Information Display (DID),
and radio when the position lights or headlights are on.Instrument Panel Dimmer
162 UNDERSTANDING THE FEATURES OF YOUR VEHICLE
Page 313 of 638
point on the scale between the “+” and “–” buttons on the
touchscreen. Then press the back arrow button on the
touchscreen.
NOTE:To make changes to the#Display Brightness with
Headlights ON#setting, the headlights must be on and
the interior dimmer switch must not be in the#party#or
#parade#positions.
•Display Brightness With Headlights OFF
When in this display, you may select the brightness with
the headlights off. Adjust the brightness with the “+” and
“–” setting buttons on the touchscreen or by selecting any
point on the scale between the “+” and “–” buttons on the
touchscreen. Then press the back arrow button on the
touchscreen.
NOTE:To make changes to the#Display Brightness with
Headlights OFF#setting, the headlights must be off and
the interior dimmer switch must not be in the#party#or
#parade#positions.
•Set Theme — If Equipped
This feature will allow you to choose a theme for the
display screen. The theme will change the background
color, highlight color, and button color of the display
screen.
•Set Language
When in this display, you may select one of multiple
languages (English / Français / Español) for all display
nomenclature, including the trip functions and the naviga-
tion system (if equipped). Press the Set Language button on
the touchscreen, then press the desired language button on
the touchscreen until a check-mark appears next to the
language, showing that setting has been selected. Press the
back arrow button on the touchscreen to return to the
previous menu.
4
UNDERSTANDING YOUR INSTRUMENT PANEL 311
Page 599 of 638
Once A Month Or Before A Long Trip:
•Check engine oil level
•Check windshield washer fluid level
•Check tire pressure and look for unusual wear or
damage. Rotate tires at the first sign of irregular wear,
even if it occurs before your next scheduled service.
•Check the fluid levels of the coolant reservoir, brake
master cylinder, and power steering (If Equipped) and
fill as needed.
•Check function of all interior and exterior lights
Required Maintenance Intervals.
Refer to the maintenance schedules on the following
page for the required maintenance intervals.
At Every Oil Change Interval As Indicated By Oil
Change Indicator System:
•Change oil and filter
•Rotate the tires.Rotate at the first sign of irregular
wear, even if it occurs before your next scheduled
service
•Inspect battery and clean and tighten terminals as
required
•Inspect brake pads, shoes, rotors, drums, hoses
and park brake
•Inspect engine cooling system protection and
hoses
•Inspect exhaust system
•Inspect engine air cleaner if using in dusty or
off-road conditions
8
MAINTENANCE SCHEDULES 597
Page 618 of 638
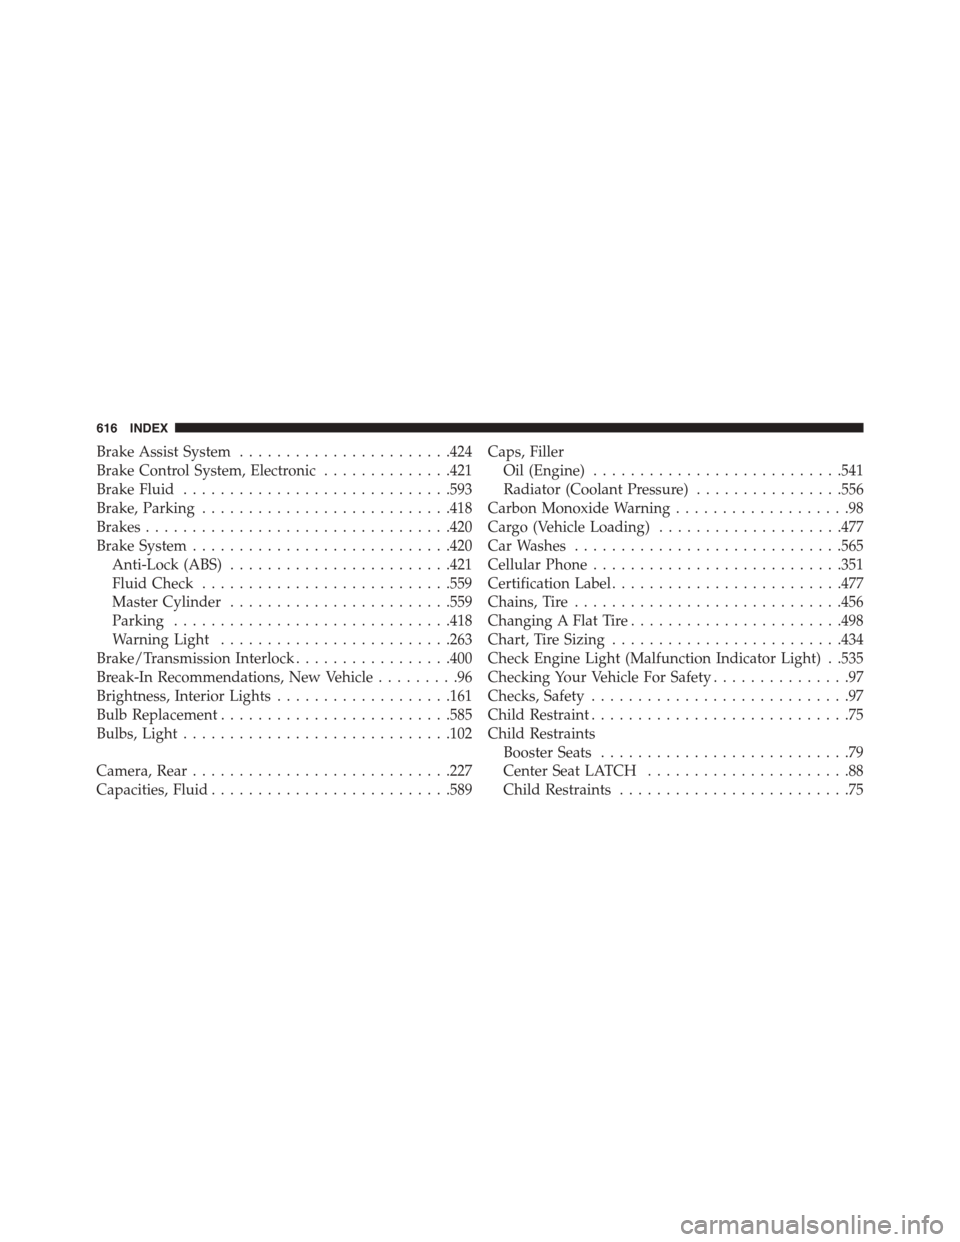
Brake Assist System.......................424
Brake Control System, Electronic..............421
Brake Fluid.............................593
Brake, Parking...........................418
Brakes.................................420
Brake System............................420
Anti-Lock (ABS)........................421
Fluid Check...........................559
Master Cylinder........................559
Parking..............................418
Warning Light.........................263
Brake/Transmission Interlock.................400
Break-In Recommendations, New Vehicle.........96
Brightness, Interior Lights...................161
Bulb Replacement.........................585
Bulbs, Light.............................102
Camera, Rear............................227
Capacities, Fluid..........................589
Caps, Filler
Oil (Engine)...........................541
Radiator (Coolant Pressure)................556
Carbon Monoxide Warning...................98
Cargo (Vehicle Loading)....................477
Car Washes.............................565
Cellular Phone...........................351
Certification Label.........................477
Chains, Tire.............................456
Changing A Flat Tire.......................498
Chart, Tire Sizing.........................434
Check Engine Light (Malfunction Indicator Light) . .535
Checking Your Vehicle For Safety...............97
Checks, Safety............................97
Child Restraint............................75
Child Restraints
Booster Seats...........................79
Center Seat LATCH......................88
Child Restraints.........................75
616 INDEX
Page 620 of 638
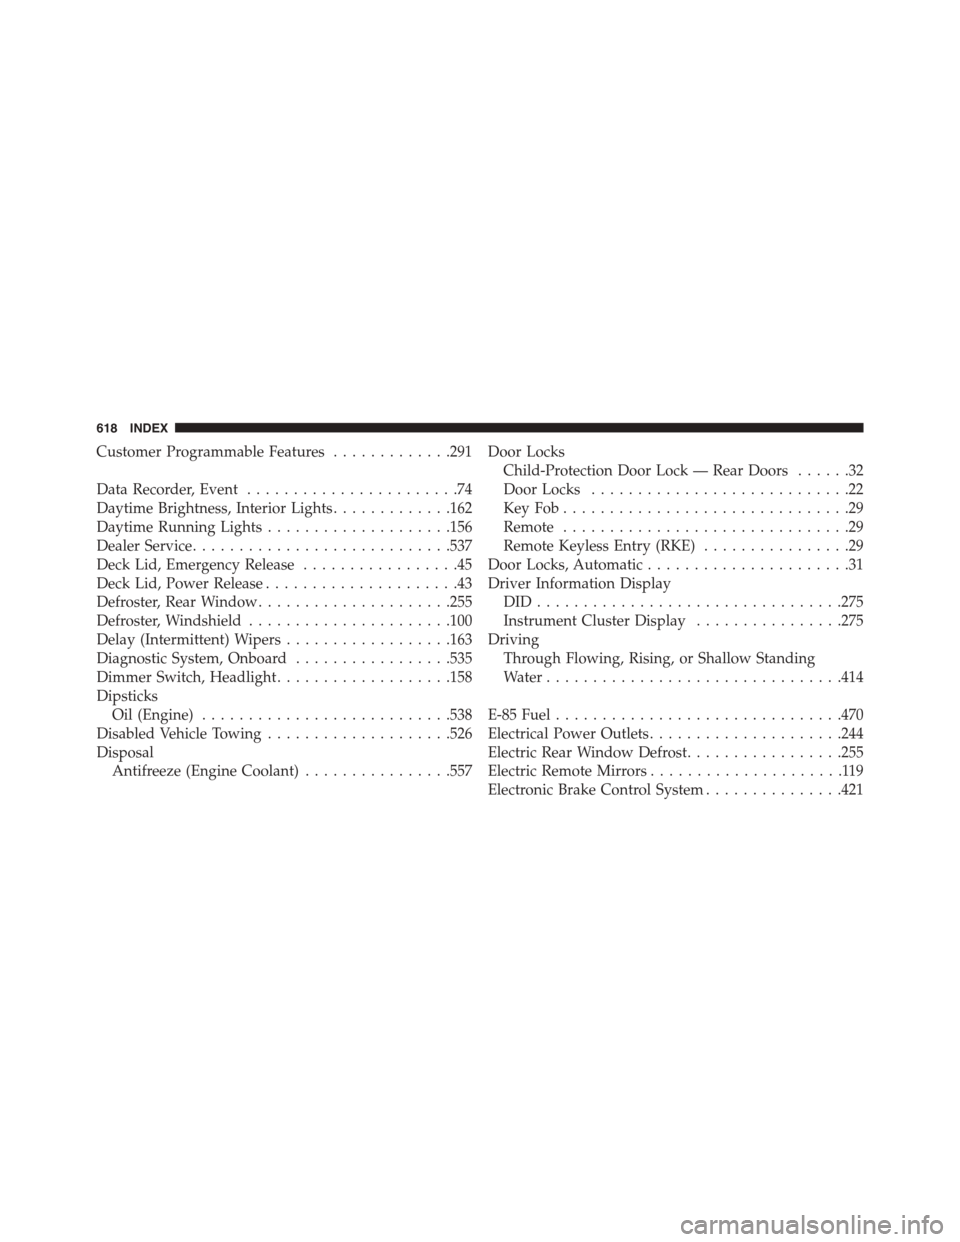
Customer Programmable Features.............291
Data Recorder, Event.......................74
Daytime Brightness, Interior Lights.............162
Daytime Running Lights....................156
Dealer Service............................537
Deck Lid, Emergency Release.................45
Deck Lid, Power Release.....................43
Defroster, Rear Window.....................255
Defroster, Windshield......................100
Delay (Intermittent) Wipers..................163
Diagnostic System, Onboard.................535
Dimmer Switch, Headlight...................158
Dipsticks
Oil (Engine)...........................538
Disabled Vehicle Towing....................526
Disposal
Antifreeze (Engine Coolant)................557
Door Locks
Child-Protection Door Lock — Rear Doors......32
Door Locks............................22
Key Fob . . . . . . . . . . . . . . . . . . . . . . . . . . . . . . .29
Remote...............................29
Remote Keyless Entry (RKE)................29
Door Locks, Automatic......................31
Driver Information Display
DID . . . . . . . . . . . . . . . . . . . . . . . . . . . . . . . ..275
Instrument Cluster Display................275
Driving
Through Flowing, Rising, or Shallow Standing
Water................................414
E-85 Fuel...............................470
Electrical Power Outlets.....................244
Electric Rear Window Defrost.................255
Electric Remote Mirrors.....................119
Electronic Brake Control System...............421
618 INDEX