hood release DODGE CHARGER 2019 Owners Manual
[x] Cancel search | Manufacturer: DODGE, Model Year: 2019, Model line: CHARGER, Model: DODGE CHARGER 2019Pages: 560, PDF Size: 6.03 MB
Page 33 of 560
Remote Start Abort Message On The Instrument
Cluster Display — If Equipped
The following messages will display in the instrument
cluster display if the vehicle fails to remote start or exits
remote start prematurely:
•Remote Start Aborted — Door Open
• Remote Start Aborted — Hood Open
• Remote Start Aborted — Fuel Low
• Remote Start Aborted — Trunk Open
• Remote Start Disabled — Start Vehicle To Reset
The message will stay active until the ignition is turned to
the ON/RUN position.
To Enter Remote Start Mode
Push and release the remote start button on the key fob
twice within five seconds. The vehicle doors will lock, the
parking lights will flash, and the horn will chirp twice (if
programmed). Then, the engine will start, and the vehicle
will remain in the Remote Start mode for a 15-minute cycle. NOTE:
•
If an engine fault is present or fuel level is low, the
vehicle will start and then shut down in 10 seconds.
• The park lamps will turn on and remain on during
Remote Start mode.
• For security, power window and power sunroof opera-
tion (if equipped) are disabled when the vehicle is in the
Remote Start mode.
• The engine can be started two consecutive times with
the key fob. However, the ignition must be cycled by
pushing the START/STOP button twice (or the ignition
switch must be cycled to the ON/RUN position) before
you can repeat the start sequence for a third cycle.
To Exit Remote Start Mode Without Driving The
Vehicle
Push and release the remote start button one time or allow
the engine to run for the entire 15-minute cycle.
NOTE: To avoid unintentional shutdowns, the system will
disable with a one time push of the remote start button for
two seconds after receiving a valid remote start request.
3
GETTING TO KNOW YOUR VEHICLE 31
Page 34 of 560
To Exit Remote Start Mode And Drive The Vehicle
Before the end of 15-minute cycle, push and release the
unlock button on the key fob to unlock the doors and
disarm the vehicle security alarm (if equipped). Then, prior
to the end of the 15-minute cycle, push and release the
START/STOP button. If the START/STOP button is not
present, insert the key fob into the ignition switch and turn
the switch to the ON/RUN position.
NOTE:
•For vehicles not equipped with the Keyless Enter-N-Go
— Passive Entry feature, the ignition switch must be in
the ON/RUN position in order to drive the vehicle.
• For vehicles not equipped with the Keyless Enter-N-Go
— Passive Entry feature, the message “Remote Start
Active — Insert Key and Turn To Run” will show in the
instrument cluster display until you insert the key.
• For vehicles equipped with the Keyless Enter-N-Go —
Passive Entry feature, the message “Remote Start Active
— Push Start Button” will show in the instrument
cluster display until you push the START button. To Cancel Remote Start
Remote Starting will also cancel if any of the following
occur:
•
The engine stalls or engine speed exceeds 2500 rpm.
• Any engine warning lights come on.
• Low Fuel Light turns on.
• The hood is opened.
• The hazard switch is pushed.
• The gear selector is moved out of PARK.
• The brake pedal is pushed.
Remote Start Comfort Systems — If Equipped
When remote start is activated, the heated steering wheel
and driver heated seat features will automatically turn on
in cold weather. In warm weather, the driver vented seat
feature will automatically turn on when the remote start is
activated. These features will stay on through the duration
of remote start or until the ignition switch is cycled to the
ON/RUN position.
32 GETTING TO KNOW YOUR VEHICLE
Page 102 of 560
Calibration Procedure
If the sunroof “Express Operation” feature is no longer
functioning, or the sunroof is auto-reversing while at-
tempting to “Express Close” but no obstruction is in the
roof opening, the sunroof can be re-calibrated per the
following steps:
1. Set the ignition to ACC or ON/RUN.
2. Close sunroof glass.
3. With sunroof in closed position, push and hold the closeswitch.
4. After 10 seconds of holding switch, the sunroof glass will cycle into the vent position and stop.
5. Release the close switch, then within 5 seconds push and hold the close switch again. The sunroof will cycle open
and back to closed as the switch is held.
6. Once the sunroof has stopped in the full closed position, release the close switch. The sunroof is now reset and
ready to use.
HOOD
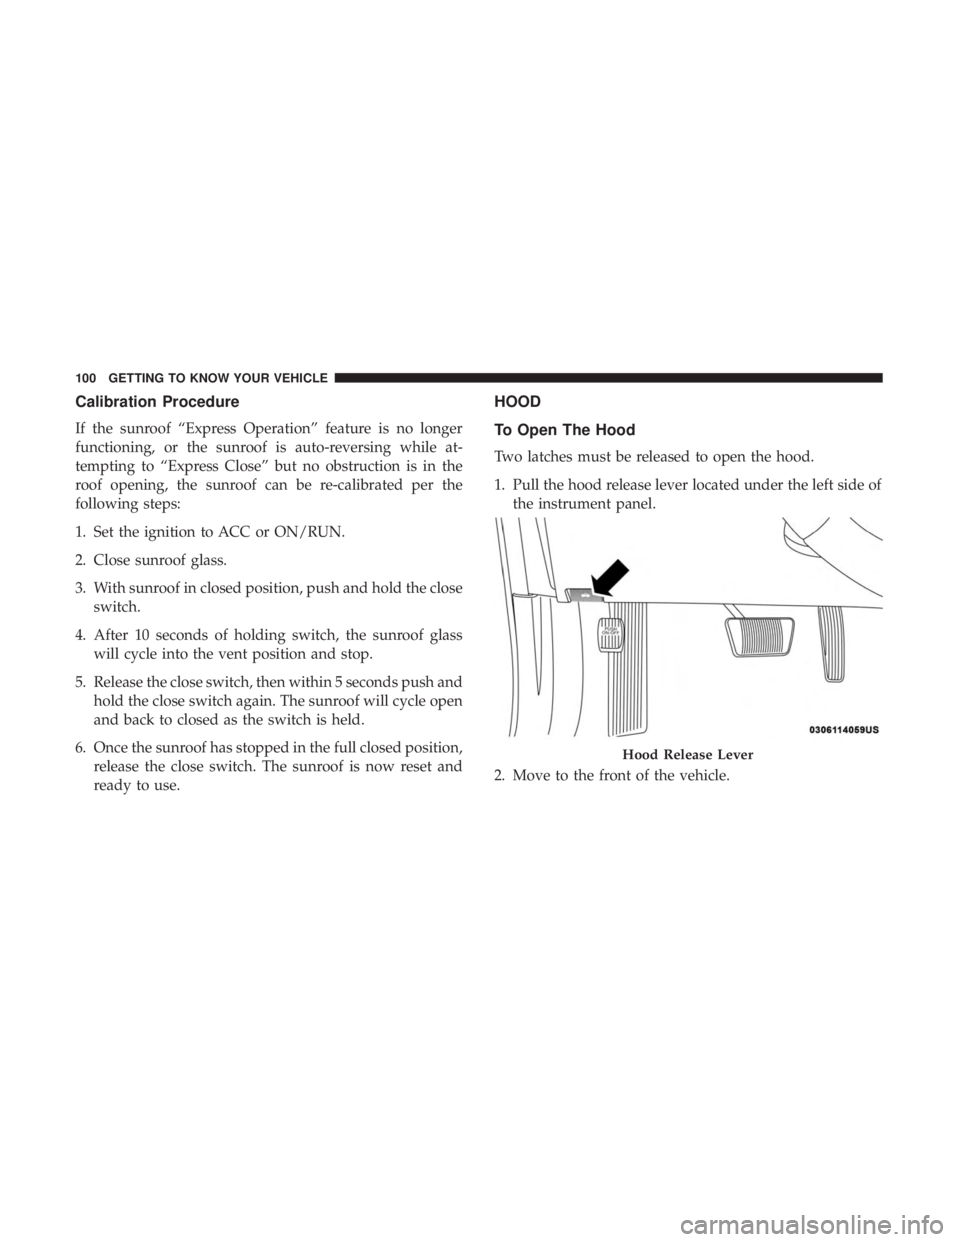
To Open The Hood
Two latches must be released to open the hood.
1. Pull the hood release lever located under the left side ofthe instrument panel.
2. Move to the front of the vehicle.
Hood Release Lever
100 GETTING TO KNOW YOUR VEHICLE
Page 103 of 560
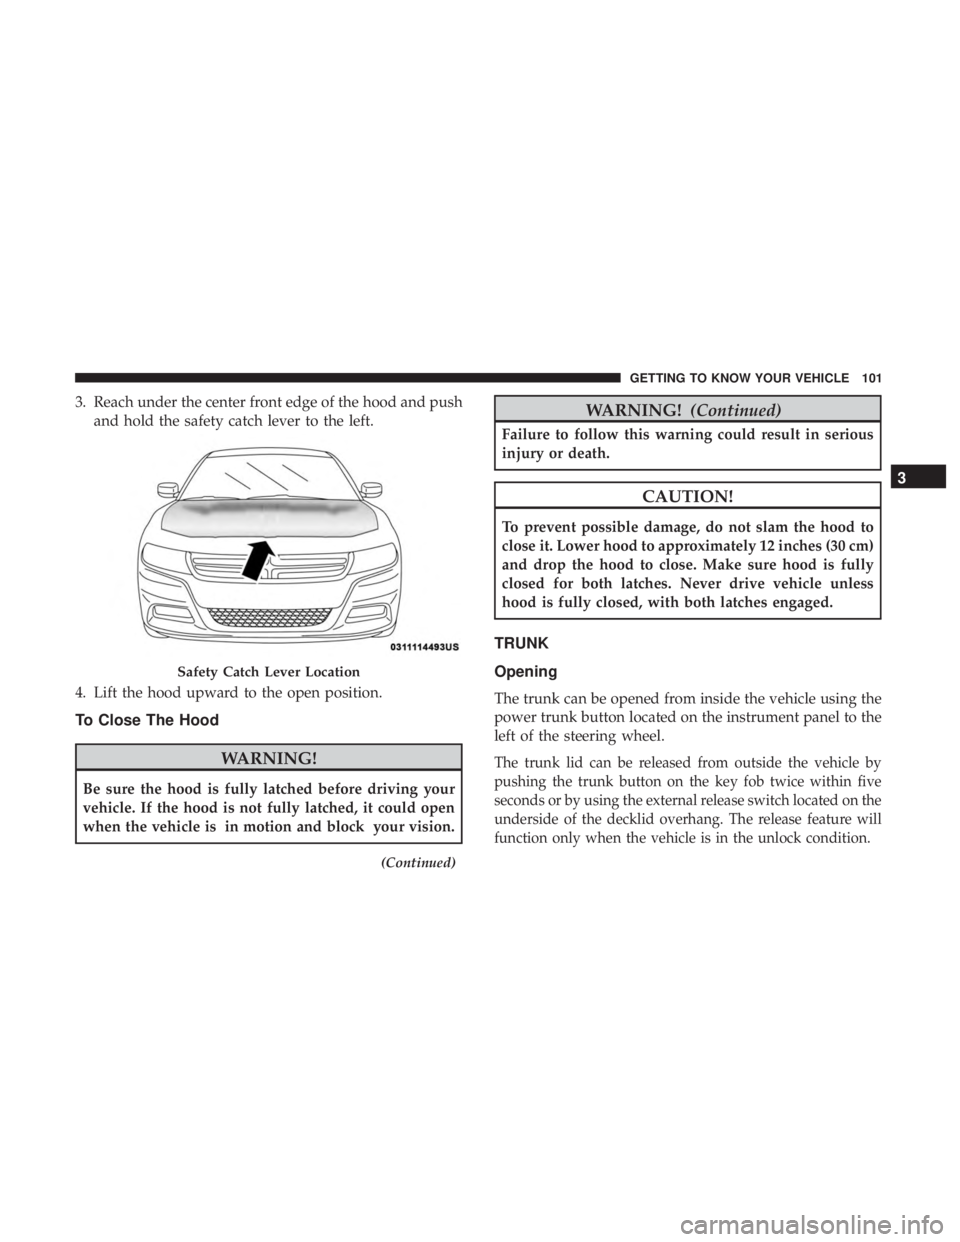
3. Reach under the center front edge of the hood and pushand hold the safety catch lever to the left.
4. Lift the hood upward to the open position.
To Close The Hood
WARNING!
Be sure the hood is fully latched before driving your
vehicle. If the hood is not fully latched, it could open
when the vehicle is in motion and block your vision.
(Continued)
WARNING! (Continued)
Failure to follow this warning could result in serious
injury or death.
CAUTION!
To prevent possible damage, do not slam the hood to
close it. Lower hood to approximately 12 inches (30 cm)
and drop the hood to close. Make sure hood is fully
closed for both latches. Never drive vehicle unless
hood is fully closed, with both latches engaged.
TRUNK
Opening
The trunk can be opened from inside the vehicle using the
power trunk button located on the instrument panel to the
left of the steering wheel.
The trunk lid can be released from outside the vehicle by
pushing the trunk button on the key fob twice within five
seconds or by using the external release switch located on the
underside of the decklid overhang. The release feature will
function only when the vehicle is in the unlock condition.
Safety Catch Lever Location
3
GETTING TO KNOW YOUR VEHICLE 101
Page 386 of 560
•Belt broken (note: identify and correct problem before
new belt is installed)
• Noise (objectionable squeal, squeak, or rumble is heard
or felt while drive belt is in operation)
Some conditions can be caused by a faulty component such
as a belt pulley. Belt pulleys should be carefully inspected
for damage and proper alignment.
Belt replacement on some models requires the use of
special tools, we recommend having your vehicle serviced
at an authorized dealer.
Body Lubrication
Locks and all body pivot points, including such items as
seat tracks, door hinge pivot points and rollers, liftgate,
tailgate, decklid, sliding doors and hood hinges, should be
lubricated periodically with a lithium based grease, such as
Mopar Spray White Lube to assure quiet, easy operation
and to protect against rust and wear. Prior to the applica-
tion of any lubricant, the parts concerned should be wiped
clean to remove dust and grit; after lubricating excess oil
and grease should be removed. Particular attention should
also be given to hood latching components to ensure proper function. When performing other underhood ser-
vices, the hood latch, release mechanism and safety catch
should be cleaned and lubricated.
The external lock cylinders should be lubricated twice a
year, preferably in the Fall and Spring. Apply a small
amount of a high quality lubricant, such as Mopar Lock
Cylinder Lubricant directly into the lock cylinder.
Windshield Wiper Blades
Clean the rubber edges of the wiper blades and the
windshield periodically with a sponge or soft cloth and a
mild nonabrasive cleaner. This will remove accumulations
of salt or road film.
Operation of the wipers on dry glass for long periods may
cause deterioration of the wiper blades. Always use washer
fluid when using the wipers to remove salt or dirt from a
dry windshield.
Avoid using the wiper blades to remove frost or ice from
the windshield. Keep the blade rubber out of contact with
petroleum products such as engine oil, gasoline, etc.
384 SERVICING AND MAINTENANCE
Page 548 of 560
HazardDriving Through Flowing, Rising, Or Shallow
Standing Water ......................... .303
Hazard Warning Flashers .....................307
Headlights Automatic ..............................69
Cleaning .............................. .421
High Beam/Low Beam Select Switch ...........67
Lights On Reminder .......................70
On With Wipers ..........................69
Passing ................................68
Switch .................................66
Time Delay ..............................69
Washers .............................. .374
Head Restraints ......................... .56, 57
Head Rests ............................ .56, 57
Heated Mirrors .............................65
Heater, Engine Block ....................... .233
High Beam/Low Beam Select (Dimmer) Switch ......67
Hill Start Assist ........................... .158
Hitches Trailer Towing .......................... .295
Holder, Coin ..............................112
HomeLink (Garage Door Opener) ...............105Hood Prop
.............................. .100
Hood Release ............................ .100
Ignition ..................................27
Switch .................................27
Information Center, Vehicle ...................126
Inside Rearview Mirror ....................62, 307
Instrument Cluster ..................... .122, 125
Descriptions ........................... .146
Display ........................... .126, 129
Instrument Panel Lens Cleaning ................423
Interior Appearance Care .....................422
Interior Lights ..............................71
Intermittent Wipers (Delay Wipers) ...............76
Introduction ................................4
In Vehicle Help Vehicle User Guide ........................17
Jack Location ............................ .326
Jack Operation ........................... .397
Jump Starting ......................... .349, 351
Key
Fob
Arm The System ..........................35
Panic Alarm .............................22
546 INDEX
Page 552 of 560
Windows...............................94
Power Seats Forward ................................48
Lumbar ................................49
Rearward ...............................48
Recline .................................48
Power Steering Fluid ....................... .438
Pregnant Women And Seat Belts ................186
Preparation For Jacking ..................... .327
Pretensioners Seat Belts ............................. .187
Radial Ply Tires ........................... .408
Radiator Cap (Coolant Pressure Cap) .............391
Radio Frequency General Information ................26, 33, 34, 41
Radio Operation ...........................511
Rain Sensitive Wiper System ...................77
Rear Axle (Differential) ..................... .396
Rear Camera ............................. .285
Rear Cross Path ........................... .166
Rear ParkSense System ..................... .274
Rear Seats, Folding ..........................46
Rear Wheel Drive (RWD) Towing ............................... .358Recreational Towing
........................ .302
Reformulated Gasoline ...................... .431
Refrigerant ........................... .380, 381
Release, Hood ............................ .100
Reminder, Lights On .........................70
Reminder, Seat Belt ........................ .179
Remote Keyless Entry Arm The Alarm ..........................35
Panic Alarm .............................22
Programming Additional Key Fobs ..........26, 34
Unlatch The Trunk ........................21
Remote Starting Exit Remote Start Mode .....................31
Uconnect Customer Programmable Features ......32
Uconnect Settings .........................32
Remote Trunk Release ...................... .101
Replacement Bulbs ........................ .312
Replacement Keys ....................... .26, 34
Replacement Tires ..........................411
Reporting Safety Defects .....................537
Restraints,
Child.......................... .202
Restraints, Head ......................... .56, 57
Rocking Vehicle When Stuck ...................355
Rotation, Tires ............................ .418
550 INDEX