heater DODGE CHARGER 2020 Owners Manual
[x] Cancel search | Manufacturer: DODGE, Model Year: 2020, Model line: CHARGER, Model: DODGE CHARGER 2020Pages: 412, PDF Size: 18.96 MB
Page 6 of 412
4
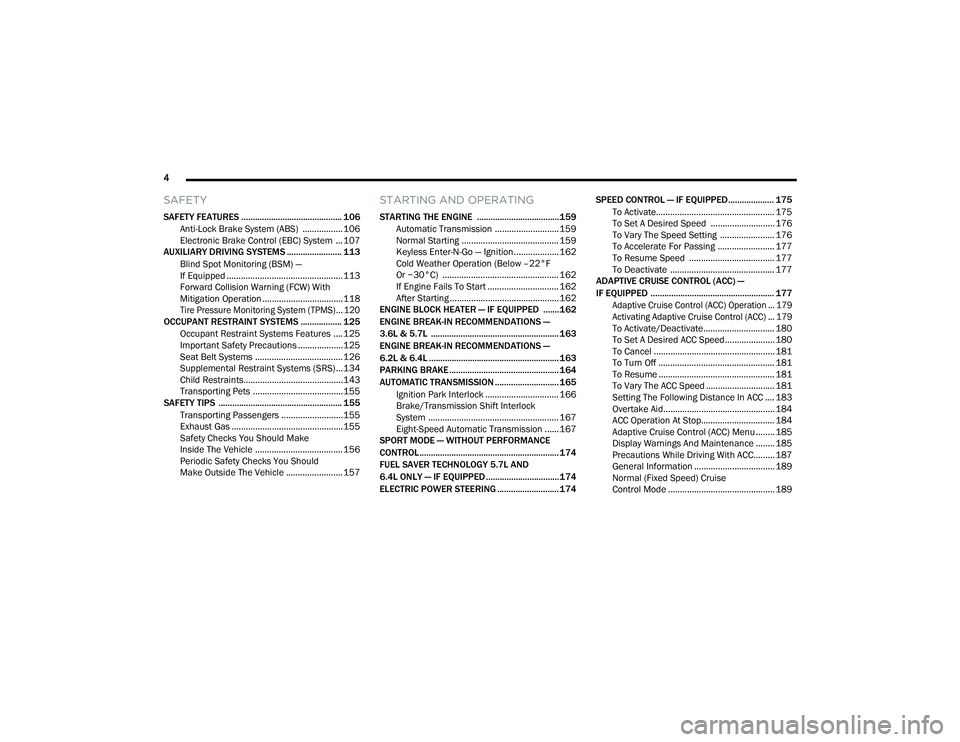
SAFETY
SAFETY FEATURES ............................................ 106
Anti-Lock Brake System (ABS) ................. 106
Electronic Brake Control (EBC) System ...107
AUXILIARY DRIVING SYSTEMS ........................ 113
Blind Spot Monitoring (BSM) —
If Equipped .................................................113 Forward Collision Warning (FCW) With
Mitigation Operation ..................................118
Tire Pressure Monitoring System (TPMS) ... 120
OCCUPANT RESTRAINT SYSTEMS .................. 125
Occupant Restraint Systems Features ....125
Important Safety Precautions ...................125Seat Belt Systems ..................................... 126Supplemental Restraint Systems (SRS) ...134Child Restraints..........................................143Transporting Pets ......................................155
SAFETY TIPS ...................................................... 155
Transporting Passengers ..........................155
Exhaust Gas ...............................................155Safety Checks You Should Make
Inside The Vehicle ..................................... 156 Periodic Safety Checks You Should
Make Outside The Vehicle ........................ 157
STARTING AND OPERATING
STARTING THE ENGINE ....................................159
Automatic Transmission ........................... 159
Normal Starting ......................................... 159
Keyless Enter-N-Go — Ignition ................... 162
Cold Weather Operation (Below –22°F
Or −30°C) ................................................. 162 If Engine Fails To Start .............................. 162
After Starting .............................................. 162
ENGINE BLOCK HEATER — IF EQUIPPED .......162
ENGINE BREAK-IN RECOMMENDATIONS —
3.6L & 5.7L ........................................................ 163
ENGINE BREAK-IN RECOMMENDATIONS —
6.2L & 6.4L ......................................................... 163
PARKING BRAKE ................................................ 164
AUTOMATIC TRANSMISSION ............................ 165 Ignition Park Interlock ............................... 166Brake/Transmission Shift Interlock
System ....................................................... 167 Eight-Speed Automatic Transmission ...... 167
SPORT MODE — WITHOUT PERFORMANCE
CONTROL............................................................. 174
FUEL SAVER TECHNOLOGY 5.7L AND
6.4L ONLY — IF EQUIPPED ................................174
ELECTRIC POWER STEERING ........................... 174 SPEED CONTROL — IF EQUIPPED.................... 175
To Activate.................................................. 175
To Set A Desired Speed ........................... 176
To Vary The Speed Setting ....................... 176To Accelerate For Passing ........................ 177
To Resume Speed .................................... 177To Deactivate ............................................ 177
ADAPTIVE CRUISE CONTROL (ACC) —
IF EQUIPPED ...................................................... 177
Adaptive Cruise Control (ACC) Operation ... 179
Activating Adaptive Cruise Control (ACC) ... 179
To Activate/Deactivate.............................. 180
To Set A Desired ACC Speed..................... 180
To Cancel ................................................... 181
To Turn Off ................................................. 181To Resume ................................................. 181To Vary The ACC Speed ............................. 181
Setting The Following Distance In ACC .... 183
Overtake Aid............................................... 184
ACC Operation At Stop............................... 184Adaptive Cruise Control (ACC) Menu ........ 185
Display Warnings And Maintenance ........ 185
Precautions While Driving With ACC......... 187
General Information .................................. 189
Normal (Fixed Speed) Cruise
Control Mode ............................................. 189
20_LD_OM_EN_USC_t.book Page 4
Page 38 of 412
36GETTING TO KNOW YOUR VEHICLE
When you place the vehicle’s ignition in the
OFF position, the driver seat will move about
2.4 inches (60 mm) rearward if the driver
seat position is greater than or equal to
2.7 inches (67.7 mm) forward of the rear stop. The seat will return to its previously set
position when you place the vehicle’s ignition
in the ACC or RUN position.
The Easy Entry/Easy Exit feature is disabled
when the driver seat position is less than 0.9
of an inch (22.7 mm) forward of the rear
stop. At this position, there is no benefit to
the driver by moving the seat for Easy Exit or
Easy Entry.
Each stored memory setting will have an
associated Easy Entry and Easy Exit position.
NOTE:
The Easy Entry/Exit feature is not enabled when
the vehicle is delivered from the factory. The
Easy Entry/Exit feature is enabled (or later
disabled) through the programmable features
in the Uconnect system. Refer to “Uconnect
Settings” in “Multimedia”.
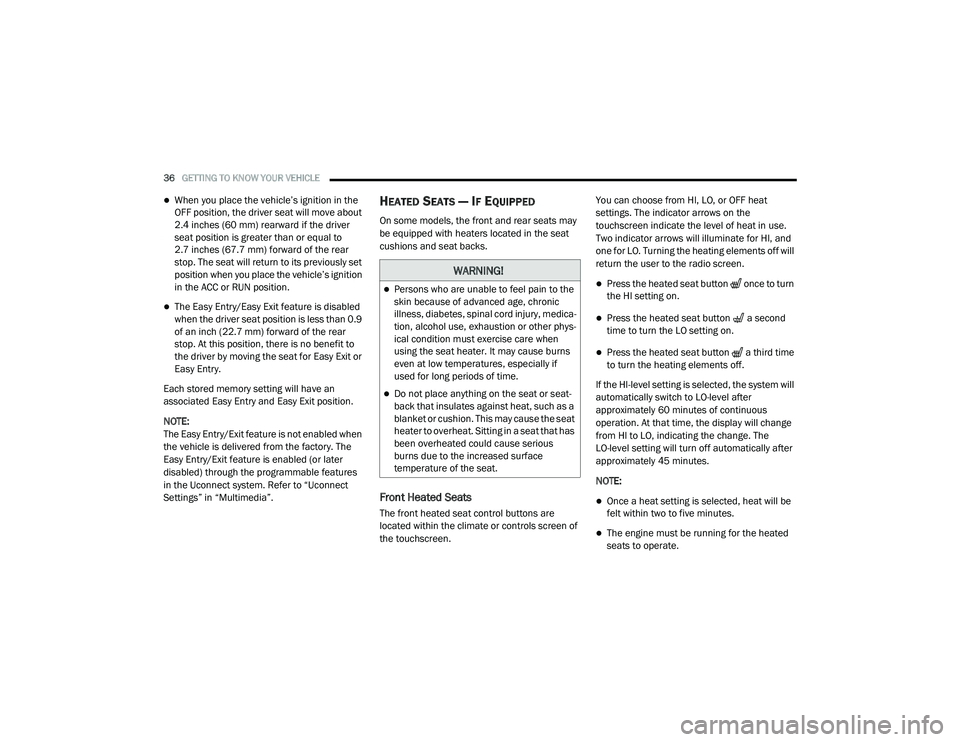
HEATED SEATS — IF EQUIPPED
On some models, the front and rear seats may
be equipped with heaters located in the seat
cushions and seat backs.
Front Heated Seats
The front heated seat control buttons are
located within the climate or controls screen of
the touchscreen. You can choose from HI, LO, or OFF heat
settings. The indicator arrows on the
touchscreen indicate the level of heat in use.
Two indicator arrows will illuminate for HI, and
one for LO. Turning the heating elements off will
return the user to the radio screen.
Press the heated seat button once to turn
the HI setting on.
Press the heated seat button a second
time to turn the LO setting on.
Press the heated seat button a third time
to turn the heating elements off.
If the HI-level setting is selected, the system will
automatically switch to LO-level after
approximately 60 minutes of continuous
operation. At that time, the display will change
from HI to LO, indicating the change. The
LO-level setting will turn off automatically after
approximately 45 minutes.
NOTE:
Once a heat setting is selected, heat will be
felt within two to five minutes.
The engine must be running for the heated
seats to operate.
WARNING!
Persons who are unable to feel pain to the
skin because of advanced age, chronic
illness, diabetes, spinal cord injury, medica -
tion, alcohol use, exhaustion or other phys -
ical condition must exercise care when
using the seat heater. It may cause burns
even at low temperatures, especially if
used for long periods of time.
Do not place anything on the seat or seat -
back that insulates against heat, such as a
blanket or cushion. This may cause the seat
heater to overheat. Sitting in a seat that has
been overheated could cause serious
burns due to the increased surface
temperature of the seat.
20_LD_OM_EN_USC_t.book Page 36
Page 39 of 412
GETTING TO KNOW YOUR VEHICLE37
Vehicles Equipped With Remote Start
On models that are equipped with remote start,
the heated seats can be programmed to come
on during a remote start.
This feature can be programmed through the
Uconnect system. Refer to “Uconnect Settings”
in “Multimedia” for further information.Rear Heated Seats
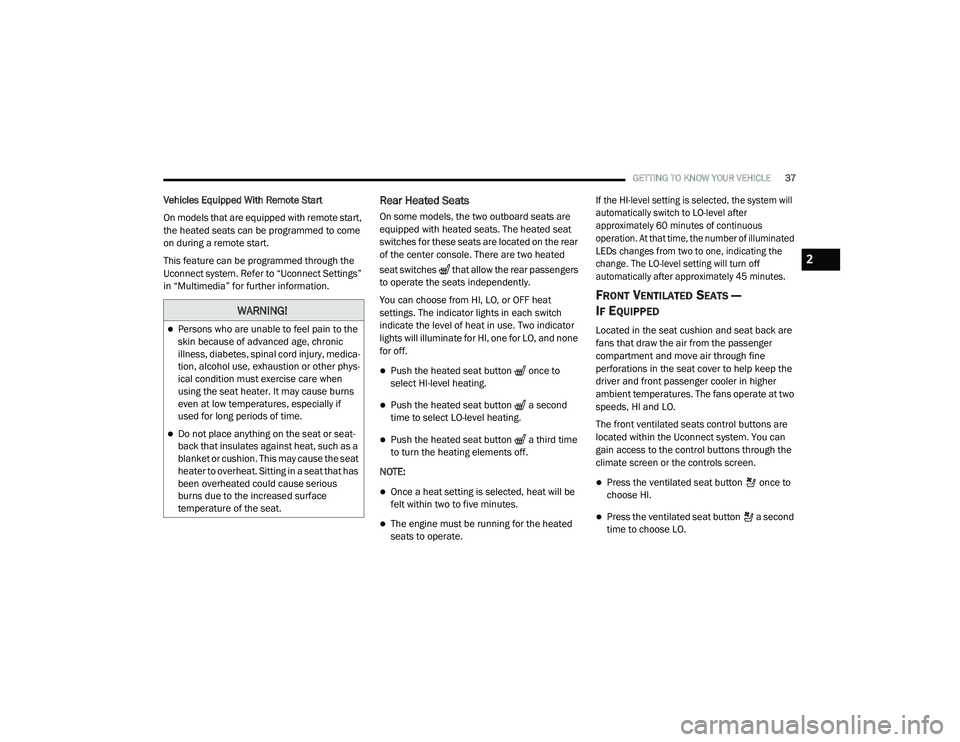
On some models, the two outboard seats are
equipped with heated seats. The heated seat
switches for these seats are located on the rear
of the center console. There are two heated
seat switches that allow the rear passengers
to operate the seats independently.
You can choose from HI, LO, or OFF heat
settings. The indicator lights in each switch
indicate the level of heat in use. Two indicator
lights will illuminate for HI, one for LO, and none
for off.
Push the heated seat button once to
select HI-level heating.
Push the heated seat button a second
time to select LO-level heating.
Push the heated seat button a third time
to turn the heating elements off.
NOTE:
Once a heat setting is selected, heat will be
felt within two to five minutes.
The engine must be running for the heated
seats to operate.
If the HI-level setting is selected, the system will
automatically switch to LO-level after
approximately 60 minutes of continuous
operation. At that time, the number of illuminated
LEDs changes from two to one, indicating the
change. The LO-level setting will turn off
automatically after approximately 45 minutes.
FRONT VENTILATED SEATS —
I
F EQUIPPED
Located in the seat cushion and seat back are
fans that draw the air from the passenger
compartment and move air through fine
perforations in the seat cover to help keep the
driver and front passenger cooler in higher
ambient temperatures. The fans operate at two
speeds, HI and LO.
The front ventilated seats control buttons are
located within the Uconnect system. You can
gain access to the control buttons through the
climate screen or the controls screen.
Press the ventilated seat button once to
choose HI.
Press the ventilated seat button a second
time to choose LO.
WARNING!
Persons who are unable to feel pain to the
skin because of advanced age, chronic
illness, diabetes, spinal cord injury, medica -
tion, alcohol use, exhaustion or other phys -
ical condition must exercise care when
using the seat heater. It may cause burns
even at low temperatures, especially if
used for long periods of time.
Do not place anything on the seat or seat -
back that insulates against heat, such as a
blanket or cushion. This may cause the seat
heater to overheat. Sitting in a seat that has
been overheated could cause serious
burns due to the increased surface
temperature of the seat.
2
20_LD_OM_EN_USC_t.book Page 37
Page 43 of 412
GETTING TO KNOW YOUR VEHICLE41
NOTE:
For vehicles equipped with Driver Memory
Settings, you can use your remote keyless entry
key fob or the memory switch on the driver's
door trim panel to return the tilt/telescopic
steering column to pre-programmed positions.
Refer to “Driver Memory Settings” in this
chapter.
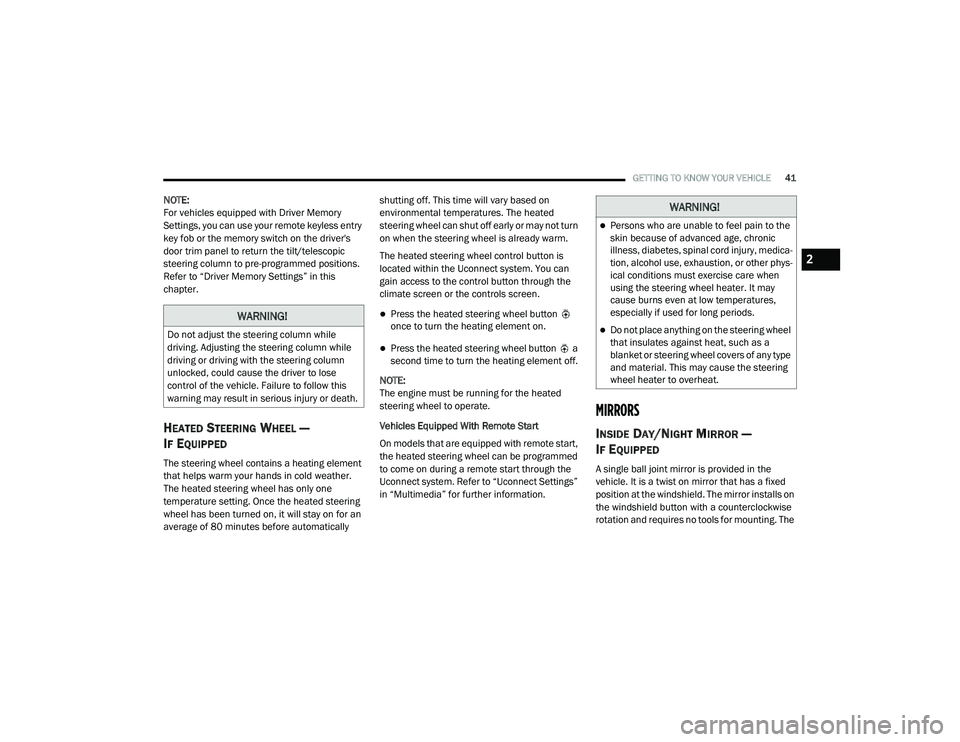
HEATED STEERING WHEEL —
I
F EQUIPPED
The steering wheel contains a heating element
that helps warm your hands in cold weather.
The heated steering wheel has only one
temperature setting. Once the heated steering
wheel has been turned on, it will stay on for an
average of 80 minutes before automatically shutting off. This time will vary based on
environmental temperatures. The heated
steering wheel can shut off early or may not turn
on when the steering wheel is already warm.
The heated steering wheel control button is
located within the Uconnect system. You can
gain access to the control button through the
climate screen or the controls screen.
Press the heated steering wheel button
once to turn the heating element on.
Press the heated steering wheel button a
second time to turn the heating element off.
NOTE:
The engine must be running for the heated
steering wheel to operate.
Vehicles Equipped With Remote Start
On models that are equipped with remote start,
the heated steering wheel can be programmed
to come on during a remote start through the
Uconnect system. Refer to “Uconnect Settings”
in “Multimedia” for further information.
MIRRORS
INSIDE DAY/NIGHT MIRROR —
I
F EQUIPPED
A single ball joint mirror is provided in the
vehicle. It is a twist on mirror that has a fixed
position at the windshield. The mirror installs on
the windshield button with a counterclockwise
rotation and requires no tools for mounting. The
WARNING!
Do not adjust the steering column while
driving. Adjusting the steering column while
driving or driving with the steering column
unlocked, could cause the driver to lose
control of the vehicle. Failure to follow this
warning may result in serious injury or death.
WARNING!
Persons who are unable to feel pain to the
skin because of advanced age, chronic
illness, diabetes, spinal cord injury, medica -
tion, alcohol use, exhaustion, or other phys -
ical conditions must exercise care when
using the steering wheel heater. It may
cause burns even at low temperatures,
especially if used for long periods.
Do not place anything on the steering wheel
that insulates against heat, such as a
blanket or steering wheel covers of any type
and material. This may cause the steering
wheel heater to overheat.
2
20_LD_OM_EN_USC_t.book Page 41
Page 65 of 412
GETTING TO KNOW YOUR VEHICLE63
Winter Operation
To ensure the best possible heater and
defroster performance, make sure the engine
cooling system is functioning properly and the
proper amount, type, and concentration of
coolant is used. Use of the Air Recirculation
mode during Winter months is not
recommended, because it may cause window
fogging.
Vacation/Storage
Before you store your vehicle, or keep it out of
service (i.e., vacation) for two weeks or more,
run the air conditioning system at idle for about
five minutes, in fresh air with the blower setting
on high. This will ensure adequate system
lubrication to minimize the possibility of
compressor damage when the system is started
again.
Window Fogging
Vehicle windows tend to fog on the inside in
mild, rainy, and/or humid weather. To clear the
windows, select Defrost or Mix mode and
increase the front blower speed. Do not use the
Recirculation mode without A/C for long
periods, as fogging may occur.
Outside Air Intake
Make sure the air intake, located directly in
front of the windshield, is free of obstructions,
such as leaves. Leaves collected in the air
intake may reduce airflow, and if they enter the
plenum, they could plug the water drains. In
Winter months, make sure the air intake is clear
of ice, slush, and snow.
Cabin Air Filter
The climate control system filters out dust and
pollen from the air. Contact an authorized
dealer to service your cabin air filter, and to
have it replaced when needed.
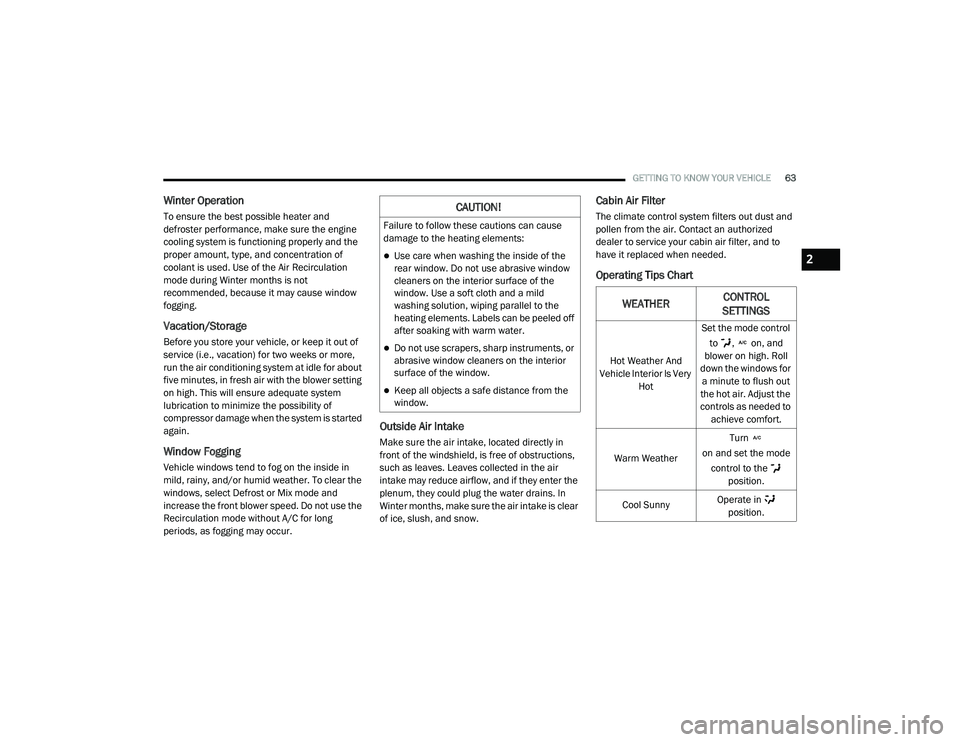
Operating Tips Chart
CAUTION!
Failure to follow these cautions can cause
damage to the heating elements:
Use care when washing the inside of the
rear window. Do not use abrasive window
cleaners on the interior surface of the
window. Use a soft cloth and a mild
washing solution, wiping parallel to the
heating elements. Labels can be peeled off
after soaking with warm water.
Do not use scrapers, sharp instruments, or
abrasive window cleaners on the interior
surface of the window.
Keep all objects a safe distance from the
window.
WEATHER
CONTROL
SETTINGS
Hot Weather And
Vehicle Interior Is Very Hot Set the mode control
to , on, and
blower on high. Roll
down the windows for a minute to flush out
the hot air. Adjust the
controls as needed to achieve comfort.
Warm Weather Turn
on and set the mode control to the position.
Cool Sunny Operate in
position.
2
20_LD_OM_EN_USC_t.book Page 63
Page 143 of 412
SAFETY141
NOTE:
Air bag covers may not be obvious in the inte -
rior trim, but they will open during air bag
deployment.
After any collision, the vehicle should be
taken to an authorized dealer immediately.
Enhanced Accident Response System
In the event of an impact, if the communication
network remains intact, and the power remains
intact, depending on the nature of the event,
the ORC will determine whether to have the
Enhanced Accident Response System perform
the following functions:
Cut off fuel to the engine (if equipped)
Cut off battery power to the electric motor
(if equipped)
Flash hazard lights as long as the battery has
power
Turn on the interior lights, which remain on
as long as the battery has power or for
15 minutes from the intervention of the
Enhanced Accident Response System
Unlock the power door locks
Your vehicle may also be designed to perform
any of these other functions in response to the
Enhanced Accident Response System:
Turn off the Fuel Filter Heater, Turn off the
HVAC Blower Motor, Close the HVAC Circula -
tion Door
Cut off battery power to the:
Engine
Electric Motor (If equipped)
Electric power steering
Brake booster
Electric park brake
Automatic transmission gear selector
Horn
Front wiper
Headlamp washer pump
NOTE:
After an accident, remember to cycle the igni -
tion to the STOP (OFF/LOCK) position and
remove the key from the ignition switch to avoid
draining the battery. Carefully check the vehicle
for fuel leaks in the engine compartment and on
the ground near the engine compartment and
fuel tank before resetting the system and
starting the engine. If there are no fuel leaks or
damage to the vehicle electrical devices (e.g.
headlights) after an accident, reset the system
by following the procedure described below. If
you have any doubt, contact an authorized
dealer.
Enhanced Accident Response System
Reset Procedure
In order to reset the Enhanced Accident
Response System functions after an event, the
ignition switch must be changed from ignition
START or ON/RUN to ignition OFF. Carefully
check the vehicle for fuel leaks in the engine
compartment and on the ground near the
engine compartment and fuel tank before
resetting the system and starting the engine.
WARNING!
Deployed air bags and seat belt
pretensioners cannot protect you in another
collision. Have the air bags, seat belt
pretensioners, and the seat belt retractor
assemblies replaced by an authorized dealer
immediately. Also, have the Occupant
Restraint Controller System serviced as well.
4
20_LD_OM_EN_USC_t.book Page 141
Page 164 of 412
162STARTING AND OPERATING
KEYLESS ENTER-N-GO — IGNITION
This feature allows the driver to operate the
ignition switch with the push of a button, as long
as the Remote Start/Keyless Enter-N-Go key
fob is in the passenger compartment.
COLD WEATHER OPERATION (BELOW
–22°F O
R −30°C)
To ensure reliable starting at these
temperatures, use of an externally powered
electric engine block heater (available from an
authorized dealer) is recommended.
IF ENGINE FAILS TO START
If the engine fails to start after you have
followed the "Normal Starting" or "Cold Weather
Operation" procedure it may be flooded. Push
the accelerator pedal all the way to the floor and
hold it there. Crank the engine for no more than
15 seconds. This should clear any excess fuel in
case the engine is flooded. Leave the ignition
key in the RUN position, release the accelerator
pedal and repeat the “Normal Starting”
procedure.
AFTER STARTING
The idle speed is controlled automatically, and
it will decrease as the engine warms up.
ENGINE BLOCK HEATER — IF EQUIPPED
The engine block heater warms the engine, and
permits quicker starts in cold weather. Connect
the cord to a standard 110-115 Volt AC
electrical outlet with a grounded, three-wire
extension cord.
The engine block heater must be plugged in at
least one hour to have an adequate warming
effect on the engine.
The engine block heater cord is routed under
the hood on the driver side of the vehicle. It has
a removable cap that is located near the air box.
WARNING!
Never pour fuel or other flammable liquid
into the throttle body air inlet opening in an
attempt to start the vehicle. This could result
in flash fire causing serious personal injury.
Do not attempt to push or tow your vehicle
to get it started. Vehicles equipped with an
automatic transmission cannot be started
this way. Unburned fuel could enter the
catalytic converter and once the engine has
started, ignite and damage the converter
and vehicle.
If the vehicle has a discharged battery,
booster cables may be used to obtain a
start from a booster battery or the battery in
another vehicle. This type of start can be
dangerous if done improperly. Refer to
“Jump Starting Procedure” in “In Case Of
Emergency” for further information.
CAUTION!
To prevent damage to the starter, do not
continuously crank the engine for more than
25 seconds at a time. Wait 60 seconds
before trying again.
WARNING!
Remember to disconnect the engine block
heater cord before driving. Damage to the
110-115 Volt electrical cord could cause
electrocution.
20_LD_OM_EN_USC_t.book Page 162
Page 243 of 412
IN CASE OF EMERGENCY241
1. Apply the parking brake, shift the
automatic transmission into PARK and
place the ignition in the OFF position.
2. Turn off the heater, radio, and all unnecessary electrical accessories.
3. If using another vehicle to jump start the battery, park the vehicle within the jumper
cable’s reach, apply the parking brake and
make sure the ignition is OFF.
JUMP STARTING PROCEDURE
1. Connect the positive
(+) end of the jumper
cable to the remote positive (+)
post of the
vehicle with the discharged battery.
2. Connect the opposite end of the positive (+)
jumper cable to the positive (+) post of the
booster battery.
3. Connect the negative (-) end of the jumper
cable to the negative (-) post of the booster
battery.
4. Connect the opposite end of the negative (-)
jumper cable to the remote negative (-) post
of the vehicle with the discharged battery. 5. Start the engine in the vehicle that has the
booster battery, let the engine idle a few
minutes, and then start the engine in the
vehicle with the discharged battery.
6. Once the engine is started, remove the jumper cables in the reverse sequence.
Disconnecting The Jumper Cables
1. Disconnect the negative
(-) end of the
jumper cable from the remote negative (-)
post of the vehicle with the discharged
battery.
2. Disconnect the opposite end of the negative (-) jumper cable from the negative (-) post of
the booster battery.
Batteries contain sulfuric acid that can
burn your skin or eyes and generate
hydrogen gas which is flammable and
explosive. Keep open flames or sparks
away from the battery.
WARNING!
Do not allow vehicles to touch each other as
this could establish a ground connection and
personal injury could result.
WARNING! (Continued)
WARNING!
Failure to follow this jump starting procedure
could result in personal injury or property
damage due to battery explosion.
CAUTION!
Failure to follow these procedures could
result in damage to the charging system of
the booster vehicle or the discharged vehicle.
WARNING!
Do not connect the jumper cable to the
negative (-) post of the discharged battery. The
resulting electrical spark could cause the
battery to explode and could result in personal
injury. Only use the specific ground point, do
not use any other exposed metal parts.
6
20_LD_OM_EN_USC_t.book Page 241
Page 244 of 412
242IN CASE OF EMERGENCY
3. Disconnect the positive (+) end of the
jumper cable from the positive (+) post of
the booster battery.
4. Disconnect the opposite end of the positive (+) jumper cable from the remote positive
(+) post of the vehicle with the discharged
battery.
If frequent jump starting is required to start your
vehicle you should have the battery and
charging system inspected at an authorized
dealer.IF YOUR ENGINE OVERHEATS
In any of the following situations, you can
reduce the potential for overheating by taking
the appropriate action.
On the highways — slow down.
In city traffic — while stopped, place the trans -
mission in NEUTRAL, but do not increase the
engine idle speed while preventing vehicle
motion with the brakes.
NOTE:
There are steps that you can take to slow down
an impending overheat condition:
If your Air Conditioner (A/C) is on, turn it off.
The A/C system adds heat to the engine
cooling system and turning the A/C off can
help remove this heat.
You can also turn the temperature control to
maximum heat, the mode control to floor and
the blower control to high. This allows the
heater core to act as a supplement to the
radiator and aids in removing heat from the
engine cooling system.
CAUTION!
Accessories plugged into the vehicle power
outlets draw power from the vehicle’s battery,
even when not in use (i.e., cellular devices,
etc.). Eventually, if plugged in long enough
without engine operation, the vehicle’s
battery will discharge sufficiently to degrade
battery life and/or prevent the engine from
starting.
WARNING!
You or others can be badly burned by hot
engine coolant (antifreeze) or steam from
your radiator. If you see or hear steam coming
from under the hood, do not open the hood
until the radiator has had time to cool. Never
try to open a cooling system pressure cap
when the radiator or coolant bottle is hot.
CAUTION!
Driving with a hot cooling system could
damage your vehicle. If the temperature
gauge reads HOT (H), pull over and stop the
vehicle. Idle the vehicle with the air
conditioner turned off until the pointer drops
back into the normal range. If the pointer
remains on HOT (H), and you hear continuous
chimes, turn the engine off immediately and
call for service.
20_LD_OM_EN_USC_t.book Page 242
Page 315 of 412
TECHNICAL SPECIFICATIONS313
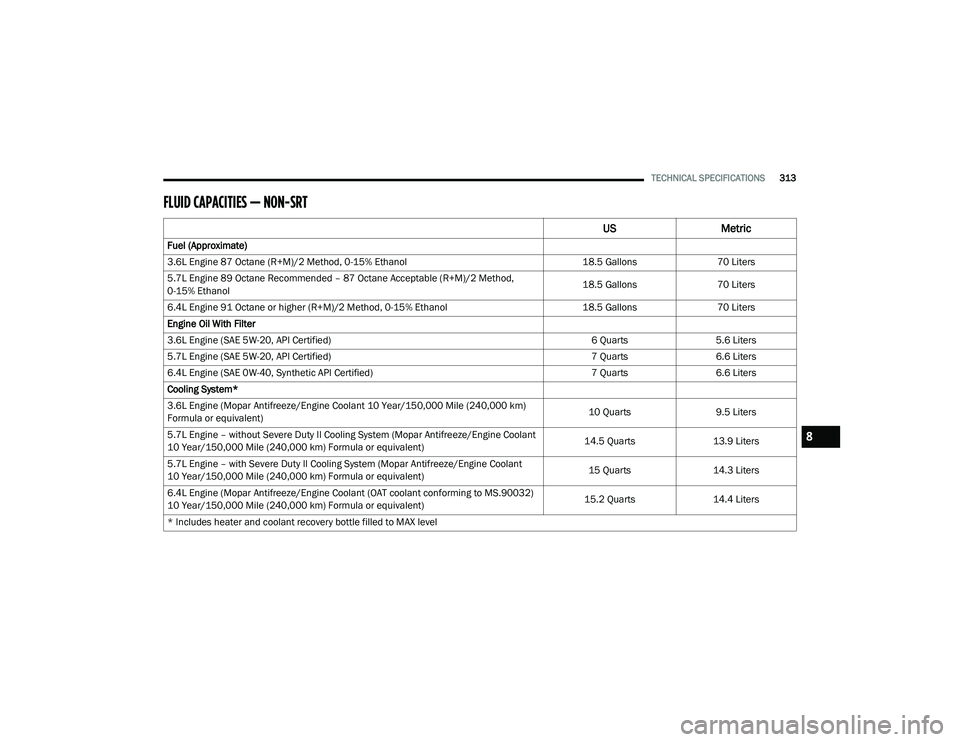
FLUID CAPACITIES — NON-SRT
USMetric
Fuel (Approximate)
3.6L Engine 87 Octane (R+M)/2 Method, 0-15% Ethanol 18.5 Gallons70 Liters
5.7L Engine 89 Octane Recommended – 87 Octane Acceptable (R+M)/2 Method,
0-15% Ethanol 18.5 Gallons
70 Liters
6.4L Engine 91 Octane or higher (R+M)/2 Method, 0-15% Ethanol 18.5 Gallons70 Liters
Engine Oil With Filter
3.6L Engine (SAE 5W-20, API Certified) 6 Quarts5.6 Liters
5.7L Engine (SAE 5W-20, API Certified) 7 Quarts6.6 Liters
6.4L Engine (SAE 0W-40, Synthetic API Certified) 7 Quarts6.6 Liters
Cooling System*
3.6L Engine (Mopar Antifreeze/Engine Coolant 10 Year/150,000 Mile (240,000 km)
Formula or equivalent) 10 Quarts
9.5 Liters
5.7L Engine – without Severe Duty II Cooling System (Mopar Antifreeze/Engine Coolant
10 Year/150,000 Mile (240,000 km) Formula or equivalent) 14.5 Quarts
13.9 Liters
5.7L Engine – with Severe Duty II Cooling System (Mopar Antifreeze/Engine Coolant
10 Year/150,000 Mile (240,000 km) Formula or equivalent) 15 Quarts
14.3 Liters
6.4L Engine (Mopar Antifreeze/Engine Coolant (OAT coolant conforming to MS.90032)
10 Year/150,000 Mile (240,000 km) Formula or equivalent) 15.2 Quarts
14.4 Liters
* Includes heater and coolant recovery bottle filled to MAX level
8
20_LD_OM_EN_USC_t.book Page 313