transmission DODGE CHARGER SRT 2007 6.G Owner's Manual
[x] Cancel search | Manufacturer: DODGE, Model Year: 2007, Model line: CHARGER SRT, Model: DODGE CHARGER SRT 2007 6.GPages: 350, PDF Size: 5.51 MB
Page 199 of 350
Briefly, press the selector lever in the ªD +º direction and
the transmission will shift from the current gear to the
next higher gear.
Press and hold the selector lever in the ªD +º direction
and the transmission will shift from the current gear
directly to gear ªD.º
WARNING!
On slippery road surfaces, never downshift in order
to obtain braking action. This could result in drive
wheel slip and reduced vehicle control. Your vehi-
cle's ABS will not prevent this type of loss of control.
You could lose control of your vehicle and have an
accident.
Delayed Shifts in Cold Temperatures
During cold temperature operation, you may notice
delayed upshifts depending on engine and transmission
temperature as well as vehicle speed. This feature im-
proves warm up time of the engine and transmission to
achieve maximum efficiency.
Temporary Transmission Limp Home Mode
The transmission is monitored for abnormal conditions.
If a condition is detected that could result in transmission
damage, the transmission will engage Limp Home Mode.
If vehicle acceleration worsens, or the transmission no
longer shifts, the transmission is most likely operating in
the Limp Home Mode. In this mode, the transmission
will remain in the current gear until the vehicle is
brought to a stop. After the vehicle has stopped, P (Park),
R (Reverse), and N (Neutral) will continue to operate.
Second gear will operate in the D (Drive) shifter position.
The Malfunction Indicator Light may be illuminated.
A reset feature is available to allow the vehicle to be
driven to a dealer for service. To reset the transmission,
use the following procedure:
1. Stop the vehicle.
2. Move the selector lever to the P (Park) position.
3. Turn off the engine.
4. Wait approximately 10 seconds.
5. Restart the engine.
STARTING AND OPERATING 199
5
Page 200 of 350
6. Move the selector lever to the desired range. If the
problem is no longer detected, the transmission will
return to normal operation.
NOTE:Even if the transmission can be reset, we
recommend that you visit a dealer at your earliest
possible convenience. Your dealer has diagnostic equip-
ment to determine if the problem could recur.
Have the transmission checked at your authorized dealer
as soon as possible.
If the problem has been momentary, the transmission can
be reset to regain all forward gears.
Permanent Transmission Limp Home Mode
Permanent Limp Home Mode will be activated if the
transmission enters temporary Limp Home Mode three
times. Follow the reset procedure described under ªTem-
porary Transmission Limp Home Modeº in this section.
In Permanent Limp Home Mode, P (Park), R (Reverse),
and N (Neutral) will continue to operate. Second gear
will operate in the D (Drive) shifter position. The mal-
function indicator light may illuminate.
AUTOSTICKT
Autosticktis a driver-interactive transmission that offers
manual gear shifting to provide you with more control of
the vehicle. Autosticktallows you to maximize engine
braking, eliminate undesirable upshifts and downshifts,
and improve overall vehicle performance. This system
can also provide you with more control during passing,
city driving, cold slippery conditions, mountain driving,
trailer towing, and many other situations.
AutostickTOperation
By placing the selector lever in the D (Drive) position, it
can be moved from side to side. This allows the driver to
select a higher or lower range of gears. Moving the
selector lever to the Left (-) triggers a downshift and to
the Right (+) an upshift. The gear position will display in
the instrument cluster on the transmission range indica-
tor.
NOTE:
²
In Autosticktmode, the transmission will only shift
up and down when the driver manually moves the
selector lever Right (D+) or Left (D-).
200 STARTING AND OPERATING
Page 201 of 350
²An UPSHIFT message will appear in the Electronic
Vehicle Information Center (EVIC) portion of the in-
strument cluster when using Autostickt. This message
appears in order to alert the driver to upshift to the
next gear. The UPSHIFT message will display while
operating the vehicle at higher engine revolutions-per-
minute (RPM).
You can shift in or out of the Autosticktmode at any time
without taking your foot off the accelerator pedal. When
you wish to engage Autostickt, simply move the selector
lever to the Right (D+) or Left (D-) while in the D (Drive)
position. The transmission will remain in the current gear
until an upshift or downshift is chosen. When you wish
to disengage Autostickt, hold the selector lever to the
right for at least one second. The transmission will now
operate automatically, shifting between the five available
gears.
AutostickTGeneral Information
²
You can start out in first or second gear. The system
will ignore attempts to upshift at too low of a vehicle
speed.
²The transmission will automatically downshift to first
gear when coming to a stop.
²Starting out in second gear is helpful in snowy or icy
conditions.
²Avoid using speed control when Autosticktis en-
gaged.
²The transmission will not automatically shift up when
maximum engine speed is reached while Autosticktis
engaged.
²Transmission shifting will be more noticeable when
Autosticktis engaged.
STARTING AND OPERATING 201
5
Page 203 of 350
PARKING BRAKE
The parking brake should always be applied when the
driver is not in the vehicle.
WARNING!
Never use Park position on an automatic transmis-
sion as a substitute for the parking brake. Always
apply parking brake fully when parked to guard
against vehicle movement and possible injury or
damage.
When parking on a flat surface, place the gear selector in
the P (Park) position first, and then apply the parking
brake.
When parking on a hill, it is important to apply the
parking brake before placing the gear selector in P (Park),
otherwise the load on the transmission locking mecha-
nism may make it difficult to move the selector out of
park. As an added precaution, turn the front wheels
toward the curb on a downhill grade and away from the
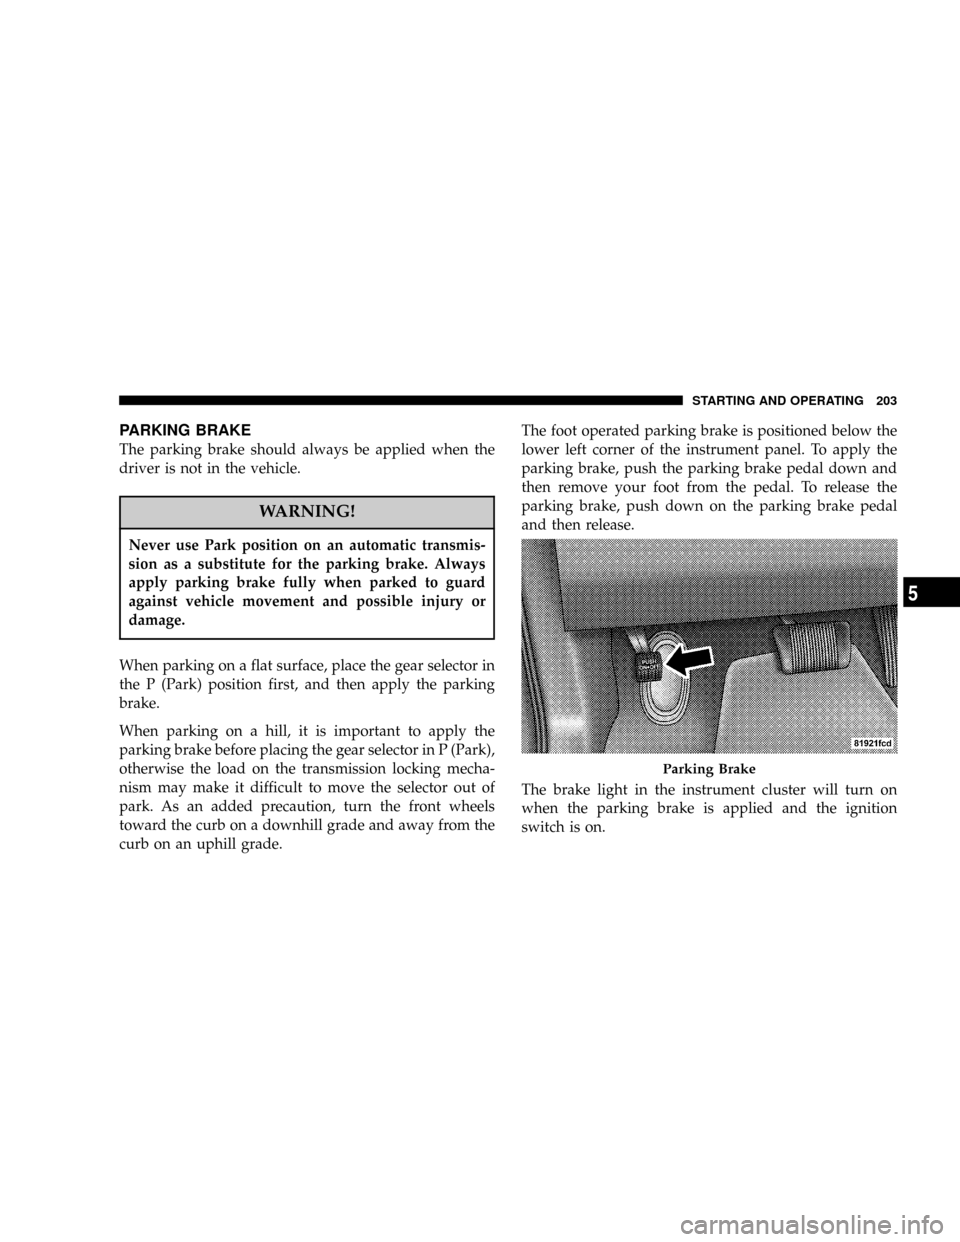
curb on an uphill grade.The foot operated parking brake is positioned below the
lower left corner of the instrument panel. To apply the
parking brake, push the parking brake pedal down and
then remove your foot from the pedal. To release the
parking brake, push down on the parking brake pedal
and then release.
The brake light in the instrument cluster will turn on
when the parking brake is applied and the ignition
switch is on.
Parking Brake
STARTING AND OPERATING 203
5
Page 248 of 350
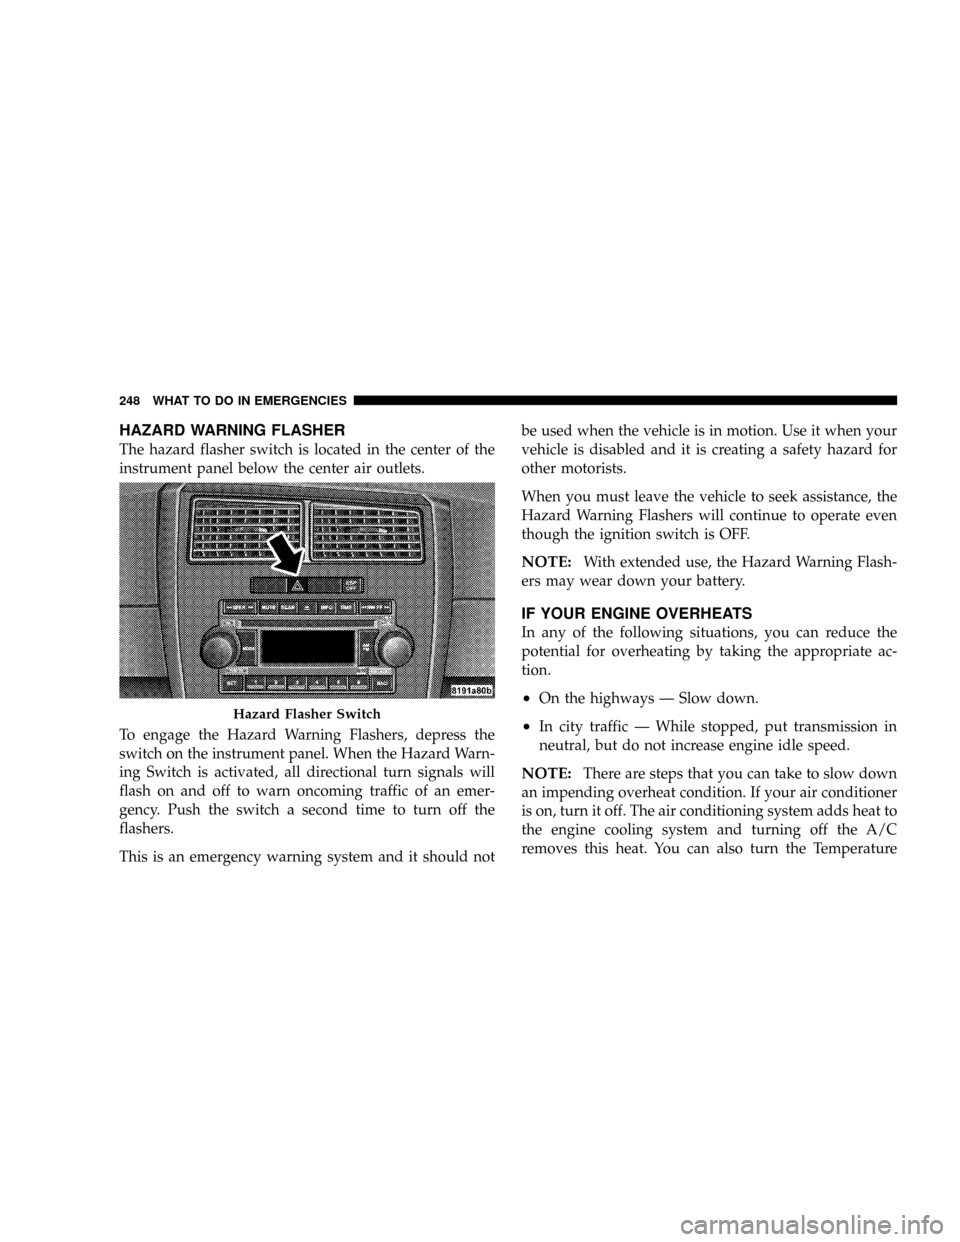
HAZARD WARNING FLASHER
The hazard flasher switch is located in the center of the
instrument panel below the center air outlets.
To engage the Hazard Warning Flashers, depress the
switch on the instrument panel. When the Hazard Warn-
ing Switch is activated, all directional turn signals will
flash on and off to warn oncoming traffic of an emer-
gency. Push the switch a second time to turn off the
flashers.
This is an emergency warning system and it should notbe used when the vehicle is in motion. Use it when your
vehicle is disabled and it is creating a safety hazard for
other motorists.
When you must leave the vehicle to seek assistance, the
Hazard Warning Flashers will continue to operate even
though the ignition switch is OFF.
NOTE:With extended use, the Hazard Warning Flash-
ers may wear down your battery.
IF YOUR ENGINE OVERHEATS
In any of the following situations, you can reduce the
potential for overheating by taking the appropriate ac-
tion.
²On the highways Ð Slow down.
²In city traffic Ð While stopped, put transmission in
neutral, but do not increase engine idle speed.
NOTE:There are steps that you can take to slow down
an impending overheat condition. If your air conditioner
is on, turn it off. The air conditioning system adds heat to
the engine cooling system and turning off the A/C
removes this heat. You can also turn the Temperature
Hazard Flasher Switch
248 WHAT TO DO IN EMERGENCIES
Page 251 of 350
WARNING!
²Do not attempt to repair a tire on the side of the vehicle
close to traffic. Pull far enough off the road to avoid the
danger of being hit when operating the jack or repairing
a tire.
²Cuts or punctures larger than approximately 0.16 in. (4
mm), tire damage caused by driving with extremely low
tire pressure or on a flat tire, or a damaged wheel can
pose a hazard while driving. TIREFIT should not be
used in such circumstances. Do not drive the vehicle
under such circumstances. Contact your nearest autho-
rized dealer for assistance.
²Take care not to allow the contents of TIREFIT to come
in contact with hair, eyes or clothing. TIREFIT is harm-
ful if inhaled, swallowed or absorbed through the skin:
It causes skin, eye and respiratory irritation. Any contact
with eyes or skin should be flushed immediately with
plenty of water. If clothing comes in contact with
TIREFIT, change clothing as soon as possible.
²In case of allergic reaction or rash, consult a physician
immediately. Keep TIREFIT out of reach of children. If
swallowed, rinse mouth immediately with plenty of
water and drink plenty of water. Do not induce vomit-
ing! Consult a physician immediately.
Keep away from open flame or heat source.
Sealing tire with TIREFIT
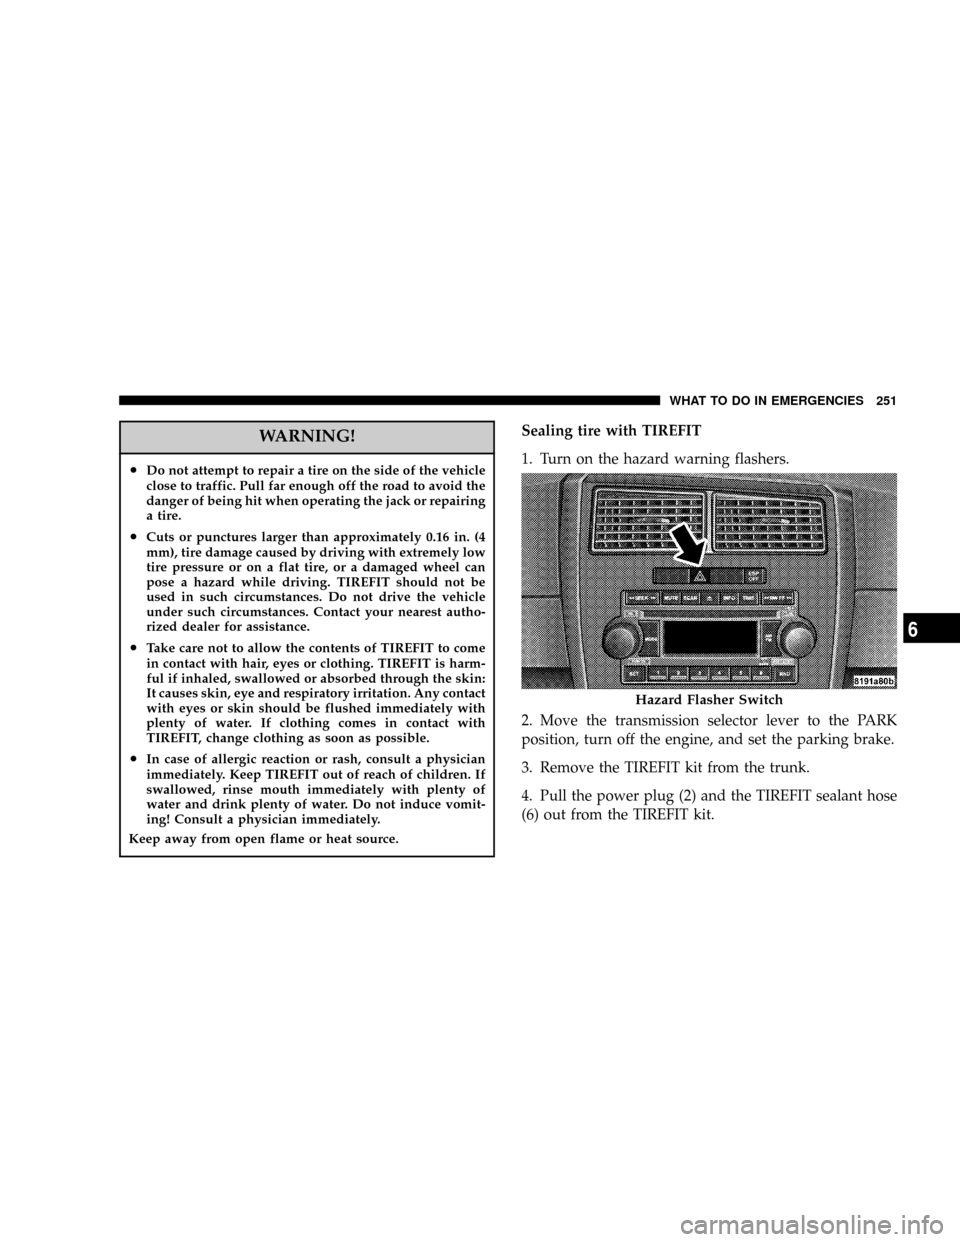
1. Turn on the hazard warning flashers.
2. Move the transmission selector lever to the PARK
position, turn off the engine, and set the parking brake.
3. Remove the TIREFIT kit from the trunk.
4. Pull the power plug (2) and the TIREFIT sealant hose
(6) out from the TIREFIT kit.
Hazard Flasher Switch
WHAT TO DO IN EMERGENCIES 251
6
Page 252 of 350
5. Unscrew the valve cap from the valve on the deflated
tire.
6. Screw the fitting at the end of TIREFIT sealant hose (6)
coming from the sealant bottle (5) onto the tire valve.
7. Insert the power plug (2) into the power point on the
instrument panel.
8. Leave the parking brake set and the transmission
selector lever in PARK and start the engine.
9. Press the switch (3) on the air pump to I (ON). The air
pump should start to inflate the tire and the tire sealant
(white fluid) will flow from the sealant bottle (5) through
the TIREFIT sealant hose (6) and into the tire.
10. Allow the air pump to run for five minutes and then
read the pressure gauge (4). If the tire inflates to 26 psi
(1.8 bar) or greater, proceed to Step 19 of this procedure.
If not, proceed to the following step.
11. Press the air pump switch (3) to 0 (OFF). Then,
disconnect the TIREFIT system from the tire and place it
back in the vehicle.12. Release the parking brake and drive the vehicle back
and forth approximately 30 feet (9.1 m) to distribute the
sealant more evenly within the tire.
13. Turn on the hazard warning flashers.
14. Move the transmission selector lever to the PARK
position, turn off the engine, and set the parking brake.
15. Disconnect the air pump hose (1) from the underside
of the sealant bottle (5) by flipping the hose valve open.
16. Connect the air pump hose valve to the tire valve and
flip the hose valve closed.
17. Leave the parking brake set and the transmission
selector lever in PARK and start the engine.
18. Press the switch (3) on the air pump to I (ON). The air
pump should inflate the tire to at least 26 psi (1.8 bar)
within five minutes. If the tire inflates to this level,
proceed to the following step.NOTE:If a tire pressure of
26 psi (1.8 bar) is not obtained within five minutes, the
tire is too badly damaged. Do not attempt to drive the
vehicle further. Call for assistance.
252 WHAT TO DO IN EMERGENCIES
Page 253 of 350
19. With a tire pressure of no less than 26 psi (1.8 bar)
press the air pump switch (3) to 0 (OFF) and turn off the
engine. Then, disconnect the TIREFIT system from the
tire and place it back in the vehicle.
20. Release the parking brake and drive the vehicle for
approximately 10 minutes to ensure optimum distribu-
tion of the tire sealant within the tire.
21. Turn on the hazard warning flashers.
22. Move the transmission selector lever to the PARK
position, turn off the engine, and set the parking brake.
23. Disconnect the air pump hose (1) from the underside
of the sealant bottle (5) by flipping the hose valve open.
24. Connect the air pump hose valve to the tire valve and
flip the hose valve closed.
25. Check the pressure in the tire by reading the pressure
gauge (4). If the pressure is 19 psi (1.3 bar) or greater,
proceed to the following step.NOTE:If the pressure is
less than 19 psi (1.3 bar), the tire is too badly damaged.
Do not attempt to drive the vehicle further. Call for
assistance.26. Leave the parking brake set and the transmission
selector lever in PARK and start the engine.
27. Inflate the tire to the pressure indicated on the tire
pressure label on the driver-side latch pillar by pressing
the switch (3) on the air pump to I (ON) and watching the
pressure gauge. When the tire pressure is set to the
pressure indicated on the tire pressure label, press the air
pump switch (3) to 0 (OFF) and turn off the engine.
28. Disconnect the TIREFIT system from the tire and
reinstall the valve cap.
29. Place the sealant kit back in the trunk of the vehicle.
Replace the sealant bottle at your nearest authorized
MOPARtparts dealership.
30. Have the tire inspected at the earliest opportunity at
an authorized dealer or tire service center.
NOTE:
²
If a pressure of at least 19 psi (1.3 bar) cannot be
maintained in the tire, the tire is too badly damaged.
Do not attempt to drive the vehicle further, and call for
assistance.
WHAT TO DO IN EMERGENCIES 253
6
Page 254 of 350
²Do not operate the electric air pump for more than
eight minutes to avoid overheating. The air pump may
be used again once it has cooled down.
²Replace the TIREFIT sealant bottle (5) once every four
years to assure optimum operation of the system.
²If TIREFIT is liquid, clean water and a damp cloth will
remove the material from the vehicle or tire and wheel
components. Once TIREFIT sealing material has dried,
it can easily be peeled off and properly discarded.
²Do not exceed 55 mph (90 km/h) until the tire has
been inspected.
JUMP-STARTING PROCEDURES
WARNING!
²Take care to avoid the radiator cooling fan whenever the
hood is raised. It can start anytime the ignition switch is on.
You can be hurt by the fan.
²Do not attempt to push or tow your vehicle to get it started.
Vehicles equipped with an automatic transmission cannot
be started this way. Unburned fuel could enter the catalytic
converter and once the engine has started, ignite and
damage the converter and vehicle. If the vehicle has a
discharged battery, booster cables may be used to obtain a
start from another vehicle. This type of start can be danger-
ous if done improperly, so follow this procedure carefully.
²Battery fluid is a corrosive acid solution; do not allow
battery fluid to contact eyes, skin, or clothing. Don't lean
over battery when attaching clamps or allow the clamps to
touch each other. If acid splashes in eyes or on skin, flush
contaminated area immediately with large quantities of
water.
²A battery generates hydrogen gas, which is flammable and
explosive. Keep flame or spark away from the vent holes.
²Do not use a booster battery or any other booster source
with an output that exceeds 12 volts.
²The battery in this vehicle has a vent hose that should not
be disconnected and should only be replaced with a battery
of the same type (vented).
254 WHAT TO DO IN EMERGENCIES
Page 257 of 350
FREEING A STUCK VEHICLE
If your vehicle becomes stuck in mud, sand, or snow, it
can often be moved by a rocking motion. Turn your
steering wheel right and left to clear the area around the
front wheels. Then shift back and forth between Reverse
and Drive. Usually the least accelerator pedal pressure to
maintain the rocking motion without spinning the
wheels is most effective.
NOTE:Turn off the Electronic Stability Program (ESP)
before rocking the vehicle. For details, refer to ªElectronic
Stability Program,º or ªTraction Controlº in this manual.
CAUTION!
²When ªrockingº a stuck vehicle by moving be-
tween ªFirstº and R (Reverse), do not spin the
wheels faster than 15 mph (24 km/h), or drivetrain
damage may result.
²Racing the engine or spinning the wheels too fast
may lead to transmission overheating and failure.
It can also damage the tires. Do not spin the
wheels above 35 mph (55 km/h).
WARNING!
Fast spinning tires can be dangerous. Forces gener-
ated by excessive wheel speeds may cause tire dam-
age or failure. A tire could explode and injure
someone. Do not spin your vehicle's wheels faster
than 35 mph (55 km/h) when you are stuck, and don't
let anyone near a spinning wheel, no matter what the
speed.
WHAT TO DO IN EMERGENCIES 257
6