seats DODGE CHARGER SRT 2010 7.G User Guide
[x] Cancel search | Manufacturer: DODGE, Model Year: 2010, Model line: CHARGER SRT, Model: DODGE CHARGER SRT 2010 7.GPages: 432, PDF Size: 6.9 MB
Page 119 of 432
NOTE:Keep in mind that you have to press the Voice
Command
button first and wait for the beep
before speaking the “Barge In” commands.
Voice Training
For users experiencing difficulty with the system recog-
nizing their voice commands or numbers the Uconnect™
Voice “Voice Training” feature may be used.
1. Press the Voice Command
button, say “System
Setup” and once you are in that menu then say “Voice
Training.” This will train your own voice to the system
and will improve recognition.
2. Repeat the words and phrases when prompted by
Uconnect™ Voice. For best results, the “Voice Training”
session should be completed when the vehicle is parked,
engine running, all windows closed, and the blower fan
switched off. This procedure may be repeated with a new
user. The system will adapt to the last trained voice only.
SEATS
Seats are a primary part of the Occupant Restraint System
of the vehicle. They need to be used properly for safe
operation of the vehicle.
WARNING!
•DO NOT allow people to ride in any area of your
vehicle that is not equipped with seats and seat
belts. In a collision, people riding in these areas
are more likely to be seriously injured or killed.
•Be sure everyone in your vehicle is in a seat and
using a seat belt properly.
118 UNDERSTANDING THE FEATURES OF YOUR VEHICLE
Page 120 of 432
Power Seats
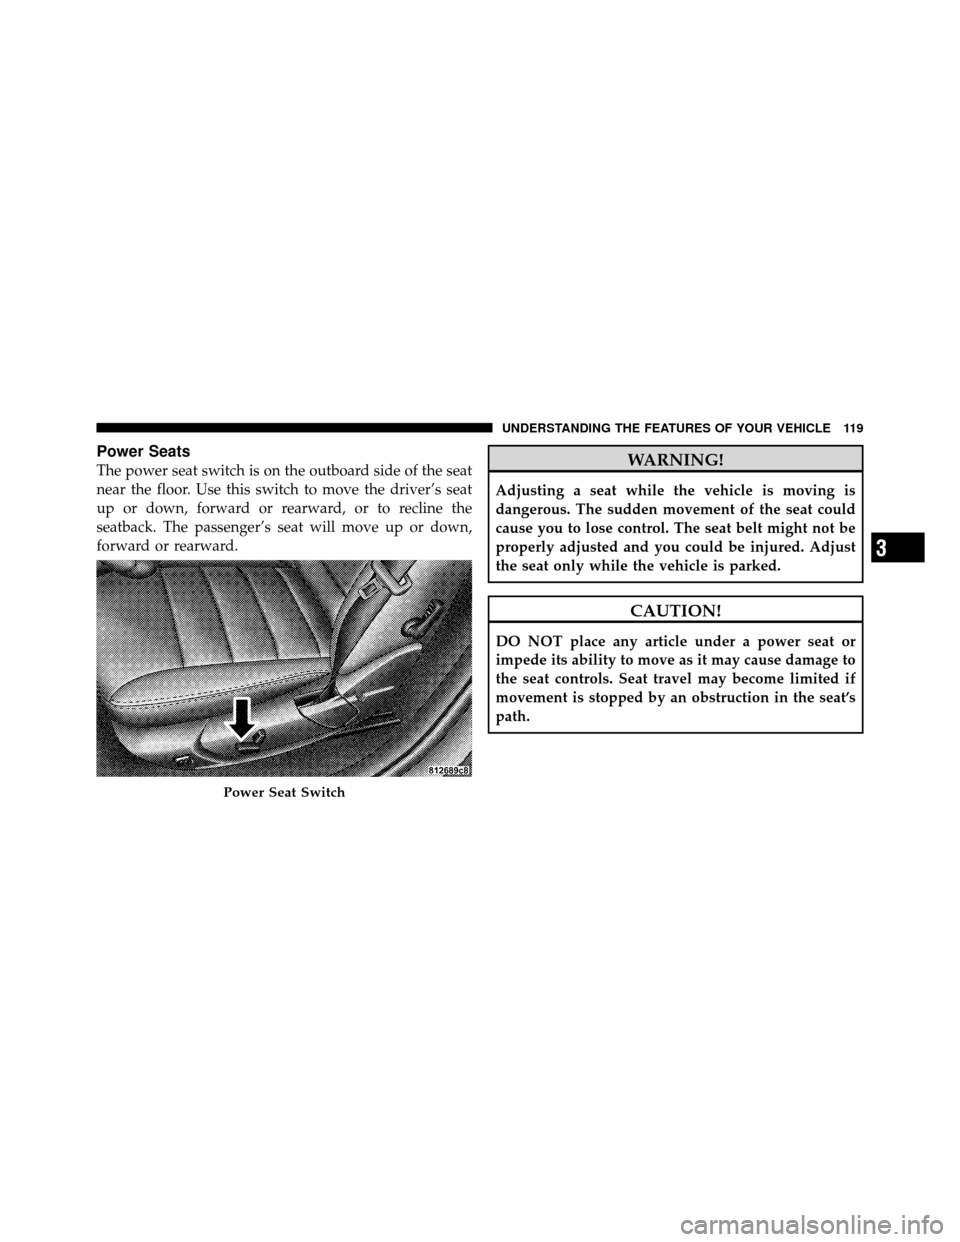
The power seat switch is on the outboard side of the seat
near the floor. Use this switch to move the driver’s seat
up or down, forward or rearward, or to recline the
seatback. The passenger’s seat will move up or down,
forward or rearward.WARNING!
Adjusting a seat while the vehicle is moving is
dangerous. The sudden movement of the seat could
cause you to lose control. The seat belt might not be
properly adjusted and you could be injured. Adjust
the seat only while the vehicle is parked.
CAUTION!
DO NOT place any article under a power seat or
impede its ability to move as it may cause damage to
the seat controls. Seat travel may become limited if
movement is stopped by an obstruction in the seat’s
path.
Power Seat Switch
3
UNDERSTANDING THE FEATURES OF YOUR VEHICLE 119
Page 121 of 432
Power Reclining Seats
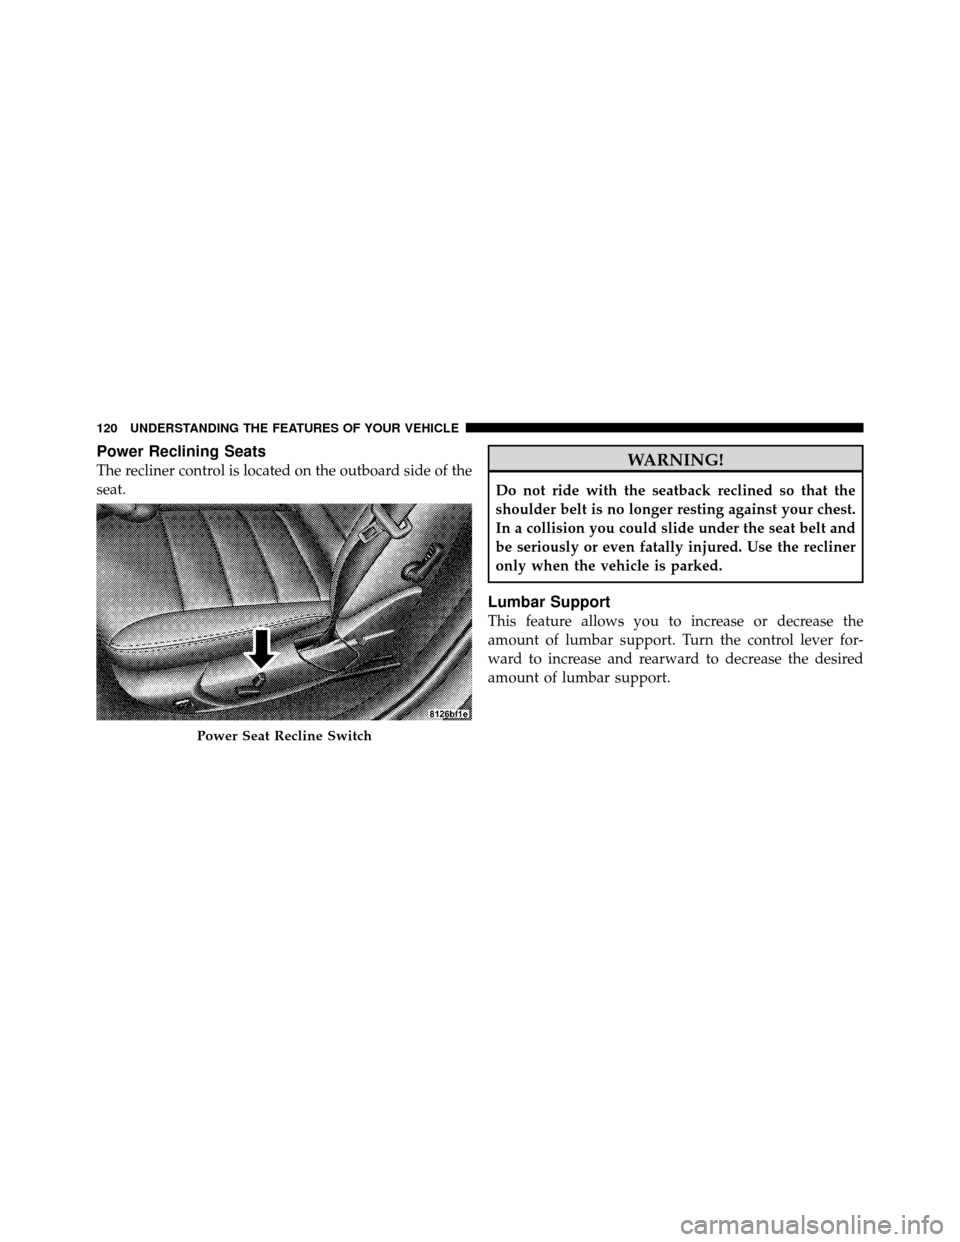
The recliner control is located on the outboard side of the
seat.WARNING!
Do not ride with the seatback reclined so that the
shoulder belt is no longer resting against your chest.
In a collision you could slide under the seat belt and
be seriously or even fatally injured. Use the recliner
only when the vehicle is parked.
Lumbar Support
This feature allows you to increase or decrease the
amount of lumbar support. Turn the control lever for-
ward to increase and rearward to decrease the desired
amount of lumbar support.
Power Seat Recline Switch
120 UNDERSTANDING THE FEATURES OF YOUR VEHICLE
Page 124 of 432
Heated Seats
This feature heats the front driver, passenger, and second
row seats. The controls for each heater are located near
the bottom center of the instrument panel.
After turning the ignition ON, you can choose from High,
Low, or Off heat settings. Amber indicator lights in each
switch indicate the level of heat in use. Two indicator
lights will illuminate for High, one for Low and none for
Off.Press the switch once to select High-level heat-
ing. Press the switch a second time to select
Low-level heating. Press the switch a third time
to shut the heating elements Off.
If High-level heating is selected, the system will auto-
matically switch to the Low-level after 30 minutes of continuous operation. At that time, the number of indi-
cators illuminated changes from two to one, indicating
the change. Operation on the Low-level setting also turns
off automatically after 30 minutes.
NOTE:
Once a heat setting is selected, heat will be felt
within two to five minutes.
WARNING!
•Persons who are unable to feel pain to the skin
because of advanced age, chronic illness, diabetes,
spinal cord injury, medication, alcohol use, ex-
haustion or other physical condition must exercise
care when using the seat heater. It may cause burns
even at low temperatures, especially if used for
long periods of time.
(Continued)
3
UNDERSTANDING THE FEATURES OF YOUR VEHICLE 123
Page 125 of 432
WARNING! (Continued)
•Do not place anything on the seat that insulates
against heat, such as a blanket or cushion. This
may cause the seat heater to overheat. Sitting in a
seat that has been overheated could cause serious
burns due to the increased surface temperature of
the seat.
CAUTION!
Repeated overheating of the seat could damage the
heating element and/or degrade the material of the
seat.
Folding Rear Seat
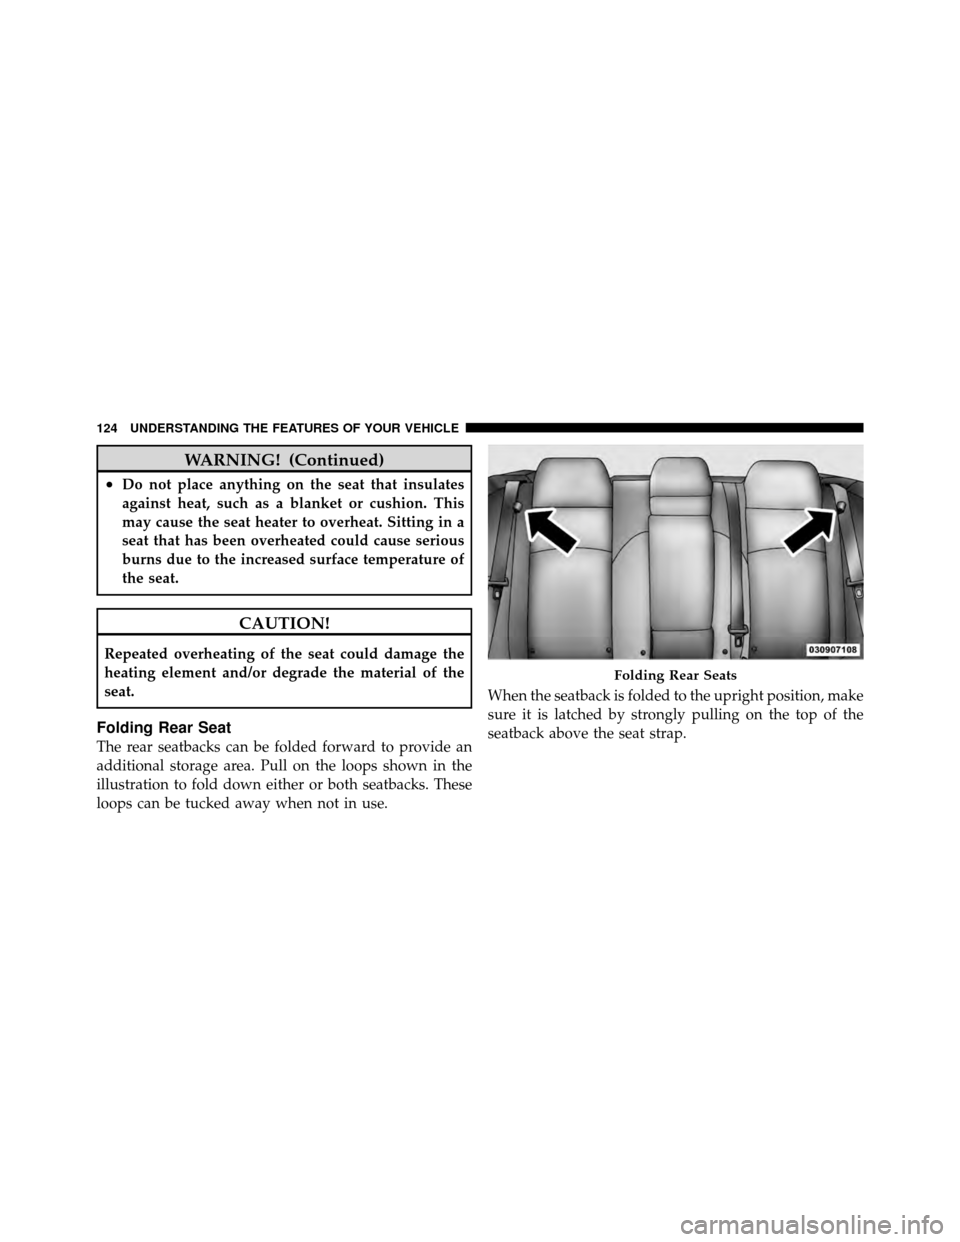
The rear seatbacks can be folded forward to provide an
additional storage area. Pull on the loops shown in the
illustration to fold down either or both seatbacks. These
loops can be tucked away when not in use.When the seatback is folded to the upright position, make
sure it is latched by strongly pulling on the top of the
seatback above the seat strap.
Folding Rear Seats
124 UNDERSTANDING THE FEATURES OF YOUR VEHICLE
Page 126 of 432
WARNING!
•Be certain that the seatback is securely locked into
position. If the seatback is not securely locked into
position, the seat will not provide the proper
stability for child seats and/or passengers. An
improperly latched seat could cause serious injury.
•The cargo area in the rear of the vehicle (with the
rear seatbacks in the locked-up or folded down
position) should not be used as a play area by
children when the vehicle is in motion. They could
be seriously injured in an accident. Children
should be seated and using the proper restraint
system.
TO OPEN AND CLOSE THE HOOD
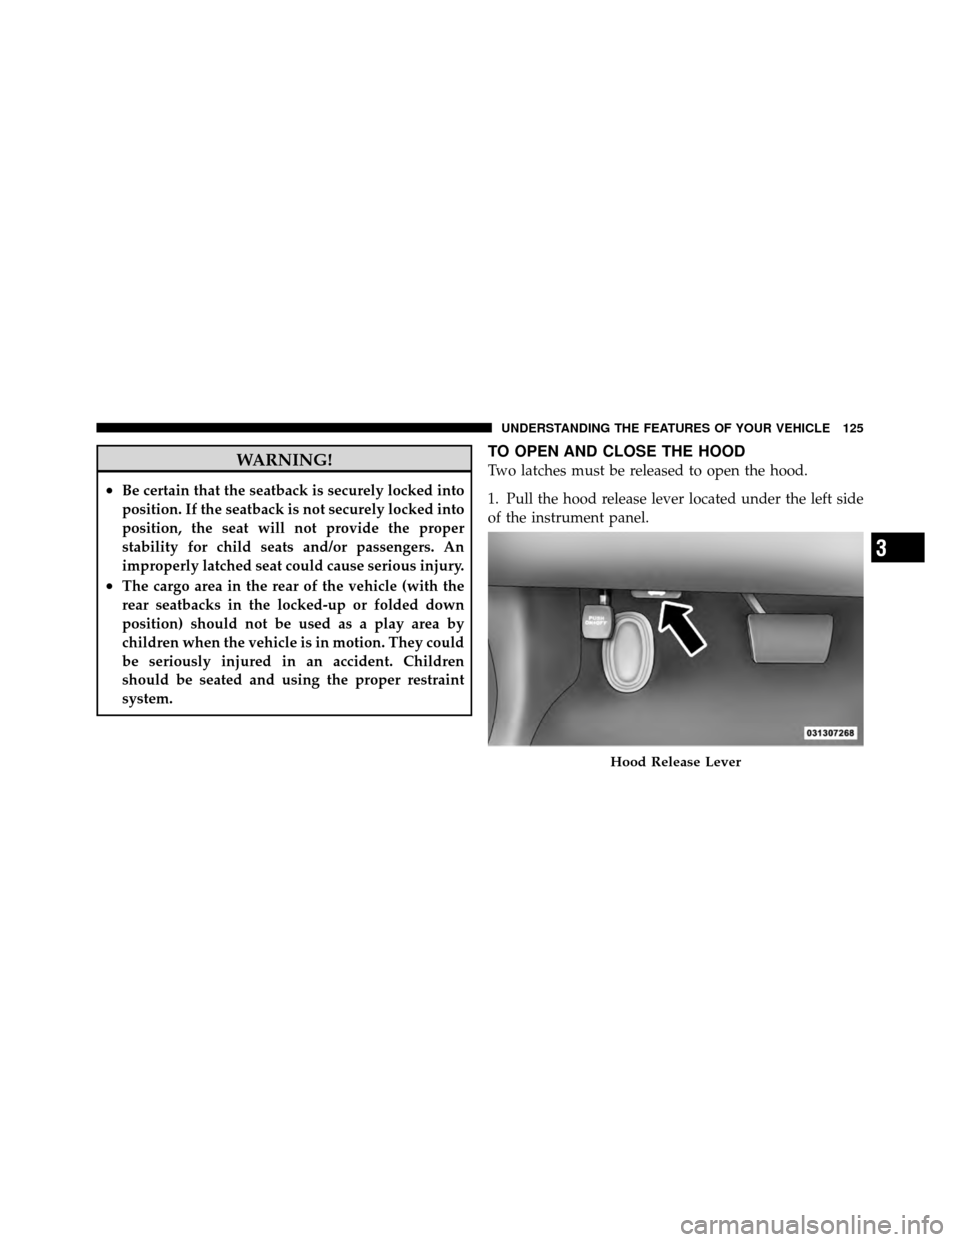
Two latches must be released to open the hood.
1. Pull the hood release lever located under the left side
of the instrument panel.
Hood Release Lever
3
UNDERSTANDING THE FEATURES OF YOUR VEHICLE 125
Page 154 of 432
Rear Seat Cupholders
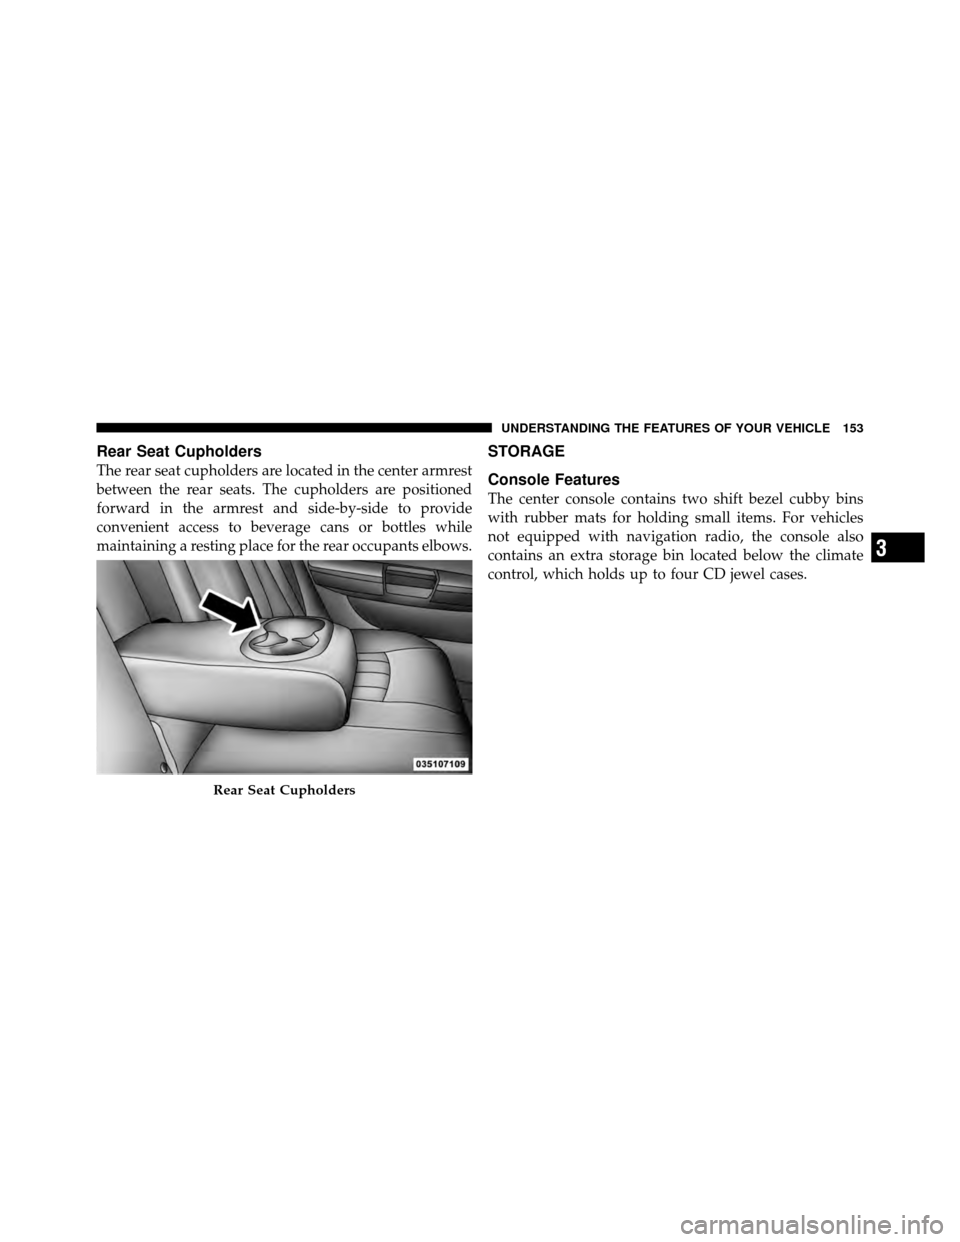
The rear seat cupholders are located in the center armrest
between the rear seats. The cupholders are positioned
forward in the armrest and side-by-side to provide
convenient access to beverage cans or bottles while
maintaining a resting place for the rear occupants elbows.
STORAGE
Console Features
The center console contains two shift bezel cubby bins
with rubber mats for holding small items. For vehicles
not equipped with navigation radio, the console also
contains an extra storage bin located below the climate
control, which holds up to four CD jewel cases.
Rear Seat Cupholders
3
UNDERSTANDING THE FEATURES OF YOUR VEHICLE 153
Page 155 of 432
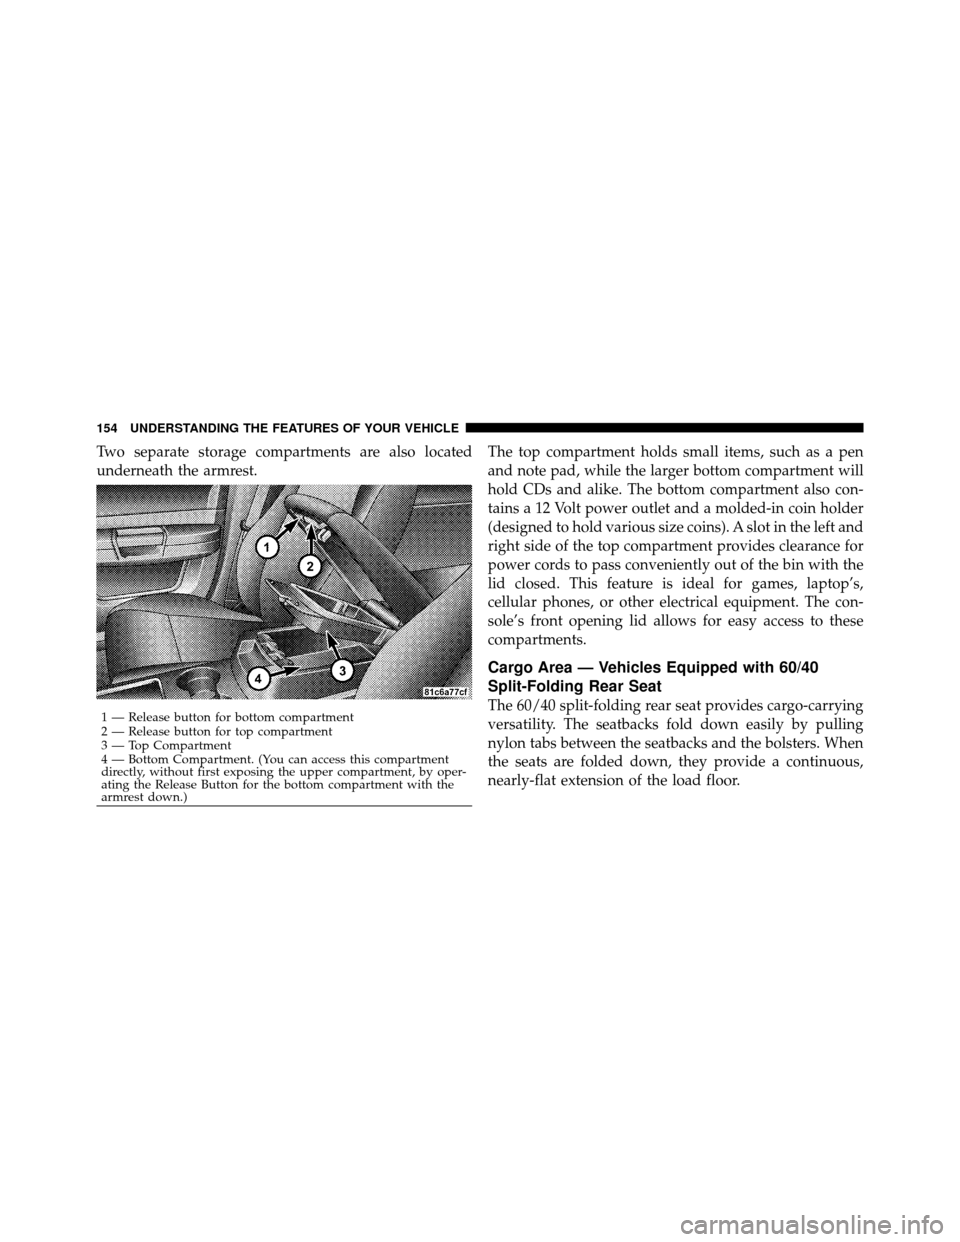
Two separate storage compartments are also located
underneath the armrest.The top compartment holds small items, such as a pen
and note pad, while the larger bottom compartment will
hold CDs and alike. The bottom compartment also con-
tains a 12 Volt power outlet and a molded-in coin holder
(designed to hold various size coins). A slot in the left and
right side of the top compartment provides clearance for
power cords to pass conveniently out of the bin with the
lid closed. This feature is ideal for games, laptop’s,
cellular phones, or other electrical equipment. The con-
sole’s front opening lid allows for easy access to these
compartments.
Cargo Area — Vehicles Equipped with 60/40
Split-Folding Rear Seat
The 60/40 split-folding rear seat provides cargo-carrying
versatility. The seatbacks fold down easily by pulling
nylon tabs between the seatbacks and the bolsters. When
the seats are folded down, they provide a continuous,
nearly-flat extension of the load floor.1 — Release button for bottom compartment
2 — Release button for top compartment
3 — Top Compartment
4 — Bottom Compartment. (You can access this compartment
directly, without first exposing the upper compartment, by oper-
ating the Release Button for the bottom compartment with the
armrest down.)
154 UNDERSTANDING THE FEATURES OF YOUR VEHICLE
Page 156 of 432
When the seatback is folded to the upright position, make
sure it is latched by strongly pulling on the top of the
seatback above the seat strap.
WARNING!
•Be certain that the seatback is securely locked into
position. If the seatback is not securely locked into
position, the seat will not provide the proper
stability for child seats and/or passengers. An
improperly latched seat could cause serious injury.
•The cargo area in the rear of the vehicle (with the
rear seatbacks in the locked-up or folded down
position) should not be used as a play area by
children when the vehicle is in motion. They could
be seriously injured in an accident. Children
should be seated and using the proper restraint
system.(Continued)
WARNING! (Continued)
•To help protect against personal injury, passengers
should not be seated in the rear cargo area. The
rear cargo space is intended for load carrying
purposes only, not for passengers, who should sit
in seats and use seat belts.
WARNING!
The weight and position of cargo and passengers can
change the vehicle center of gravity and vehicle
handling. To avoid loss of control resulting in per-
sonal injury, follow these guidelines for loading your
vehicle:
•Always place cargo evenly on the cargo floor. Put
heavier objects as low and as far forward as
possible.(Continued)
3
UNDERSTANDING THE FEATURES OF YOUR VEHICLE 155
Page 236 of 432
The operator can override the AUTO mode setting to
change airflow distribution by rotating the mode control
knob (on the right) to one of the following positions.
•DefrostAir is directed to the windshield through the
outlets at the base of the windshield. Air is also
directed to the front door windows through the side
window demister grilles.
•Defrost/Floor Air flows through the front and rear floor outlets
and the outlets at the base of the windshield. Air is
also directed to the front door windows through the
side window demister grilles.
•Floor Air flows through the floor outlets located under
the instrument panel and into the rear seating area
through vents under the front seats.
•Bi-Level Air flows through the outlets located in the instru-
ment panel and through the outlets located on the
floor. Air flows through the registers in the back of the
center console to the rear seat passengers. These registers
can be closed to block airflow.
•Panel Air flows through the outlets located in the instru-
ment panel. Air flows through the registers in the
back of the center console to the rear seat passengers.
These registers can be closed to block airflow.
•Air Conditioning Control Press this button to turn on the air conditioning
during manual operation only. When the air con-
ditioning is turned on, cool dehumidified air will
flow through the outlets selected with the mode control
dial. Press this button a second time to turn off the air
4
UNDERSTANDING YOUR INSTRUMENT PANEL 235