transmission oil DODGE CHARGER SRT 2012 7.G Owners Manual
[x] Cancel search | Manufacturer: DODGE, Model Year: 2012, Model line: CHARGER SRT, Model: DODGE CHARGER SRT 2012 7.GPages: 546, PDF Size: 17.96 MB
Page 84 of 546
While cruising, brief full-throttle acceleration within the
limits of local traffic laws contributes to a good break-in.
However, wide-open throttle acceleration in low gear can
be detrimental and should be avoided.
The engine oil, transmission fluid, and axle lubricant
installed at the factory is high-quality and energy-
conserving. Oil, fluid, and lubricant changes should be
consistent with anticipated climate and conditions under
which vehicle operations will occur. For the recom-
mended viscosity and quality grades, refer to “Mainte-
nance Procedures” in “Maintaining Your Vehicle”.
CAUTION!
Never use Non-Detergent Oil or Straight Mineral Oil
in the engine or damage may result.
NOTE:A new engine may consume some oil during its
first few thousand miles (kilometers) of operation. Thisshould be considered a normal part of the break-in and
not interpreted as an indication of difficulty.
SAFETY TIPS
Transporting Passengers
NEVER TRANSPORT PASSENGERS IN THE CARGO
AREA.
WARNING!
•Do not leave children or animals inside parked
vehicles in hot weather. Interior heat build-up may
cause serious injury or death.
•It is extremely dangerous to ride in a cargo area,
inside or outside of a vehicle. In a collision, people
riding in these areas are more likely to be seri-
ously injured or killed.
(Continued)
82 THINGS TO KNOW BEFORE STARTING YOUR VEHICLE
PAGE POSITION:82JOB:@zeta.tweddle.com/chry_pdm/CLS_chrysler/GRP_owners/JOB_918945-en-dsr-12D482-126-AA_DSR/DIV_og pubnum: 12D482-126-AB_DSR While cruising, brief full-throttle acceleration within the
limits of local traffic laws contributes to a good break-in.
However, wide-open throttle acceleration in low gear can
be detrimental and should be avoided.
The engine oil, transmission fluid, and axle lubricant
installed at the factory is high-quality and energy-
conserving. Oil, fluid, and lubricant changes should be
consistent with anticipated climate and conditions under
which vehicle operations will occur. For the recom-
mended viscosity and quality grades, refer to “Mainte-
nance Procedures” in “Maintaining Your Vehicle”.
CAUTION!
Never use Non-Detergent Oil or Straight Mineral Oil
in the engine or damage may result.
NOTE:A new engine may consume some oil during its
first few thousand miles (kilometers) of operation. Thisshould be considered a normal part of the break-in and
not interpreted as an indication of difficulty.
SAFETY TIPS
Transporting Passengers
NEVER TRANSPORT PASSENGERS IN THE CARGO
AREA.
WARNING!
•Do not leave children or animals inside parked
vehicles in hot weather. Interior heat build-up may
cause serious injury or death.
•It is extremely dangerous to ride in a cargo area,
inside or outside of a vehicle. In a collision, people
riding in these areas are more likely to be seri-
ously injured or killed.
(Continued)
82 THINGS TO KNOW BEFORE STARTING YOUR VEHICLE
PAGE POSITION:82JOB:@zeta.tweddle.com/chry_pdm/CLS_chrysler/GRP_owners/JOB_918945-en-dsr-12D482-126-AA_DSR/DIV_og pubnum: 12D482-126-AB_DSR
Page 291 of 546
WARNING!
If the Transmission Temperature Warning Light is
illuminated and you continue operating the vehicle,
in some circumstances you could cause the fluid to
boil over, come in contact with hot engine or exhaust
components and cause a fire.
Oil Change Required
Your vehicle is equipped with an engine oil change
indicator system. The “Oil Change Required” message
will flash in the EVIC display for approximately 10 sec-
onds after a single chime has sounded to indicate the next
scheduled oil change interval. The engine oil change
indicator system is duty cycle based, which means the
engine oil change interval may fluctuate dependent upon
your personal driving style.Unless reset, this message will continue to display each
time you cycle the ignition to the ON/RUN position. To
turn off the message temporarily, press and release the
MENU button. To reset the oil change indicator system
(after performing the scheduled maintenance), perform
the following procedure:
1. Without pressing the brake pedal, push the ENGINE
START/STOP button and cycle the ignition to the ON/
RUN position (Do not start the engine.)
2. Fully depress the accelerator pedal, slowly, three times
within 10 seconds.
3. Without pressing the brake pedal, push the ENGINE
START/STOP button once to return the ignition to the
OFF/LOCK position.
NOTE:If the indicator message illuminates when you
start the vehicle, the oil change indicator system did not
reset. If necessary, repeat this procedure.
4
UNDERSTANDING YOUR INSTRUMENT PANEL 289
PAGE POSITION:289JOB:@zeta.tweddle.com/chry_pdm/CLS_chrysler/GRP_owners/JOB_918945-en-dsr-12D482-126-AA_DSR/DIV_og pubnum: 12D482-126-AB_DSR WARNING!
If the Transmission Temperature Warning Light is
illuminated and you continue operating the vehicle,
in some circumstances you could cause the fluid to
boil over, come in contact with hot engine or exhaust
components and cause a fire.
Oil Change Required
Your vehicle is equipped with an engine oil change
indicator system. The “Oil Change Required” message
will flash in the EVIC display for approximately 10 sec-
onds after a single chime has sounded to indicate the next
scheduled oil change interval. The engine oil change
indicator system is duty cycle based, which means the
engine oil change interval may fluctuate dependent upon
your personal driving style.Unless reset, this message will continue to display each
time you cycle the ignition to the ON/RUN position. To
turn off the message temporarily, press and release the
MENU button. To reset the oil change indicator system
(after performing the scheduled maintenance), perform
the following procedure:
1. Without pressing the brake pedal, push the ENGINE
START/STOP button and cycle the ignition to the ON/
RUN position (Do not start the engine.)
2. Fully depress the accelerator pedal, slowly, three times
within 10 seconds.
3. Without pressing the brake pedal, push the ENGINE
START/STOP button once to return the ignition to the
OFF/LOCK position.
NOTE:If the indicator message illuminates when you
start the vehicle, the oil change indicator system did not
reset. If necessary, repeat this procedure.
4
UNDERSTANDING YOUR INSTRUMENT PANEL 289
PAGE POSITION:289JOB:@zeta.tweddle.com/chry_pdm/CLS_chrysler/GRP_owners/JOB_918945-en-dsr-12D482-126-AA_DSR/DIV_og pubnum: 12D482-126-AB_DSR
Page 295 of 546
resettable functions, press and hold the SELECT button
for two seconds. The current display will reset along with
other functions.
Units
Press and release the UP or DOWN button until “Units”
displays highlighted in the EVIC and press the SELECT
button. The EVIC, odometer, and navigation system (if
equipped) can be changed between English and Metric
units of measure. To make your selection, scroll up or
down until the preferred setting is highlighted, then
press and release the SELECT button until a check-mark
appears next to the setting, showing that the setting has
been selected.
Vehicle Info (Customer Information Features)
Press and release the UP or DOWN button until “Vehicle
Info” displays in the EVIC and press the SELECT button.Press the UP and DOWN button to scroll through the
available information displays, then press SELECT to
display any one of the following choices.
•Coolant Temp
Displays the actual coolant temperature.
•Oil Temperature
Displays the actual oil temperature.
•Oil Pressure
Displays the actual oil pressure.
•Trans Temperature
Displays the actual transmission temperature.
•Engine Hours
Displays the number of hours of engine operation.
•Tire Pressure
Shows the actual tire pressure for each tire (EXCLUDING
THE SPARE TIRE).
4
UNDERSTANDING YOUR INSTRUMENT PANEL 293
PAGE POSITION:293JOB:@zeta.tweddle.com/chry_pdm/CLS_chrysler/GRP_owners/JOB_918945-en-dsr-12D482-126-AA_DSR/DIV_og pubnum: 12D482-126-AB_DSR resettable functions, press and hold the SELECT button
for two seconds. The current display will reset along with
other functions.
Units
Press and release the UP or DOWN button until “Units”
displays highlighted in the EVIC and press the SELECT
button. The EVIC, odometer, and navigation system (if
equipped) can be changed between English and Metric
units of measure. To make your selection, scroll up or
down until the preferred setting is highlighted, then
press and release the SELECT button until a check-mark
appears next to the setting, showing that the setting has
been selected.
Vehicle Info (Customer Information Features)
Press and release the UP or DOWN button until “Vehicle
Info” displays in the EVIC and press the SELECT button.Press the UP and DOWN button to scroll through the
available information displays, then press SELECT to
display any one of the following choices.
•Coolant Temp
Displays the actual coolant temperature.
•Oil Temperature
Displays the actual oil temperature.
•Oil Pressure
Displays the actual oil pressure.
•Trans Temperature
Displays the actual transmission temperature.
•Engine Hours
Displays the number of hours of engine operation.
•Tire Pressure
Shows the actual tire pressure for each tire (EXCLUDING
THE SPARE TIRE).
4
UNDERSTANDING YOUR INSTRUMENT PANEL 293
PAGE POSITION:293JOB:@zeta.tweddle.com/chry_pdm/CLS_chrysler/GRP_owners/JOB_918945-en-dsr-12D482-126-AA_DSR/DIV_og pubnum: 12D482-126-AB_DSR
Page 327 of 546
•Battery Voltage
Shows the actual battery voltage.
Gauges 2
When selected, this screen displays the following values:
•Coolant Temperature
Shows the actual coolant temperature within the range of
the gauge.
•Oil Temperature
Shows the actual oil temperature within the range of the
gauge.
•Transmission Temperature
Shows the actual transmission temperature within the
range of the gauge.
•Intake Air Temperature
Shows the actual intake air temperature within the range
of the gauge.
•Oil Pressure
Shows the actual oil pressure.
•Battery Voltage
Shows the actual battery voltage.
Engine
When selected, this screen displays miles per hour (mph),
horsepower (hp), torque (ft/lb), oil pressure (psi) and
gear selector values.
Handling
When selected, this screen displays peak g-force, instan-
taneous g-force, steering and yaw angles.
Options
When selected, this screen allows you to choose a stan-
dard or customize display for your SRT home page.
4
UNDERSTANDING YOUR INSTRUMENT PANEL 325
PAGE POSITION:325JOB:@zeta.tweddle.com/chry_pdm/CLS_chrysler/GRP_owners/JOB_918945-en-dsr-12D482-126-AA_DSR/DIV_og pubnum: 12D482-126-AB_DSR •Battery Voltage
Shows the actual battery voltage.
Gauges 2
When selected, this screen displays the following values:
•Coolant Temperature
Shows the actual coolant temperature within the range of
the gauge.
•Oil Temperature
Shows the actual oil temperature within the range of the
gauge.
•Transmission Temperature
Shows the actual transmission temperature within the
range of the gauge.
•Intake Air Temperature
Shows the actual intake air temperature within the range
of the gauge.
•Oil Pressure
Shows the actual oil pressure.
•Battery Voltage
Shows the actual battery voltage.
Engine
When selected, this screen displays miles per hour (mph),
horsepower (hp), torque (ft/lb), oil pressure (psi) and
gear selector values.
Handling
When selected, this screen displays peak g-force, instan-
taneous g-force, steering and yaw angles.
Options
When selected, this screen allows you to choose a stan-
dard or customize display for your SRT home page.
4
UNDERSTANDING YOUR INSTRUMENT PANEL 325
PAGE POSITION:325JOB:@zeta.tweddle.com/chry_pdm/CLS_chrysler/GRP_owners/JOB_918945-en-dsr-12D482-126-AA_DSR/DIV_og pubnum: 12D482-126-AB_DSR
Page 368 of 546
CAUTION! (Continued)
•Driving through standing water may cause dam-
age to your vehicle’s drivetrain components. Al-
ways inspect your vehicle’s fluids (i.e., engine oil,
transmission, axle, etc.) for signs of contamination
(i.e., fluid that is milky or foamy in appearance)
after driving through standing water. Do not con-
tinue to operate the vehicle if any fluid appears
contaminated, as this may result in further dam-
age. Such damage is not covered by the New
Vehicle Limited Warranty.
•Getting water inside your vehicle’s engine can
cause it to lock up and stall out, and cause serious
internal damage to the engine. Such damage is not
covered by the New Vehicle Limited Warranty.
WARNING!
•Driving through standing water limits your vehi-
cle’s traction capabilities. Do not exceed 5 mph
(8 km/h) when driving through standing water.
•Driving through standing water limits your vehi-
cle’s braking capabilities, which increases stop-
ping distances. Therefore, after driving through
standing water, drive slowly and lightly press on
the brake pedal several times to dry the brakes.
•Getting water inside your vehicle’s engine can
cause it to lock up and stall out, and leave you
stranded.
•Failure to follow these warnings may result in
injuries that are serious or fatal to you, your
passengers, and others around you.
366 STARTING AND OPERATING
PAGE POSITION:366JOB:@zeta.tweddle.com/chry_pdm/CLS_chrysler/GRP_owners/JOB_918945-en-dsr-12D482-126-AA_DSR/DIV_og pubnum: 12D482-126-AB_DSR CAUTION! (Continued)
•Driving through standing water may cause dam-
age to your vehicle’s drivetrain components. Al-
ways inspect your vehicle’s fluids (i.e., engine oil,
transmission, axle, etc.) for signs of contamination
(i.e., fluid that is milky or foamy in appearance)
after driving through standing water. Do not con-
tinue to operate the vehicle if any fluid appears
contaminated, as this may result in further dam-
age. Such damage is not covered by the New
Vehicle Limited Warranty.
•Getting water inside your vehicle’s engine can
cause it to lock up and stall out, and cause serious
internal damage to the engine. Such damage is not
covered by the New Vehicle Limited Warranty.
WARNING!
•Driving through standing water limits your vehi-
cle’s traction capabilities. Do not exceed 5 mph
(8 km/h) when driving through standing water.
•Driving through standing water limits your vehi-
cle’s braking capabilities, which increases stop-
ping distances. Therefore, after driving through
standing water, drive slowly and lightly press on
the brake pedal several times to dry the brakes.
•Getting water inside your vehicle’s engine can
cause it to lock up and stall out, and leave you
stranded.
•Failure to follow these warnings may result in
injuries that are serious or fatal to you, your
passengers, and others around you.
366 STARTING AND OPERATING
PAGE POSITION:366JOB:@zeta.tweddle.com/chry_pdm/CLS_chrysler/GRP_owners/JOB_918945-en-dsr-12D482-126-AA_DSR/DIV_og pubnum: 12D482-126-AB_DSR
Page 430 of 546
WARNING! (Continued)
•TIREFIT Sealant solution contains latex. In case of
an allergic reaction or rash, consult a physician
immediately. Keep TIREFIT out of reach of chil-
dren. If swallowed, rinse mouth immediately with
plenty of water and drink plenty of water. Do not
induce vomiting! Consult a physician
immediately.
Sealing A Tire With TIREFIT
(A) Whenever You Stop To Use TIREFIT:
1. Pull over to a safe location and turn on the vehicle’s
Hazard Warning flashers.
2. Verify that the valve stem (on the wheel with the
deflated tire) is in a position that is near to the ground.
This will allow the TIREFIT Hoses (6) and (7) to reach the
valve stem and keep the TIREFIT kit flat on the ground.This will provide the best positioning of the kit when
injecting the sealant into the deflated tire and running the
air pump. Move the vehicle as necessary to place the
valve stem in this position before proceeding.
3. Place the transmission in PARK (auto transmission) or
in Gear (manual transmission) and turn Off the ignition.
4. Set the parking brake.
(B) Setting Up To Use TIREFIT:
1. Turn the Mode Select Knob (5) to the Sealant Mode
position.
2. Uncoil the Sealant Hose (6) and then remove the cap
from the fitting at the end of the hose.
3. Place the TIREFIT kit flat on the ground next to the
deflated tire.
428 WHAT TO DO IN EMERGENCIES
PAGE POSITION:428JOB:@zeta.tweddle.com/chry_pdm/CLS_chrysler/GRP_owners/JOB_918945-en-dsr-12D482-126-AA_DSR/DIV_og pubnum: 12D482-126-AB_DSR WARNING! (Continued)
•TIREFIT Sealant solution contains latex. In case of
an allergic reaction or rash, consult a physician
immediately. Keep TIREFIT out of reach of chil-
dren. If swallowed, rinse mouth immediately with
plenty of water and drink plenty of water. Do not
induce vomiting! Consult a physician
immediately.
Sealing A Tire With TIREFIT
(A) Whenever You Stop To Use TIREFIT:
1. Pull over to a safe location and turn on the vehicle’s
Hazard Warning flashers.
2. Verify that the valve stem (on the wheel with the
deflated tire) is in a position that is near to the ground.
This will allow the TIREFIT Hoses (6) and (7) to reach the
valve stem and keep the TIREFIT kit flat on the ground.This will provide the best positioning of the kit when
injecting the sealant into the deflated tire and running the
air pump. Move the vehicle as necessary to place the
valve stem in this position before proceeding.
3. Place the transmission in PARK (auto transmission) or
in Gear (manual transmission) and turn Off the ignition.
4. Set the parking brake.
(B) Setting Up To Use TIREFIT:
1. Turn the Mode Select Knob (5) to the Sealant Mode
position.
2. Uncoil the Sealant Hose (6) and then remove the cap
from the fitting at the end of the hose.
3. Place the TIREFIT kit flat on the ground next to the
deflated tire.
428 WHAT TO DO IN EMERGENCIES
PAGE POSITION:428JOB:@zeta.tweddle.com/chry_pdm/CLS_chrysler/GRP_owners/JOB_918945-en-dsr-12D482-126-AA_DSR/DIV_og pubnum: 12D482-126-AB_DSR
Page 431 of 546
4. Remove the cap from the valve stem and then screw
the fitting at the end of the Sealant Hose (6) onto the
valve stem.
5. Uncoil the Power Plug (8) and insert the plug into the
vehicle’s 12 Volt power outlet.
NOTE:Do not remove foreign objects (e.g., screws or
nails) from the tire.
(C) Injecting TIREFIT Sealant Into The Deflated
Tire:
•
Always start the engine before turning ON the TIRE-
FIT kit.
NOTE:Manual transmission vehicles must have the
parking brake engaged and the shift lever in NEUTRAL.
•After pressing the Power Button (4), the sealant (white
fluid) will flow from the Sealant Bottle (1) through the
Sealant Hose (6) and into the tire.NOTE:Sealant may leak out through the puncture in
the tire.
If the sealant (white fluid) does not flowwithin 0 –
10 seconds through the Sealant Hose (6):
1. Press the Power Button (4) to turn Off the TIREFIT kit.
Disconnect the Sealant Hose (6) from the valve stem.
Make sure the valve stem is free of debris. Reconnect the
Sealant Hose (6) to the valve stem. Check that the Mode
Select Knob (5) is in the Sealant Mode position and not
Air Mode. Press the Power Button (4) to turn On the
TIREFIT kit.
2. Connect the Power Plug (8) to a different 12 Volt
power outlet in your vehicle or another vehicle, if avail-
able. Make sure the engine is running before turning ON
the TIREFIT kit.
3. The Sealant Bottle (1) may be empty due to previous
use. Call for assistance.
6
WHAT TO DO IN EMERGENCIES 429
PAGE POSITION:429JOB:@zeta.tweddle.com/chry_pdm/CLS_chrysler/GRP_owners/JOB_918945-en-dsr-12D482-126-AA_DSR/DIV_og pubnum: 12D482-126-AB_DSR 4. Remove the cap from the valve stem and then screw
the fitting at the end of the Sealant Hose (6) onto the
valve stem.
5. Uncoil the Power Plug (8) and insert the plug into the
vehicle’s 12 Volt power outlet.
NOTE:Do not remove foreign objects (e.g., screws or
nails) from the tire.
(C) Injecting TIREFIT Sealant Into The Deflated
Tire:
•
Always start the engine before turning ON the TIRE-
FIT kit.
NOTE:Manual transmission vehicles must have the
parking brake engaged and the shift lever in NEUTRAL.
•After pressing the Power Button (4), the sealant (white
fluid) will flow from the Sealant Bottle (1) through the
Sealant Hose (6) and into the tire.NOTE:Sealant may leak out through the puncture in
the tire.
If the sealant (white fluid) does not flowwithin 0 –
10 seconds through the Sealant Hose (6):
1. Press the Power Button (4) to turn Off the TIREFIT kit.
Disconnect the Sealant Hose (6) from the valve stem.
Make sure the valve stem is free of debris. Reconnect the
Sealant Hose (6) to the valve stem. Check that the Mode
Select Knob (5) is in the Sealant Mode position and not
Air Mode. Press the Power Button (4) to turn On the
TIREFIT kit.
2. Connect the Power Plug (8) to a different 12 Volt
power outlet in your vehicle or another vehicle, if avail-
able. Make sure the engine is running before turning ON
the TIREFIT kit.
3. The Sealant Bottle (1) may be empty due to previous
use. Call for assistance.
6
WHAT TO DO IN EMERGENCIES 429
PAGE POSITION:429JOB:@zeta.tweddle.com/chry_pdm/CLS_chrysler/GRP_owners/JOB_918945-en-dsr-12D482-126-AA_DSR/DIV_og pubnum: 12D482-126-AB_DSR
Page 451 of 546
MAINTENANCE PROCEDURES
The pages that follow contain therequiredmaintenance
services determined by the engineers who designed your
vehicle.
Besides those maintenance items specified in the fixed
maintenance schedule, there are other components which
may require servicing or replacement in the future.
CAUTION!
•Failure to properly maintain your vehicle or per-
form repairs and service when necessary could
result in more costly repairs, damage to other
components or negatively impact vehicle perfor-
mance. Immediately have potential malfunctions
examined by an authorized Chrysler Group LLC
dealership or qualified repair center.
(Continued)
CAUTION! (Continued)
•Your vehicle has been built with improved fluids
that protect the performance and durability of
your vehicle and also allow extended maintenance
intervals. Do not use chemical flushes in these
components as the chemicals can damage your
engine, transmission, power steering or air condi-
tioning. Such damage is not covered by the New
Vehicle Limited Warranty. If a flush is needed
because of component malfunction, use only the
specified fluid for the flushing procedure.
Engine Oil
Checking Oil Level
To assure proper engine lubrication, the engine oil must
be maintained at the correct level. Check the oil level at
regular intervals, such as every fuel stop. The best time to
7
MAINTAINING YOUR VEHICLE 449
PAGE POSITION:449JOB:@zeta.tweddle.com/chry_pdm/CLS_chrysler/GRP_owners/JOB_918945-en-dsr-12D482-126-AA_DSR/DIV_og pubnum: 12D482-126-AB_DSR MAINTENANCE PROCEDURES
The pages that follow contain therequiredmaintenance
services determined by the engineers who designed your
vehicle.
Besides those maintenance items specified in the fixed
maintenance schedule, there are other components which
may require servicing or replacement in the future.
CAUTION!
•Failure to properly maintain your vehicle or per-
form repairs and service when necessary could
result in more costly repairs, damage to other
components or negatively impact vehicle perfor-
mance. Immediately have potential malfunctions
examined by an authorized Chrysler Group LLC
dealership or qualified repair center.
(Continued)
CAUTION! (Continued)
•Your vehicle has been built with improved fluids
that protect the performance and durability of
your vehicle and also allow extended maintenance
intervals. Do not use chemical flushes in these
components as the chemicals can damage your
engine, transmission, power steering or air condi-
tioning. Such damage is not covered by the New
Vehicle Limited Warranty. If a flush is needed
because of component malfunction, use only the
specified fluid for the flushing procedure.
Engine Oil
Checking Oil Level
To assure proper engine lubrication, the engine oil must
be maintained at the correct level. Check the oil level at
regular intervals, such as every fuel stop. The best time to
7
MAINTAINING YOUR VEHICLE 449
PAGE POSITION:449JOB:@zeta.tweddle.com/chry_pdm/CLS_chrysler/GRP_owners/JOB_918945-en-dsr-12D482-126-AA_DSR/DIV_og pubnum: 12D482-126-AB_DSR
Page 503 of 546
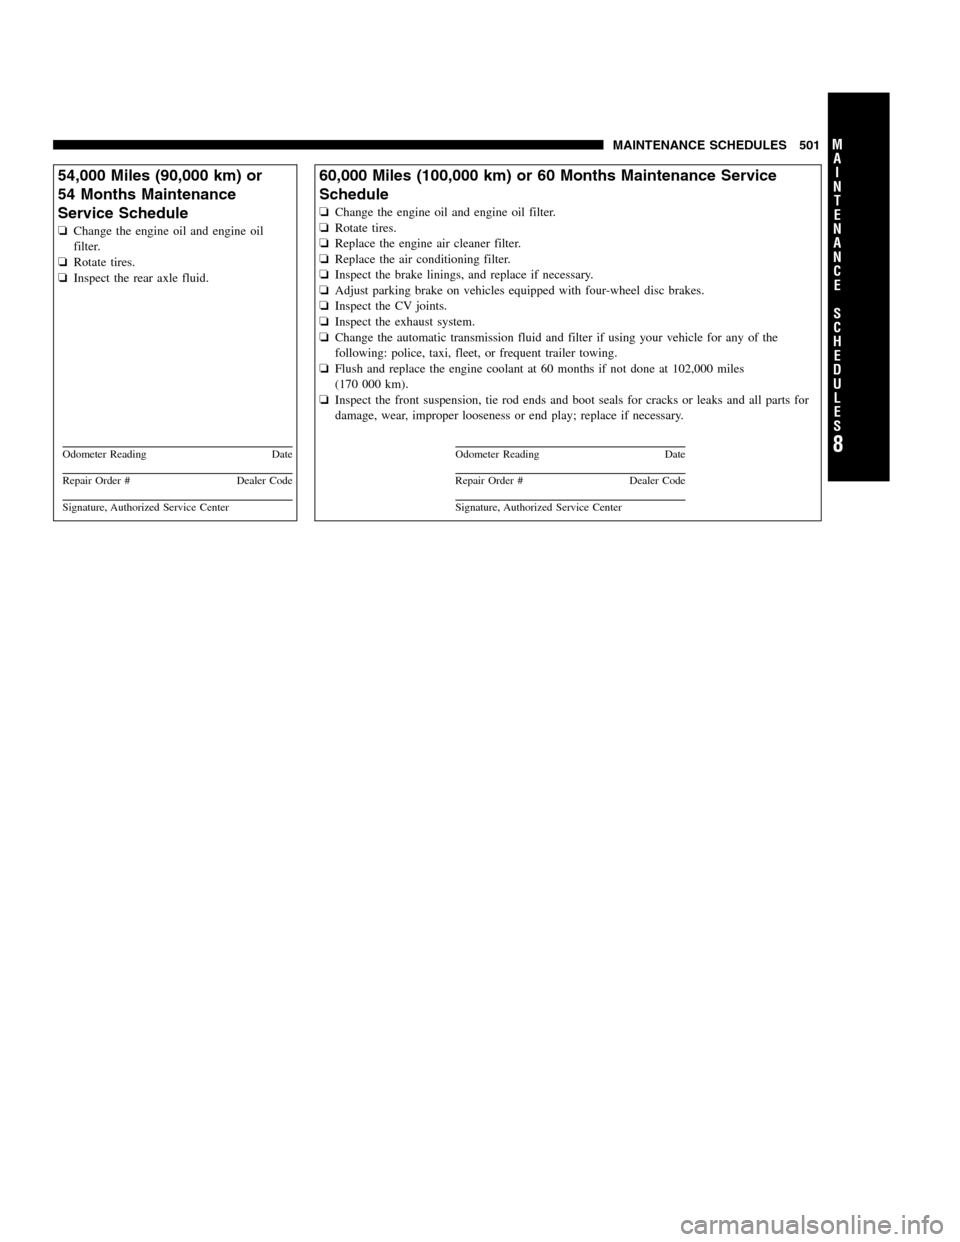
54,000 Miles (90,000 km) or
54 Months Maintenance
Service Schedule
❏Change the engine oil and engine oil
filter.
❏Rotate tires.
❏Inspect the rear axle fluid.
Odometer Reading Date
Repair Order # Dealer Code
Signature, Authorized Service Center
60,000 Miles (100,000 km) or 60 Months Maintenance Service
Schedule
❏Change the engine oil and engine oil filter.
❏Rotate tires.
❏Replace the engine air cleaner filter.
❏Replace the air conditioning filter.
❏Inspect the brake linings, and replace if necessary.
❏Adjust parking brake on vehicles equipped with four-wheel disc brakes.
❏Inspect the CV joints.
❏Inspect the exhaust system.
❏Change the automatic transmission fluid and filter if using your vehicle for any of the
following: police, taxi, fleet, or frequent trailer towing.
❏Flush and replace the engine coolant at 60 months if not done at 102,000 miles
(170 000 km).
❏Inspect the front suspension, tie rod ends and boot seals for cracks or leaks and all parts for
damage, wear, improper looseness or end play; replace if necessary.
Odometer Reading Date
Repair Order # Dealer Code
Signature, Authorized Service Center
8
M
A
I
N
T
E
N
A
N
C
E
S
C
H
E
D
U
L
E
SMAINTENANCE SCHEDULES 501
PAGE POSITION:501JOB:@zeta.tweddle.com/chry_pdm/CLS_chrysler/GRP_owners/JOB_918945-en-dsr-12D482-126-AA_DSR/DIV_og pubnum: 12D482-126-AB_DSR 54,000 Miles (90,000 km) or
54 Months Maintenance
Service Schedule
❏Change the engine oil and engine oil
filter.
❏Rotate tires.
❏Inspect the rear axle fluid.
Odometer Reading Date
Repair Order # Dealer Code
Signature, Authorized Service Center
60,000 Miles (100,000 km) or 60 Months Maintenance Service
Schedule
❏Change the engine oil and engine oil filter.
❏Rotate tires.
❏Replace the engine air cleaner filter.
❏Replace the air conditioning filter.
❏Inspect the brake linings, and replace if necessary.
❏Adjust parking brake on vehicles equipped with four-wheel disc brakes.
❏Inspect the CV joints.
❏Inspect the exhaust system.
❏Change the automatic transmission fluid and filter if using your vehicle for any of the
following: police, taxi, fleet, or frequent trailer towing.
❏Flush and replace the engine coolant at 60 months if not done at 102,000 miles
(170 000 km).
❏Inspect the front suspension, tie rod ends and boot seals for cracks or leaks and all parts for
damage, wear, improper looseness or end play; replace if necessary.
Odometer Reading Date
Repair Order # Dealer Code
Signature, Authorized Service Center
8
M
A
I
N
T
E
N
A
N
C
E
S
C
H
E
D
U
L
E
SMAINTENANCE SCHEDULES 501
PAGE POSITION:501JOB:@zeta.tweddle.com/chry_pdm/CLS_chrysler/GRP_owners/JOB_918945-en-dsr-12D482-126-AA_DSR/DIV_og pubnum: 12D482-126-AB_DSR
Page 508 of 546
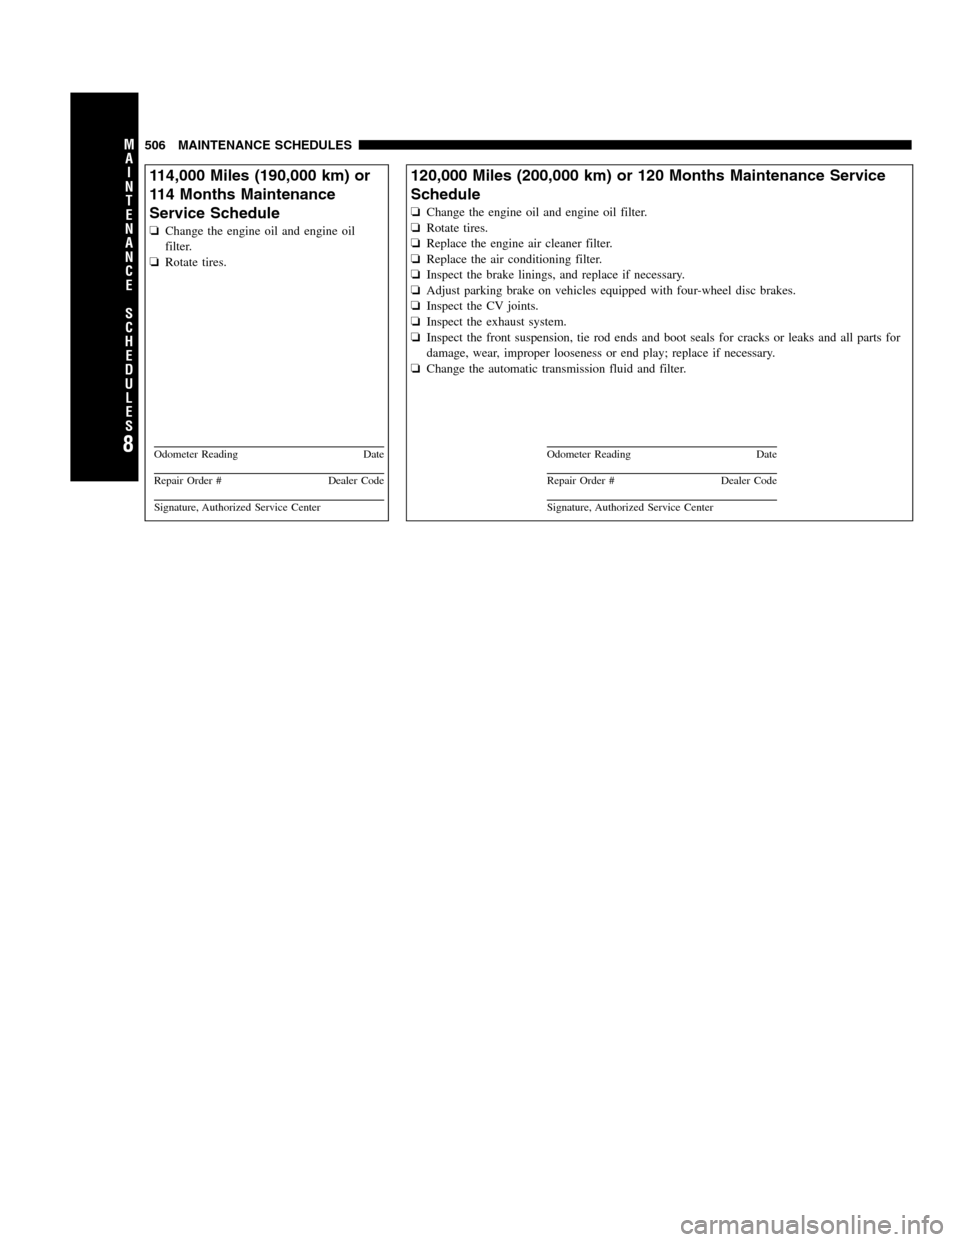
114,000 Miles (190,000 km) or
114 Months Maintenance
Service Schedule
❏Change the engine oil and engine oil
filter.
❏Rotate tires.
Odometer Reading Date
Repair Order # Dealer Code
Signature, Authorized Service Center
120,000 Miles (200,000 km) or 120 Months Maintenance Service
Schedule
❏Change the engine oil and engine oil filter.
❏Rotate tires.
❏Replace the engine air cleaner filter.
❏Replace the air conditioning filter.
❏Inspect the brake linings, and replace if necessary.
❏Adjust parking brake on vehicles equipped with four-wheel disc brakes.
❏Inspect the CV joints.
❏Inspect the exhaust system.
❏Inspect the front suspension, tie rod ends and boot seals for cracks or leaks and all parts for
damage, wear, improper looseness or end play; replace if necessary.
❏Change the automatic transmission fluid and filter.
Odometer Reading Date
Repair Order # Dealer Code
Signature, Authorized Service Center
8
M
A
I
N
T
E
N
A
N
C
E
S
C
H
E
D
U
L
E
S506 MAINTENANCE SCHEDULES
PAGE POSITION:506JOB:@zeta.tweddle.com/chry_pdm/CLS_chrysler/GRP_owners/JOB_918945-en-dsr-12D482-126-AA_DSR/DIV_og pubnum: 12D482-126-AB_DSR 114,000 Miles (190,000 km) or
114 Months Maintenance
Service Schedule
❏Change the engine oil and engine oil
filter.
❏Rotate tires.
Odometer Reading Date
Repair Order # Dealer Code
Signature, Authorized Service Center
120,000 Miles (200,000 km) or 120 Months Maintenance Service
Schedule
❏Change the engine oil and engine oil filter.
❏Rotate tires.
❏Replace the engine air cleaner filter.
❏Replace the air conditioning filter.
❏Inspect the brake linings, and replace if necessary.
❏Adjust parking brake on vehicles equipped with four-wheel disc brakes.
❏Inspect the CV joints.
❏Inspect the exhaust system.
❏Inspect the front suspension, tie rod ends and boot seals for cracks or leaks and all parts for
damage, wear, improper looseness or end play; replace if necessary.
❏Change the automatic transmission fluid and filter.
Odometer Reading Date
Repair Order # Dealer Code
Signature, Authorized Service Center
8
M
A
I
N
T
E
N
A
N
C
E
S
C
H
E
D
U
L
E
S506 MAINTENANCE SCHEDULES
PAGE POSITION:506JOB:@zeta.tweddle.com/chry_pdm/CLS_chrysler/GRP_owners/JOB_918945-en-dsr-12D482-126-AA_DSR/DIV_og pubnum: 12D482-126-AB_DSR