center console DODGE CHARGER SRT 2014 7.G Owners Manual
[x] Cancel search | Manufacturer: DODGE, Model Year: 2014, Model line: CHARGER SRT, Model: DODGE CHARGER SRT 2014 7.GPages: 614, PDF Size: 4.37 MB
Page 208 of 614
NOTE:Once a heat setting is selected, heat will be felt
within two to five minutes.
When the HI-level setting is selected, the heater will
provide a boosted heat level during the first four minutes
of operation. Then, the heat output will drop to the
normal HI-level. If the HI-level setting is selected, the system will automatically switch to LO-level after a
maximum of 60 minutes of continuous operation. At that
time, the display will change from HI to LO, indicating
the change. The LO-level setting will turn OFF automati-
cally after a maximum of 45 minutes.
Vehicle Equipped With Remote Start
On models that are equipped with remote start, the
driver ’s heated seat can be programmed to come on
during a remote start through the Uconnect® system.
Refer to “Uconnect® Settings” in “Understanding Your
Instrument Panel” for further information.Rear Heated Seats
On vehicles equipped with rear heated seats, the seats
closest to the doors are heated. The controls for these
seats are located on the rear of the center console.
Heated Seats Soft-Keys
206 UNDERSTANDING THE FEATURES OF YOUR VEHICLE
Page 229 of 614
Courtesy Lights
The courtesy lights can be turned on by pressing the top
corner of the lens. To turn the lights off, press the lens a
second time.
Ambient Light — If Equipped
The overhead console is equipped with an ambient light
feature. This light casts illumination for improved visibil-
ity of the floor and center console area.
Courtesy LightsAmbient Light
3
UNDERSTANDING THE FEATURES OF YOUR VEHICLE 227
Page 287 of 614
GARAGE DOOR OPENER — IF EQUIPPED
HomeLink® replaces up to three hand-held transmitters
that operate devices such as garage door openers, motor-
ized gates, lighting or home security systems. The
HomeLink® unit is powered by your vehicles 12 Volt
battery.
The HomeLink® buttons, located on either the overhead
console, headliner or sunvisor, designate the three differ-
ent HomeLink® channels. The HomeLink® indicator is
located above the center button.
HomeLink® Buttons/Overhead Consoles
3
UNDERSTANDING THE FEATURES OF YOUR VEHICLE 285
Page 301 of 614
WARNING!
Do not place ashes inside the cubby bin located on
the center console on vehicles not equipped with the
ash receiver tray. A fire leading to bodily injury could
result.The center console outlet is powered directly from the
battery (power available at all times). Items plugged into
this outlet may discharge the battery and/or prevent the
engine from starting.
There is also a 12 Volt power outlet located on the back of
the center console for rear passengers. This power outlet
Front Power Outlet
Center Console Power Outlet
3
UNDERSTANDING THE FEATURES OF YOUR VEHICLE 299
Page 302 of 614
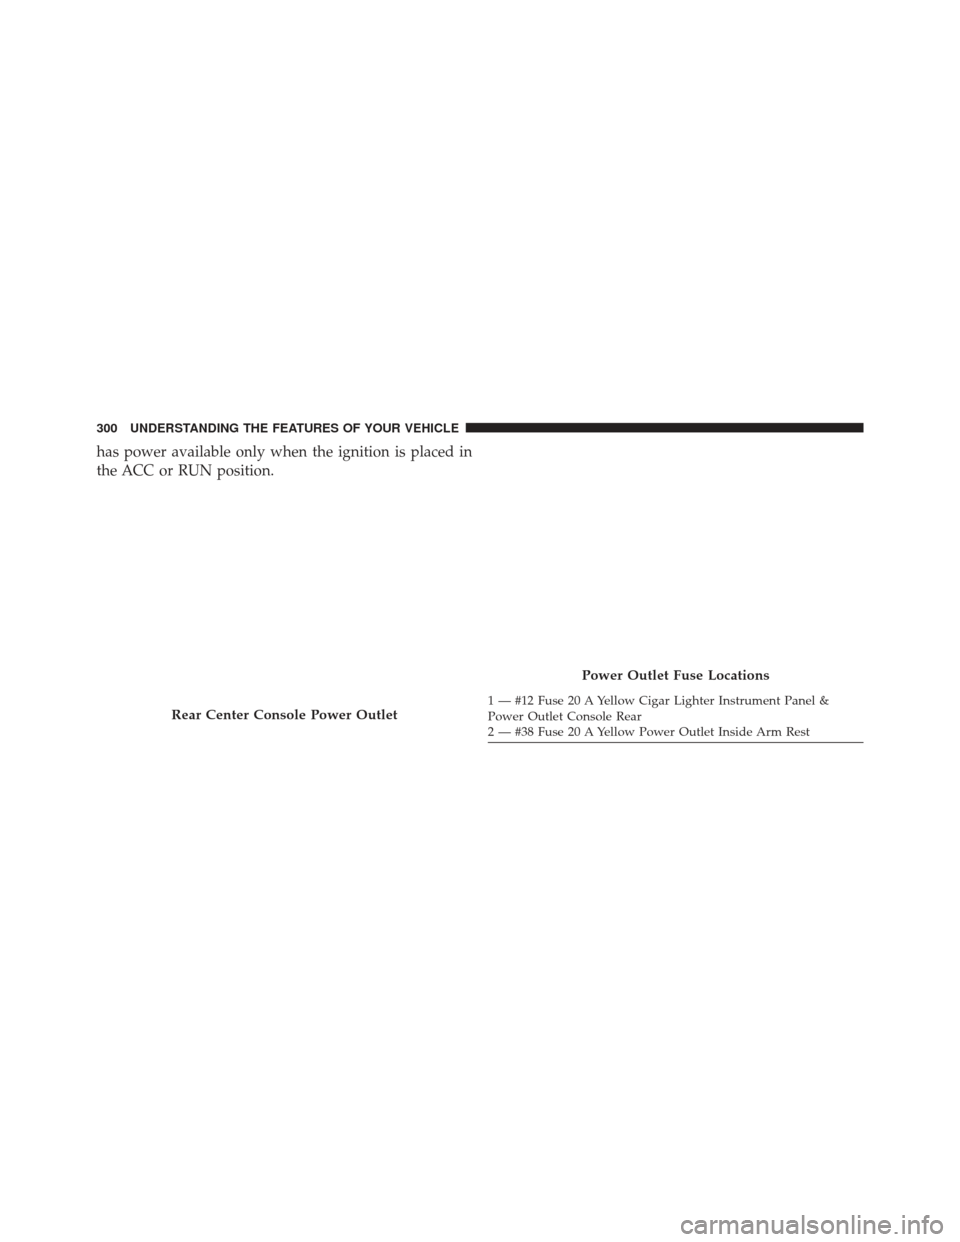
has power available only when the ignition is placed in
the ACC or RUN position.
Rear Center Console Power Outlet
Power Outlet Fuse Locations
1 — #12 Fuse 20 A Yellow Cigar Lighter Instrument Panel &
Power Outlet Console Rear
2 — #38 Fuse 20 A Yellow Power Outlet Inside Arm Rest
300 UNDERSTANDING THE FEATURES OF YOUR VEHICLE
Page 304 of 614
CUPHOLDERS
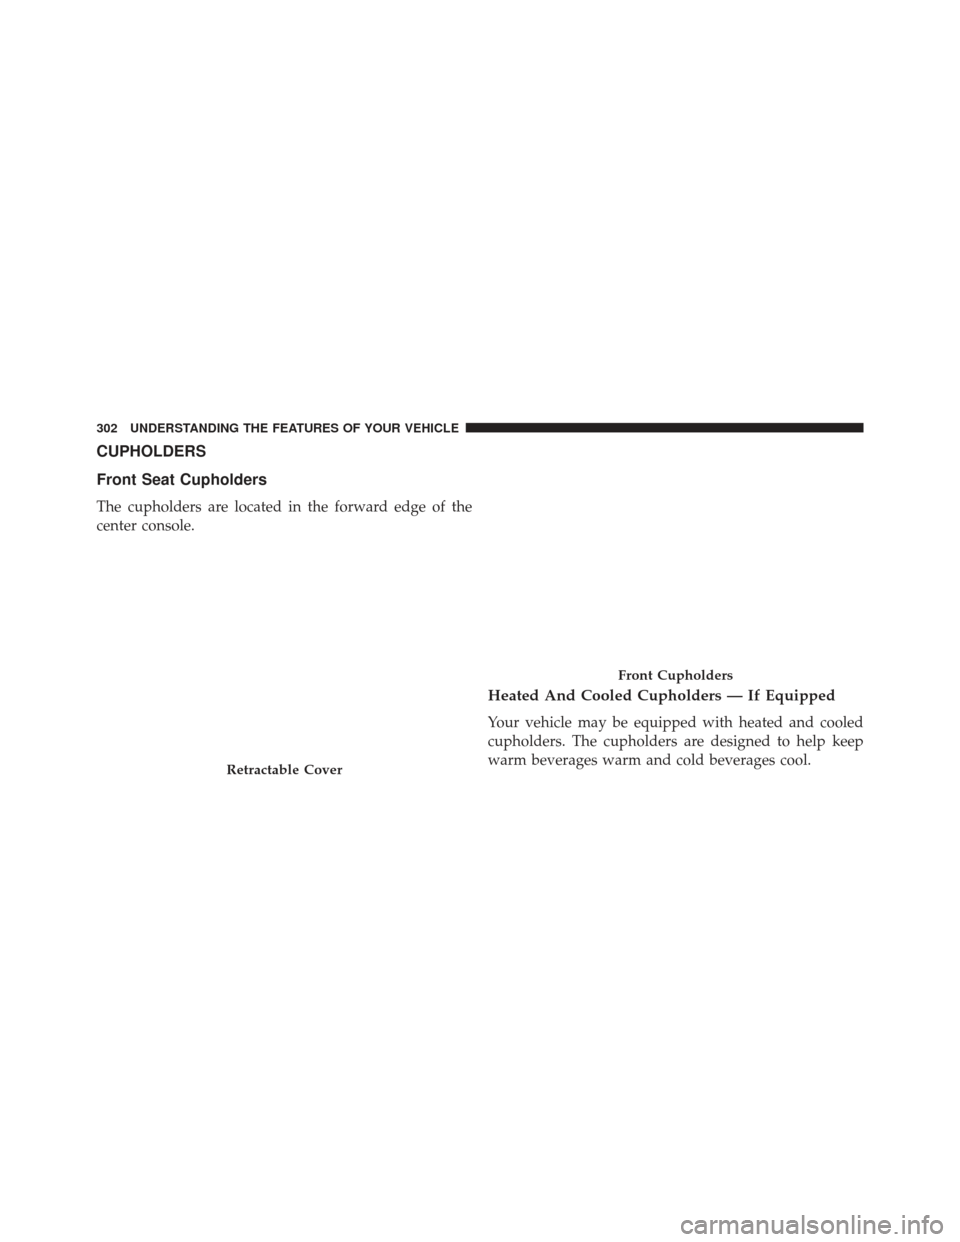
Front Seat Cupholders
The cupholders are located in the forward edge of the
center console.
Heated And Cooled Cupholders — If Equipped
Your vehicle may be equipped with heated and cooled
cupholders. The cupholders are designed to help keep
warm beverages warm and cold beverages cool.
Retractable Cover
Front Cupholders
302 UNDERSTANDING THE FEATURES OF YOUR VEHICLE
Page 308 of 614
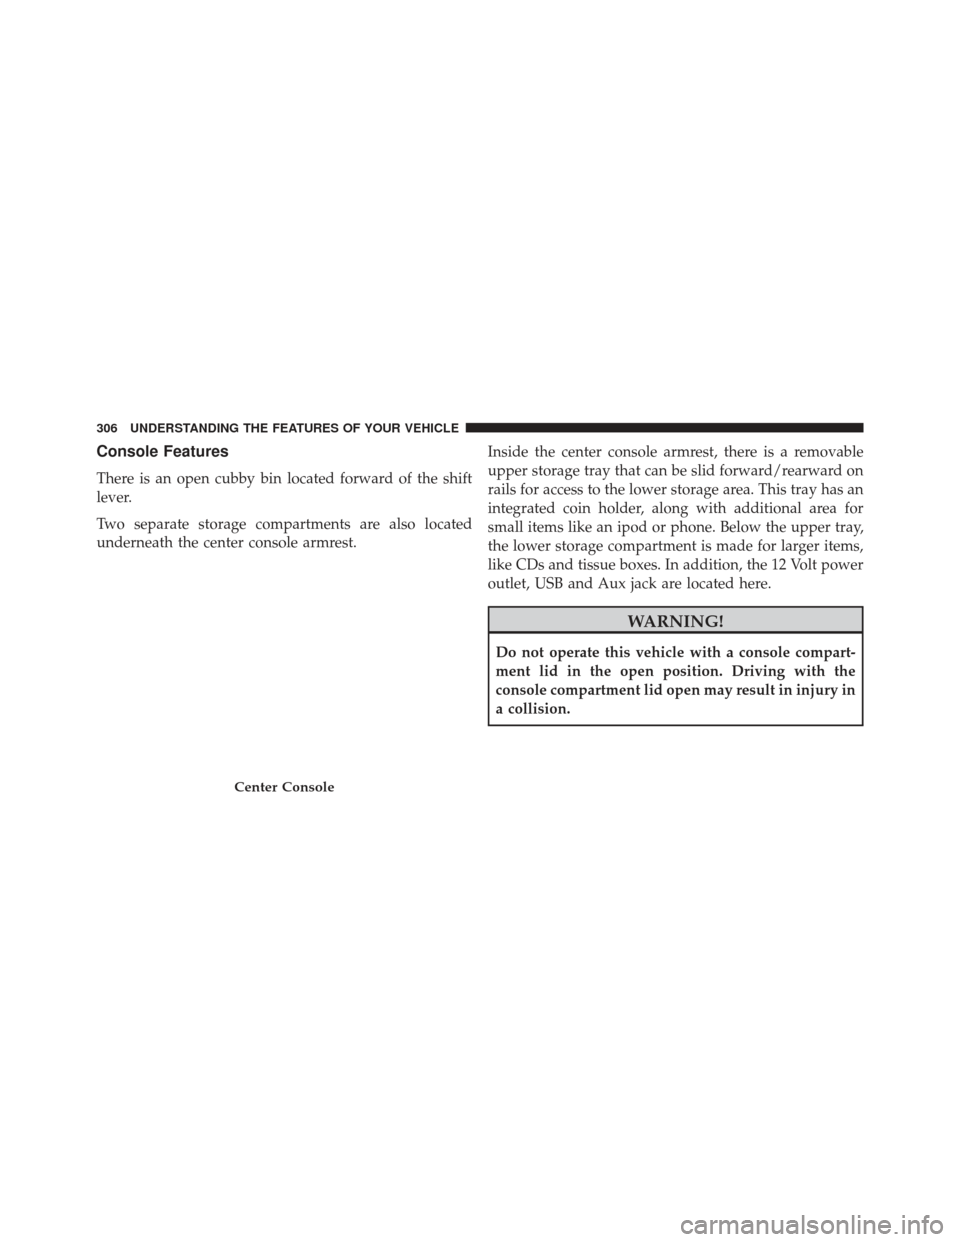
Console Features
There is an open cubby bin located forward of the shift
lever.
Two separate storage compartments are also located
underneath the center console armrest.Inside the center console armrest, there is a removable
upper storage tray that can be slid forward/rearward on
rails for access to the lower storage area. This tray has an
integrated coin holder, along with additional area for
small items like an ipod or phone. Below the upper tray,
the lower storage compartment is made for larger items,
like CDs and tissue boxes. In addition, the 12 Volt power
outlet, USB and Aux jack are located here.
WARNING!
Do not operate this vehicle with a console compart-
ment lid in the open position. Driving with the
console compartment lid open may result in injury in
a collision.
Center Console
306 UNDERSTANDING THE FEATURES OF YOUR VEHICLE
Page 503 of 614
WARNING!(Continued)
explode and injure someone. Do not spin your vehi-
cle’s wheels faster than 30 mph (48 km/h) or for
longer than 30 seconds continuously without stop-
ping when you are stuck and do not let anyone near
a spinning wheel, no matter what the speed.
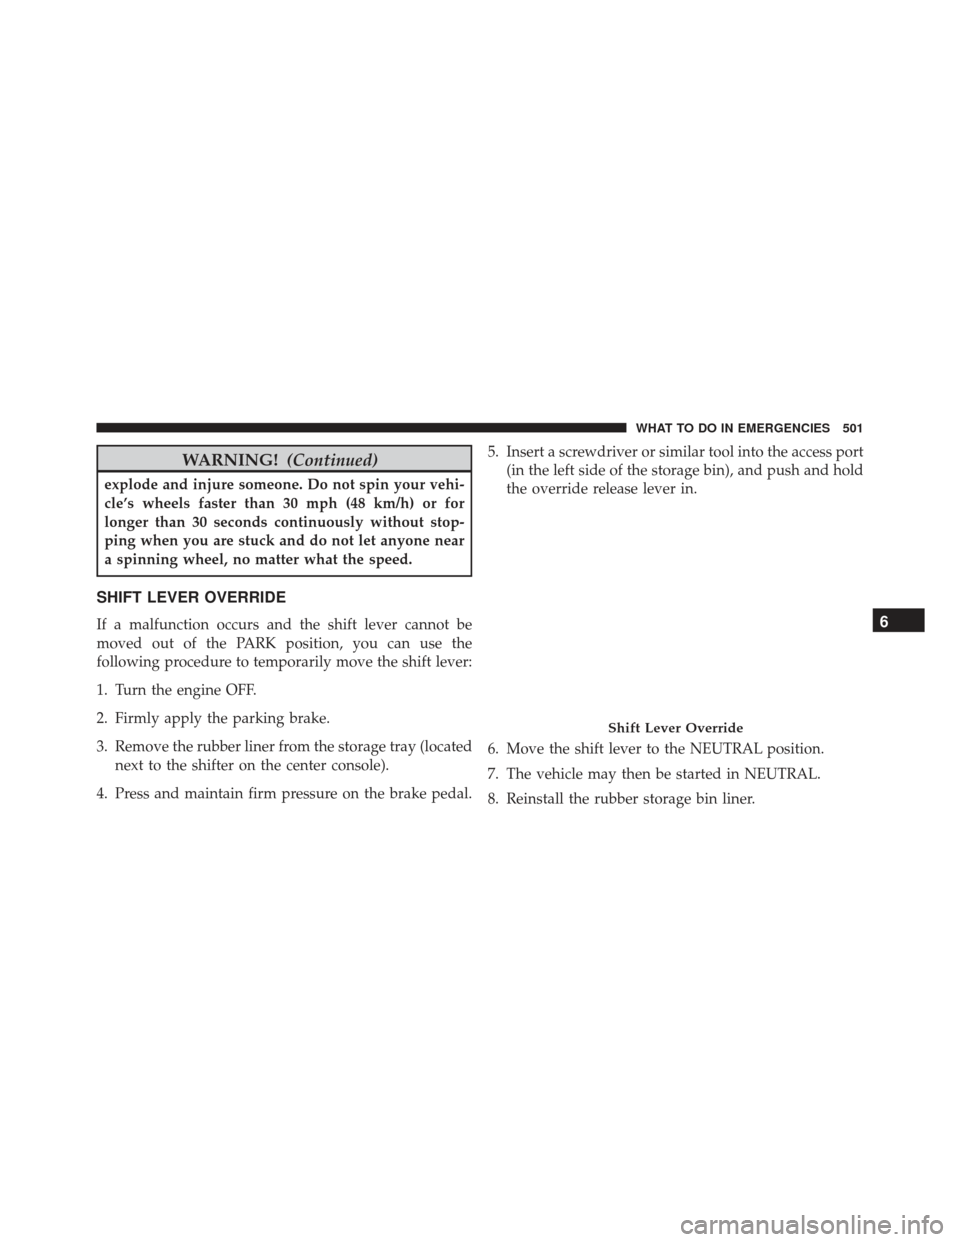
SHIFT LEVER OVERRIDE
If a malfunction occurs and the shift lever cannot be
moved out of the PARK position, you can use the
following procedure to temporarily move the shift lever:
1. Turn the engine OFF.
2. Firmly apply the parking brake.
3. Remove the rubber liner from the storage tray (located
next to the shifter on the center console).
4. Press and maintain firm pressure on the brake pedal. 5. Insert a screwdriver or similar tool into the access port
(in the left side of the storage bin), and push and hold
the override release lever in.
6. Move the shift lever to the NEUTRAL position.
7. The vehicle may then be started in NEUTRAL.
8. Reinstall the rubber storage bin liner.
Shift Lever Override
6
WHAT TO DO IN EMERGENCIES 501
Page 542 of 614
WARNING!
A frayed or torn belt could rip apart in a collision and
leave you with no protection. Inspect the belt system
periodically, checking for cuts, frays, or loose parts.
Damaged parts must be replaced immediately. Do
not disassemble or modify the system. Seat belt
assemblies must be replaced after a collision if they
have been damaged (i.e., bent retractor, torn web-
bing, etc.).
Cleaning The Center Console Cupholders
Clean with a damp cloth or towel using a mild detergent
with the cupholder in the center console.
NOTE:The cupholder cannot be removed.
FUSES
WARNING!
•When replacing a blown fuse, always use an ap-
propriate replacement fuse with the same amp
rating as the original fuse. Never replace a fuse
with another fuse of higher amp rating. Never
replace a blown fuse with metal wires or any other
material. Failure to use proper fuses may result in
serious personal injury, fire and/or property dam-
age.
• Before replacing a fuse, make sure that the ignition
is off and that all the other services are switched off
and/or disengaged.
• If the replaced fuse blows again, contact an autho-
rized dealer.
(Continued)
540 MAINTAINING YOUR VEHICLE