door lock DODGE DAKOTA 2008 3.G Owner's Manual
[x] Cancel search | Manufacturer: DODGE, Model Year: 2008, Model line: DAKOTA, Model: DODGE DAKOTA 2008 3.GPages: 426, PDF Size: 6.39 MB
Page 113 of 426
Interior Lights
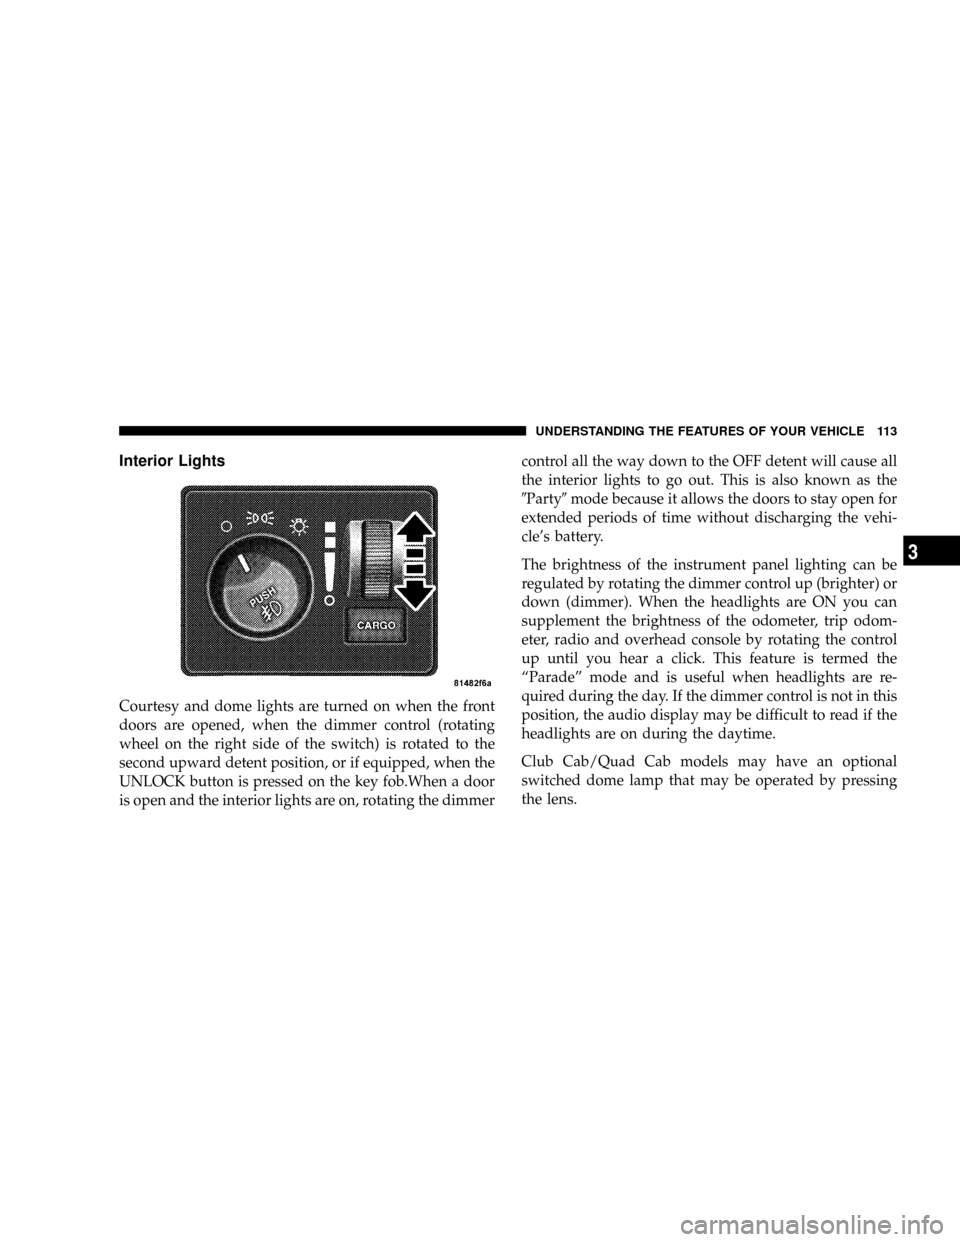
Courtesy and dome lights are turned on when the front
doors are opened, when the dimmer control (rotating
wheel on the right side of the switch) is rotated to the
second upward detent position, or if equipped, when the
UNLOCK button is pressed on the key fob.When a door
is open and the interior lights are on, rotating the dimmercontrol all the way down to the OFF detent will cause all
the interior lights to go out. This is also known as the
9Party9mode because it allows the doors to stay open for
extended periods of time without discharging the vehi-
cle's battery.
The brightness of the instrument panel lighting can be
regulated by rotating the dimmer control up (brighter) or
down (dimmer). When the headlights are ON you can
supplement the brightness of the odometer, trip odom-
eter, radio and overhead console by rotating the control
up until you hear a click. This feature is termed the
ªParadeº mode and is useful when headlights are re-
quired during the day. If the dimmer control is not in this
position, the audio display may be difficult to read if the
headlights are on during the daytime.
Club Cab/Quad Cab models may have an optional
switched dome lamp that may be operated by pressing
the lens.
UNDERSTANDING THE FEATURES OF YOUR VEHICLE 113
3
Page 116 of 426
Lights-on Reminder
If the headlights, parking lights, courtesy lights or cargo
lights are left on, after the ignition is turned off, a chime
will sound when the driver's door is opened.
Fog Lights Ð If Equipped
The foglights are turned ON by placing the head-
light rotary control in the parking light or head-
light position and pressing on the headlight rotary
control. The fog lights will operate only when the parking
lights are ON or when the vehicle headlights are ON low
beam. An indicator light located in the instrument cluster
will illuminate when the fog lights are on. The fog lights
will turn off when the switch is pressed a second time,
also when the headlight switch is rotated to the OFF
position, or the high beam is selected.
CARGO Light Ð If Equipped
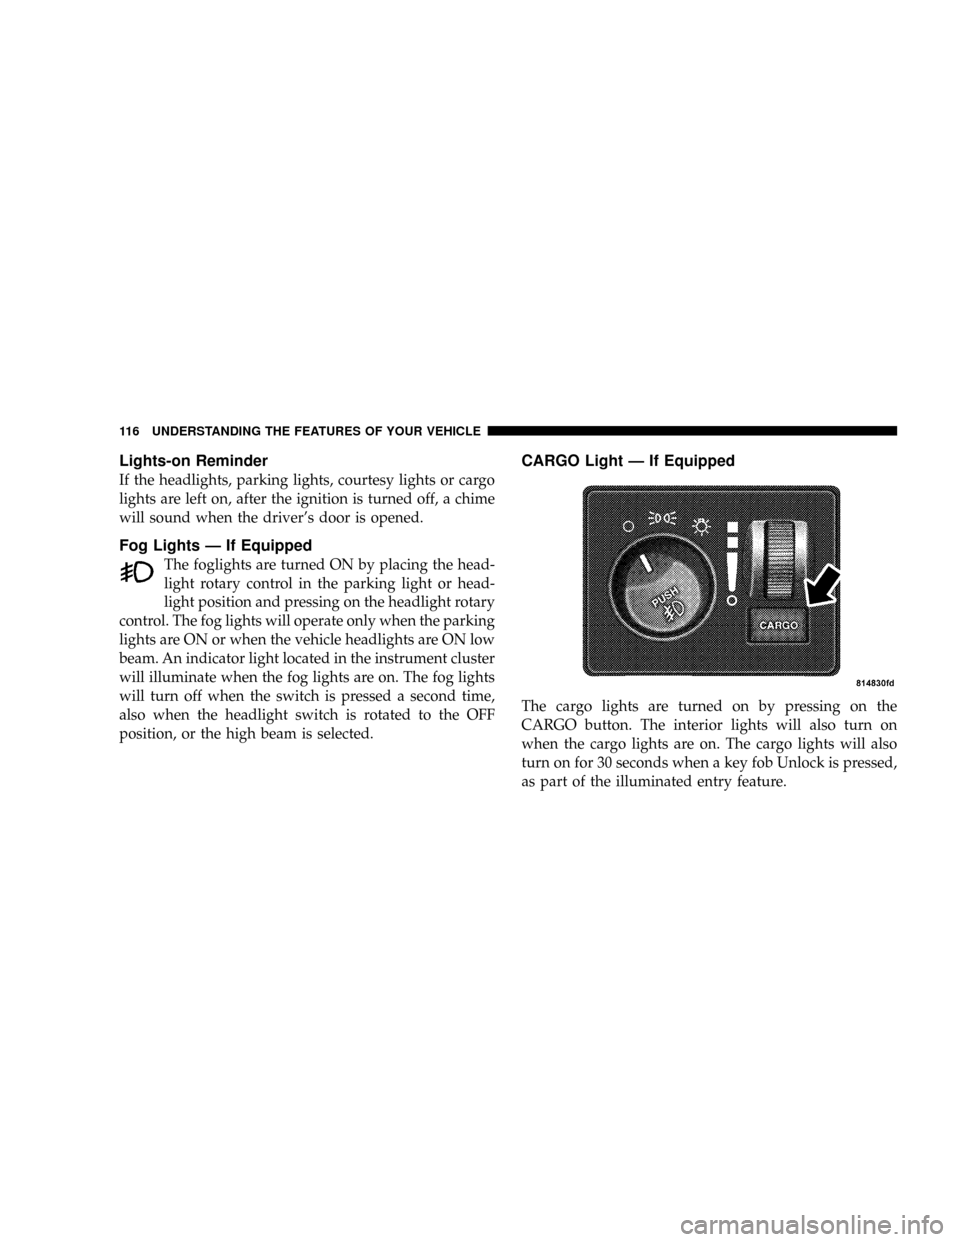
The cargo lights are turned on by pressing on the
CARGO button. The interior lights will also turn on
when the cargo lights are on. The cargo lights will also
turn on for 30 seconds when a key fob Unlock is pressed,
as part of the illuminated entry feature.
116 UNDERSTANDING THE FEATURES OF YOUR VEHICLE
Page 126 of 426
Courtesy/Reading Lights
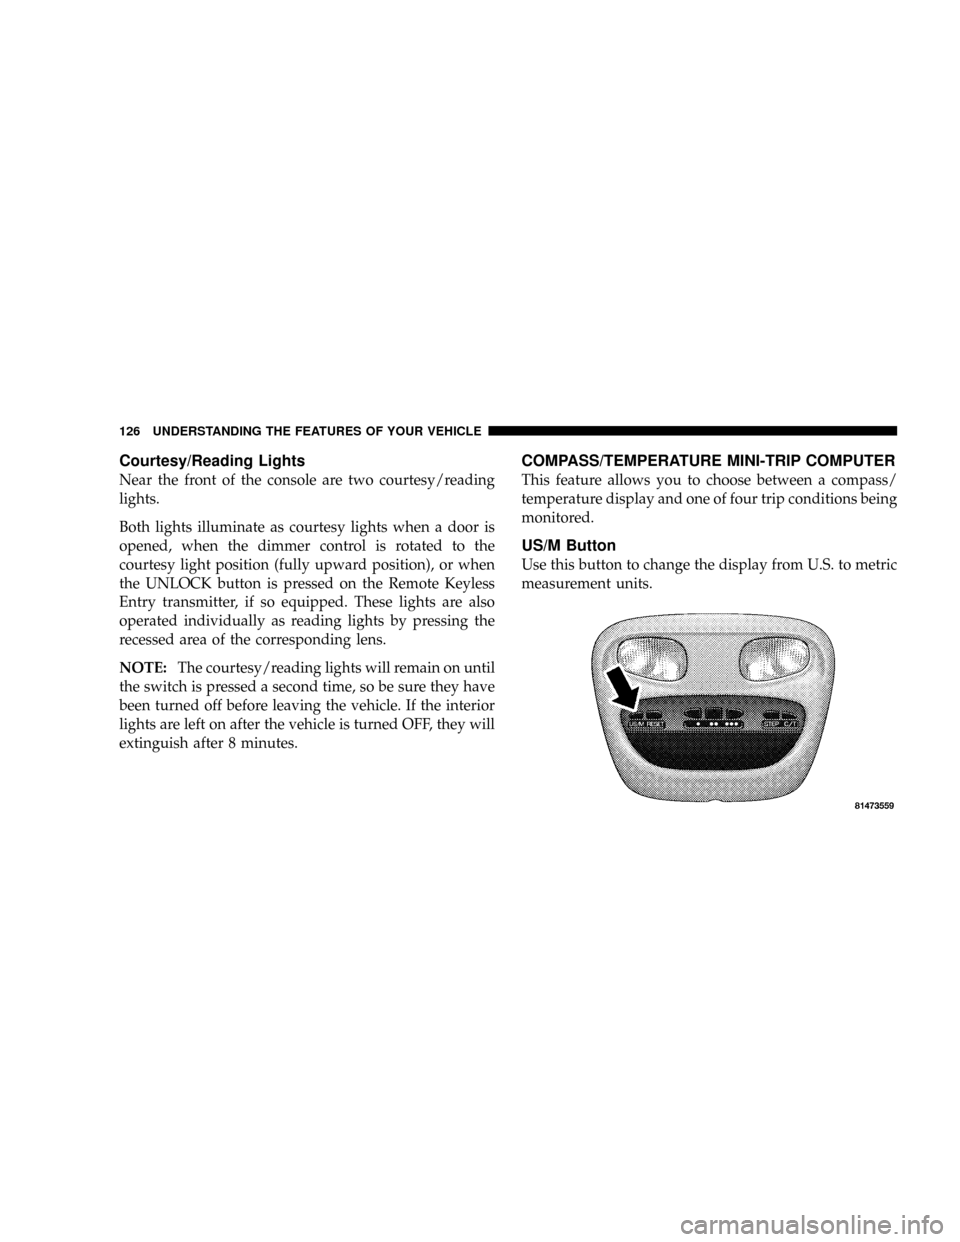
Near the front of the console are two courtesy/reading
lights.
Both lights illuminate as courtesy lights when a door is
opened, when the dimmer control is rotated to the
courtesy light position (fully upward position), or when
the UNLOCK button is pressed on the Remote Keyless
Entry transmitter, if so equipped. These lights are also
operated individually as reading lights by pressing the
recessed area of the corresponding lens.
NOTE:The courtesy/reading lights will remain on until
the switch is pressed a second time, so be sure they have
been turned off before leaving the vehicle. If the interior
lights are left on after the vehicle is turned OFF, they will
extinguish after 8 minutes.
COMPASS/TEMPERATURE MINI-TRIP COMPUTER
This feature allows you to choose between a compass/
temperature display and one of four trip conditions being
monitored.
US/M Button
Use this button to change the display from U.S. to metric
measurement units.
126 UNDERSTANDING THE FEATURES OF YOUR VEHICLE
Page 137 of 426
Then proceed with Step 4 under ªProgramming
HomeLink.º earlier in this section.
Using HomeLinkT
To operate, simply press and release the programmed
HomeLinktbutton. Activation will now occur for the
trained device (i.e. garage door opener, gate operator,
security system, entry door lock, home/office lighting,
etc. The hand-held transmitter of the device may also be
used at any time.
Reprogramming a Single HomeLinkTButton
To re-program a channel that has been previously
trained, follow these steps:
1. Turn the ignition switch to the ON/RUN position.
2. Press and hold the desired HomeLinktbutton for 20
seconds until the indicator(s) starts to flash.Do not
release the button.3.Without releasing the button,proceed with PRO-
GRAMMING HOMELINK Step #2 and follow all remain-
ing steps.
Security
It is advised to erase all channels before you sell or turn
in your vehicle.
To do this, press and hold the two outside buttons for 20
seconds until the indicators begin to flash. Note that all
channels will be erased. Individual channels cannot be
erased.
The HomeLinktUniversal Transceiver is disabled when
the Vehicle Theft Alarm is active.
Troubleshooting Tips
If you are having trouble programming HomeLinkt, here
are some of the most common solutions:
²Replace the battery in the original transmitter.
UNDERSTANDING THE FEATURES OF YOUR VEHICLE 137
3
Page 162 of 426
Also the cluster will display, replacing the odometer,
vehicle warning messages such as: door ajar, low wash,
No-fuse, Change Oil and the outside temperature on
vehicles that are not equipped with the Overhead Con-
sole with Compass/Temperature Mini-Trip Computer.
For additional information, refer to ªCompass/
Temperature Mini-Trip Computerº in section 3.
If the vehicle diagnostic system determines that the fuel
filler cap is loose, improperly installed, or damaged,
GASCAP will be displayed in the instrument cluster.
Tighten the fuel filler cap properly and press the odom-
eter reset button to turn the GASCAP message off. If the
problem continues, the message will appear the next time
the vehicle is started.
Change Oil Message
Your vehicle is equipped with an engine oil change
indicator system. The ªChange Oilº message will flash in
the instrument cluster odometer for approximately 12seconds after a single chime has sounded to indicate the
next scheduled oil change interval. The engine oil change
indicator system is duty cycle based, which means the
engine oil change interval may fluctuate dependent upon
your personal driving style.
Unless reset, this message will continue to display each
time you turn the ignition switch to the ON/RUN
position. To turn off the message temporarily, press and
release the Trip Odometer button on the instrument
cluster. To reset the oil change indicator system (after
performing the scheduled maintenance) refer to the fol-
lowing procedure.
1. Turn the ignition switch to the ON position(Do not
start the engine).
2. Fully depress the accelerator pedal slowly three
times within 10 seconds.
3. Turn the ignition switch to the OFF/LOCK position.
162 INSTRUMENT PANEL AND CONTROLS
Page 348 of 426
Front Suspension Ball Joints
The ball joints and seals should be inspected whenever
the vehicle is serviced for other reasons. Damaged seals
should be replaced to prevent leakage or contamination
of the grease.
Drive Shaft Constant Velocity Joints
All four wheel drive models are equipped with four
constant velocity joints. Periodic lubrication of these
joints is not required. However, the joint boot should be
inspected for external leakage or damage periodically. If
external leakage or damage is evident, the joint boot and
grease should be replaced immediately. Continued op-
eration could result in failure of the joint due to water
and dirt contamination of the grease. This would require
complete replacement of the joint assembly. Refer to the
Service Manual for the detailed replacement procedure.
Body Lubrication
Locks and all body pivot points, including such items as
seat tracks, doors and hood hinges, should be lubricated
periodically to assure quiet, easy operation and to protect
against rust and wear. Prior to the application of any
lubricant, the parts concerned should be wiped clean to
remove dust and grit; after lubricating excess oil and
grease should be removed. Particular attention should
also be given to hood latching components to insure
proper function. When performing other underhood ser-
vices, the hood latch, release mechanism and safety catch
should be cleaned and lubricated.
The external lock cylinders should be lubricated twice a
year, preferably in the fall and spring. Apply a small
amount of a high quality lubricant such as MopartLock
Cylinder Lubricant directly into the lock cylinder.
348 MAINTAINING YOUR VEHICLE
Page 369 of 426
CavityCartridge
FuseMini
FuseDescription
8 10 Amp
RedCabin Compartment
Node (CCN)/Mirror/
4x4
9 10 Amp
RedAirbag System #3
10 Spare
11 10 Amp
RedAC Clutch
12 15 Amp
BlueT Tow Lt Stop/Turn
13 15 Amp
BlueTrailer Tow Rt Stop/
Turn
14 20 Amp
YellowIgnition Off Draw
(IOD) #2
15 25 Amp
NaturalTrans/Powertrain
Control Module
(PCM)CavityCartridge
FuseMini
FuseDescription
16 20 Amp
YellowHorn
17 20 Amp
YellowABS Feed (Valves)
18 20 Amp
YellowFuel Pump
19 15 Amp
BlueCenter High Mounted
Stop Lamp (CHMSL)
20 20 Amp
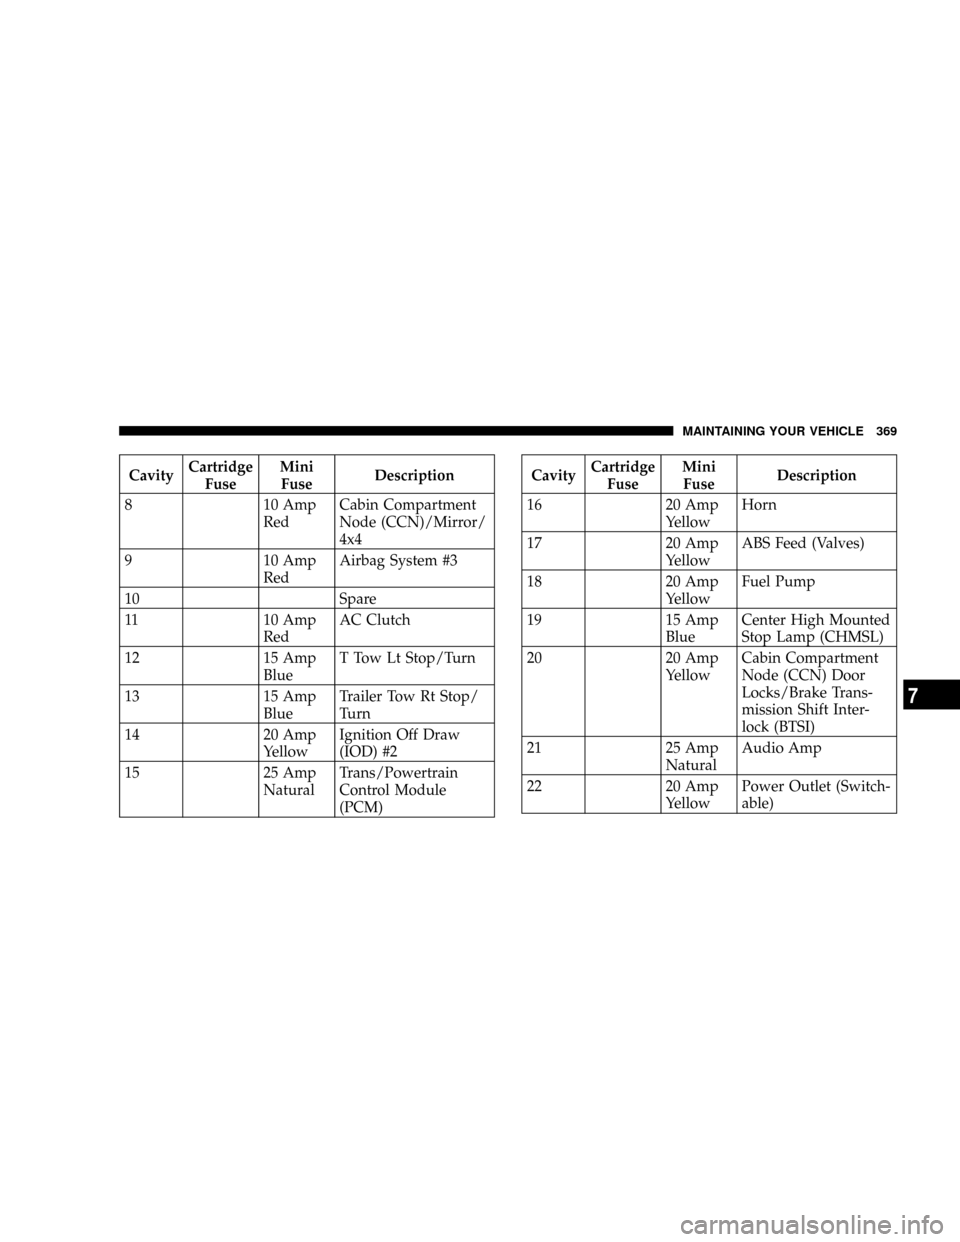
YellowCabin Compartment
Node (CCN) Door
Locks/Brake Trans-
mission Shift Inter-
lock (BTSI)
21 25 Amp
NaturalAudio Amp
22 20 Amp
YellowPower Outlet (Switch-
able)
MAINTAINING YOUR VEHICLE 369
7
Page 408 of 426
Adding Fuel........................282,312
Air Cleaner, Engine (Engine Air Cleaner Filter) . . . 343
Air Conditioner Maintenance............... 346
Air Conditioning........................ 209
Air Conditioning, Operating Tips..........209,213
Air Conditioning Refrigerant.............346,347
Air Conditioning System................209,346
Air Filter.............................. 343
Air Pressure, Tires....................262,270
Airbag.............................45,166
Airbag Light..........................53,70
Alarm, Panic............................ 24
Alarm (Security Alarm).................19,160
Alignment and Balance................... 269
Alterations/Modifications, Vehicle............. 7
Antenna, Satellite Radio................... 202
Antifreeze (Engine Coolant)...........352,353,384
Disposal............................ 354
Anti-Lock Brake System (ABS)............249,250Anti-Lock Warning Light.................. 160
Anti-Theft System.....................19,160
Appearance Care........................ 363
Arming Theft System (Security Alarm)......... 19
Audio Systems (Radio).................... 197
Auto Unlock, Doors....................... 31
Automatic Door Locks..................... 30
Automatic Transaxle....................12,224
Interlock System........................ 19
Automatic Transmission.............221,225,359
Adding Fluid......................... 360
Fluid and Filter Changes................. 361
Fluid Level Check...................... 359
Fluid Type........................... 386
Gear Ranges.......................... 225
Special Additives...................... 361
Torque Converter...................... 229
Axle Fluid............................. 386
Axle Lubrication (Axle Fluid)............... 362
408 INDEX
Page 411 of 426
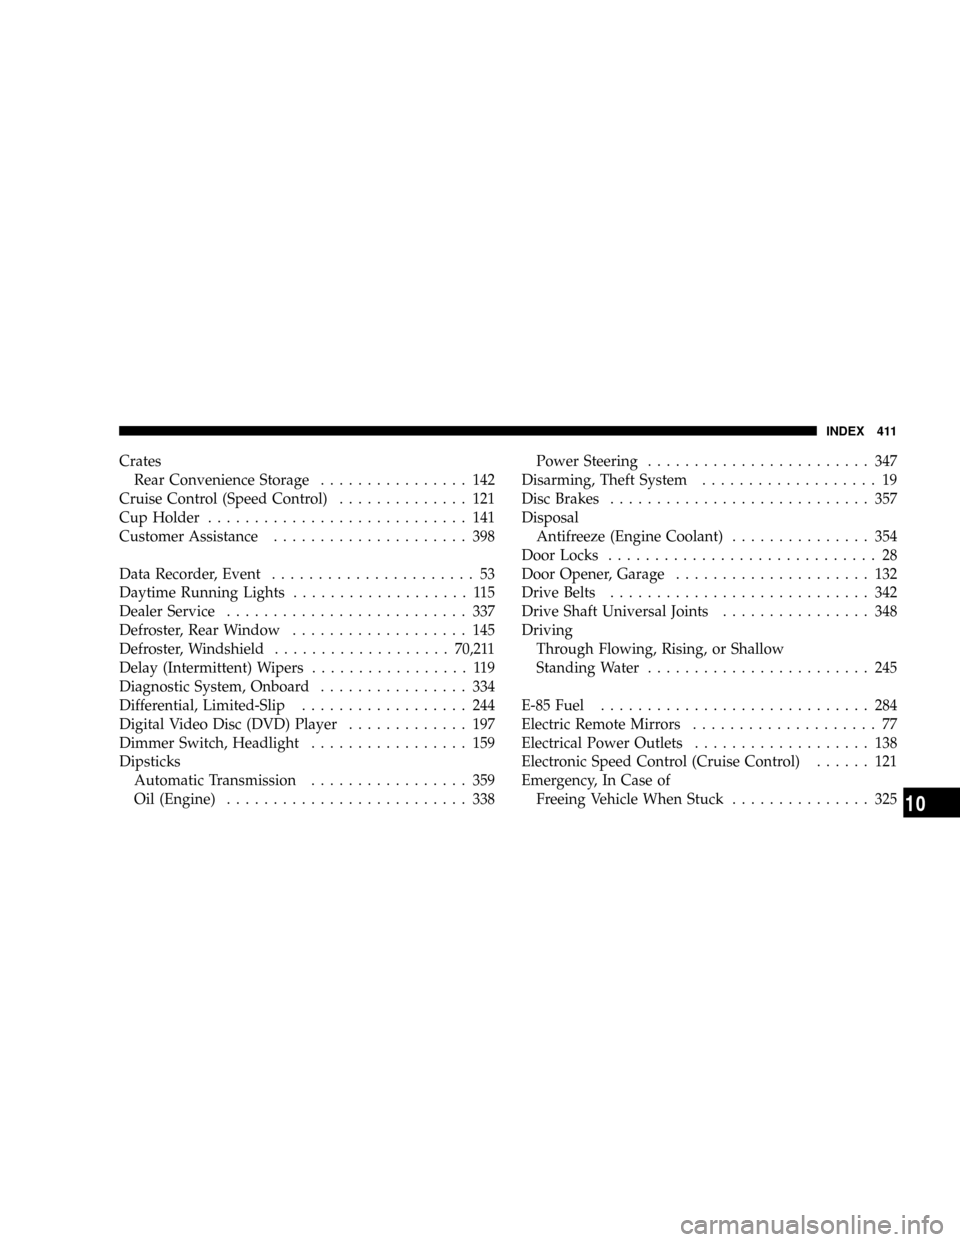
Crates
Rear Convenience Storage................ 142
Cruise Control (Speed Control).............. 121
Cup Holder............................ 141
Customer Assistance..................... 398
Data Recorder, Event...................... 53
Daytime Running Lights................... 115
Dealer Service.......................... 337
Defroster, Rear Window................... 145
Defroster, Windshield...................70,211
Delay (Intermittent) Wipers................. 119
Diagnostic System, Onboard................ 334
Differential, Limited-Slip.................. 244
Digital Video Disc (DVD) Player............. 197
Dimmer Switch, Headlight................. 159
Dipsticks
Automatic Transmission................. 359
Oil (Engine).......................... 338Power Steering........................ 347
Disarming, Theft System................... 19
Disc Brakes............................ 357
Disposal
Antifreeze (Engine Coolant)............... 354
Door Locks............................. 28
Door Opener, Garage..................... 132
Drive Belts............................ 342
Drive Shaft Universal Joints................ 348
Driving
Through Flowing, Rising, or Shallow
Standing Water........................ 245
E-85 Fuel............................. 284
Electric Remote Mirrors.................... 77
Electrical Power Outlets................... 138
Electronic Speed Control (Cruise Control)...... 121
Emergency, In Case of
Freeing Vehicle When Stuck............... 325
INDEX 411
10
Page 414 of 426
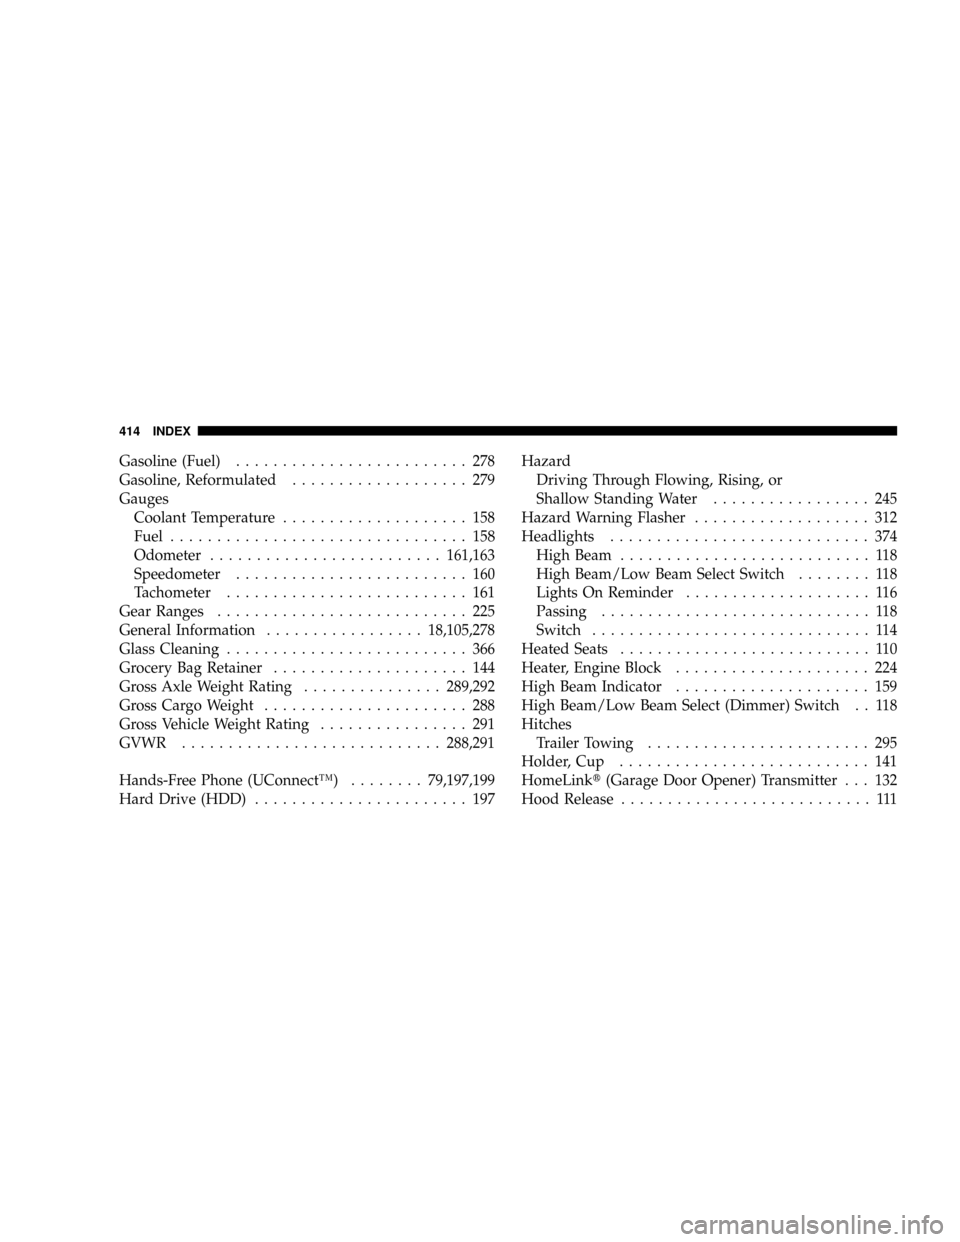
Gasoline (Fuel)......................... 278
Gasoline, Reformulated................... 279
Gauges
Coolant Temperature.................... 158
Fuel................................ 158
Odometer.........................161,163
Speedometer......................... 160
Tachometer.......................... 161
Gear Ranges........................... 225
General Information.................18,105,278
Glass Cleaning.......................... 366
Grocery Bag Retainer..................... 144
Gross Axle Weight Rating...............289,292
Gross Cargo Weight...................... 288
Gross Vehicle Weight Rating................ 291
GVWR............................288,291
Hands-Free Phone (UConnectŸ)........79,197,199
Hard Drive (HDD)....................... 197Hazard
Driving Through Flowing, Rising, or
Shallow Standing Water................. 245
Hazard Warning Flasher................... 312
Headlights............................ 374
High Beam........................... 118
High Beam/Low Beam Select Switch........ 118
Lights On Reminder.................... 116
Passing............................. 118
Switch.............................. 114
Heated Seats........................... 110
Heater, Engine Block..................... 224
High Beam Indicator..................... 159
High Beam/Low Beam Select (Dimmer) Switch . . 118
Hitches
Trailer Towing........................ 295
Holder, Cup........................... 141
HomeLinkt(Garage Door Opener) Transmitter . . . 132
Hood Release........................... 111
414 INDEX