garage door opener DODGE DAKOTA 2009 3.G Owners Manual
[x] Cancel search | Manufacturer: DODGE, Model Year: 2009, Model line: DAKOTA, Model: DODGE DAKOTA 2009 3.GPages: 449, PDF Size: 10.96 MB
Page 80 of 449
mGarage Door Opener Ð If Equipped........ 142
NProgramming HomeLinkt.............. 144
NGate Operator/Canadian Programming..... 146
NUsing HomeLinkt.................... 147
NReprogramming A Single HomeLinkt
Button............................ 147
NSecurity........................... 148
NTroubleshooting Tips.................. 148
NGeneral Information................... 148
mElectrical Power Outlets................. 149
NElectrical Outlet Use With Engine Off
(Battery Fed Configuration)............. 150
mCupholders.......................... 150
mRear Storage Ð If Equipped.............. 151NRear Convenience Storage Crates......... 151
NPlastic Grocery Bag Retainers............ 153
mFloor Console Ð If Equipped............. 154
NFloor Console Features................. 154
mRear Cargo Area Utility Rails............. 155
mRear Window Features.................. 156
NRear Window Defroster Ð If Equipped..... 156
NSliding Rear Window Ð If Equipped....... 157
mSlide-In Campers...................... 157
NCamper Applications.................. 157
NGeneral Information................... 158
NCarbon Monoxide Warning-Vehicles
Equipped With A Cap Or Slide-In Campers . . 158
78 UNDERSTANDING THE FEATURES OF YOUR VEHICLE
Page 137 of 449
WARNING!
Electronic Speed Control can be dangerous where the
system cannot maintain a constant speed. Your ve-
hicle could go too fast for the conditions, and you
could lose control. An accident could be the result.
Do not use Electronic Speed Control in heavy traffic
or on roads that are winding, icy, snow-covered, or
slippery.
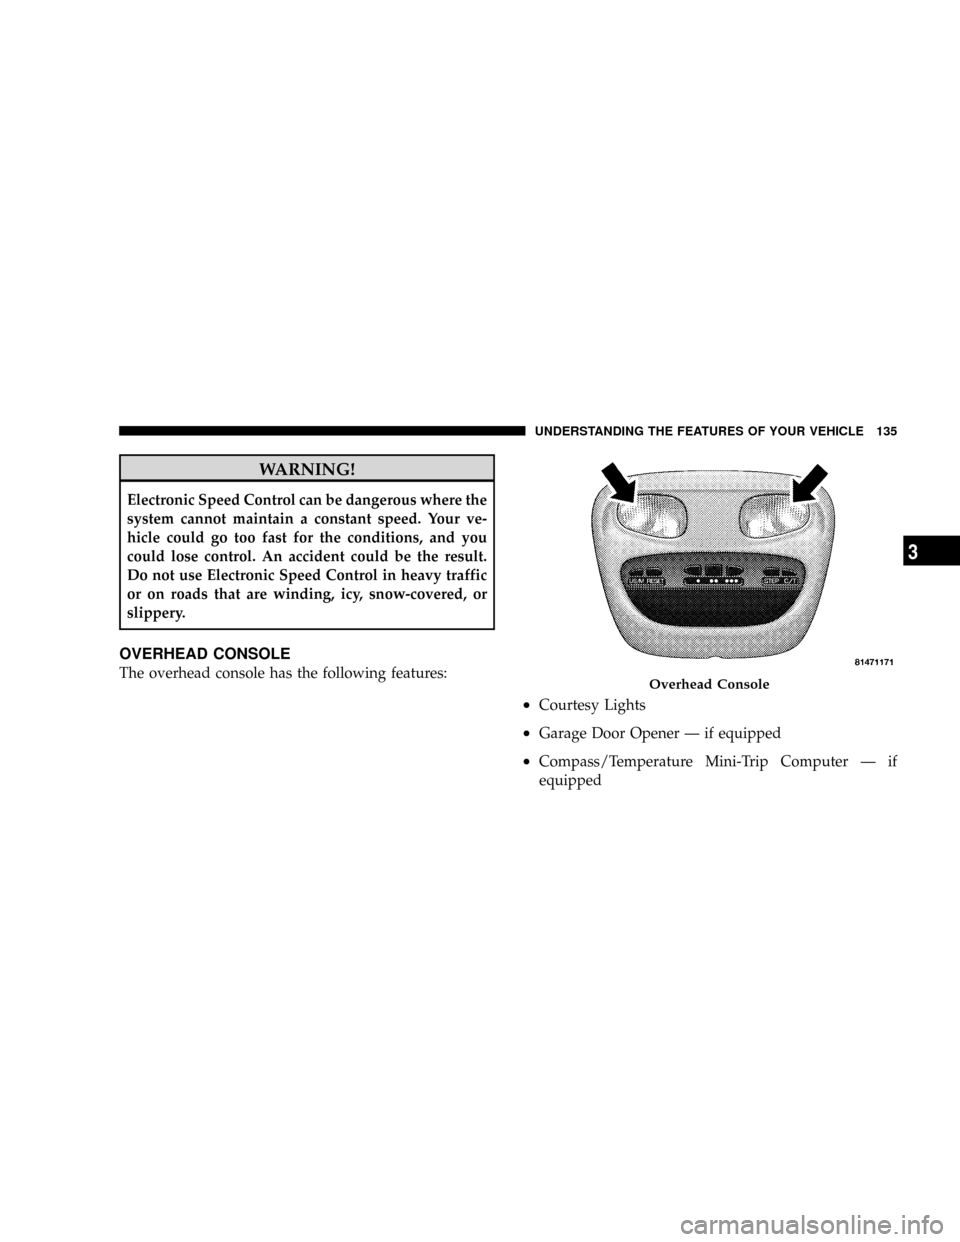
OVERHEAD CONSOLE
The overhead console has the following features:
²Courtesy Lights
²Garage Door Opener Ð if equipped
²Compass/Temperature Mini-Trip Computer Ð if
equipped
Overhead Console
UNDERSTANDING THE FEATURES OF YOUR VEHICLE 135
3
Page 144 of 449
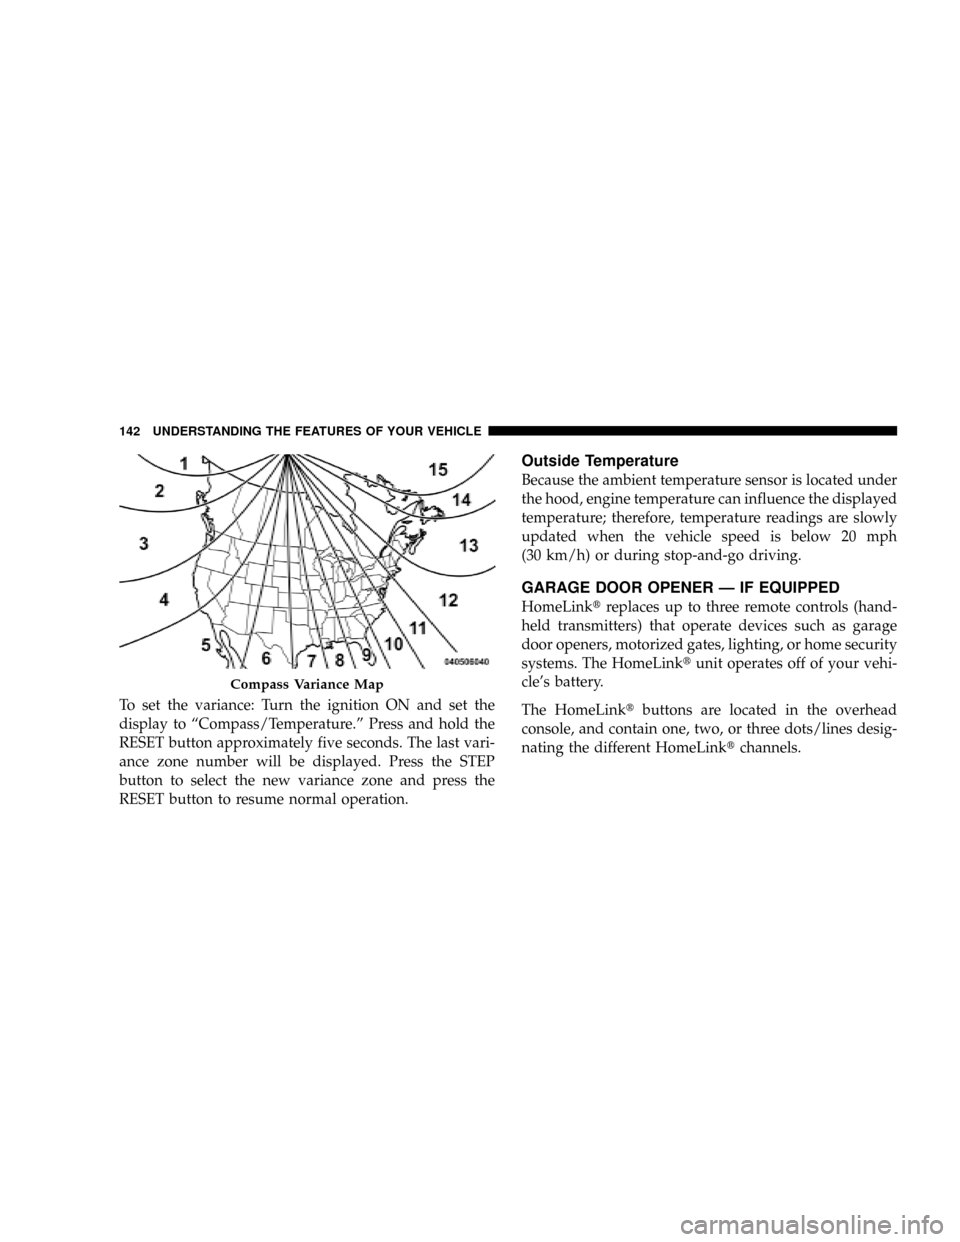
To set the variance: Turn the ignition ON and set the
display to ªCompass/Temperature.º Press and hold the
RESET button approximately five seconds. The last vari-
ance zone number will be displayed. Press the STEP
button to select the new variance zone and press the
RESET button to resume normal operation.
Outside Temperature
Because the ambient temperature sensor is located under
the hood, engine temperature can influence the displayed
temperature; therefore, temperature readings are slowly
updated when the vehicle speed is below 20 mph
(30 km/h) or during stop-and-go driving.
GARAGE DOOR OPENER Ð IF EQUIPPED
HomeLinktreplaces up to three remote controls (hand-
held transmitters) that operate devices such as garage
door openers, motorized gates, lighting, or home security
systems. The HomeLinktunit operates off of your vehi-
cle's battery.
The HomeLinktbuttons are located in the overhead
console, and contain one, two, or three dots/lines desig-
nating the different HomeLinktchannels.
Compass Variance Map
142 UNDERSTANDING THE FEATURES OF YOUR VEHICLE
Page 145 of 449
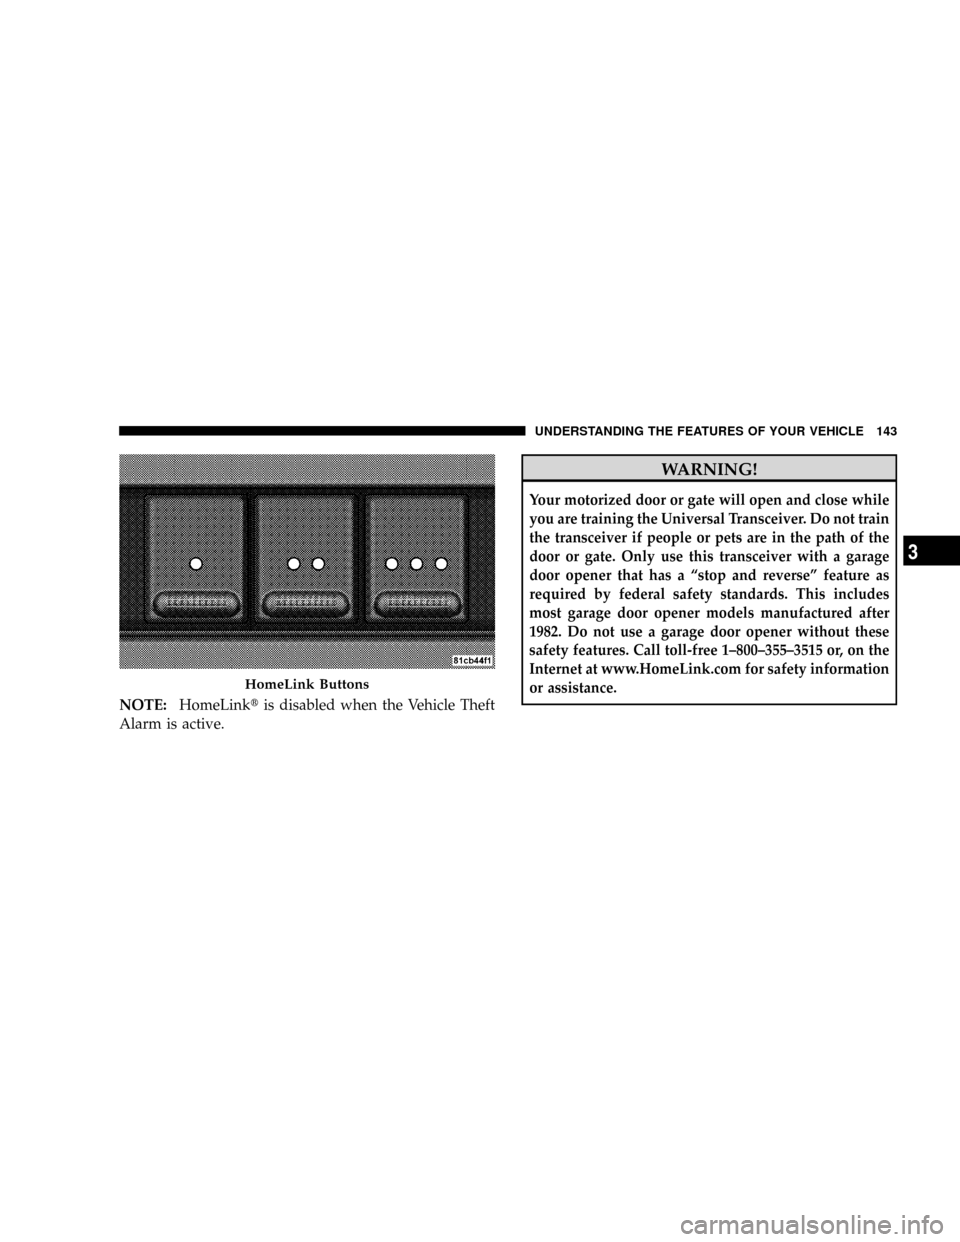
NOTE:HomeLinktis disabled when the Vehicle Theft
Alarm is active.
WARNING!
Your motorized door or gate will open and close while
you are training the Universal Transceiver. Do not train
the transceiver if people or pets are in the path of the
door or gate. Only use this transceiver with a garage
door opener that has a ªstop and reverseº feature as
required by federal safety standards. This includes
most garage door opener models manufactured after
1982. Do not use a garage door opener without these
safety features. Call toll-free 1±800±355±3515 or, on the
Internet at www.HomeLink.com for safety information
or assistance.
HomeLink Buttons
UNDERSTANDING THE FEATURES OF YOUR VEHICLE 143
3
Page 147 of 449
3. Simultaneously, press and hold both the chosen
HomeLinktbutton and the hand-held transmitter button
until the indicator(s) change from a slow to a rapid flash
rate.
Then release both the HomeLinktand hand-held trans-
mitter buttons.
It may take up to 30 seconds, or longer in rare cases. The
garage door may open & close while you train.
If the signal is too weak to train, replace the battery in the
original hand-held transmitter.
NOTE:Some gate operators and garage door openers
may require you to replace Step #3 with procedures
noted in the ªGate Operator/Canadian Programmingº
section.4. Press and hold the just-trained HomeLinktbutton. If
the indicator(s) blink rapidly for two seconds and then
remains constant, continue with the next section: Pro-
gramming A Rolling Code System.
NOTE:After training a HomeLinktchannel, if the
garage door does not operate with HomeLinktand the
garage door opener was manufactured after 1995, the
garage door opener may have rolling code. If so, proceed
to the heading, ªProgramming A Rolling Code System.º
5. PROGRAMMING A ROLLING CODE SYSTEM
At the garage door opener motor (in the garage), locate
the ªlearnº or ªtrainingº button.
This can usually be found where the hanging antenna
wire is attached to the garage door opener motor (it is
NOT the button normally used to open & close the door).
UNDERSTANDING THE FEATURES OF YOUR VEHICLE 145
3
Page 148 of 449
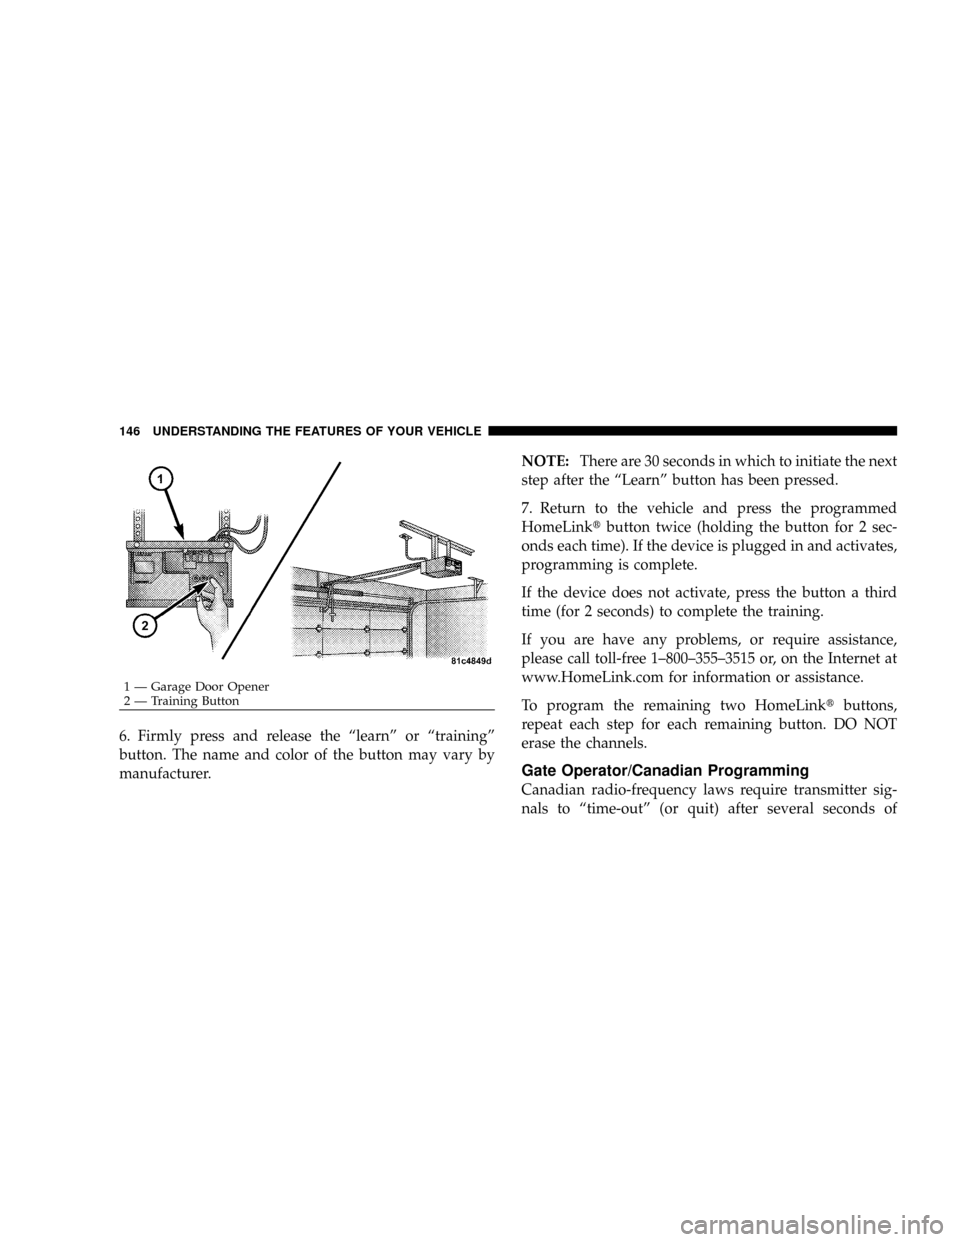
6. Firmly press and release the ªlearnº or ªtrainingº
button. The name and color of the button may vary by
manufacturer.NOTE:There are 30 seconds in which to initiate the next
step after the ªLearnº button has been pressed.
7. Return to the vehicle and press the programmed
HomeLinktbutton twice (holding the button for 2 sec-
onds each time). If the device is plugged in and activates,
programming is complete.
If the device does not activate, press the button a third
time (for 2 seconds) to complete the training.
If you are have any problems, or require assistance,
please call toll-free 1±800±355±3515 or, on the Internet at
www.HomeLink.com for information or assistance.
To program the remaining two HomeLinktbuttons,
repeat each step for each remaining button. DO NOT
erase the channels.
Gate Operator/Canadian Programming
Canadian radio-frequency laws require transmitter sig-
nals to ªtime-outº (or quit) after several seconds of
1 Ð Garage Door Opener
2 Ð Training Button 146 UNDERSTANDING THE FEATURES OF YOUR VEHICLE
Page 149 of 449
transmission ± which may not be long enough for
HomeLinktto pick up the signal during programming.
Similar to this Canadian law, some U.S. gate operators are
designed to ªtime-outº in the same manner.
It may be helpful to unplug the device during the cycling
process, to prevent possible overheating of the garage
door or gate motor.
If you are having difficulties programming a garage door
opener or a gate operator, replace ªProgramming
HomeLink,º Step 3, with the following:
3. Continue to press and hold the HomeLinktbutton,
while you press and release - every two seconds
(ªcycleº), your hand-held transmitter until HomeLinkt
has successfully accepted the frequency signal. The
indicator(s) will change from a slow flash, to a rapid
flash when trained.If you unplugged the device for training, plug it back in
at this time.
Then proceed with Step 4 under, ªProgramming
HomeLinkt,º earlier in this section.
Using HomeLinkT
To operate, simply press and release the programmed
HomeLinktbutton. Activation will now occur for the
trained device (i.e., garage door opener, gate operator,
security system, entry door lock, home/office lighting,
etc.) The hand-held transmitter of the device may also be
used at any time.
Reprogramming A Single HomeLinkTButton
To reprogram a channel that has been previously trained,
follow these steps:
UNDERSTANDING THE FEATURES OF YOUR VEHICLE 147
3
Page 150 of 449
1. Turn the ignition switch to the ON/RUN position.
2. Press and hold the desired HomeLinktbutton, for
20 seconds, until the indicator(s) starts to flash.Do not
release the button.
3.Without releasing the button,proceed with PRO-
GRAMMING HOMELINKt, Step #2, and follow all
remaining steps.
Security
It is advised to erase all channels before you sell or turn
in your vehicle.
To do this, press and hold the two outside buttons, for
20 seconds, until the indicators begin to flash. Note that
all channels will be erased. Individual channels cannot be
erased.
The HomeLinktUniversal Transceiver is disabled when
the Vehicle Theft Alarm is active.
Troubleshooting Tips
If you are having trouble programming HomeLinkt, here
are some of the most common solutions:
²Replace the battery in the original transmitter.
²Press the ªLearnº button on the Garage Door Opener
to complete the training for Rolling Code.
²Did you unplug the device for training, and remember
to plug it back in?
If you have any problems, or require assistance, please
call toll-free 1±800±355±3515 or, on the Internet at
www.HomeLink.com, for information or assistance.
General Information
This device complies with FCC rules part 15 and Industry
Canada RSS-210. Operation is subject to the following
two conditions:
1. This device may not cause harmful interference
148 UNDERSTANDING THE FEATURES OF YOUR VEHICLE
Page 433 of 449
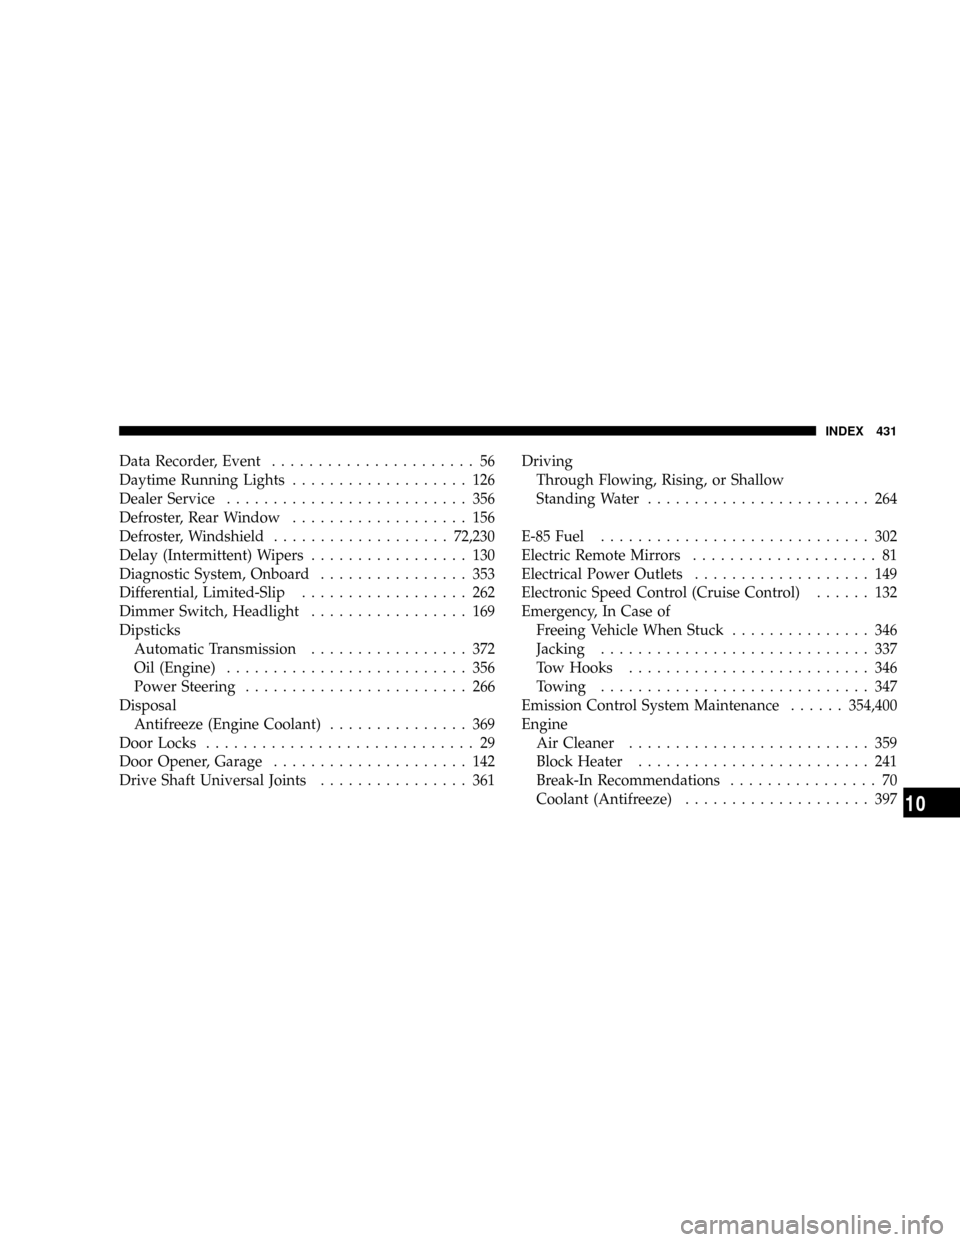
Data Recorder, Event...................... 56
Daytime Running Lights................... 126
Dealer Service.......................... 356
Defroster, Rear Window................... 156
Defroster, Windshield...................72,230
Delay (Intermittent) Wipers................. 130
Diagnostic System, Onboard................ 353
Differential, Limited-Slip.................. 262
Dimmer Switch, Headlight................. 169
Dipsticks
Automatic Transmission................. 372
Oil (Engine).......................... 356
Power Steering........................ 266
Disposal
Antifreeze (Engine Coolant)............... 369
Door Locks............................. 29
Door Opener, Garage..................... 142
Drive Shaft Universal Joints................ 361Driving
Through Flowing, Rising, or Shallow
Standing Water........................ 264
E-85 Fuel............................. 302
Electric Remote Mirrors.................... 81
Electrical Power Outlets................... 149
Electronic Speed Control (Cruise Control)...... 132
Emergency, In Case of
Freeing Vehicle When Stuck............... 346
Jacking............................. 337
Tow Hooks.......................... 346
Towing............................. 347
Emission Control System Maintenance......354,400
Engine
Air Cleaner.......................... 359
Block Heater......................... 241
Break-In Recommendations................ 70
Coolant (Antifreeze).................... 397
INDEX 431
10
Page 435 of 449
Fluid Level Checks
Automatic Transmission................. 372
Brake............................... 371
Engine Oil........................... 356
Power Steering........................ 266
Transfer Case......................... 375
Fluids, Lubricants and Genuine Parts.......... 397
Fog Lights..........................126,395
Four Wheel Drive....................... 251
Operation........................... 251
Four-Way Hazard Flasher.................. 332
Freeing A Stuck Vehicle................... 346
Front Axle (Differential)................... 376
Fuel................................. 297
Adding............................. 306
Gauge.............................. 168
Octane Rating......................297,397
Requirements......................297,396
Tank Capacity........................ 396Fuel, Flexible.............See Flexible Fuel Vehicles
Fueling............................... 306
Fuses................................ 381
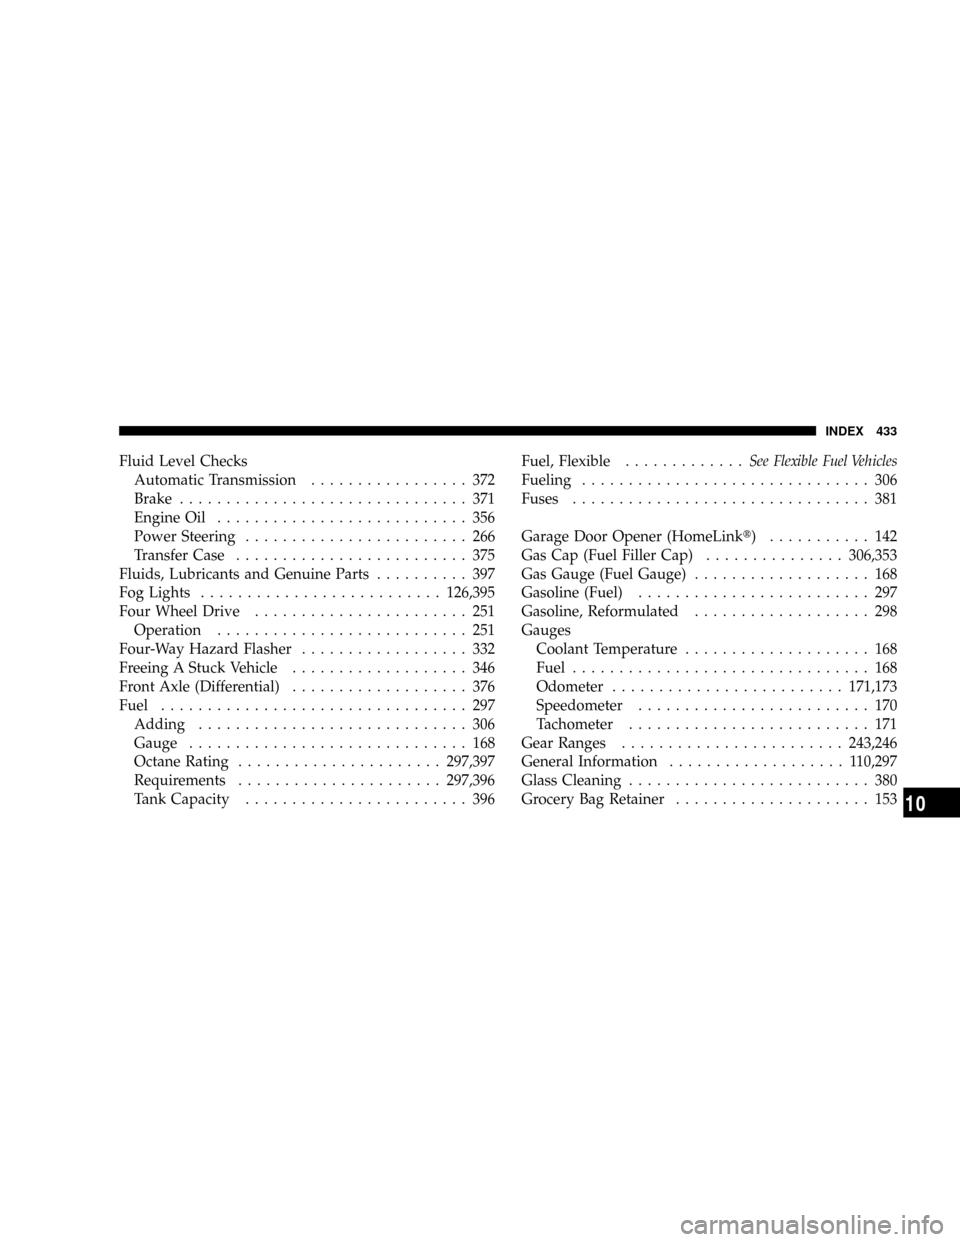
Garage Door Opener (HomeLinkt) ........... 142
Gas Cap (Fuel Filler Cap)...............306,353
Gas Gauge (Fuel Gauge)................... 168
Gasoline (Fuel)......................... 297
Gasoline, Reformulated................... 298
Gauges
Coolant Temperature.................... 168
Fuel................................ 168
Odometer.........................171,173
Speedometer......................... 170
Tachometer.......................... 171
Gear Ranges........................243,246
General Information................... 110,297
Glass Cleaning.......................... 380
Grocery Bag Retainer..................... 153
INDEX 433
10