checking oil DODGE DAKOTA 2011 3.G Owners Manual
[x] Cancel search | Manufacturer: DODGE, Model Year: 2011, Model line: DAKOTA, Model: DODGE DAKOTA 2011 3.GPages: 452, PDF Size: 4.92 MB
Page 363 of 452

CAUTION! (Continued)
•Your vehicle has been built with improved fluids
that protect the performance and durability of
your vehicle and also allow extended maintenance
intervals. Do not use chemical flushes in these
components as the chemicals can damage your
engine, transmission, power steering or air condi-
tioning. Such damage is not covered by the New
Vehicle Limited Warranty. If a flush is needed
because of component malfunction, use only the
specified fluid for the flushing procedure.
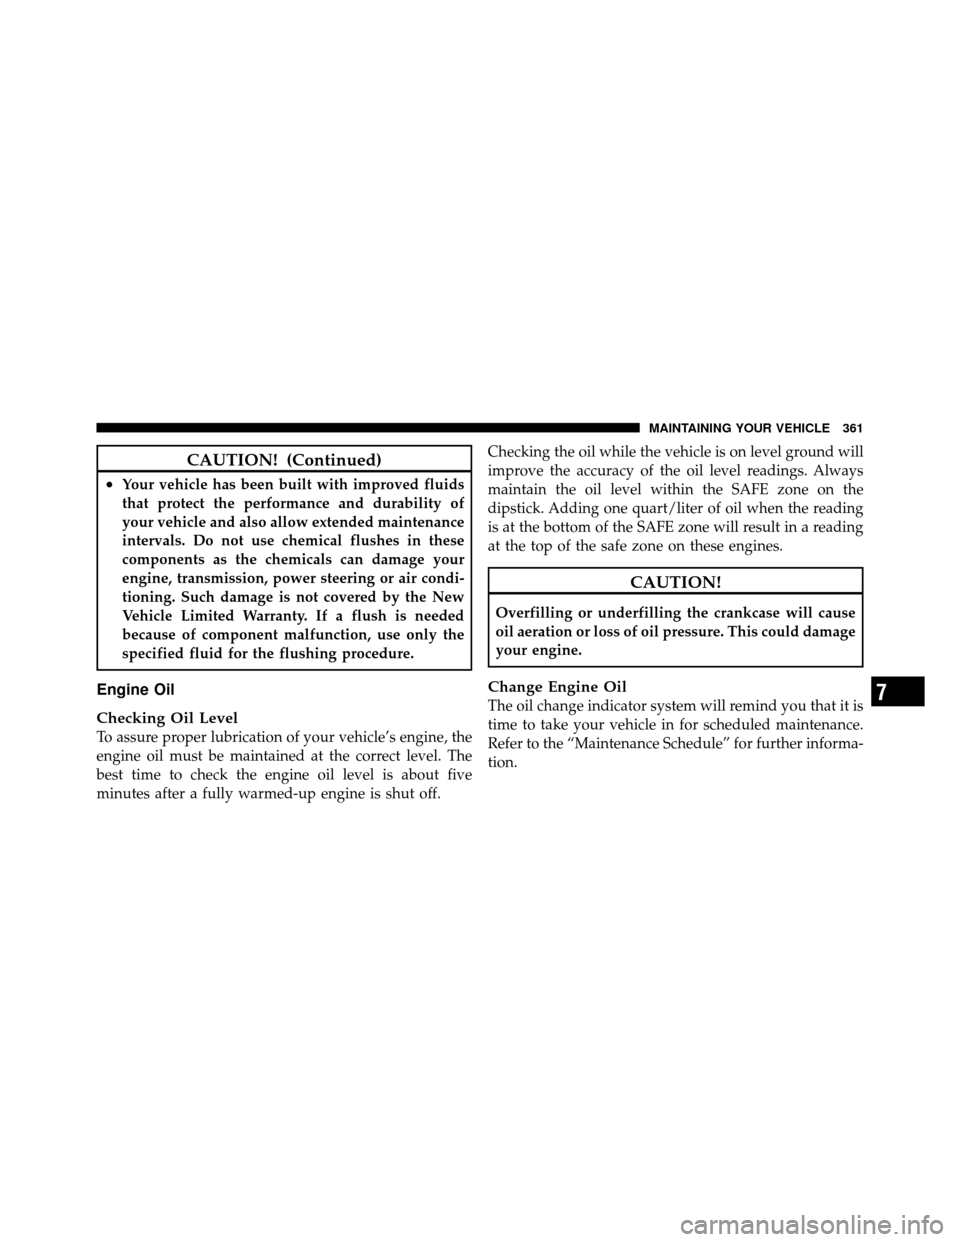
Engine Oil
Checking Oil Level
To assure proper lubrication of your vehicle’s engine, the
engine oil must be maintained at the correct level. The
best time to check the engine oil level is about five
minutes after a fully warmed-up engine is shut off.Checking the oil while the vehicle is on level ground will
improve the accuracy of the oil level readings. Always
maintain the oil level within the SAFE zone on the
dipstick. Adding one quart/liter of oil when the reading
is at the bottom of the SAFE zone will result in a reading
at the top of the safe zone on these engines.
CAUTION!
Overfilling or underfilling the crankcase will cause
oil aeration or loss of oil pressure. This could damage
your engine.
Change Engine Oil
The oil change indicator system will remind you that it is
time to take your vehicle in for scheduled maintenance.
Refer to the “Maintenance Schedule” for further informa-
tion.7
MAINTAINING YOUR VEHICLE 361
Page 381 of 452

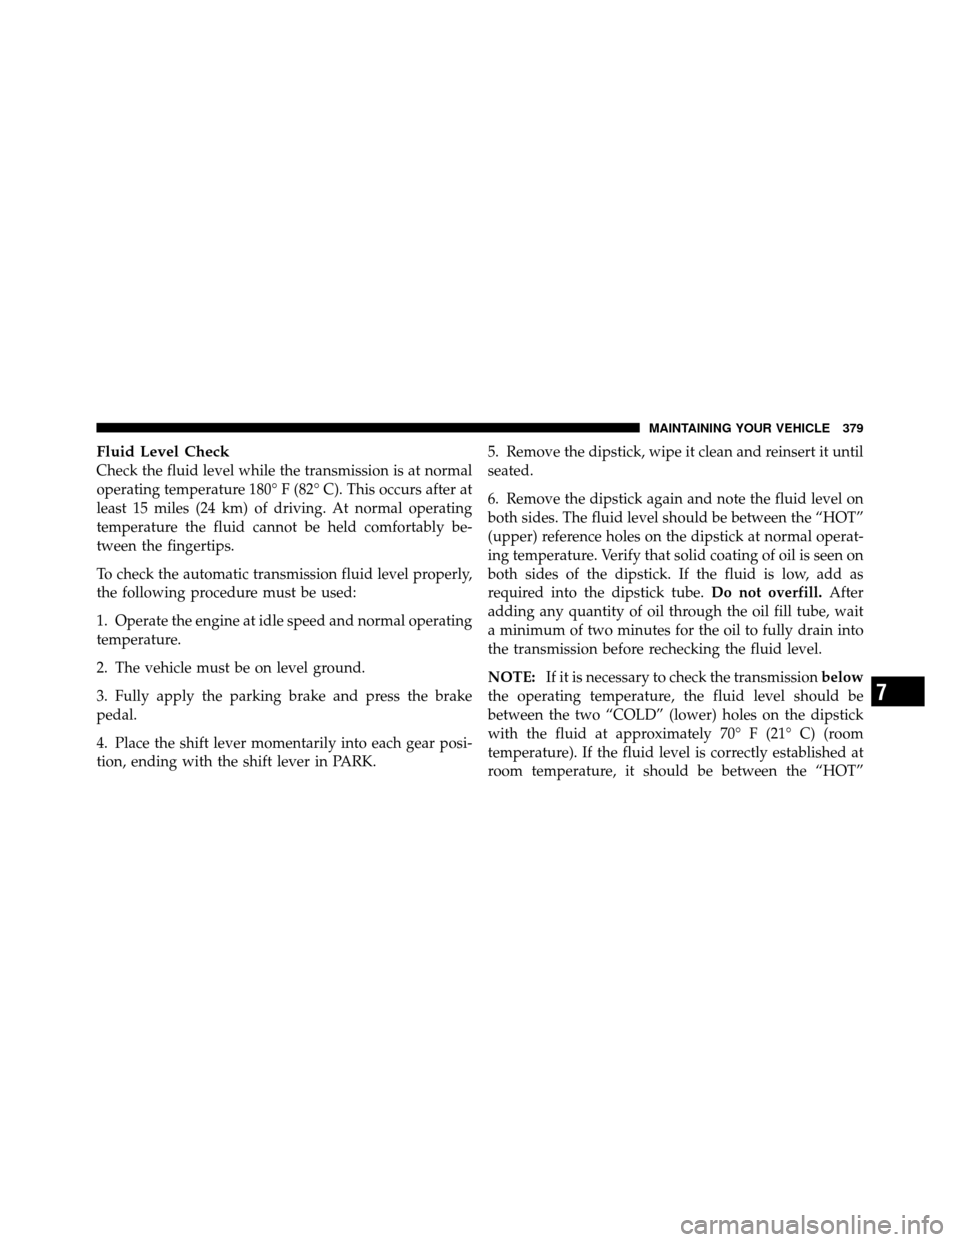
Fluid Level Check
Check the fluid level while the transmission is at normal
operating temperature 180° F (82° C). This occurs after at
least 15 miles (24 km) of driving. At normal operating
temperature the fluid cannot be held comfortably be-
tween the fingertips.
To check the automatic transmission fluid level properly,
the following procedure must be used:
1. Operate the engine at idle speed and normal operating
temperature.
2. The vehicle must be on level ground.
3. Fully apply the parking brake and press the brake
pedal.
4. Place the shift lever momentarily into each gear posi-
tion, ending with the shift lever in PARK.5. Remove the dipstick, wipe it clean and reinsert it until
seated.
6. Remove the dipstick again and note the fluid level on
both sides. The fluid level should be between the “HOT”
(upper) reference holes on the dipstick at normal operat-
ing temperature. Verify that solid coating of oil is seen on
both sides of the dipstick. If the fluid is low, add as
required into the dipstick tube.
Do not overfill.After
adding any quantity of oil through the oil fill tube, wait
a minimum of two minutes for the oil to fully drain into
the transmission before rechecking the fluid level.
NOTE: If it is necessary to check the transmission below
the operating temperature, the fluid level should be
between the two “COLD” (lower) holes on the dipstick
with the fluid at approximately 70° F (21° C) (room
temperature). If the fluid level is correctly established at
room temperature, it should be between the “HOT”
7
MAINTAINING YOUR VEHICLE 379
Page 409 of 452

Your authorized dealer will reset the oil change indicator
message after completing the scheduled oil change. If a
scheduled oil change is performed by someone other
than your authorized dealer, the message can be reset by
referring to the steps described under “Electronic Vehicle
Information Center (EVIC)/Oil Change Required” in
“Understanding Your Instrument Panel” or under “In-
strument Cluster Description/Odometer/Trip Odom-
eter” in “Understanding Your Instrument Panel” for
further information.
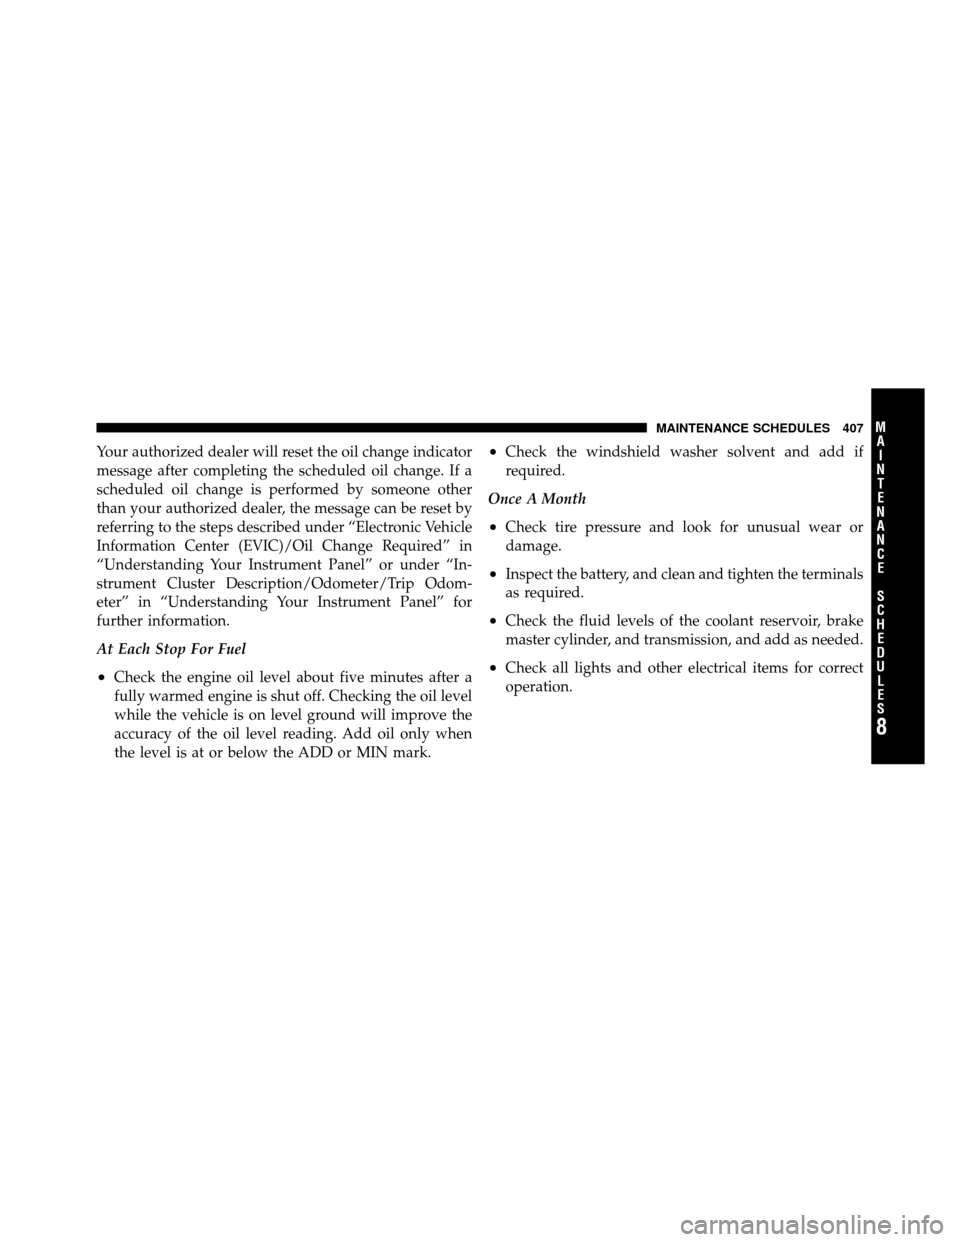
At Each Stop For Fuel
•Check the engine oil level about five minutes after a
fully warmed engine is shut off. Checking the oil level
while the vehicle is on level ground will improve the
accuracy of the oil level reading. Add oil only when
the level is at or below the ADD or MIN mark.
•Check the windshield washer solvent and add if
required.
Once A Month
•Check tire pressure and look for unusual wear or
damage.
•Inspect the battery, and clean and tighten the terminals
as required.
•Check the fluid levels of the coolant reservoir, brake
master cylinder, and transmission, and add as needed.
•Check all lights and other electrical items for correct
operation.
8
M A I
N T
E
N A
N CE
S
C
H E
D
U L
E
SMAINTENANCE SCHEDULES 407